light SATURN ION 2007 Workshop Manual
[x] Cancel search | Manufacturer: SATURN, Model Year: 2007, Model line: ION, Model: SATURN ION 2007Pages: 440, PDF Size: 2.93 MB
Page 177 of 440
Emissions Inspection and Maintenance
Programs
Some state/provincial and local governments have
or may begin programs to inspect the emission
control equipment on your vehicle. Failure to pass
this inspection could prevent you from getting a
vehicle registration.
Here are some things you need to know in order
to help your vehicle pass an inspection:
Your vehicle will not pass this inspection if the
check engine light is on or not working properly.
Your vehicle will not pass this inspection if
the OBD (on-board diagnostic) system determines
that critical emission control systems have not
been completely diagnosed by the system.
The vehicle would be considered not ready for
inspection. This can happen if you have recently
replaced your battery or if your battery has
run down. The diagnostic system is designed to
evaluate critical emission control systems
during normal driving. This may take several days
of routine driving. If you have done this and
your vehicle still does not pass the inspection for
lack of OBD system readiness, your retailer
can prepare the vehicle for inspection.
Oil Pressure Light
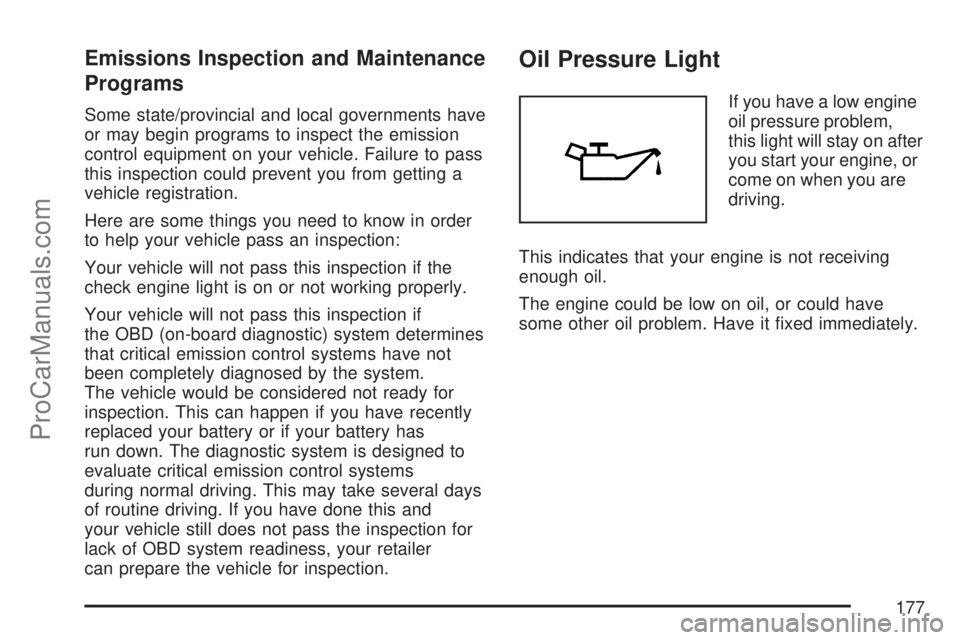
If you have a low engine
oil pressure problem,
this light will stay on after
you start your engine, or
come on when you are
driving.
This indicates that your engine is not receiving
enough oil.
The engine could be low on oil, or could have
some other oil problem. Have it �xed immediately.
177
ProCarManuals.com
Page 178 of 440
The oil light may also come on when the ignition
is on but the engine is not running, the light
will come on as a test to show you it is working,
but the light will go out when you turn the
ignition to START. If it does not come on with the
ignition on, you may have a problem with the
fuse or bulb. Have it �xed right away.
{CAUTION:
Do not keep driving if the oil pressure is
low. If you do, your engine can become so
hot that it catches �re. You or others could
be burned. Check your oil as soon as
possible and have your vehicle serviced.
Notice:Lack of proper engine oil maintenance
may damage the engine. The repairs would
not be covered by your warranty. Always follow
the maintenance schedule in this manual for
changing engine oil.
Passlock®Warning Light
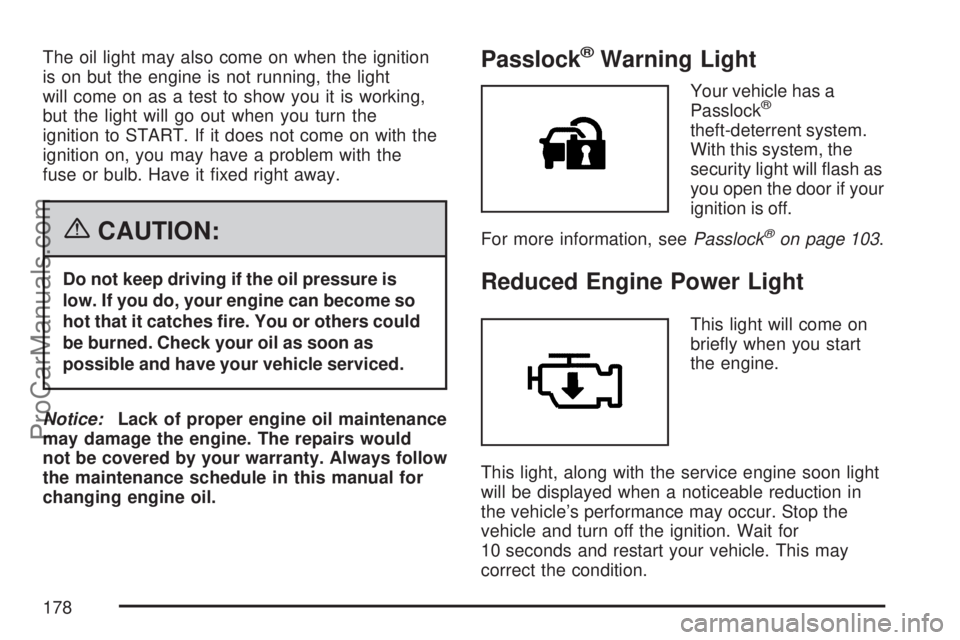
Your vehicle has a
Passlock®
theft-deterrent system.
With this system, the
security light will �ash as
you open the door if your
ignition is off.
For more information, seePasslock
®on page 103.
Reduced Engine Power Light
This light will come on
brie�y when you start
the engine.
This light, along with the service engine soon light
will be displayed when a noticeable reduction in
the vehicle’s performance may occur. Stop the
vehicle and turn off the ignition. Wait for
10 seconds and restart your vehicle. This may
correct the condition.
178
ProCarManuals.com
Page 179 of 440
The vehicle may be driven at a reduced speed
when the reduced engine power light is on
but acceleration and speed may be reduced.
The performance may be reduced until the next
time you drive your vehicle. If this light stays
on, see your retailer as soon as possible
for diagnosis and repair.
Highbeam On Light
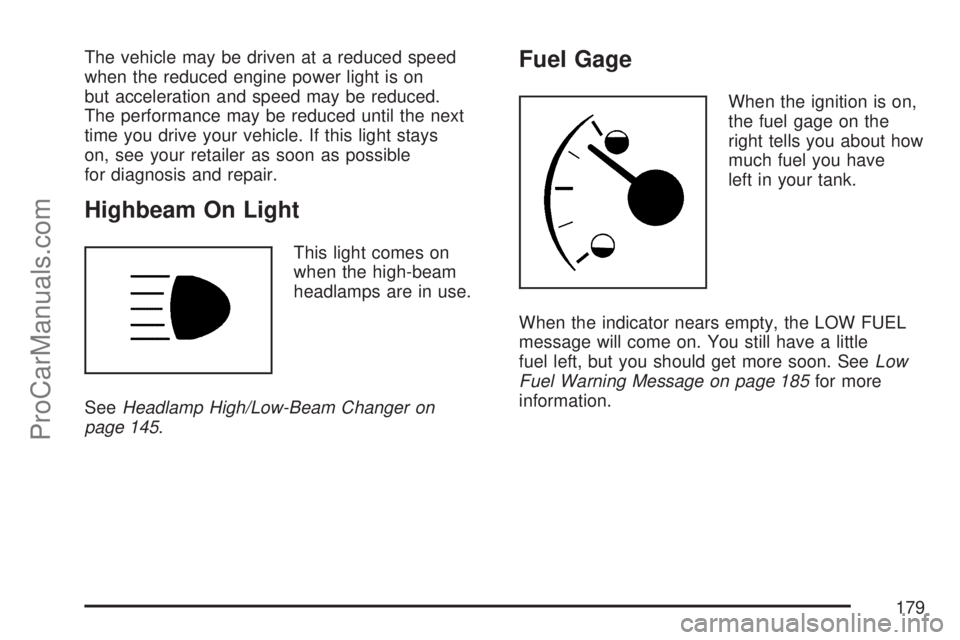
This light comes on
when the high-beam
headlamps are in use.
SeeHeadlamp High/Low-Beam Changer on
page 145.
Fuel Gage
When the ignition is on,
the fuel gage on the
right tells you about how
much fuel you have
left in your tank.
When the indicator nears empty, the LOW FUEL
message will come on. You still have a little
fuel left, but you should get more soon. SeeLow
Fuel Warning Message on page 185for more
information.
179
ProCarManuals.com
Page 181 of 440
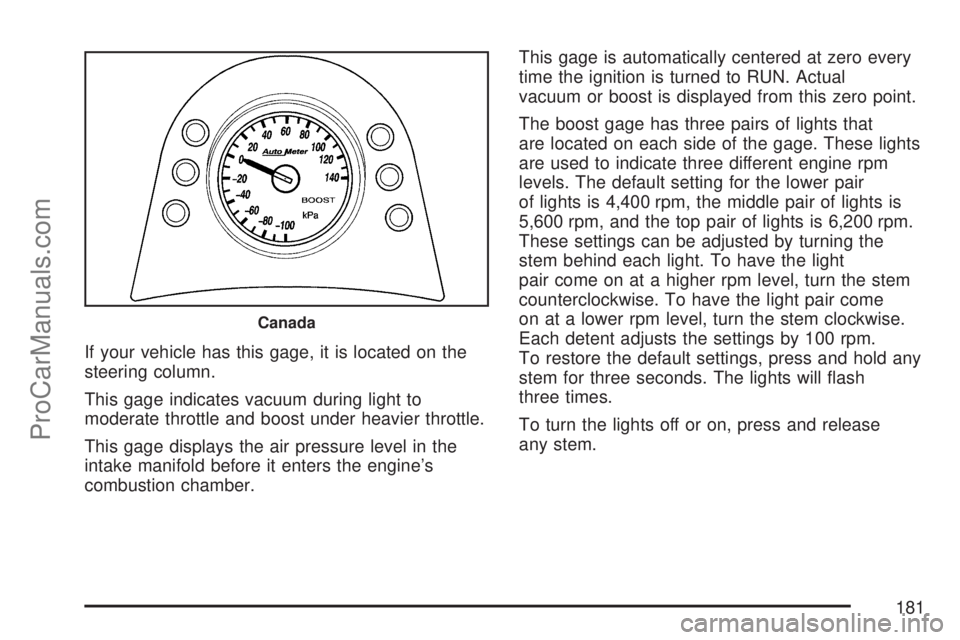
If your vehicle has this gage, it is located on the
steering column.
This gage indicates vacuum during light to
moderate throttle and boost under heavier throttle.
This gage displays the air pressure level in the
intake manifold before it enters the engine’s
combustion chamber.This gage is automatically centered at zero every
time the ignition is turned to RUN. Actual
vacuum or boost is displayed from this zero point.
The boost gage has three pairs of lights that
are located on each side of the gage. These lights
are used to indicate three different engine rpm
levels. The default setting for the lower pair
of lights is 4,400 rpm, the middle pair of lights is
5,600 rpm, and the top pair of lights is 6,200 rpm.
These settings can be adjusted by turning the
stem behind each light. To have the light
pair come on at a higher rpm level, turn the stem
counterclockwise. To have the light pair come
on at a lower rpm level, turn the stem clockwise.
Each detent adjusts the settings by 100 rpm.
To restore the default settings, press and hold any
stem for three seconds. The lights will �ash
three times.
To turn the lights off or on, press and release
any stem.
Canada
181
ProCarManuals.com
Page 197 of 440
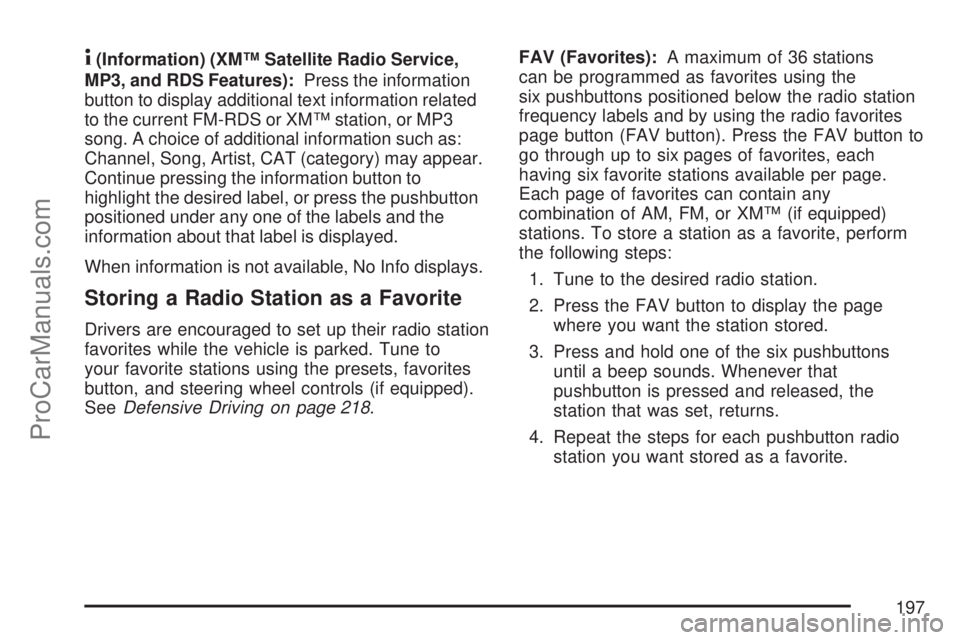
4(Information) (XM™ Satellite Radio Service,
MP3, and RDS Features):Press the information
button to display additional text information related
to the current FM-RDS or XM™ station, or MP3
song. A choice of additional information such as:
Channel, Song, Artist, CAT (category) may appear.
Continue pressing the information button to
highlight the desired label, or press the pushbutton
positioned under any one of the labels and the
information about that label is displayed.
When information is not available, No Info displays.
Storing a Radio Station as a Favorite
Drivers are encouraged to set up their radio station
favorites while the vehicle is parked. Tune to
your favorite stations using the presets, favorites
button, and steering wheel controls (if equipped).
SeeDefensive Driving on page 218.FAV (Favorites):A maximum of 36 stations
can be programmed as favorites using the
six pushbuttons positioned below the radio station
frequency labels and by using the radio favorites
page button (FAV button). Press the FAV button to
go through up to six pages of favorites, each
having six favorite stations available per page.
Each page of favorites can contain any
combination of AM, FM, or XM™ (if equipped)
stations. To store a station as a favorite, perform
the following steps:
1. Tune to the desired radio station.
2. Press the FAV button to display the page
where you want the station stored.
3. Press and hold one of the six pushbuttons
until a beep sounds. Whenever that
pushbutton is pressed and released, the
station that was set, returns.
4. Repeat the steps for each pushbutton radio
station you want stored as a favorite.
197
ProCarManuals.com
Page 198 of 440
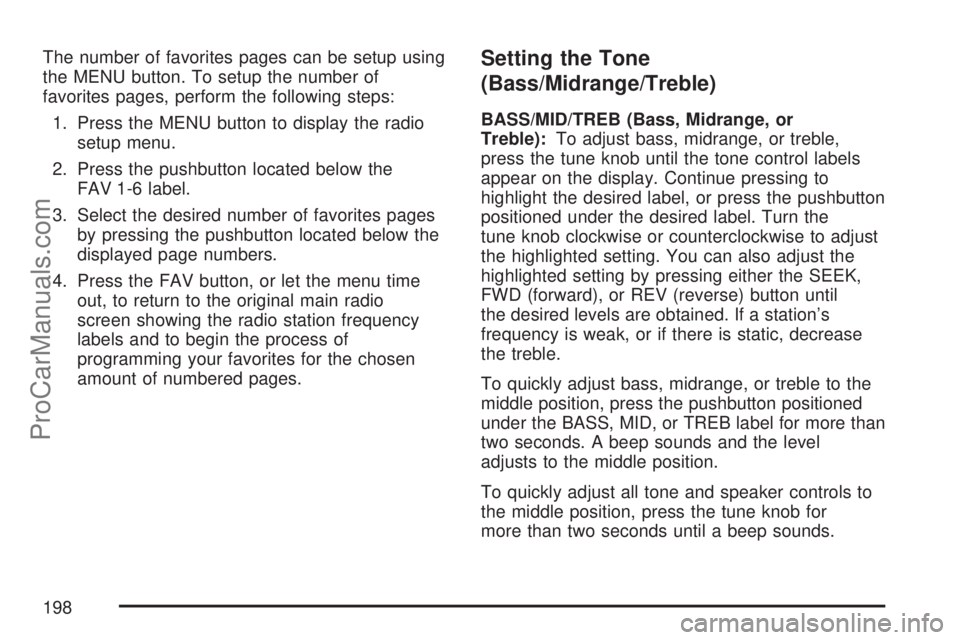
The number of favorites pages can be setup using
the MENU button. To setup the number of
favorites pages, perform the following steps:
1. Press the MENU button to display the radio
setup menu.
2. Press the pushbutton located below the
FAV 1-6 label.
3. Select the desired number of favorites pages
by pressing the pushbutton located below the
displayed page numbers.
4. Press the FAV button, or let the menu time
out, to return to the original main radio
screen showing the radio station frequency
labels and to begin the process of
programming your favorites for the chosen
amount of numbered pages.Setting the Tone
(Bass/Midrange/Treble)
BASS/MID/TREB (Bass, Midrange, or
Treble):To adjust bass, midrange, or treble,
press the tune knob until the tone control labels
appear on the display. Continue pressing to
highlight the desired label, or press the pushbutton
positioned under the desired label. Turn the
tune knob clockwise or counterclockwise to adjust
the highlighted setting. You can also adjust the
highlighted setting by pressing either the SEEK,
FWD (forward), or REV (reverse) button until
the desired levels are obtained. If a station’s
frequency is weak, or if there is static, decrease
the treble.
To quickly adjust bass, midrange, or treble to the
middle position, press the pushbutton positioned
under the BASS, MID, or TREB label for more than
two seconds. A beep sounds and the level
adjusts to the middle position.
To quickly adjust all tone and speaker controls to
the middle position, press the tune knob for
more than two seconds until a beep sounds.
198
ProCarManuals.com
Page 199 of 440
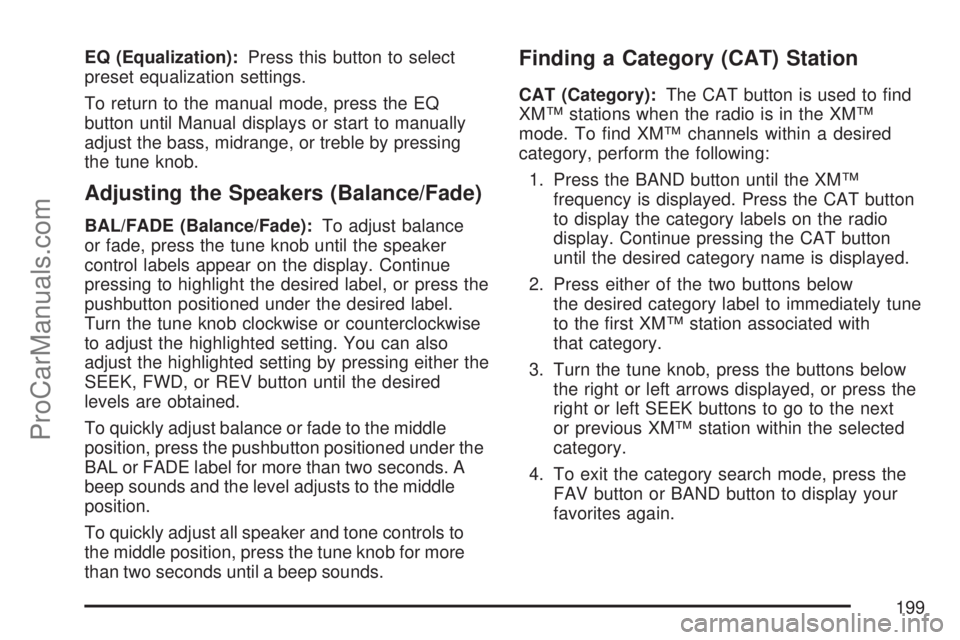
EQ (Equalization):Press this button to select
preset equalization settings.
To return to the manual mode, press the EQ
button until Manual displays or start to manually
adjust the bass, midrange, or treble by pressing
the tune knob.
Adjusting the Speakers (Balance/Fade)
BAL/FADE (Balance/Fade):To adjust balance
or fade, press the tune knob until the speaker
control labels appear on the display. Continue
pressing to highlight the desired label, or press the
pushbutton positioned under the desired label.
Turn the tune knob clockwise or counterclockwise
to adjust the highlighted setting. You can also
adjust the highlighted setting by pressing either the
SEEK, FWD, or REV button until the desired
levels are obtained.
To quickly adjust balance or fade to the middle
position, press the pushbutton positioned under the
BAL or FADE label for more than two seconds. A
beep sounds and the level adjusts to the middle
position.
To quickly adjust all speaker and tone controls to
the middle position, press the tune knob for more
than two seconds until a beep sounds.
Finding a Category (CAT) Station
CAT (Category):The CAT button is used to �nd
XM™ stations when the radio is in the XM™
mode. To �nd XM™ channels within a desired
category, perform the following:
1. Press the BAND button until the XM™
frequency is displayed. Press the CAT button
to display the category labels on the radio
display. Continue pressing the CAT button
until the desired category name is displayed.
2. Press either of the two buttons below
the desired category label to immediately tune
to the �rst XM™ station associated with
that category.
3. Turn the tune knob, press the buttons below
the right or left arrows displayed, or press the
right or left SEEK buttons to go to the next
or previous XM™ station within the selected
category.
4. To exit the category search mode, press the
FAV button or BAND button to display your
favorites again.
199
ProCarManuals.com
Page 215 of 440
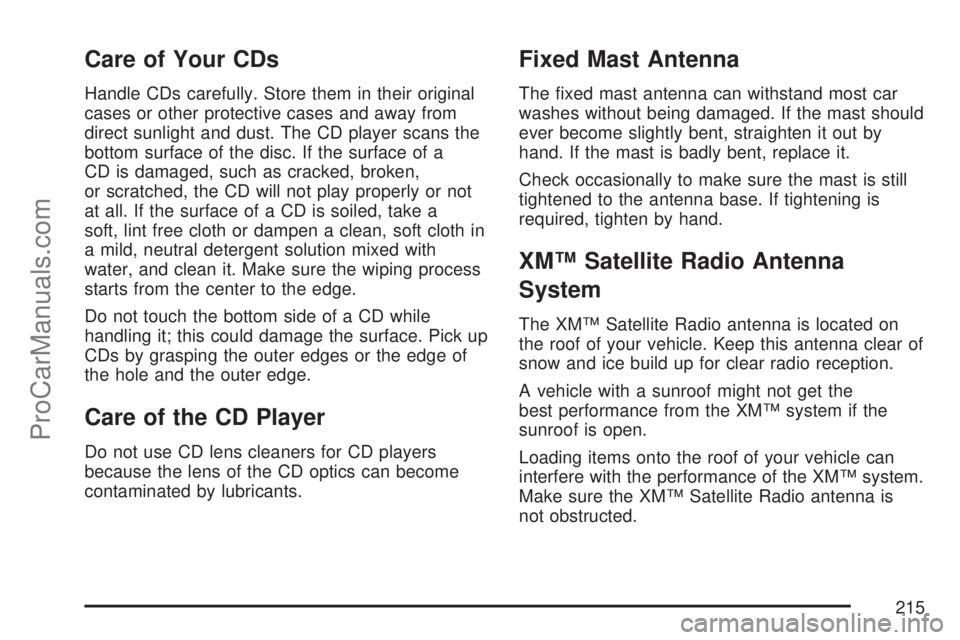
Care of Your CDs
Handle CDs carefully. Store them in their original
cases or other protective cases and away from
direct sunlight and dust. The CD player scans the
bottom surface of the disc. If the surface of a
CD is damaged, such as cracked, broken,
or scratched, the CD will not play properly or not
at all. If the surface of a CD is soiled, take a
soft, lint free cloth or dampen a clean, soft cloth in
a mild, neutral detergent solution mixed with
water, and clean it. Make sure the wiping process
starts from the center to the edge.
Do not touch the bottom side of a CD while
handling it; this could damage the surface. Pick up
CDs by grasping the outer edges or the edge of
the hole and the outer edge.
Care of the CD Player
Do not use CD lens cleaners for CD players
because the lens of the CD optics can become
contaminated by lubricants.
Fixed Mast Antenna
The �xed mast antenna can withstand most car
washes without being damaged. If the mast should
ever become slightly bent, straighten it out by
hand. If the mast is badly bent, replace it.
Check occasionally to make sure the mast is still
tightened to the antenna base. If tightening is
required, tighten by hand.
XM™ Satellite Radio Antenna
System
The XM™ Satellite Radio antenna is located on
the roof of your vehicle. Keep this antenna clear of
snow and ice build up for clear radio reception.
A vehicle with a sunroof might not get the
best performance from the XM™ system if the
sunroof is open.
Loading items onto the roof of your vehicle can
interfere with the performance of the XM™ system.
Make sure the XM™ Satellite Radio antenna is
not obstructed.
215
ProCarManuals.com
Page 222 of 440

Control of a Vehicle
You have three systems that make your vehicle go
where you want it to go. They are the brakes, the
steering, and the accelerator. All three systems
have to do their work at the places where the tires
meet the road.
Sometimes, as when you are driving on snow or
ice, it is easy to ask more of those control systems
than the tires and road can provide. That means
you can lose control of your vehicle. See
Enhanced Traction System (ETS) on page 226.
Adding non-Saturn accessories can affect
your vehicle’s performance. SeeAccessories and
Modi�cations on page 270.
Braking
SeeBrake System Warning Light on page 170.
Braking action involves perception time and
reaction time.
First, you have to decide to push on the brake
pedal. That is perception time. Then you have to
bring up your foot and do it. That is reaction time.Average reaction time is about three-fourths of a
second. But that is only an average. It might
be less with one driver and as long as two or
three seconds or more with another. Age, physical
condition, alertness, coordination, and eyesight
all play a part. So do alcohol, drugs, and
frustration. But even in three-fourths of a second,
a vehicle moving at 60 mph (100 km/h) travels
66 feet (20 m). That could be a lot of distance in an
emergency, so keeping enough space between
your vehicle and others is important.
And, of course, actual stopping distances vary
greatly with the surface of the road, whether it is
pavement or gravel; the condition of the road,
whether it is wet, dry, or icy; tire tread; the condition
of the brakes; the weight of the vehicle; and the
amount of brake force applied.
222
ProCarManuals.com
Page 223 of 440
Avoid needless heavy braking. Some people drive
in spurts — heavy acceleration followed by heavy
braking — rather than keeping pace with traffic.
This is a mistake. The brakes may not have time to
cool between hard stops. The brakes will wear out
much faster if you do a lot of heavy braking. If you
keep pace with the traffic and allow realistic
following distances, you will eliminate a lot of
unnecessary braking. That means better braking
and longer brake life.
If your vehicle’s engine ever stops while you are
driving, brake normally but do not pump the
brakes. If you do, the pedal may get harder to
push down. If the engine stops, you will still have
some power brake assist. But you will use it
when you brake. Once the power assist is used
up, it may take longer to stop and the brake pedal
will be harder to push.
Adding non-Saturn accessories can affect your
vehicle’s performance. SeeAccessories and
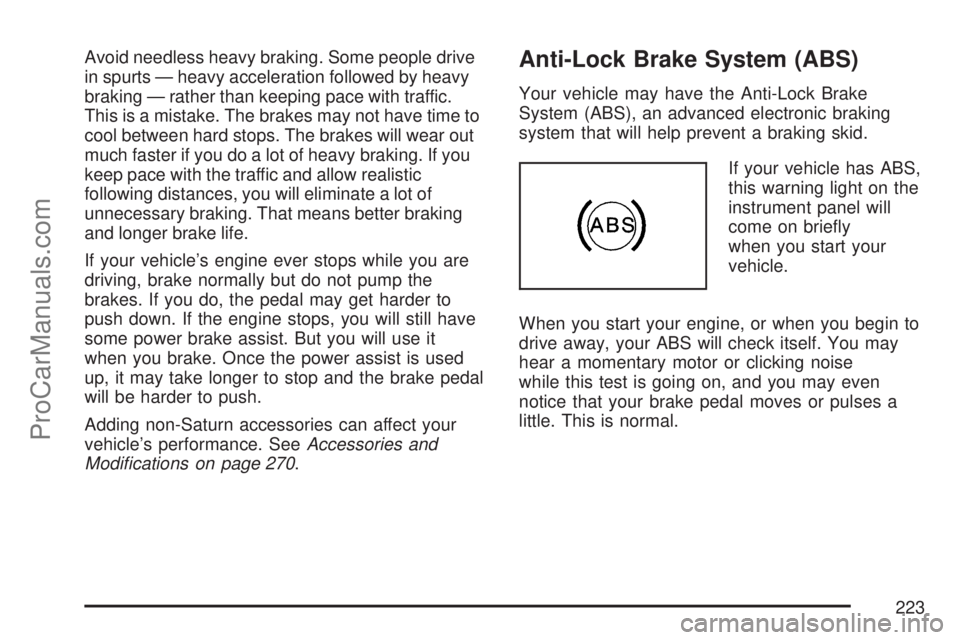
Modi�cations on page 270.Anti-Lock Brake System (ABS)
Your vehicle may have the Anti-Lock Brake
System (ABS), an advanced electronic braking
system that will help prevent a braking skid.
If your vehicle has ABS,
this warning light on the
instrument panel will
come on brie�y
when you start your
vehicle.
When you start your engine, or when you begin to
drive away, your ABS will check itself. You may
hear a momentary motor or clicking noise
while this test is going on, and you may even
notice that your brake pedal moves or pulses a
little. This is normal.
223
ProCarManuals.com