remote start SATURN ION 2007 Owners Manual
[x] Cancel search | Manufacturer: SATURN, Model Year: 2007, Model line: ION, Model: SATURN ION 2007Pages: 440, PDF Size: 2.93 MB
Page 87 of 440

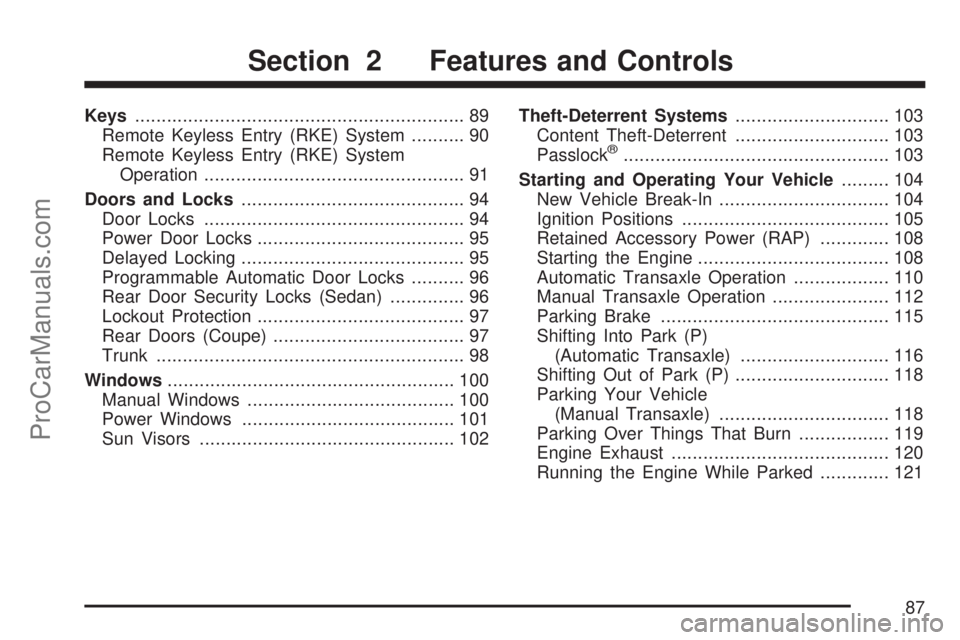
Keys.............................................................. 89
Remote Keyless Entry (RKE) System.......... 90
Remote Keyless Entry (RKE) System
Operation................................................. 91
Doors and Locks.......................................... 94
Door Locks................................................. 94
Power Door Locks....................................... 95
Delayed Locking.......................................... 95
Programmable Automatic Door Locks.......... 96
Rear Door Security Locks (Sedan).............. 96
Lockout Protection....................................... 97
Rear Doors (Coupe).................................... 97
Trunk.......................................................... 98
Windows...................................................... 100
Manual Windows....................................... 100
Power Windows........................................ 101
Sun Visors................................................ 102Theft-Deterrent Systems............................. 103
Content Theft-Deterrent............................. 103
Passlock
®.................................................. 103
Starting and Operating Your Vehicle......... 104
New Vehicle Break-In................................ 104
Ignition Positions....................................... 105
Retained Accessory Power (RAP)............. 108
Starting the Engine.................................... 108
Automatic Transaxle Operation.................. 110
Manual Transaxle Operation...................... 112
Parking Brake........................................... 115
Shifting Into Park (P)
(Automatic Transaxle)............................ 116
Shifting Out of Park (P)............................. 118
Parking Your Vehicle
(Manual Transaxle)................................ 118
Parking Over Things That Burn................. 119
Engine Exhaust......................................... 120
Running the Engine While Parked............. 121
Section 2 Features and Controls
87
ProCarManuals.com
Page 281 of 440

A. Engine Air Cleaner/Filter. SeeEngine Air
Cleaner/Filter on page 290.
B. Engine Oil Dipstick (Out of View). See
“Checking Engine Oil” underEngine Oil on
page 283.
C. Engine Oil Fill Cap. See “When to Add Engine
Oil” underEngine Oil on page 283.
D. Electric Engine Cooling Fan (Out of View).
SeeCooling System on page 300.
E. Brake Master Cylinder Reservoir. See “Brake
Fluid” underBrakes on page 308andHydraulic
Clutch on page 293.F. Engine Compartment Fuse Block. SeeEngine
Compartment Fuse Block on page 378.
G. Remote Positive (+) Terminal. SeeJump
Starting on page 312.
H. Engine Coolant Surge Tank. SeeEngine
Coolant on page 293.
I. Windshield Washer Fluid Reservoir. See
“Adding Washer Fluid” underWindshield
Washer Fluid on page 307.
281
ProCarManuals.com
Page 283 of 440

A. Engine Oil Dipstick. See “Checking Engine Oil”
underEngine Oil on page 283.
B. Electric Engine Cooling Fan. SeeCooling
System on page 300.
C. Engine Oil Fill Cap. See “When to Add Engine
Oil” underEngine Oil on page 283.
D. Intercooler System Pressure Cap. SeeEngine
Coolant on page 293.
E. Brake Master Cylinder Reservoir. See “Brake
Fluid” underBrakes on page 308andHydraulic
Clutch on page 293.
F. Engine Air Cleaner/Filter. SeeEngine Air
Cleaner/Filter on page 290.
G. Engine Compartment Fuse Block. SeeEngine
Compartment Fuse Block on page 378.
H. Remote Positive (+) Terminal. SeeJump
Starting on page 312.
I. Engine Coolant Surge Tank. SeeCoolant
Surge Tank Pressure Cap on page 297.
J. Windshield Washer Fluid Reservoir. See
“Adding Washer Fluid” underWindshield
Washer Fluid on page 307.Engine Oil
Checking Engine Oil
It is a good idea to check the engine oil every time
you get fuel. In order to get an accurate reading,
the oil must be warm and the vehicle must be
on level ground.
The engine oil dipstick handle is a yellow loop.
SeeEngine Compartment Overview on page 280
for the location of the engine oil dipstick.
1. Turn off the engine and give the oil several
minutes to drain back into the oil pan. If you
do not do this, the oil dipstick might not
show the actual level.
2. Pull out the dipstick, clean it with a paper
towel or cloth and then push it back in all
the way.
3. Pull out the dipstick again, keeping the tip
down, and check the level.
283
ProCarManuals.com
Page 314 of 440

4. Open the hoods and locate the positive (+)
and negative (−) terminal locations on each
vehicle.
You will not need to access your battery for
jump starting. Your vehicle has a remote
positive (+) and a remote negative (−) jump
starting terminal.
The remote positive (+) terminal is located on
the engine compartment fuse block, under a
red cap. SeeEngine Compartment Overview
on page 280for more information on location.
The remote negative (−) ground terminal is a
bolt located under the metal frame that
supports the radiator. It is at the front of the
engine compartment, on the driver’s side
of the vehicle, and is marked with a label that
says GND (−).
{CAUTION:
An electric fan can start up even when the
engine is not running and can injure you.
Keep hands, clothing and tools away from
any underhood electric fan.
{CAUTION:
Using a match near a battery can cause
battery gas to explode. People have been
hurt doing this, and some have been
blinded. Use a �ashlight if you need
more light.
Be sure the battery has enough water.
You do not need to add water to the
battery installed in your new vehicle. But
if a battery has �ller caps, be sure the
right amount of �uid is there. If it is low,
add water to take care of that �rst. If you
do not, explosive gas could be present.
Battery �uid contains acid that can burn
you. Do not get it on you. If you
accidentally get it in your eyes or on your
skin, �ush the place with water and get
medical help immediately.
314
ProCarManuals.com
Page 316 of 440

8. Now connect the black negative (−) cable to
the negative (−) terminal of the good battery.
Use a remote negative (−) terminal if the
vehicle has one.
Do not let the other end touch anything until
the next step. The other end of the
negative (−) cable does not go to the dead
battery. It goes to a heavy, unpainted
metal engine part or to a remote negative (−)
terminal on the vehicle with the dead
battery.
9. Connect the other end of the negative (−)
cable at least 18 inches (45 cm) away from
the dead battery, but not near engine
parts that move. The electrical connection is
just as good there, and the chance of
sparks getting back to the battery is much
less.
Your vehicle has a remote negative (−)
terminal for this purpose.10. Now start the vehicle with the good battery
and run the engine for a while.
11. Press the unlock button on the Remote
Keyless Entry (RKE) transmitter, if the vehicle
has one, to disarm your security system.
12. Try to start the vehicle that had the dead
battery. If it will not start after a few tries, it
probably needs service.
Notice:If the jumper cables are connected or
removed in the wrong order, electrical
shorting may occur and damage the vehicle.
The repairs would not be covered by your
warranty. Always connect and remove
the jumper cables in the correct order, making
sure that the cables do not touch each other
or other metal.
316
ProCarManuals.com
Page 416 of 440

Who is Covered?
Roadside Assistance coverage is for the vehicle
operator, regardless of ownership. In Canada,
a person driving this vehicle without the consent of
the owner is not eligible for coverage.
The following services are provided in the U.S.
during the Bumper-to-Bumper warranty period and
in Canada, during the Base Warranty coverage
period of the New Vehicle Limited Warranty, up to
a maximum coverage of $100.
Fuel Delivery:Delivery of enough fuel for the
vehicle to get to the nearest service station
(approximately $5 Canada). Service to provide
diesel may be restricted. For safety reasons,
propane and other alternative fuels are
not provided through this service.
Lock-out Service:To ensure security, the
driver must present personal identi�cation
before lock-out service is provided. In Canada,
the vehicle registration is also required.
Lock-out service is covered at no charge if
you are unable to gain entry into your vehicle.
A remote unlock may be available if you
have an active OnStar
®subscription.
Emergency Tow From a Public Roadway or
Highway:Tow to the nearest Saturn retailer
for warranty service or in the event of a
vehicle-disabling accident. Winch-out
assistance provided when the vehicle is mired
in sand, mud, or snow.
Flat Tire Change:Installation of a spare tire
in good condition, when equipped and
properly in�ated is covered at no charge.
The customer is responsible for the repair or
replacement of the tire if not covered by a
warrantable failure.
Jump Start:No-start occurrences which
require a battery jump start are covered at no
charge.
Trip Routing Service (Canada only):Upon
request, Roadside Assistance will send you
detailed, computer personalized maps,
highlighting your choice of either the most
direct route or the most scenic route to your
destination, anywhere in North America, along
with helpful travel information pertaining to
your trip.
416
ProCarManuals.com