lock SATURN OUTLOOK 2010 Owners Manual
[x] Cancel search | Manufacturer: SATURN, Model Year: 2010, Model line: OUTLOOK, Model: SATURN OUTLOOK 2010Pages: 444, PDF Size: 4.43 MB
Page 1 of 444
2010 Saturn OUTLOOK Owner ManualM
In Brief. . . . . . . . . . . . . . . . . . . . . . . . 1-1
Instrument Panel . . . . . . . . . . . . . . 1-2
Initial Drive Information . . . . . . . . 1-3
Vehicle Features . . . . . . . . . . . . . 1-14
Performance and Maintenance . . . . . . . . . . . . . . . . 1-19
Keys, Doors and Windows . . . 2-1
Keys and Locks . . . . . . . . . . . . . . . 2-2
Doors . . . . . . . . . . . . . . . . . . . . . . . . . . 2-9
Vehicle Security . . . . . . . . . . . . . . 2-13
Exterior Mirrors . . . . . . . . . . . . . . . 2-16
Interior Mirrors . . . . . . . . . . . . . . . . 2-18
Windows . . . . . . . . . . . . . . . . . . . . . 2-19
Roof . . . . . . . . . . . . . . . . . . . . . . . . . . 2-22
Seats and Restraints . . . . . . . . . 3-1
Head Restraints . . . . . . . . . . . . . . . 3-2
Front Seats . . . . . . . . . . . . . . . . . . . . 3-3
Rear Seats . . . . . . . . . . . . . . . . . . . . 3-9
Safety Belts . . . . . . . . . . . . . . . . . . 3-14
Airbag System . . . . . . . . . . . . . . . . 3-29
Child Restraints . . . . . . . . . . . . . . 3-44 Storage
. . . . . . . . . . . . . . . . . . . . . . . 4-1
Storage Compartments . . . . . . . . 4-1
Additional Storage Features . . . 4-3
Roof Rack System . . . . . . . . . . . . . 4-4
Instruments and Controls . . . . 5-1
Controls . . . . . . . . . . . . . . . . . . . . . . . 5-2
Warning Lights, Gages, and
Indicators . . . . . . . . . . . . . . . . . . . 5-11
Information Displays . . . . . . . . . . 5-24
Vehicle Messages . . . . . . . . . . . . 5-33
Vehicle Personalization . . . . . . . 5-42
Universal Remote System . . . . 5-49
Lighting . . . . . . . . . . . . . . . . . . . . . . . 6-1
Exterior Lighting . . . . . . . . . . . . . . . 6-1
Interior Lighting . . . . . . . . . . . . . . . . 6-5
Lighting Features . . . . . . . . . . . . . . 6-6
Infotainment System . . . . . . . . . 7-1
Introduction . . . . . . . . . . . . . . . . . . . . 7-1
Radio . . . . . . . . . . . . . . . . . . . . . . . . . . 7-6
Audio Players . . . . . . . . . . . . . . . . 7-12
Rear Seat Infotainment . . . . . . . 7-35
Phone . . . . . . . . . . . . . . . . . . . . . . . . 7-45 Climate Controls
. . . . . . . . . . . . . 8-1
Climate Control Systems . . . . . . 8-1
Air Vents . . . . . . . . . . . . . . . . . . . . . 8-12
Driving and Operating . . . . . . . . 9-1
Driving Information . . . . . . . . . . . . . 9-2
Starting and Operating . . . . . . . 9-15
Engine Exhaust . . . . . . . . . . . . . . 9-21
Automatic Transmission . . . . . . 9-22
Drive Systems . . . . . . . . . . . . . . . . 9-25
Brakes . . . . . . . . . . . . . . . . . . . . . . . 9-26
Ride Control Systems . . . . . . . . 9-28
Cruise Control . . . . . . . . . . . . . . . . 9-30
Object Detection Systems . . . . 9-32
Fuel . . . . . . . . . . . . . . . . . . . . . . . . . . 9-38
Towing . . . . . . . . . . . . . . . . . . . . . . . 9-43
Conversions and Add-Ons . . . 9-54
Vehicle Care . . . . . . . . . . . . . . . . . 10-1
General Information . . . . . . . . . . 10-2
Vehicle Checks . . . . . . . . . . . . . . . 10-4
Headlamp Aiming . . . . . . . . . . . 10-27
Bulb Replacement . . . . . . . . . . 10-28
Electrical System . . . . . . . . . . . . 10-30
Wheels and Tires . . . . . . . . . . . 10-37
ProCarManuals.com
Page 5 of 444
Introduction v
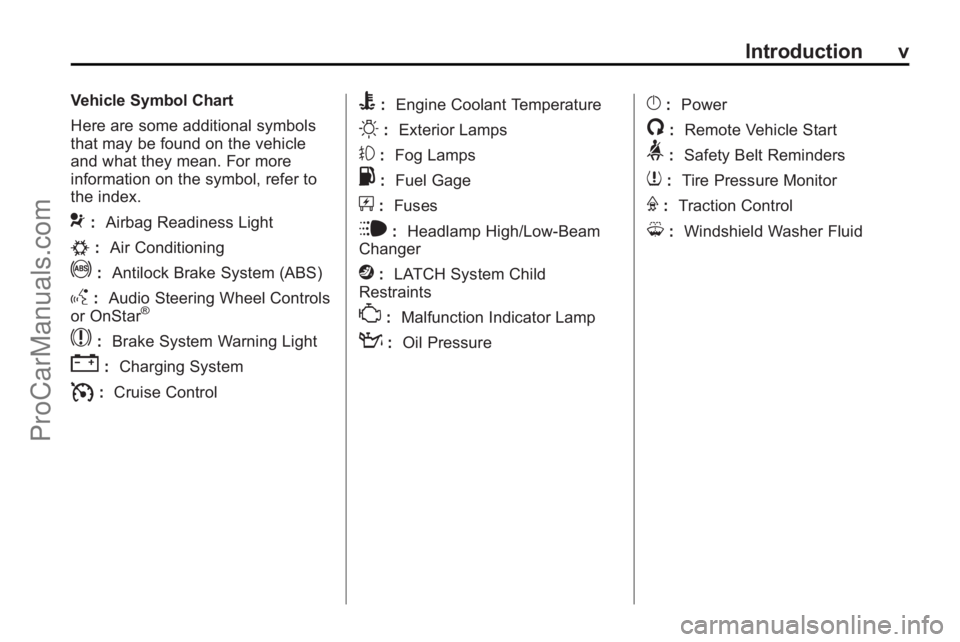
Vehicle Symbol Chart
Here are some additional symbols
that may be found on the vehicle
and what they mean. For more
information on the symbol, refer to
the index.
9:Airbag Readiness Light
#:Air Conditioning
!:Antilock Brake System (ABS)
g:Audio Steering Wheel Controls
or OnStar®
$: Brake System Warning Light
":Charging System
I:Cruise Control
B: Engine Coolant Temperature
O:Exterior Lamps
#:Fog Lamps
.: Fuel Gage
+:Fuses
i: Headlamp High/Low-Beam
Changer
j: LATCH System Child
Restraints
*: Malfunction Indicator Lamp
::Oil Pressure
}:Power
/:Remote Vehicle Start
>:Safety Belt Reminders
7:Tire Pressure Monitor
F:Traction Control
M:Windshield Washer Fluid
ProCarManuals.com
Page 7 of 444
In Brief 1-1
In Brief
Instrument Panel
Instrument Panel . . . . . . . . . . . . . . 1-2
Initial Drive Information
Initial Drive Information . . . . . . . . 1-3
Remote Keyless Entry (RKE)System . . . . . . . . . . . . . . . . . . . . . . 1-4
Remote Vehicle Start . . . . . . . . . 1-4
Door Locks . . . . . . . . . . . . . . . . . . . 1-5
Liftgate . . . . . . . . . . . . . . . . . . . . . . . . 1-5
Windows . . . . . . . . . . . . . . . . . . . . . . 1-6
Seat Adjustment . . . . . . . . . . . . . . 1-6
Second Row Seats . . . . . . . . . . . 1-7
Third Row Seats . . . . . . . . . . . . . . 1-7
Heated Seats . . . . . . . . . . . . . . . . . 1-7
Heated and Ventilated Seats . . . . . . . . . . . . . . . . . . . . . . . . 1-8
Head Restraint Adjustment . . . . 1-8
Safety Belt . . . . . . . . . . . . . . . . . . . . 1-8
Sensing System for Passenger Airbag . . . . . . . . . . . . . . . . . . . . . . . 1-8
Mirror Adjustment . . . . . . . . . . . . . 1-9
Steering Wheel Adjustment . . . . . . . . . . . . . . . . . 1-10
Interior Lighting . . . . . . . . . . . . . . 1-10 Exterior Lighting . . . . . . . . . . . . . 1-11
Windshield Wiper/Washer . . . . 1-11
Climate Controls . . . . . . . . . . . . . 1-12
Vehicle Features
Radio(s) . . . . . . . . . . . . . . . . . . . . . 1-14
Satellite Radio . . . . . . . . . . . . . . . 1-15
Portable Audio Devices . . . . . . 1-15
Bluetooth
®. . . . . . . . . . . . . . . . . . . 1-15
Steering Wheel Controls . . . . . 1-16
Navigation System . . . . . . . . . . . 1-16
Driver Information Center (DIC) . . . . . . . . . . . . . . . 1-16
Cruise Control . . . . . . . . . . . . . . . 1-17
Storage Compartments . . . . . . 1-17
Power Outlets . . . . . . . . . . . . . . . 1-18
Sunroof . . . . . . . . . . . . . . . . . . . . . . 1-18
Performance and Maintenance
StabiliTrak®. . . . . . . . . . . . . . . . . . 1-19
Tire Pressure Monitor . . . . . . . . 1-19
Tire Sealant and Compressor Kit . . . . . . . . . . . . . 1-19
Engine Oil Life System . . . . . . 1-20
Driving for Better Fuel Economy . . . . . . . . . . . . . . . . . . . 1-20
Roadside Assistance Program . . . . . . . . . . . . . . . . . . . . 1-21
OnStar
®. . . . . . . . . . . . . . . . . . . . . 1-21
ProCarManuals.com
Page 10 of 444
1-4 In Brief
Remote Keyless Entry
(RKE) System
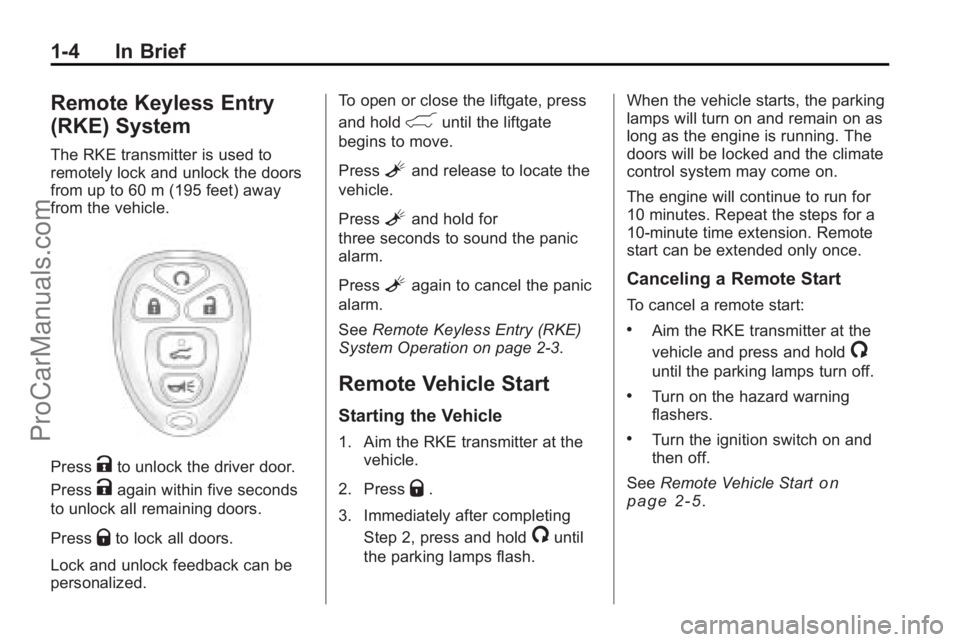
The RKE transmitter is used to
remotely lock and unlock the doors
from up to 60 m (195 feet) away
from the vehicle.
PressKto unlock the driver door.
Press
Kagain within five seconds
to unlock all remaining doors.
Press
Qto lock all doors.
Lock and unlock feedback can be
personalized. To open or close the liftgate, press
and hold
&until the liftgate
begins to move.
Press
Land release to locate the
vehicle.
Press
Land hold for
three seconds to sound the panic
alarm.
Press
Lagain to cancel the panic
alarm.
See Remote Keyless Entry (RKE)
System Operation on page 2‑3.
Remote Vehicle Start
Starting the Vehicle
1. Aim the RKE transmitter at the vehicle.
2. Press
Q.
3. Immediately after completing Step 2, press and hold
/until
the parking lamps flash. When the vehicle starts, the parking
lamps will turn on and remain on as
long as the engine is running. The
doors will be locked and the climate
control system may come on.
The engine will continue to run for
10 minutes. Repeat the steps for a
10-minute time extension. Remote
start can be extended only once.
Canceling a Remote Start
To cancel a remote start:
.Aim the RKE transmitter at the
vehicle and press and hold
/
until the parking lamps turn off.
.Turn on the hazard warning
flashers.
.Turn the ignition switch on and
then off.
See Remote Vehicle Start
on
page 2‑5.
ProCarManuals.com
Page 11 of 444
In Brief 1-5
Door Locks
To lock or unlock a door manually:
.From the inside use the door
lock knob on the window sill.
.From the outside turn the key
toward the front or rear of the
vehicle, or press the
Qor"
button on the Remote Keyless
Entry (RKE) transmitter.
Power Door Locks
On vehicles with power door locks,
the controls are located on the front
doors.
"(Unlock):Press to unlock the
doors.
Q(Lock): Press to lock the doors.
See:
.Power Door Lockson
page 2‑7
Liftgate
To open the liftgate the vehicle must
be in P (Park). Press the touchpad
under the liftgate handle. To close
the liftgate, use the pull cup or pull
strap as an aid.
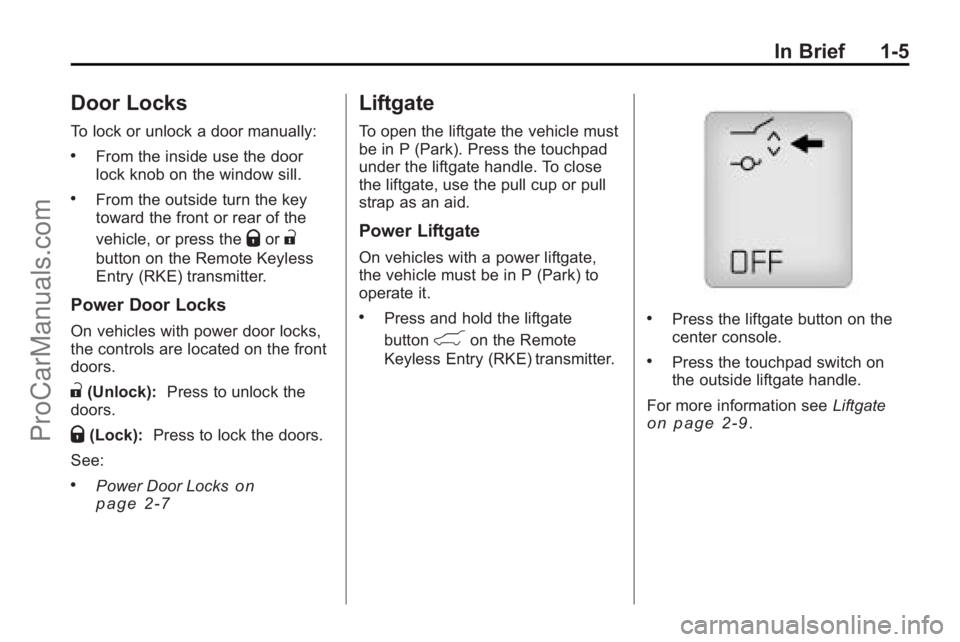
Power Liftgate
On vehicles with a power liftgate,
the vehicle must be in P (Park) to
operate it.
.Press and hold the liftgate
button
&on the Remote
Keyless Entry (RKE) transmitter.
.Press the liftgate button on the
center console.
.Press the touchpad switch on
the outside liftgate handle.
For more information see Liftgate
on page 2‑9.
ProCarManuals.com
Page 12 of 444

1-6 In Brief
Windows
On vehicles with power windows,
the switches are on the driver door
armrest. Each passenger door has a
switch that controls only that
window.
Press the switch to lower the
window. Pull the switch up to
raise it.
For more information, seePower
Windows on page 2‑20.
Seat Adjustment
Manual Seats
1. Pull the handle under the seat to unlock the seat.
2. Slide the seat to the desired position and release the handle.
Try to move the seat to be sure it is
locked in place.
Power Seats
A. Power Seat Adjustment Control
B. Reclining Seatbacks
C. Lumbar Adjustment Move the seat forward or rearward
by moving the control (A) forward or
rearward.
Raise or lower the entire seat by
moving the control (A) up or down.
See
Power Seat Adjustment
on
page 3‑3.
To raise or recline the seatback, tilt
the top of the control (B) forward or
rearward.
See Reclining Seatbacks
on
page 3‑6.
Press the front or rear of the
control (C) to increase or decrease
lumbar support.
See Lumbar Adjustment
on
page 3‑5.
ProCarManuals.com
Page 16 of 444

1-10 In Brief
Steering Wheel
Adjustment
The adjustment lever is located on
the left side of the steering column.
1. Pull the lever down to adjust thesteering wheel.
2. Move the steering wheel up or down or backward or forward
into a comfortable position.
3. Pull the lever up to lock the steering wheel in place. Power Tilt Wheel
For vehicles with the power tilt and
telescope wheel, the control is on
the left side of the steering column.
.Push the control up or down to
tilt the steering wheel up
or down.
.Push the control forward or
rearward to move the steering
wheel toward the front or rear of
the vehicle.
See Steering Wheel Adjustment
on
page 5‑2.
Interior Lighting
Dome Lamps
The dome lamps are located in the
overhead console and above the
rear seat passengers.
The dome lamps automatically
come on when a door is opened,
unless the dome lamp override
button is pressed in.
To manually turn them on, turn the
instrument panel brightness control
clockwise to the farthest position.
Dome Lamp Override
The dome lamp override button is
next to the exterior lamps control.
E: Press the button in and the
dome lamps remain off when a door
is opened. Press the button again to
return it to the extended position so
that the dome lamps come on when
a door is opened.
ProCarManuals.com
Page 21 of 444
In Brief 1-15
Setting the Clock
To set the time and date for the
radio with CD, DVD, and USB Port:
1. Turn the ignition key to ACC/ACCESSORY or ON/RUN, then
press
O, to turn the radio on.
2. Press
Gto display HR, MIN,
MM, DD, YYYY (hour, minute,
month, day, and year).
3. Press the pushbutton located under any one of the labels to be
changed.
4. To increase or decrease the time or date, turn
fclockwise or
counter-clockwise.
For detailed instructions on setting
the clock for the vehicles specific
audio system, see Clock
on
page 5‑8.
Satellite Radio
Vehicles with an XM™ Satellite
Radio tuner and a valid XM Satellite
Radio subscription can receive XM
programming.
XM Satellite Radio Service
XM is a satellite radio service that is
based in the 48 contiguous United
States and 10 Canadian provinces.
XM Satellite Radio has a wide
variety of programming and
commercial-free music,
coast-to-coast, and in digital-quality
sound. A fee is required to receive
the XM service. For more
information, contact XM at in the
U.S. and Canada.
For more information refer to:
.www.xmradio.com or call
1-800-929-2100 (U.S.).
.www.xmradio.ca or call
1-877-438-9677 (Canada).
See Satellite Radio on page 7‑7.
Portable Audio Devices
This vehicle may have an auxiliary
input located on the radio faceplate
and a USB port located in the center
console. External devices such as
iPod
®, laptop computers, MP3
players, CD changers, USB storage
device, etc. can be connected to the
auxiliary port using a 3.5 mm (1/8 in)
input jack or the USB port
depending on the audio system.
See Auxiliary Devices
on
page 7‑33.
Bluetooth®
The in-vehicle Bluetooth system
allows users with a
Bluetooth-enabled cell phone to
make and receive hands-free calls
using the vehicle’ s audio system,
microphone and controls.
ProCarManuals.com
Page 26 of 444
1-20 In Brief
Engine Oil Life System
The engine oil life system calculates
engine oil life based on vehicle use
and displays the CHANGE ENGINE
OIL SOON message when it is time
to change the engine oil and filter.
The oil life system should be reset
to 100% only following an oil
change.
Resetting the Oil Life System
1. Turn the ignition to ON/RUN,with the engine off.
2. If the vehicle has Driver Information Center (DIC)
buttons: Press the vehicle
information button until OIL LIFE
REMAINING displays.
If the vehicle does not have
Driver Information Center (DIC)
buttons: The vehicle must be in
P (Park) to access this display.
Press the trip odometer reset
stem until OIL LIFE REMAINING
displays. 3. If the vehicle has Driver
Information Center (DIC)
buttons: Press and hold the set/
reset button until 100% is
displayed. Three chimes sound
and the CHANGE ENGINE OIL
SOON message goes off.
If the vehicle does not have
Driver Information Center (DIC)
buttons: Press and hold the trip
odometer reset stem until OIL
LIFE REMAINING shows 100%.
Three chimes sound and the
CHANGE ENGINE OIL SOON
message goes off.
4. Turn the key to LOCK/OFF.
See Engine Oil Life System
on
page 10‑10.
Driving for Better Fuel
Economy
Driving habits can affect fuel
mileage. Here are some driving tips
to get the best fuel economy
possible.
.Avoid fast starts and accelerate
smoothly.
.Brake gradually and avoid
abrupt stops.
.Avoid idling the engine for long
periods of time.
.When road and weather
conditions are appropriate, use
cruise control, if equipped.
.Always follow posted speed
limits or drive more slowly when
conditions require.
.Keep vehicle tires properly
inflated.
.Combine several trips into a
single trip.
ProCarManuals.com
Page 27 of 444
In Brief 1-21
.Replace the vehicle's tires with
the same TPC Spec number
molded into the tire's sidewall
near the size.
.Follow recommended scheduled
maintenance.
Roadside Assistance
Program
U.S.:1-800-553-6000
TTY Users: 1-888-889-2438
Canada: 1-800-268-6800
As the owner of a new Saturn, you
are automatically enrolled in the
Roadside Assistance program. This
program provides technically trained
advisors who are available 24 hours
a day, 365 days a year, minor repair
information or towing arrangements.
Roadside Assistance and OnStar
If you have a current OnStar
subscription, press the OnStar
button and the current GPS location
will be sent to an OnStar Advisor
who will assess your problem, contact Roadside Assistance, and
relay exact location to get you the
help you need.
Online Owner Center
The Online Owner Center is a
complimentary service that includes
online service reminders, vehicle
maintenance tips, online owner
manual, special privileges
and more.
Sign up today at:
www.gmownercenter.com/saturn
(U.S.) or
www.gm.ca (Canada).
OnStar®
OnStar®uses several innovative
technologies and live advisors to
provide a wide range of safety,
security, navigation, diagnostics,
and calling services. Automatic Crash Response
In a crash, built in sensors can
automatically alert an OnStar
advisor who is immediately
connected to the vehicle to see if
you need help.
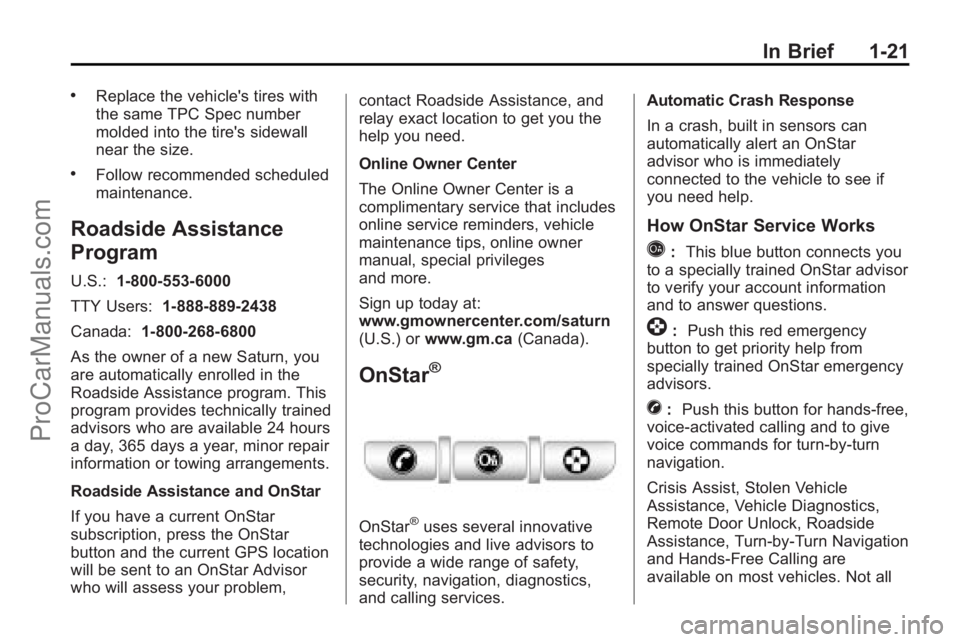
How OnStar Service Works
Q:
This blue button connects you
to a specially trained OnStar advisor
to verify your account information
and to answer questions.
]: Push this red emergency
button to get priority help from
specially trained OnStar emergency
advisors.
X: Push this button for hands-free,
voice-activated calling and to give
voice commands for turn-by-turn
navigation.
Crisis Assist, Stolen Vehicle
Assistance, Vehicle Diagnostics,
Remote Door Unlock, Roadside
Assistance, Turn-by-Turn Navigation
and Hands-Free Calling are
available on most vehicles. Not all
ProCarManuals.com