light SATURN VUE HYBRID 2007 Owner's Manual
[x] Cancel search | Manufacturer: SATURN, Model Year: 2007, Model line: VUE HYBRID, Model: SATURN VUE HYBRID 2007Pages: 438, PDF Size: 2.83 MB
Page 134 of 438

Your vehicle must have a working electrical
system (including adequate battery power) for the
OnStar
®equipment to operate. There are other
problems OnStar®cannot control that may prevent
OnStar®from providing OnStar®service to you
at any particular time or place. Some examples are
damage to important parts of your vehicle in an
accident, hills, tall buildings, tunnels, weather
or wireless phone network congestion.
Your Responsibility
You may need to increase the volume of your
radio to hear the OnStar®advisor. If the light next
to the OnStar®buttons is red, this means that
your system is not functioning properly and should
be checked by a dealer. If the light appears
clear (no light is appearing), your OnStar
®
subscription has expired. You can always press
the OnStar®button to con�rm that your OnStar®
equipment is active.
Storage Areas
Glove Box
To open the glove box, pull the lever to the left.
Cupholder(s)
Your vehicle has a removable cupholder liner and
cupholder located inside the center console
storage area. To access, pull the cover towards
the rear of the vehicle. To remove the liner, pull it
out of the cupholder. To replace, push the liner
back in. To remove the cupholder, push the tab in
near the passenger’s seat and pull straight up.
To replace, slide the two tabs at the rear of
the cupholder into the slots at the rear of the
center console and push the cupholder gently into
place. There is additional storage underneath
the cupholders. There are two more cupholders
located at rear of the center console. Push the
button to access.
134
ProCarManuals.com
Page 139 of 438
Instrument Panel Overview........................ 142
Hazard Warning Flashers.......................... 144
Horn.......................................................... 144
Tilt Wheel.................................................. 144
Turn Signal/Multifunction Lever.................. 145
Turn and Lane-Change Signals................. 145
Headlamp High/Low-Beam Changer.......... 146
Flash-to-Pass............................................ 146
Windshield Wipers..................................... 146
Windshield Washer.................................... 147
Rear Window Wiper/Washer...................... 148
Cruise Control........................................... 148
Headlamps................................................ 151
Daytime Running Lamps (DRL)................. 152
Automatic Headlamp System..................... 153
Interior Lamps........................................... 153
Instrument Panel Brightness...................... 153
Dome Lamp.............................................. 154
Entry Lighting............................................ 154
Map Lamps............................................... 154
Battery Run-Down Protection..................... 154
Accessory Power Outlet(s)........................ 154
Cigarette Lighter........................................ 155Climate Controls......................................... 156
Climate Control System............................. 156
Warning Lights, Gages, and Indicators..... 161
Instrument Panel Cluster........................... 162
Speedometer and Odometer...................... 163
Trip Odometer........................................... 163
Tachometer............................................... 163
Safety Belt Reminder Light........................ 164
Passenger Safety Belt Reminder Light....... 164
Airbag Readiness Light............................. 165
Passenger Airbag Status Indicator............. 166
Battery Warning Light................................ 168
Brake System Warning Light..................... 169
Anti-Lock Brake System Warning Light...... 170
Traction Control System (TCS)
Warning Light........................................ 171
Low Traction Light..................................... 171
Engine Coolant Temperature Warning
Light...................................................... 172
Low Coolant Warning Light....................... 172
Malfunction Indicator Lamp........................ 173
Oil Pressure Light..................................... 176
Section 3 Instrument Panel
139
ProCarManuals.com
Page 140 of 438
Change Engine Oil Light........................... 177
Security Light............................................ 177
Reduced Engine Power Light.................... 178
Highbeam On Light................................... 178
Daytime Running Lamps (DRL)
Indicator Light........................................ 179
Gate Ajar Light.......................................... 179
Fuel Gage................................................. 180
Low Fuel Warning Light............................ 181
Auto Stop Mode........................................ 181
Charge/Assist Gage................................... 182
Fuel Economy Light.................................. 183
Hill Start Assist Light................................. 183
Hood Ajar Light......................................... 184Audio System(s)......................................... 184
Setting the Time (Without Date Display)....... 186
Setting the Time (With Date Display)........... 186
Radio with CD (Base)............................... 188
Radio with CD (MP3)................................ 195
Radio with CD and DVD........................... 205
Using an MP3........................................... 205
XM Radio Messages................................. 212
Rear Seat Entertainment System............... 214
Audio Steering Wheel Controls.................. 227
Radio Reception........................................ 228
Care of Your CDs and DVDs.................... 229
Care of the CD and DVD Player............... 229
Fixed Mast Antenna.................................. 229
XM™ Satellite Radio Antenna System......... 229
Section 3 Instrument Panel
140
ProCarManuals.com
Page 146 of 438

Headlamp High/Low-Beam Changer
To change the headlamps from low beam to
high or high beam to low, pull the turn signal lever
all the way towards you. Then release it.
When the high beams
are on, this light on the
instrument panel
cluster will also be on.
Flash-to-Pass
This feature lets you use your high-beam
headlamps to signal a driver in front of you that
you want to pass.
To �ash the high beams from low beam, pull the
turn signal/multifunction lever all the way
towards you. Then release it.
Windshield Wipers
Be sure to clear ice and snow from the wiper
blades before using them. If the wiper blades are
frozen to the windshield, gently loosen or thaw
them. If the blades do become damaged, install
new blades or blade inserts. SeeWindshield Wiper
Blade Replacement on page 338.
Heavy snow or ice can overload the wiper motor.
A circuit breaker will stop the motor until it cools
down. Clear away snow or ice to prevent an
overload.
United States
146
ProCarManuals.com
Page 149 of 438
Setting Cruise Control
{CAUTION:
If you leave your cruise control on when
you are not using cruise, you might hit a
button and go into cruise when you do
not want to. You could be startled and
even lose control. Keep the cruise control
switch off until you want to use cruise
control.
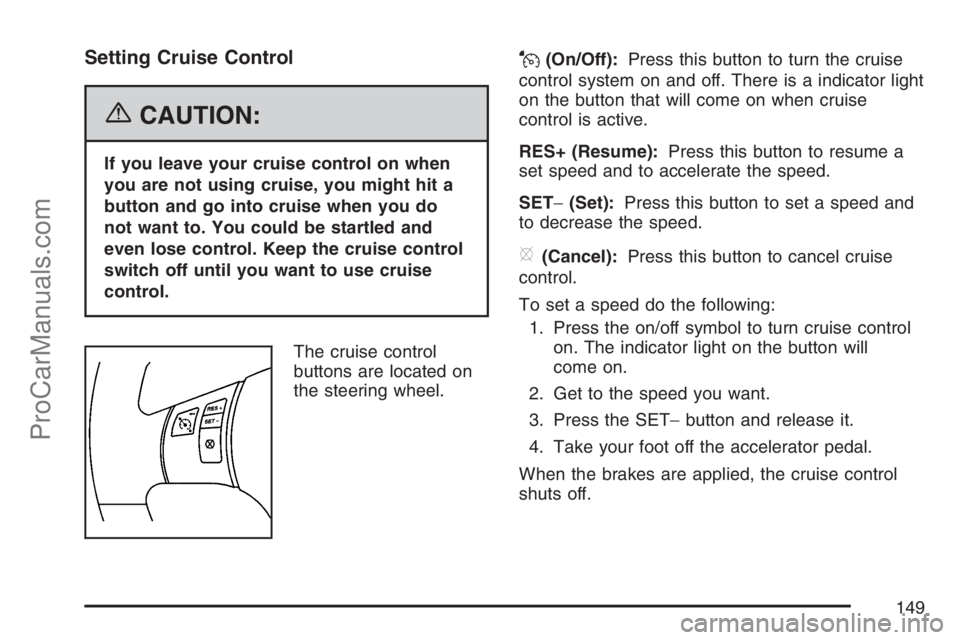
The cruise control
buttons are located on
the steering wheel.
J(On/Off):Press this button to turn the cruise
control system on and off. There is a indicator light
on the button that will come on when cruise
control is active.
RES+ (Resume):Press this button to resume a
set speed and to accelerate the speed.
SET−(Set):Press this button to set a speed and
to decrease the speed.
[(Cancel):Press this button to cancel cruise
control.
To set a speed do the following:
1. Press the on/off symbol to turn cruise control
on. The indicator light on the button will
come on.
2. Get to the speed you want.
3. Press the SET−button and release it.
4. Take your foot off the accelerator pedal.
When the brakes are applied, the cruise control
shuts off.
149
ProCarManuals.com
Page 150 of 438
Resuming a Set Speed
Suppose you set your cruise control at a desired
speed and then you apply the brakes. This will
disengage the cruise control. The indicator light on
the cruise control button will go out when the
cruise is no longer engaged. To return to the
previously set speed, press the RES+ button
brie�y when the vehicle has reached a speed of
about 25 mph (40 km/h) or more.
This will take you back up to your previously
selected speed and stay there.
Increasing Speed While Using Cruise
Control
There are two ways to go to a higher speed.
Disengage the cruise control, but do not
turn it off.
If the cruise control system is already
engaged, press the RES+ button. Hold it there
until you get up to the speed you want, and
then release the button. To increase your
speed in very small amounts, press the
RES+ button brie�y and then release it.
Each time you do this, the vehicle will go
about 1 mph (1.6 km/h) faster.
Reducing Speed While Using Cruise
Control
If the cruise control system is already engaged,
Push and hold the SET−button until you reach
the lower speed you want, then release it.
To slow down in very small amounts, push the
SET−button brie�y. Each time you do this, you
will go about 1 mph (1.6 km/h) slower.
Passing Another Vehicle While Using
Cruise Control
Use the accelerator pedal to increase your speed.
When you take your foot off the pedal, the
vehicle will slow down to the cruise control speed
you set earlier.
Using Cruise Control on Hills
How well your cruise control will work on hills
depends upon your speed, load, and the
steepness of the hills. When going up steep hills,
you may have to step on the accelerator pedal
to maintain the vehicle’s speed. When going
downhill, you may have to brake or shift to a lower
gear to keep the vehicle’s speed down. Of
course, applying the brakes ends cruise control.
Many drivers �nd this to be too much trouble
and do not use cruise control on steep hills.
150
ProCarManuals.com
Page 151 of 438

Ending Cruise Control
There are three ways to disengage the cruise
control:
Step lightly on the brake pedal or clutch; when
cruise control disengages, the indicator light
on the cruise control button will go out.
Press the on/off button, this will turn off the
cruise control system.
Press the cancel button.
Erasing Speed Memory
When you turn off the cruise control or the
ignition, your cruise control set speed memory
is erased.
Headlamps
The exterior lamp control is located on the turn
signal/multifunction lever.
O(Exterior Lamp Control):Turn the control
with this symbol on it to operate the exterior lamps.The exterior lamp control has the following three
positions:
AUTO (Automatic):Turn the control to this
position to put the headlamps in automatic mode.
AUTO mode will turn the exterior lamps on
and off depending upon how much light is
available outside of the vehicle.
;(Parking Lamps):Turn the control to this
position to turn on the parking lamps together with
the following:
Sidemarker Lamps
Taillamps
License Plate Lamps
Instrument Panel Lights
53(Headlamps):Turning the control to this
position turns on the headlamps, together with the
previously listed lamps and lights.
Lamps On Reminder
If you open the driver’s door with the ignition off
and the lamps on, you will hear a warning chime.
151
ProCarManuals.com
Page 152 of 438

Daytime Running Lamps (DRL)
Daytime Running Lamps (DRL) can make it easier
for others to see the front of your vehicle during
the day. DRL can be helpful in many different
driving conditions, but they can be especially
helpful in the short periods after dawn and before
sunset. Fully functional daytime running lamps
are required on all vehicles �rst sold in Canada.
The DRL system will make your low-beam
headlamps come on at a reduced brightness in
daylight when the following conditions are met:
The ignition is on,
the exterior lamp band is in AUTO,
the transaxle is not in PARK (P),
the light sensor determines it is daytime, and
the parking brake is released.When the DRL are on, the low-beam headlamps
will be on at a reduced brightness. The taillamps,
sidemarker and other lamps will not be on.
The instrument panel will not be lit up either.
When you turn the exterior lamp band to
the headlamp position, your regular headlamps
will come on. The other lamps that come on with
your headlamps will also come on.
When you turn off the headlamps, the regular
lamps will go off, and your low-beam headlamps
will come on to the reduced brightness.
To idle your vehicle with the DRL off, move the
shift lever to PARK (P). The DRL will stay off
until you move the shift lever out of PARK (P).
To override the DRL on manual transaxle vehicles,
you must set the parking brake while the ignition
is off and then start your vehicle. The DRL will stay
off until you release the parking brake.
As with any vehicle, you should turn on the
regular headlamp system when you need it.
152
ProCarManuals.com
Page 153 of 438
Automatic Headlamp System
When it is dark enough outside, the headlamps
will come on automatically.
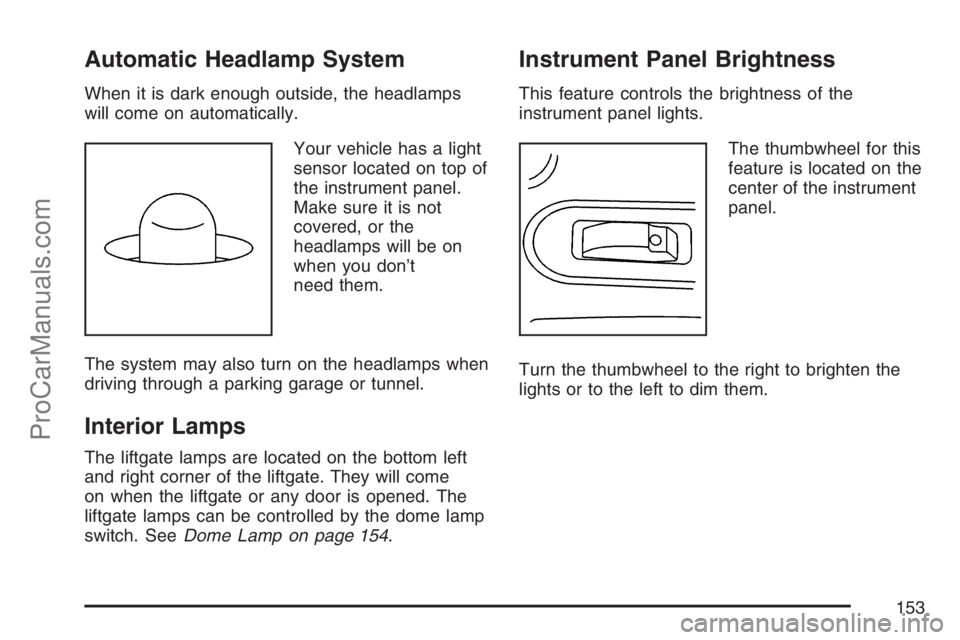
Your vehicle has a light
sensor located on top of
the instrument panel.
Make sure it is not
covered, or the
headlamps will be on
when you don’t
need them.
The system may also turn on the headlamps when
driving through a parking garage or tunnel.
Interior Lamps
The liftgate lamps are located on the bottom left
and right corner of the liftgate. They will come
on when the liftgate or any door is opened. The
liftgate lamps can be controlled by the dome lamp
switch. SeeDome Lamp on page 154.
Instrument Panel Brightness
This feature controls the brightness of the
instrument panel lights.
The thumbwheel for this
feature is located on the
center of the instrument
panel.
Turn the thumbwheel to the right to brighten the
lights or to the left to dim them.
153
ProCarManuals.com
Page 154 of 438
Dome Lamp
The dome lamp switch has three positions.
*(Off):The lamp will not come on as long as
the switch is in this position.
1(Automatic):The lamp will come on when a
door is opened. SeeEntry Lighting on page 154.
+(On):The lamp will stay on as long as
the switch is in this position.
Entry Lighting
If the dome lamp is in the automatic position,
the lamps inside your vehicle will come on when
any door is opened. In addition, the lights will
come on when the remote keyless entry unlock
button is pressed. It will stay on for 20 seconds
or until a door is opened. After the door is
opened the lights will remain on and stay on for
20 seconds after the doors are closed, or until you
put the key in the ignition and turn the key to
RUN. The lights will then gradually dim until it is
no longer lit.
Map Lamps
The lamps are located on the headliner above the
rearview mirror. To turn the lamps on, press
the lens. Press the lens again to turn them off.
Battery Run-Down Protection
Your vehicle is equipped with a battery saver
feature designed to protect your vehicle’s battery.
When any interior lamp is left on and the
ignition is turned off, the battery rundown
protection system will automatically turn the lamp
off after 20 minutes. This will avoid draining
the battery.
Accessory Power Outlet(s)
The accessory power outlets can be used to
connect electrical equipment such as a cellular
phone or CB radio.
The accessory power outlets are located on the
instrument panel near the climate controls, on the
rear of the center console, and also inside the
console under the cupholders.
To use the outlets, remove the cover. When not in
use, always cover the outlet with the protective cap.
154
ProCarManuals.com