warning lights Seat Alhambra 2012 Owner's Guide
[x] Cancel search | Manufacturer: SEAT, Model Year: 2012, Model line: Alhambra, Model: Seat Alhambra 2012Pages: 388, PDF Size: 6.72 MB
Page 107 of 388

105
Lights and visibility
Windscreen wiper and washer
Introduction
Additional information and warnings:
● Recirculation of air conditioning air ⇒ page 157
● Working in the engine compartment ⇒ page 279
● Caring for and cleaning the vehicle exterior ⇒ page 246
WARNING
Water from the windscreen washer water bottle may freeze on the wind-
screen if it does not contain enough anti-freeze, reducing forward visibili-
ty.
● In winter, ensure the windscreen washer contains enough anti-freeze.
● In cold conditions, you should not use the wash / wipe system unless
you have warmed the windscreen with the ventilation system. The anti-
freeze could freeze on the windscreen and reduce visibility.
WARNING
Worn or dirty wiper blades reduce visibility and increase the risk of acci-
dent and serious injury.
● Always replace damaged or worn blades or blades which do not clean
the windscreen correctly.
CAUTION
In icy conditions, always check that the wiper blades are not frozen to the
glass before using the wipers for the first time. In cold weather, it may help
to leave the vehicle parked with the wipers in service position ⇒ page 107. Control lamp
lights upPossible causeSolution
Windscreen wiper fluid level
too lowTop up the windscreen wiper
bottle as soon as possible
⇒ page 109.
Several warning and control lamps should light up for a few seconds when
the ignition is switched. This signals that the lamp is working properly. They
will switch off after a few seconds.
CAUTION
Failure to heed the warning lamps and text messages when they appear
may result in faults in the vehicle.
Safety FirstOperating instructionsPractical tipsTechnical Specifications
Page 111 of 388

109
Lights and visibility
● Damaged blades: A film of water on the damaged blades may lengthen
the activation time, reduce the washing intervals or result in a fast and con-
tinuous wipe.
● Insects: insects on the sensor may trigger the windscreen wipers.
● Salt on roads: in winter, salt spread in the roads may cause an extra
long wipe when the windscreen is almost dry.
● Dirt: dry dust, wax, coating on glass (Lotus effect) or traces of detergent
(car wash) may reduce the effectiveness of the rain sensor or make it react
more slowly, later or not at all.
● Cracked windscreen: the impact of a stone will trigger a single wipe cy-
cle with the rain sensor on. Next the rain sensor detects the reduction in the
sensitive surface area and adapts accordingly. The behaviour of the sensor
will vary with the size of the damage caused by the stone.
WARNING
The rain sensor may not detect enough rain to switch on the wipers.
● If necessary, switch on the wipers manually when water on the wind-
screen obstructs visibility.
Note
● Clean the sensitive surface of the rain sensor regularly and check the
blades for damage ⇒ fig. 69 (arrow).
● To remove wax and coatings, we recommend a window cleaner contain-
ing alcohol. Checking and topping up the windscreen washer bottle
with water
Fig. 70 In the engine
compartment: wind-
screen washer bottle top.
Check the water level in the windscreen washer bottle regularly and top up
as required.
● Open the bonnet ⇒ page 279.
● The washer bottle is marked with the symbol on the lid ⇒ fig. 70.
● Check there is enough water in the bottle.
● To top up, mix water with a window cleaner recommended by SEAT ⇒
.
Please follow the instructions for use found on the packaging.
● In cold weather, a special antifreeze should also be added to prevent
the water from freezing ⇒
.
Bottle capacity
The bottle holds approximately 3.0 litres; in vehicles with headlight washer,
it is approximately 7.0 litres.
Safety FirstOperating instructionsPractical tipsTechnical Specifications
Page 112 of 388
110Lights and visibility
WARNING
Never mix an unsuitable antifreeze or other similar products with the
windscreen washer water. A greasy layer may be formed on the wind-
screen which will impair visibility.
● Use clean water with a window cleaner recommended by SEAT.
● If necessary, add a suitable antifreeze to the water bottle.
CAUTION
● Do not mix cleaning products recommended by SEAT with other prod-
ucts. This could lead to flocculation and may block the windscreen washer
jets.
● When topping up service fluids, make absolutely certain that you fill the
fluids into the correct reservoirs. Using the wrong fluids could cause serious
malfunctions and engine damage!
Rear vision mirror
Introduction
Additional information and warnings:
● Personal convenience settings in the SEAT information system
⇒ page 62
● Seat memory
⇒ page 117
● Changing gear
⇒ page 176
● Braking, stopping and parking
⇒ page 185
WARNING
The automatic anti-dazzle rear vision mirror contains an electrolytic fluid
which may leak if the mirror is broken. This fluid can cause irritation to
the skin, eyes and respiratory organs.
● The electrolytic fluid may cause irritation to the skin, eyes and respi-
ratory organs, particularly in individuals suffering from asthma or other
illnesses. Make sure that adequate quantities of fresh air enter and leave
the vehicle if it is not possible to open all the doors and windows.
● If the electrolytic fluid comes into contact with eyes or skin, wash the
area for at least 15 minutes with plenty of water, and seek medical ad-
vice.
● If the electrolytic fluid comes into contact with shoes or clothing,
wash the area for at least 15 minutes with plenty of water. Wash shoes
and clothing before wearing them again.
● If the electrolytic fluid is swallowed, wash the mouth with plenty of
water for at least 15 minutes. Do not try to provoke vomiting unless rec-
ommended by a Doctor. Seek medical advice immediately.
CAUTION
If an automatic anti-dazzle rear vision mirror is broken, the electrolytic fluid
may leak out. This fluid attacks plastic surfaces. Therefore, it should be
cleaned as fast as possible with a damp sponge or similar.
Page 113 of 388

111
Lights and visibility
Rear vision mirror
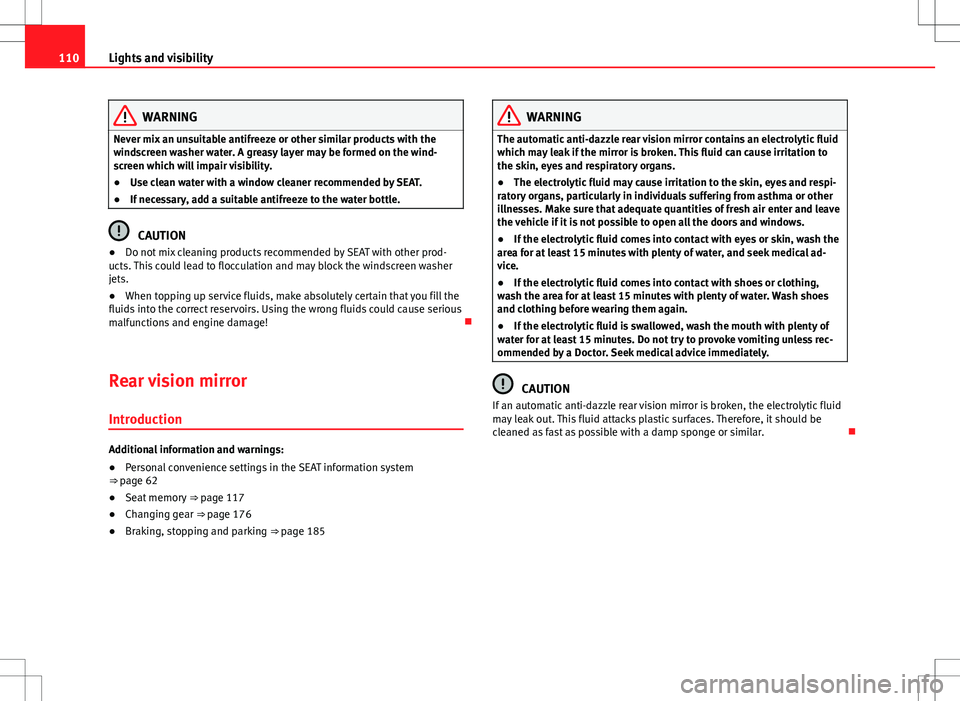
Fig. 71 Manual anti-daz-
zle function for rear vi-
sion mirror
Fig. 72 Automatic anti-
dazzle function for rear
vision mirror
The driver should always adjust the rear vision mirror to permit adequate
visibility through the rear window. Manual anti-dazzle function for interior mirror
●
Basic position: point the lever at the bottom of the mirror forwards.
● Pull the lever to the back to select the anti-dazzle function ⇒ fig. 71.
Automatic anti-dazzle function for interior mirror
Legend for the fig. 72:
warning lamp
Control
Light incidence sensor
This function can be activated and deactivated by pressing the rear vision
mirror switch 2
. When it is activated, the warning lamp lights up 1.
When the ignition is on, the sensor 3
automatically moves the rear vision
mirror to the anti-dazzle position depending upon the incidence of the light
from behind.
The automatic anti-dazzle function is deactivated when reverse gear is en-
gaged or the interior or reading lights are on.
Note
If the incidence of the light on the sensor is obstructed or prevented, e.g. by
the sun blinds, the rear vision mirror with automatic anti-dazzle function will
not operate correctly.
1
23
Safety FirstOperating instructionsPractical tipsTechnical Specifications
Page 115 of 388

113
Lights and visibility
WARNING
Fold and unfold the exterior mirror, taking care to avoid injuries.
● Only fold or unfold the exterior mirror when there is no-one in the way
of the mirror.
● When moving the mirror, take care not to trap fingers between the
mirror and the mirror bracket.
WARNING
Failure to correctly estimate the distance of the vehicle behind could lead
to serious accident.
● Rear-view convex or aspheric mirrors increase the field of vision, how-
ever objects appear smaller and further away in the mirrors.
● The use of these mirrors to estimate the distance to the next vehicle
when changing lane is imprecise and could result in serious accident.
● If possible, use the rear vision mirror to estimate distances to vehi-
cles behind you or in other circumstances.
● Make sure that the rear visibility is adequate.
CAUTION
● Before entering a car wash, always ensure that the exterior mirrors are
correctly folded in.
● Electrically-folding exterior mirrors should not be folded and unfolded
mechanically as this may damage the electrical operation.
For the sake of the environment
The exterior mirror heating should be switched off when it is no longer nee-
ded. Otherwise, it is an unnecessary fuel waste.
Note
● The exterior mirror heating initially heats up with a high power, after two
minutes the heat will depend upon the ambient temperature.
● In the event of faults, the electric exterior mirrors can be adjusted man-
ually by pressing the edge of the mirror surface.
Safety FirstOperating instructionsPractical tipsTechnical Specifications
Page 120 of 388
118Seats and storage compartments
FunctionAction ⇒ fig. 78To switch system on:Press button . Seat heating is switched on fully.Adjusting the heating
output:Keep pressing button until the required intensi-
ty is set.
The system switches
off:Keep pressing button until all of the lights are
switched off ⇒ fig. 78.
WARNING
People whose pain and temperature threshold has been affected by some
kind of medicine, paraplegia or chronic illness (e.g. diabetes) may sus-
tain burns to the back, buttocks and legs from use of the seat heating
that may lead to a long healing process or that may never completely
heal. Seek medical advice if you have doubts regarding your health.
● People with a limit pain and temperature threshold must never use
seat heating.
CAUTION
● To avoid damaging the heating elements of the seat heating, please do
not kneel on the seat or apply sharp pressure at a single point to the seat
cushion and backrest.
● Liquids, sharp objects and insulating materials on the seat could dam-
age the seat heating.
● In the event of smells, switch off the seat heating immediately and have
the unit inspected by a Technical Service.
For the sake of the environment
The seat heating should remain on only when needed. Otherwise, it is an
unnecessary fuel waste. Seat with position memory*
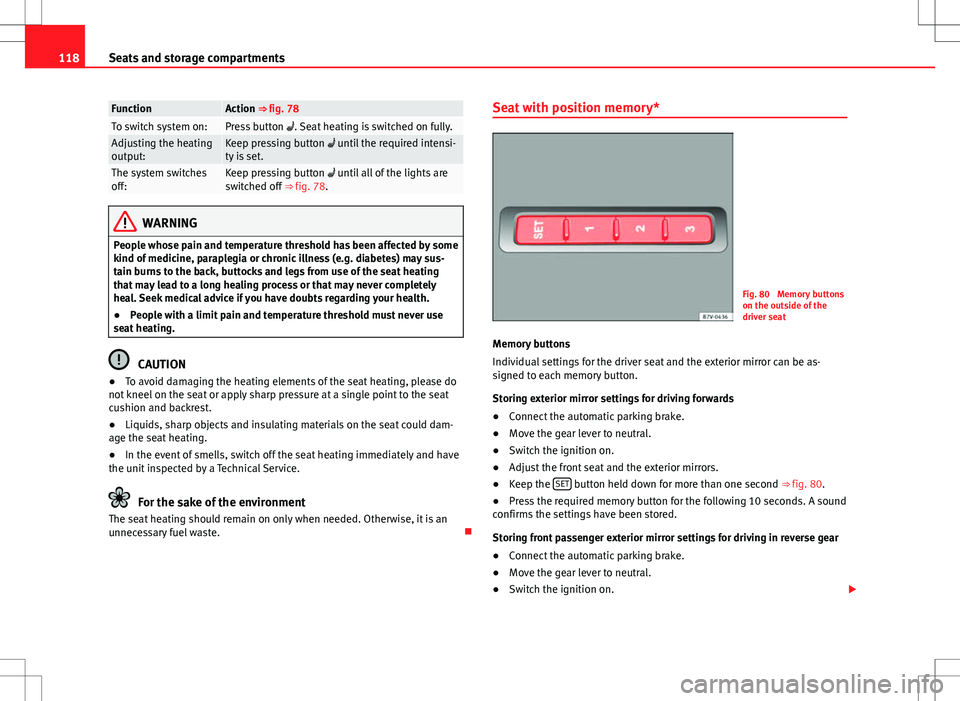
Fig. 80 Memory buttons
on the outside of the
driver seat
Memory buttons
Individual settings for the driver seat and the exterior mirror can be as-
signed to each memory button.
Storing exterior mirror settings for driving forwards
● Connect the automatic parking brake.
● Move the gear lever to neutral.
● Switch the ignition on.
● Adjust the front seat and the exterior mirrors.
● Keep the SET
button held down for more than one second ⇒ fig. 80.
● Press the required memory button for the following 10 seconds. A sound
confirms the settings have been stored.
Storing front passenger exterior mirror settings for driving in reverse gear
● Connect the automatic parking brake.
● Move the gear lever to neutral.
● Switch the ignition on.
Page 163 of 388
161
Air conditioning
Control but-
tonAdditional information. Climatic ⇒ fig. 122; Climatronic
⇒ fig. 123.
Climatronic: Automatic temperature, fan, and air distribution
control. Press the button to switch on the function. The con-
trol lamp lights up on the AUTO
button.
Climatronic: Press the button REAR to adjust the air condi-
tioner for the rear seats from the front seats. A lamp is lit in
the REAR
button if the function is activated. The settings for
the rear seats will be displayed. Press the button again to
switch the function off or do not touch any other button for
around 10 seconds.
Climatronic: Press the button REST to use the heat that the
engine radiates. When the engine is still warm but the igni-
tion switched off, the heat given off by the engine can be
used to keep the passenger compartment warm. The REST
button will light up when the function is switched on. The
function will switch off after around 30 minutes and if the
battery level is low.
a)
Turn off.
Climatic: Turn the fan switch to setting 0.
Climatronic: Press the button OFF
or manually set the fan to
0. When the device is switched off the OFF button will light
up.
a) Depending on the version of the model.
WARNING
Never turn off the air fan for a long time or the air in the passenger com-
partment will not be refreshed.
● Stuffy or used air will increase fatigue and reduce driver and passen-
ger concentration possibly resulting in a serious accident.
Note
● Not all Climatronic buttons are operational in REAR mode.
● The REAR
button is locked in defrost mode.
Rear operation
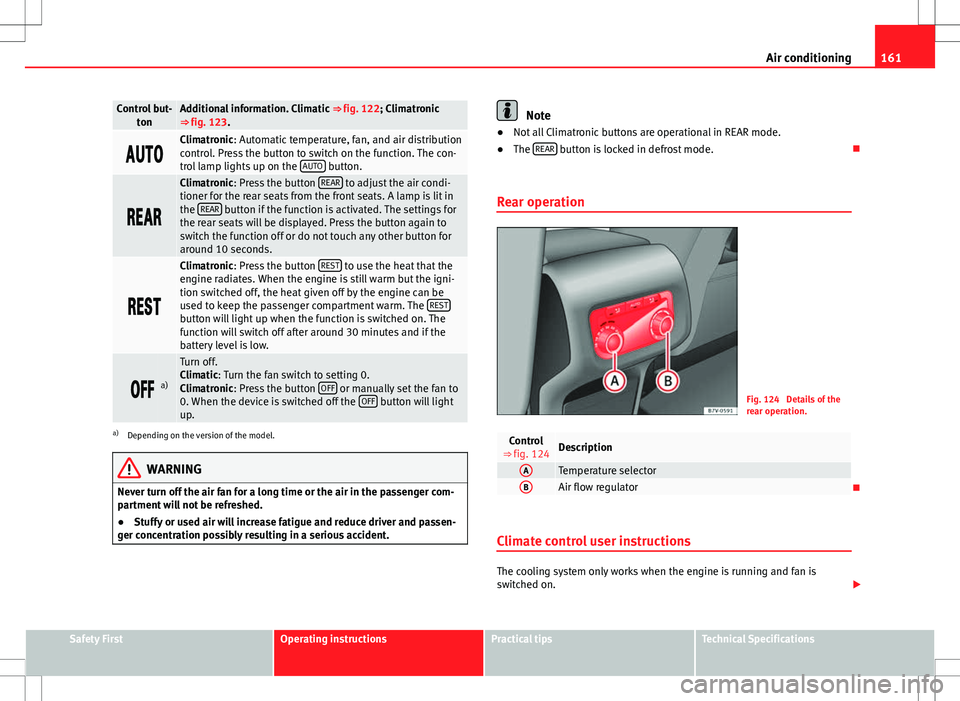
Fig. 124 Details of the
rear operation.
Control
⇒ fig. 124Description
ATemperature selectorBAir flow regulator
Climate control user instructions
The cooling system only works when the engine is running and fan is
switched on.
Safety FirstOperating instructionsPractical tipsTechnical Specifications
Page 166 of 388
164Air conditioning
Switching off: Press the button until the lamp on the button switches off.
Switching the recirculation mode on and off manually on the
Climatronic
Switching on: Press the button until the lamp on the button lights up.
Switching off: Press the button until the lamp on the button switches
off.
Automatic air recirculation mode
Fresh air enters the vehicle interior in position . If the system detects a
high concentration of hazardous substances in the ambient air, air recircu-
lation mode is switched on automatically. When the level of impurities
drops to within a normal range, recirculation mode is switched off.
The system is unable to detect unpleasant smells.
With the following outside temperatures and conditions the air recirculation
does not switch on automatically:
● The cooling system is switched on (the AC
button is lit up) and the out-
side temperature is below +3 °C (+38 °F).
● The cooling system and the windscreen wipers are switched off and the
outside temperature is below +10 °C (+50 °F).
● The cooling system is switched off and the outside temperature is below
+15 °C (+59 °F). The windscreen wiper is switched on.
Switching the automatic air recirculation mode on and off
Switching on: Press the button until the right lamp on the button lights
up.
Switching off: Press the button until all the lamps on the button are
switched off. Switching the automatic air recirculation mode off temporarily
●
Press the button once to temporarily switch to manual air recircula-
tion mode in the event of unpleasant smells from outside. The left indicator
lamp turns on.
● After more than two seconds, press the button again to restart auto-
matic air recirculation. The right indicator lamp turns on.
WARNING
Stuffy or used air will increase fatigue and reduce driver concentration
possibly resulting in a serious accident.
● Never use recirculation mode for long periods as it does not refresh
the air inside the vehicle.
● If the cooling mode is switched off and air recirculation mode switch-
ed on, the windows can mist over very quickly, considerably limiting visi-
bility.
● Switch air recirculation mode off when it is not required.
CAUTION
Do not smoke when air recirculation is switched on in vehicles with a cli-
mate control system. The smoke taken in could lie on the cooling system va-
poriser and on the activated charcoal cartridge of the dust and pollen filter,
leading to a permanently unpleasant smell.
Note
Climatronic: Air recirculation mode switches on to prevent exhaust gas from
entering the vehicle interior when it is in reverse and while the automatic
windscreen wash and wipe is working.
Page 170 of 388
168Air conditioning
Checking programming
If the timer has been switched on after switching the ignition off, the instant
on button
will remain lit for around ten seconds.
WARNING
Never program the independent heating system to be activated and oper-
ated in closed, unventilated areas. The auxiliary heater fumes contain
carbon dioxide, an odourless and colourless toxic gas. Carbon monoxide
can cause people to lose consciousness. It can also cause death.
Operating instructions
The auxiliary heater exhaust system located below the vehicle must be kept
clear of snow, mud and other objects. The exhaust fumes must not be ob-
structed in any way. The exhaust fumes generated by the auxiliary heater
are removed via an exhaust pipe fitted underneath the vehicle.
On heating the vehicle interior, depending on the outside temperature the
warm air is first directed at the windscreen and then to the rest of the pas-
senger compartment through the air vents. If the air vents are turned to-
wards the windows, for example, the form of air distribution may be affec-
ted.
Depending on the outside temperature, the temperature at which the auxili-
ary heater warms the vehicle interior may be somewhat higher if the heating
or climate control temperature control is set to maximum before switching
the heating on.
Depending on the engine, vehicles with auxiliary heater may be fitted with a
second battery in the luggage compartment that is responsible for powering
the auxiliary heater. Cases in which the auxiliary heater will not switch on
●
The auxiliary heater requires about as much power as the dipped head-
lights. If the battery charge is low, the auxiliary heater will switch off auto-
matically or will not even switch on. This avoids problems when starting the
engine.
● The heater will switch just once each time. The timer will also have to be
switched back on every time it is required.
Note
● Noise will be heard while the auxiliary heater is running.
● When the air humidity is high and the outside temperature low, the
heating system may evaporate condensation from the auxiliary heater. In
this case, steam may be released from underneath the vehicle. This is com-
pletely normal and there is no need to suspect a fault!
● If the auxiliary heater runs several times over a prolonged period, the ve-
hicle battery may run flat. To re-charge the battery, drive the vehicle for a
long distance. In general: drive for as much time as the auxiliary heating
was working.
Page 171 of 388
169
Driving
Driving SteeringIntroduction
The power steering is not hydraulic but electromechanical. The advantage
of this steering system is that it disposes of hydraulic tubes, hydraulic oil,
the pump, filter and other components. The electromechanical system
saves fuel. While a hydraulic system requires oil pressure to be maintained,
electromechanical steering only requires energy when the steering wheel is
turned.
With the power steering system, the assisted steering function automatical-
ly adjusts according to the vehicle speed, the steering torque and the wheel
turning angle. The power steering only works when the engine is running.
Additional information and warnings:
● Start and stop the engine ⇒ page 172
● Vehicle battery ⇒ page 292
● Tow-starting and towing away ⇒ page 344
WARNING
If the power steering is not working then the steering wheel is much
more difficult to turn and the vehicle more difficult to control.
● The power steering only works when the engine is running.
● Never allow the vehicle to move when the engine is switched off.
● Never remove the key from the ignition if the vehicle is in motion. The
steering may lock and it will not be possible to turn the steering wheel.
Control and warning lamps
lights upPossible causeSolution
(red)Power steering faulty.The steering system should be
checked by a Technical Service
as soon as possible.
(yel-
low)
Power steering operation re-
duced.
The steering system should be
checked by a qualified work-
shop as soon as possible.
If, after restarting the engine
and driving for a short distance,
the yellow warning light no lon-
ger comes on, it will not be nec-
essary to take the vehicle to a
specialised workshop.
The vehicle battery was dis-
connected and has been re-
connected.Drive for a short distance at 15 –
20 km/h.
Safety FirstOperating instructionsPractical tipsTechnical Specifications