reset Seat Alhambra 2012 Owner's Manual
[x] Cancel search | Manufacturer: SEAT, Model Year: 2012, Model line: Alhambra, Model: Seat Alhambra 2012Pages: 388, PDF Size: 6.72 MB
Page 60 of 388
58Cockpit
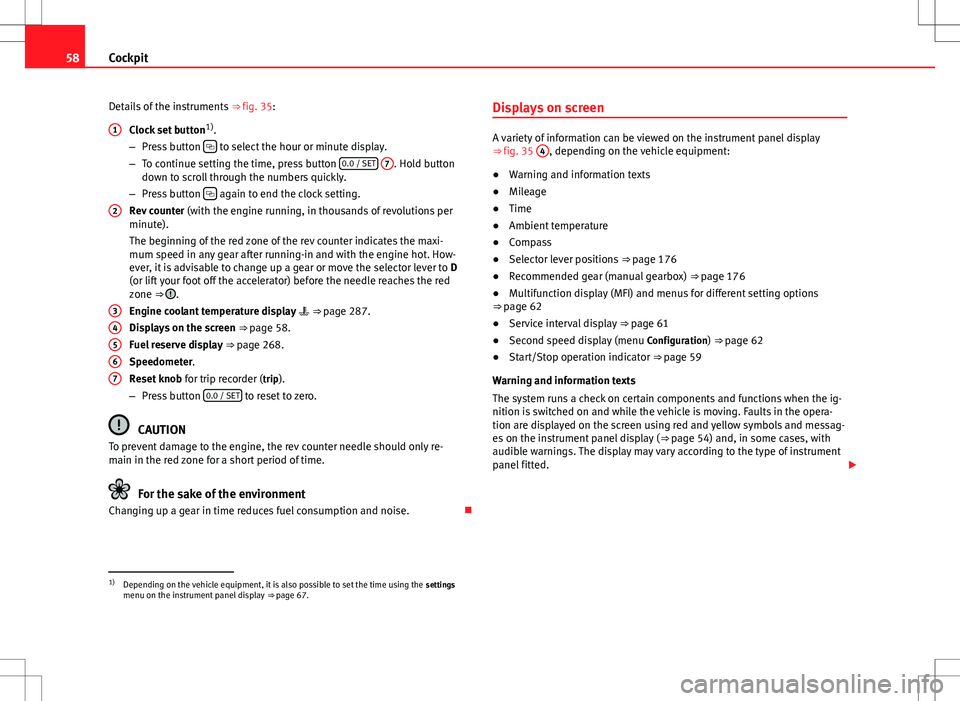
Details of the instruments ⇒ fig. 35:
Clock set button 1)
.
– Press button
to select the hour or minute display.
– To continue setting the time, press button 0.0 / SET
7. Hold button
down to scroll through the numbers quickly.
– Press button
again to end the clock setting.
Rev counter (with the engine running, in thousands of revolutions per
minute).
The beginning of the red zone of the rev counter indicates the maxi-
mum speed in any gear after running-in and with the engine hot. How-
ever, it is advisable to change up a gear or move the selector lever to D
(or lift your foot off the accelerator) before the needle reaches the red
zone ⇒
.
Engine coolant temperature display ⇒ page 287.
Displays on the screen ⇒ page 58.
Fuel reserve display ⇒ page 268.
Speedometer.
Reset knob for trip recorder (trip).
– Press button 0.0 / SET
to reset to zero.
CAUTION
To prevent damage to the engine, the rev counter needle should only re-
main in the red zone for a short period of time.
For the sake of the environment
Changing up a gear in time reduces fuel consumption and noise.
1
2
34567
Displays on screen
A variety of information can be viewed on the instrument panel display
⇒
fig. 35 4, depending on the vehicle equipment:
● Warning and information texts
● Mileage
● Time
● Ambient temperature
● Compass
● Selector lever positions ⇒ page 176
● Recommended gear (manual gearbox) ⇒ page 176
● Multifunction display (MFI) and menus for different setting options
⇒ page 62
● Service interval display ⇒ page 61
● Second speed display (menu Configuration) ⇒ page 62
● Start/Stop operation indicator ⇒ page 59
Warning and information texts
The system runs a check on certain components and functions when the ig-
nition is switched on and while the vehicle is moving. Faults in the opera-
tion are displayed on the screen using red and yellow symbols and messag-
es on the instrument panel display ( ⇒ page 54) and, in some cases, with
audible warnings. The display may vary according to the type of instrument
panel fitted.
1)
Depending on the vehicle equipment, it is also possible to set the time using the settings
menu on the instrument panel display ⇒ page 67.
Page 61 of 388
59
Cockpit
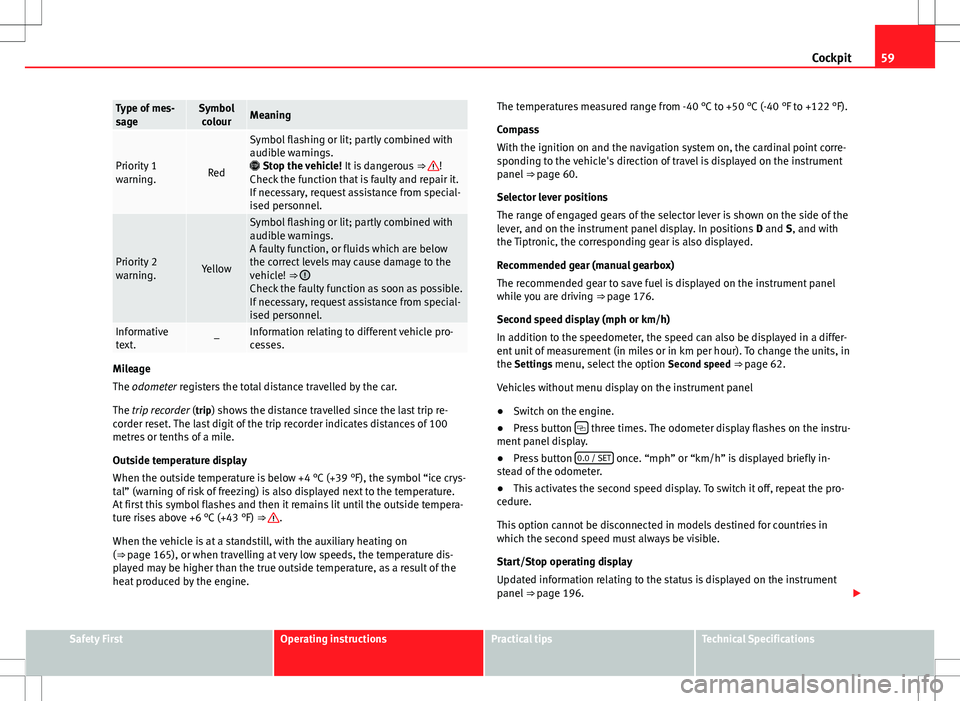
Type of mes-
sageSymbol
colourMeaning
Priority 1
warning.Red
Symbol flashing or lit; partly combined with
audible warnings.
Stop the vehicle! It is dangerous ⇒
!
Check the function that is faulty and repair it.
If necessary, request assistance from special-
ised personnel.
Priority 2
warning.Yellow
Symbol flashing or lit; partly combined with
audible warnings.
A faulty function, or fluids which are below
the correct levels may cause damage to the
vehicle! ⇒
Check the faulty function as soon as possible.
If necessary, request assistance from special-
ised personnel.
Informative
text.–Information relating to different vehicle pro-
cesses.
Mileage
The odometer registers the total distance travelled by the car.
The trip recorder (trip) shows the distance travelled since the last trip re- corder reset. The last digit of the trip recorder indicates distances of 100
metres or tenths of a mile.
Outside temperature display
When the outside temperature is below +4 °C (+39 °F), the symbol “ice crys-
tal” (warning of risk of freezing) is also displayed next to the temperature.
At first this symbol flashes and then it remains lit until the outside tempera-
ture rises above +6 °C (+43 °F) ⇒
.
When the vehicle is at a standstill, with the auxiliary heating on
(⇒ page 165), or when travelling at very low speeds, the temperature dis-
played may be higher than the true outside temperature, as a result of the
heat produced by the engine. The temperatures measured range from -40 °C to +50 °C (-40 °F to +122 °F).
Compass
With the ignition on and the navigation system on, the cardinal point corre-
sponding to the vehicle's direction of travel is displayed on the instrument
panel
⇒ page 60.
Selector lever positions
The range of engaged gears of the selector lever is shown on the side of the
lever, and on the instrument panel display. In positions D and S, and with
the Tiptronic, the corresponding gear is also displayed.
Recommended gear (manual gearbox)
The recommended gear to save fuel is displayed on the instrument panel
while you are driving ⇒ page 176.
Second speed display (mph or km/h)
In addition to the speedometer, the speed can also be displayed in a differ-
ent unit of measurement (in miles or in km per hour). To change the units, in
the Settings menu, select the option Second speed ⇒ page 62.
Vehicles without menu display on the instrument panel
● Switch on the engine.
● Press button
three times. The odometer display flashes on the instru-
ment panel display.
● Press button 0.0 / SET
once. “mph” or “km/h” is displayed briefly in-
stead of the odometer.
● This activates the second speed display. To switch it off, repeat the pro-
cedure.
This option cannot be disconnected in models destined for countries in
which the second speed must always be visible.
Start/Stop operating display
Updated information relating to the status is displayed on the instrument
panel ⇒ page 196.
Safety FirstOperating instructionsPractical tipsTechnical Specifications
Page 64 of 388
62Cockpit
The service interval display is reset
If the service was not carried out by a Technical Service, the display can be
reset as follows:
In vehicles with text messages:Select the Settings menu.In the submenu Service, select the option Reset.Confirm with OK when requested to do so by the system.
In vehicles without text messages:Switch the ignition off.Press and hold the 0.0 / SET button.Switch the ignition back on.Release the 0.0 / SET button and, press for the next 20 seconds.
Do not reset the indicator to zero between two intervals, otherwise the dis-
play will be incorrect.
If, while the LongLife service is valid, the service interval display is reset to
zero, the “service will be activated by time or mileage”. The service interval
is no longer calculated individually
⇒ Booklet Maintenance Programme.
Note
● The service message disappears after a few seconds, when the engine is
started or when OK
is pressed.
● In vehicles with the LongLife system in which the battery has been dis-
connected for a long period of time, it is not possible to calculate the date
of the next service. Therefore the service interval display may not be correct.
In this case, please check the maximum permitted service intervals ⇒ Book-
let Maintenance Programme. SEAT information system
Introduction
With the ignition switched on, it is possible to read the different functions of
the display by scrolling through the menus.
In vehicles with a multifunction steering wheel, there are no buttons on the
windscreen wiper lever. The multifunction display can only be controlled
from the buttons on the multifunction steering wheel.
The number of menus displayed on the instrument panel will vary according
to the vehicle electronics and equipment.
A specialised dealer will be able to programme or modify additional func-
tions, according to the vehicle equipment. SEAT recommends visiting a
Technical Service.
Some menu options can only be read when the vehicle is at a standstill.
As long as a priority 1 warning is displayed, it will not be possible to read
the menus. To display the menus, confirm the warning by pressing OK
.
Additional information and warnings:
● Exterior mirrors ⇒ page 110
● Auxiliary heating ⇒ page 165
WARNING
Any distraction may lead to an accident, with the risk of injury.
● Do not read the instrument panel menus when driving.
Page 66 of 388
64Cockpit
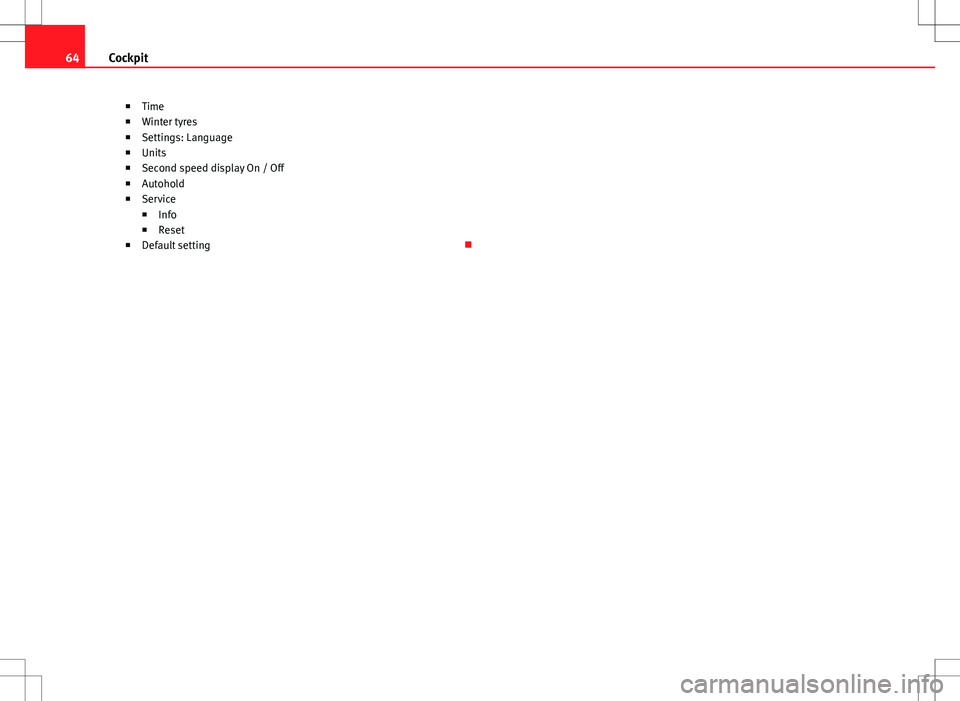
■Time
■ Winter tyres
■ Settings: Language
■ Units
■ Second speed display On / Off
■ Autohold
■ Service
■ Info
■ Reset
■ Default setting
Page 70 of 388
68Cockpit
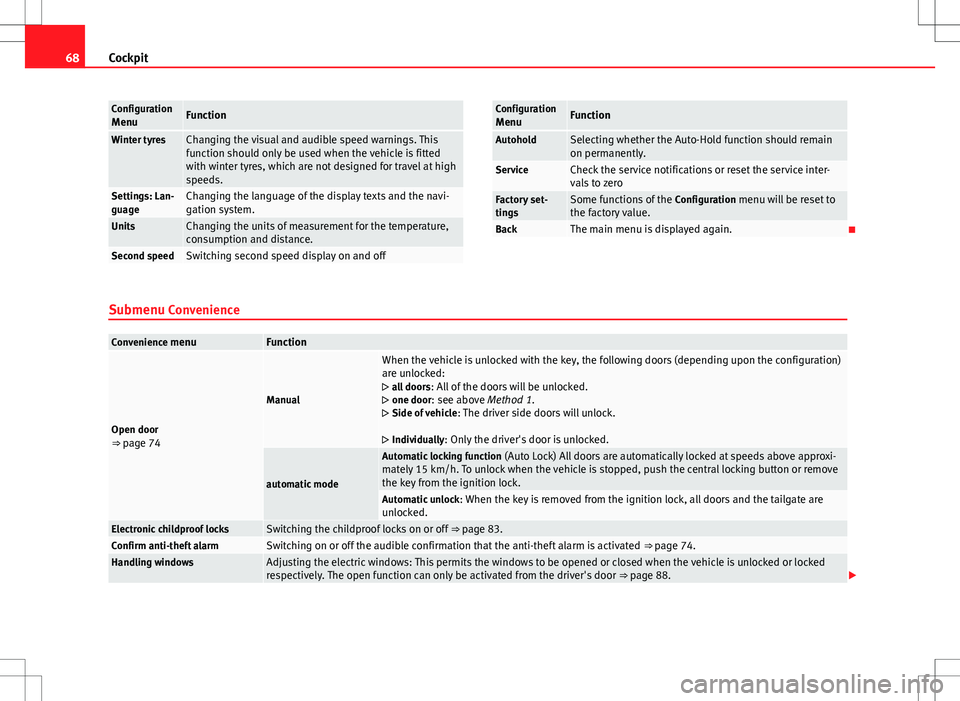
Configuration
MenuFunction
Winter tyresChanging the visual and audible speed warnings. This
function should only be used when the vehicle is fitted
with winter tyres, which are not designed for travel at high
speeds.
Settings: Lan-
guageChanging the language of the display texts and the navi-
gation system.
UnitsChanging the units of measurement for the temperature,
consumption and distance.
Second speedSwitching second speed display on and off
Configuration
MenuFunction
AutoholdSelecting whether the Auto-Hold function should remain
on permanently.
ServiceCheck the service notifications or reset the service inter-
vals to zero
Factory set-
tingsSome functions of the Configuration menu will be reset to
the factory value.
BackThe main menu is displayed again.
Submenu Convenience
Convenience menuFunction
Open door
⇒ page 74
Manual
When the vehicle is unlocked with the key, the following doors (depending upon the configuration)
are unlocked:
all doors : All of the doors will be unlocked.
one door: see above Method 1.
Side of vehicle : The driver side doors will unlock.
Individually: Only the driver's door is unlocked.
automatic mode
Automatic locking function (Auto Lock) All doors are automatically locked at speeds above approxi-
mately 15 km/h. To unlock when the vehicle is stopped, push the central locking button or remove
the key from the ignition lock.
Automatic unlock : When the key is removed from the ignition lock, all doors and the tailgate are
unlocked.
Electronic childproof locksSwitching the childproof locks on or off ⇒ page 83.Confirm anti-theft alarmSwitching on or off the audible confirmation that the anti-theft alarm is activated ⇒ page 74.Handling windowsAdjusting the electric windows: This permits the windows to be opened or closed when the vehicle is unlocked or locked
respectively. The open function can only be activated from the driver's door ⇒ page 88.
Page 71 of 388

69
Cockpit
Convenience menuFunctionRear-view mirror adjustmentTilts passenger mirror downwards when reverse gear is engaged. This enables the driver to see the edge of the pavement,
for example ⇒ page 110.
Exterior mirror adjust.If synchronised adjustment is selected, when the driver side exterior mirror is adjusted, the passenger exterior mirror is also
moved.
Factory settingsSome functions of the Convenience submenu will be reset to the factory value.BackThe Configuration menu is displayed again.
Lights & visibility submenu
Lights & visi-
bility menuFunction
Coming HomeThis permits the adjustment of the time the headlamps
stay on after locking or unlocking the vehicle, the function
can also be connected or disconnected here ⇒ page 101.Leaving Home
Footwell lightThis permits the adjustment of the brightness of the foot-
well lighting when the doors are open, the function can al-
so be connected or disconnected here
Convenience
indicatorsSwitching convenience indicators on and off When the
convenience indicators are connected, when the indicator
is switched on, these flash at least three times
⇒ page 95.
Factory set-
tingsAll the configurations in the submenu Lights & visibility are
reset to the predefined factory values.
Tourist lightHeadlamp adjustment for countries in which vehicles are
driven on the other side of the road. When the mark is acti-
vated, the headlamps of a left-hand drive vehicle are ad-
justed for driving on the left. This function must only be
used for a short period.
BackThe Configuration menu is displayed again. Personal convenience settings
When two people use a vehicle, SEAT recommends that each person always
uses “their” own remote control key. When the ignition is switched off, or
the vehicle is locked, the personal convenience settings are stored and au-
tomatically allocated to the vehicle key
⇒ page 62.
The values of the personalised convenience settings of the following menu
options are allocated to the vehicle key: ■ Parking heating menu
■ Configuration Menu
■ Time
■ Settings: Language
■ Units
■ Convenience settings menu
■Door unlock (individual opening, Auto Lock)
■ Convenience handling of windows
■ Rear-view mirror adjustment
■ Lights & visibility settings menu
■ Coming home and leaving home
■ Footwell light
■ Convenience indicators
Safety FirstOperating instructionsPractical tipsTechnical Specifications
Page 90 of 388
88Unlocking and locking
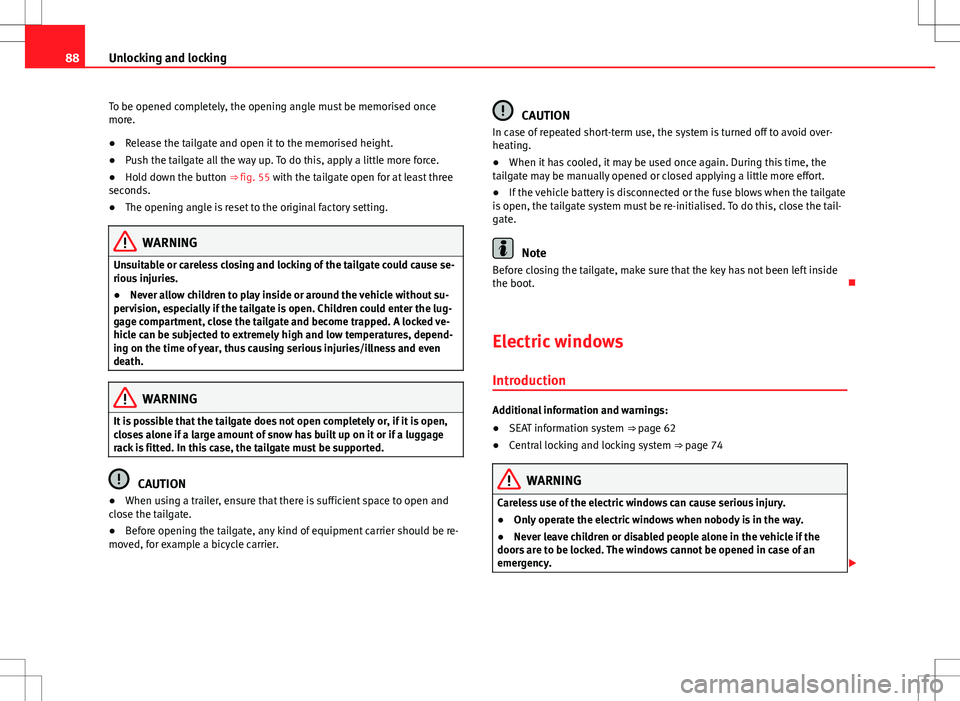
To be opened completely, the opening angle must be memorised once
more.
● Release the tailgate and open it to the memorised height.
● Push the tailgate all the way up. To do this, apply a little more force.
● Hold down the button ⇒ fig. 55 with the tailgate open for at least three
seconds.
● The opening angle is reset to the original factory setting.
WARNING
Unsuitable or careless closing and locking of the tailgate could cause se-
rious injuries.
● Never allow children to play inside or around the vehicle without su-
pervision, especially if the tailgate is open. Children could enter the lug-
gage compartment, close the tailgate and become trapped. A locked ve-
hicle can be subjected to extremely high and low temperatures, depend-
ing on the time of year, thus causing serious injuries/illness and even
death.
WARNING
It is possible that the tailgate does not open completely or, if it is open,
closes alone if a large amount of snow has built up on it or if a luggage
rack is fitted. In this case, the tailgate must be supported.
CAUTION
● When using a trailer, ensure that there is sufficient space to open and
close the tailgate.
● Before opening the tailgate, any kind of equipment carrier should be re-
moved, for example a bicycle carrier.
CAUTION
In case of repeated short-term use, the system is turned off to avoid over-
heating.
● When it has cooled, it may be used once again. During this time, the
tailgate may be manually opened or closed applying a little more effort.
● If the vehicle battery is disconnected or the fuse blows when the tailgate
is open, the tailgate system must be re-initialised. To do this, close the tail-
gate.
Note
Before closing the tailgate, make sure that the key has not been left inside
the boot.
Electric windows Introduction
Additional information and warnings:
● SEAT information system
⇒ page 62
● Central locking and locking system
⇒ page 74
WARNING
Careless use of the electric windows can cause serious injury.
● Only operate the electric windows when nobody is in the way.
● Never leave children or disabled people alone in the vehicle if the
doors are to be locked. The windows cannot be opened in case of an
emergency.
Page 92 of 388
90Unlocking and locking
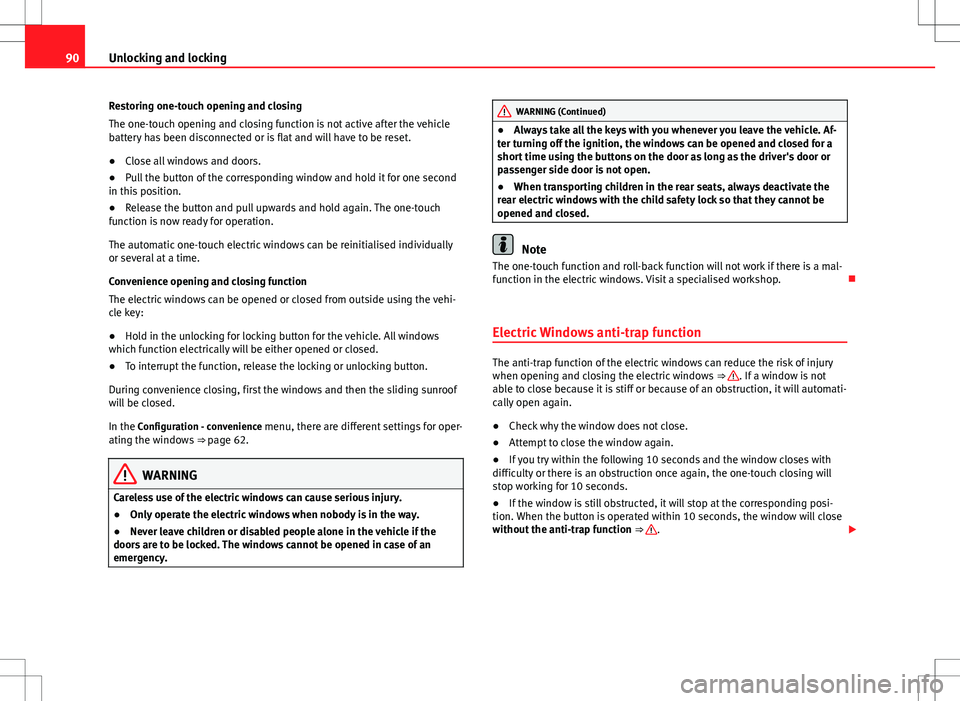
Restoring one-touch opening and closing
The one-touch opening and closing function is not active after the vehicle
battery has been disconnected or is flat and will have to be reset.
● Close all windows and doors.
● Pull the button of the corresponding window and hold it for one second
in this position.
● Release the button and pull upwards and hold again. The one-touch
function is now ready for operation.
The automatic one-touch electric windows can be reinitialised individually
or several at a time.
Convenience opening and closing function
The electric windows can be opened or closed from outside using the vehi-
cle key:
● Hold in the unlocking for locking button for the vehicle. All windows
which function electrically will be either opened or closed.
● To interrupt the function, release the locking or unlocking button.
During convenience closing, first the windows and then the sliding sunroof
will be closed.
In the Configuration - convenience menu, there are different settings for oper- ating the windows ⇒ page 62.
WARNING
Careless use of the electric windows can cause serious injury.
● Only operate the electric windows when nobody is in the way.
● Never leave children or disabled people alone in the vehicle if the
doors are to be locked. The windows cannot be opened in case of an
emergency.
WARNING (Continued)
● Always take all the keys with you whenever you leave the vehicle. Af-
ter turning off the ignition, the windows can be opened and closed for a
short time using the buttons on the door as long as the driver's door or
passenger side door is not open.
● When transporting children in the rear seats, always deactivate the
rear electric windows with the child safety lock so that they cannot be
opened and closed.
Note
The one-touch function and roll-back function will not work if there is a mal-
function in the electric windows. Visit a specialised workshop.
Electric Windows anti-trap function
The anti-trap function of the electric windows can reduce the risk of injury
when opening and closing the electric windows ⇒ . If a window is not
able to close because it is stiff or because of an obstruction, it will automati-
cally open again.
● Check why the window does not close.
● Attempt to close the window again.
● If you try within the following 10 seconds and the window closes with
difficulty or there is an obstruction once again, the one-touch closing will
stop working for 10 seconds.
● If the window is still obstructed, it will stop at the corresponding posi-
tion. When the button is operated within 10 seconds, the window will close
without the anti-trap function ⇒
.
Page 104 of 388
102Lights and visibility
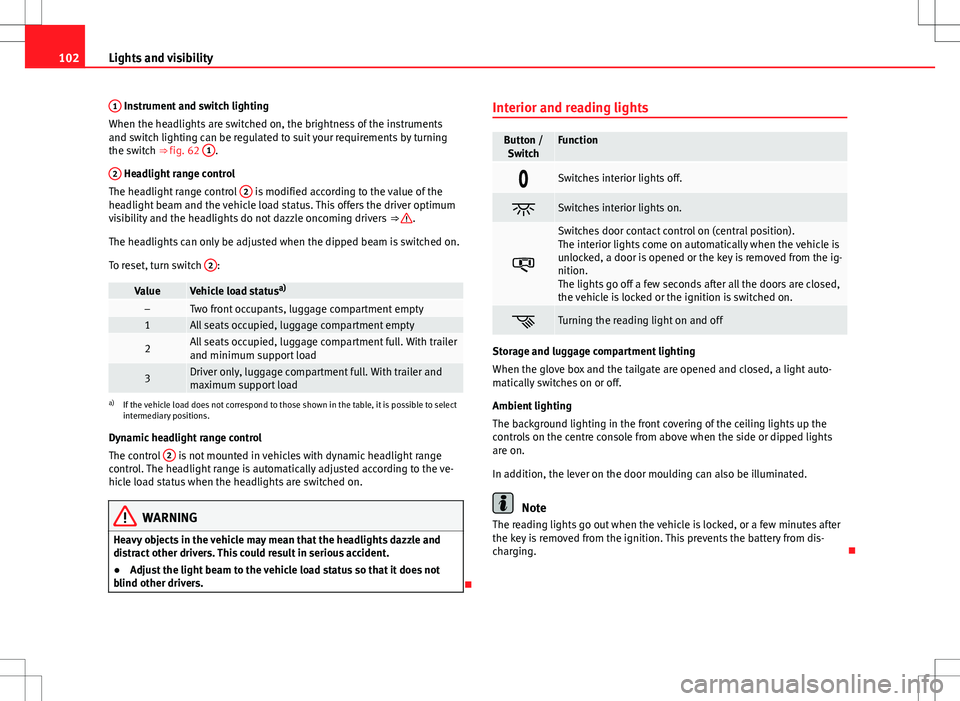
1
Instrument and switch lighting
When the headlights are switched on, the brightness of the instruments
and switch lighting can be regulated to suit your requirements by turning
the switch ⇒ fig. 62 1
.
2
Headlight range control
The headlight range control 2 is modified according to the value of the
headlight beam and the vehicle load status. This offers the driver optimum
visibility and the headlights do not dazzle oncoming drivers ⇒
.
The headlights can only be adjusted when the dipped beam is switched on.
To reset, turn switch 2
:
ValueVehicle load statusa)–Two front occupants, luggage compartment empty1All seats occupied, luggage compartment empty
2All seats occupied, luggage compartment full. With trailer
and minimum support load
3Driver only, luggage compartment full. With trailer and
maximum support load
a)
If the vehicle load does not correspond to those shown in the table, it is possible to select
intermediary positions.
Dynamic headlight range control
The control 2
is not mounted in vehicles with dynamic headlight range
control. The headlight range is automatically adjusted according to the ve-
hicle load status when the headlights are switched on.
WARNING
Heavy objects in the vehicle may mean that the headlights dazzle and
distract other drivers. This could result in serious accident.
● Adjust the light beam to the vehicle load status so that it does not
blind other drivers.
Interior and reading lights
Button /
SwitchFunction
Switches interior lights off.
Switches interior lights on.
Switches door contact control on (central position).
The interior lights come on automatically when the vehicle is
unlocked, a door is opened or the key is removed from the ig-
nition.
The lights go off a few seconds after all the doors are closed,
the vehicle is locked or the ignition is switched on.
Turning the reading light on and off
Storage and luggage compartment lighting
When the glove box and the tailgate are opened and closed, a light auto-
matically switches on or off.
Ambient lighting
The background lighting in the front covering of the ceiling lights up the
controls on the centre console from above when the side or dipped lights
are on.
In addition, the lever on the door moulding can also be illuminated.
Note
The reading lights go out when the vehicle is locked, or a few minutes after
the key is removed from the ignition. This prevents the battery from dis-
charging.
Page 200 of 388
198Driving
Start-Stop Function*
Fig. 140 Detailed view of
the centre console: Start-
Stop function button.
In Start-Stop mode, the engine is automatically switched off when the vehi-
cle is at a standstill. The engine restarts automatically when required.
The function is enabled automatically whenever the ignition is switched on.
The instrument panel displays information on the current status.
Vehicles with a manual gearbox
● When the vehicle is at a standstill, leave it in neutral and take your foot
off the clutch. The engine switches off.
● Simply depress the clutch pedal to move off again.
Vehicles with an automatic gearbox
● When the vehicle is at a standstill, depress the brake or keep it pressed
down. The engine switches off.
● The engine will start again as soon as you release the brake pedal.
● With the gear lever set to P, the engine will not start until a range of
gears is selected or the accelerator pedal is depressed. Important conditions for the engine to automatically switch off
●
The driver seat belt must be buckled.
● The driver door must be closed.
● The bonnet must be closed.
● The factory-fitted towing bracket must not be electrically connected to a
trailer.
● A minimum engine temperature has been reached.
● The steering wheel must not be turned more than 270 degrees.
● The vehicle has moved since the last stop.
● In vehicles with Climatronic: The temperature inside the vehicle is within
the preset temperature range.
● The temperature set is neither very high nor very low.
● The air conditioning defrost function is not switched on.
● In vehicles with Climatronic: the blower has not been manually set to a
high speed.
● The power level of the vehicle's battery is sufficient.
● The vehicle's battery temperature is neither too high nor too low.
● The vehicle is not on a steep gradient or slope.
● The front wheels are not overly turned.
● The heated windscreen is not switched on.
● Reverse gear is not engaged.
● The park assist system is not switched on.
Conditions for automatically restarting the engine
The engine may automatically restart under the following conditions:
● If the vehicle interior is too hot or too cold.
● If the vehicle moves.
● If the vehicle's battery voltage drops.
Conditions requiring the key to restart the engine
The engine must be started using the key under the following conditions: