check engine Seat Altea Freetrack 2007 Owner's Manual
[x] Cancel search | Manufacturer: SEAT, Model Year: 2007, Model line: Altea Freetrack, Model: Seat Altea Freetrack 2007Pages: 312, PDF Size: 9.14 MB
Page 6 of 312
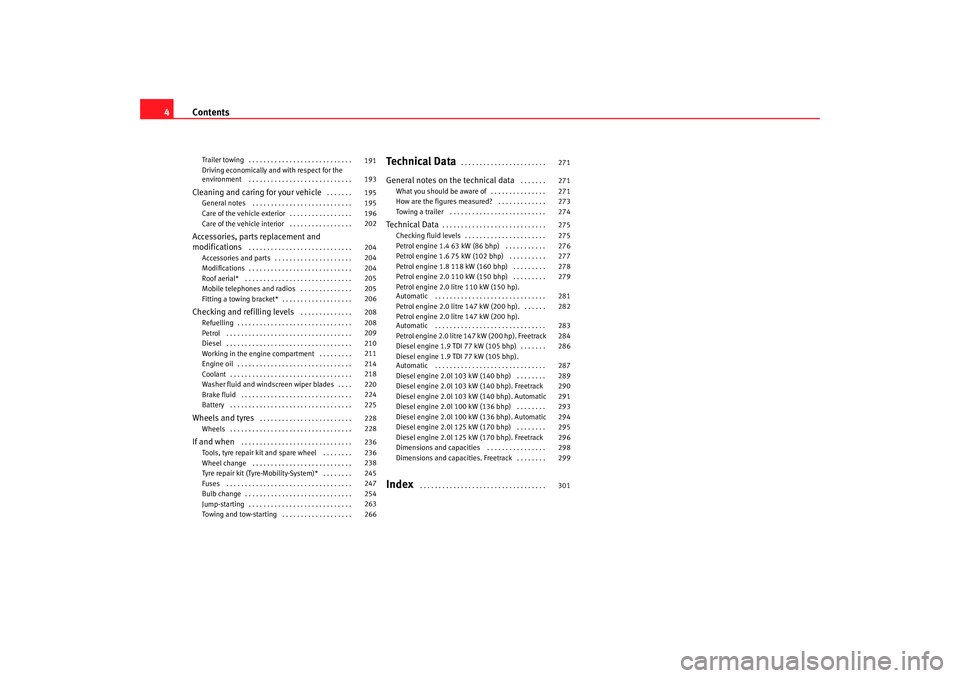
Contents
4Trailer towing . . . . . . . . . . . . . . . . . . . . . . . . . . . .
Driving economically and with respect for the
environment . . . . . . . . . . . . . . . . . . . . . . . . . . . . Cleaning and caring for your vehicle
. . . . . . .
General notes . . . . . . . . . . . . . . . . . . . . . . . . . . .
Care of the vehicle exterior . . . . . . . . . . . . . . . . .
Care of the vehicle interior . . . . . . . . . . . . . . . . .
Accessories, parts replacement and
modifications
. . . . . . . . . . . . . . . . . . . . . . . . . . . .
Accessories and parts . . . . . . . . . . . . . . . . . . . . .
Modifications . . . . . . . . . . . . . . . . . . . . . . . . . . . .
Roof aerial* . . . . . . . . . . . . . . . . . . . . . . . . . . . . .
Mobile telephones and radios . . . . . . . . . . . . . .
Fitting a towing bracket* . . . . . . . . . . . . . . . . . . .
Checking and refilling levels
. . . . . . . . . . . . . .
Refuelling . . . . . . . . . . . . . . . . . . . . . . . . . . . . . . .
Petrol . . . . . . . . . . . . . . . . . . . . . . . . . . . . . . . . . .
Diesel . . . . . . . . . . . . . . . . . . . . . . . . . . . . . . . . . .
Working in the engine compartment . . . . . . . . .
Engine oil . . . . . . . . . . . . . . . . . . . . . . . . . . . . . . .
Coolant . . . . . . . . . . . . . . . . . . . . . . . . . . . . . . . . .
Washer fluid and windscreen wiper blades . . . .
Brake fluid . . . . . . . . . . . . . . . . . . . . . . . . . . . . . .
Battery . . . . . . . . . . . . . . . . . . . . . . . . . . . . . . . . .
Wheels and tyres
. . . . . . . . . . . . . . . . . . . . . . . . .
Wheels . . . . . . . . . . . . . . . . . . . . . . . . . . . . . . . . .
If and when
. . . . . . . . . . . . . . . . . . . . . . . . . . . . . .
Tools, tyre repair kit and spare wheel . . . . . . . .
Wheel change . . . . . . . . . . . . . . . . . . . . . . . . . . .
Tyre repair kit (Tyre-Mobility-System)* . . . . . . . .
Fuses . . . . . . . . . . . . . . . . . . . . . . . . . . . . . . . . . .
Bulb change . . . . . . . . . . . . . . . . . . . . . . . . . . . . .
Jump-starting . . . . . . . . . . . . . . . . . . . . . . . . . . . .
Towing and tow-starting . . . . . . . . . . . . . . . . . . .
Te c h n i c a l D a t a
. . . . . . . . . . . . . . . . . . . . . . .
General notes on the technical data
. . . . . . .
What you should be aware of . . . . . . . . . . . . . . .
How are the figures measured? . . . . . . . . . . . . .
Towing a trailer . . . . . . . . . . . . . . . . . . . . . . . . . .
Techn ical Data
. . . . . . . . . . . . . . . . . . . . . . . . . . . .
Checking fluid levels . . . . . . . . . . . . . . . . . . . . . .
Petrol engine 1.4 63 kW (86 bhp) . . . . . . . . . . .
Petrol engine 1.6 75 kW (102 bhp) . . . . . . . . . .
Petrol engine 1.8 118 kW (160 bhp) . . . . . . . . .
Petrol engine 2.0 110 kW (150 bhp) . . . . . . . . .
Petrol engine 2.0 litre 110 kW (150 hp).
Automatic . . . . . . . . . . . . . . . . . . . . . . . . . . . . . .
Petrol engine 2.0 litre 147 kW (200 hp). . . . . . .
Petrol engine 2.0 litre 147 kW (200 hp).
Automatic . . . . . . . . . . . . . . . . . . . . . . . . . . . . . .
Petrol engine 2.0 litre 147 kW (200 hp). Freetrack
Diesel engine 1.9 TDI 77 kW (105 bhp) . . . . . . .
Diesel engine 1.9 TDI 77 kW (105 bhp).
Automatic . . . . . . . . . . . . . . . . . . . . . . . . . . . . . .
Diesel engine 2.0l 103 kW (140 bhp) . . . . . . . .
Diesel engine 2.0l 103 kW (140 bhp). Freetrack
Diesel engine 2.0l 103 kW (140 bhp). Automatic
Diesel engine 2.0l 100 kW (136 bhp) . . . . . . . .
Diesel engine 2.0l 100 kW (136 bhp). Automatic
Diesel engine 2.0l 125 kW (170 bhp) . . . . . . . .
Diesel engine 2.0l 125 kW (170 bhp). Freetrack
Dimensions and capacities . . . . . . . . . . . . . . . .
Dimensions and capacities. Freetrack . . . . . . . .
Index
. . . . . . . . . . . . . . . . . . . . . . . . . . . . . . . . . .
191
193
195
195
196
202
204
204
204
205
205
206
208
208
209
210
211
214
218
220
224
225
228
228
236
236
238
245
247
254
263
266 271
271
271
273
274
275
275
276
277
278
279
281
282
283
284
286
287
289
290
291
293
294
295
296
298
299
301
altea_xl ingles.book Seite 4 D
onnerstag, 12. April 2007 12:56 12
Page 60 of 312
Cockpit
58display
4). Stop the car and switch off the engine. Check the coolant level
⇒ page 218 ⇒.
Even if the coolant level is correct do not continue driving. You should obtain
technical assistance.WARNING
When working in the engine compartment, always bear in mind the safety
warnings. ⇒page 211
Caution
Accessories in front of the air inlet reduce the cooling effect of the coolant. At
high outside temperatures and high engine loads, there is a risk of the
engine overheating.Rev counter
The rev. counter displays the engine speed in revolutions per
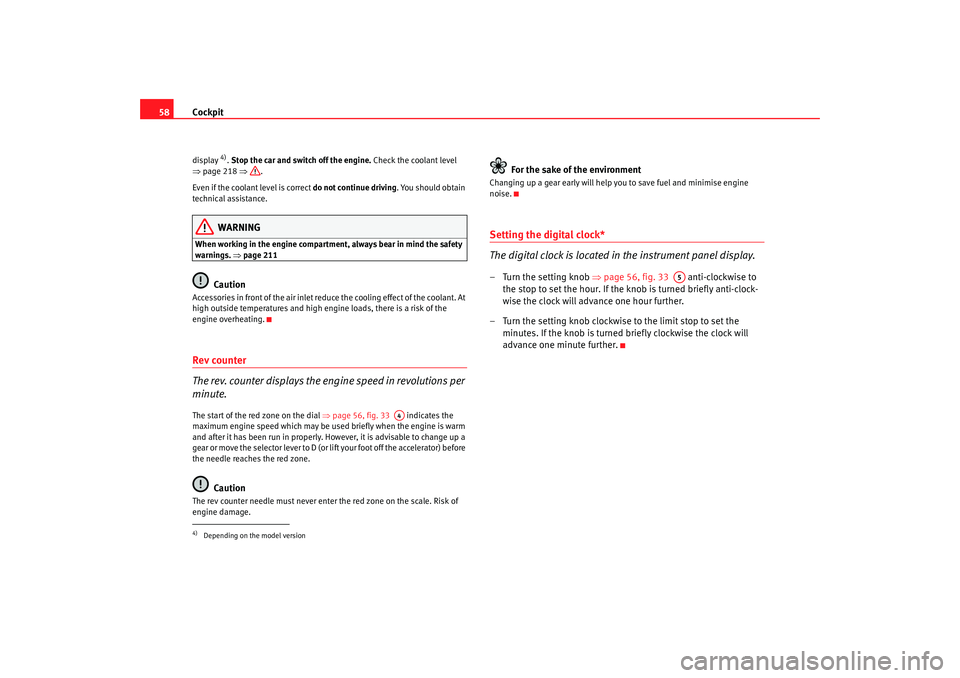
minute.The start of the red zone on the dial ⇒page 56, fig. 33 indicates the
maximum engine speed which may be used briefly when the engine is warm
and after it has been run in properly. However, it is advisable to change up a
gear or move the selector lever to D (or l ift your foot off the accelerator) before
the needle reaches the red zone.
Caution
The rev counter needle must never enter the red zone on the scale. Risk of
engine damage.
For the sake of the environment
Changing up a gear early will help you to save fuel and minimise engine
noise.Setting the digital clock*
The digital clock is located in the instrument panel display.– Turn the setting knob ⇒page 56, fig. 33 anti-clockwise to
the stop to set the hour. If the kn ob is turned briefly anti-clock-
wise the clock will advance one hour further.
– Turn the setting knob clockwise to the limit stop to set the minutes. If the knob is turned briefly clockwise the clock will
advance one minute further.
4)Depending on the model version
A4
A5
altea_xl ingles.book Seite 58 Donnerstag, 12. April 2007 12:56 12
Page 65 of 312
Cockpit63
Safety First
Operating instructions
Tips and Maintenance
Te c h n i c a l D a t a
Set speed indicator
When driving at the required speed, enter the speed indicator mode and
press the button (Reset), the display remembers the indicated speed. If
the indicated speed is exceeded, a warning text is displayed on the screen
6)
and a warning signal sounds.
This may be deactivated by pressing the button (Reset).
The speed may be altered using the rocker switch in steps of 5 km/h
within 5 seconds of the initial memory value.
Ø km/h - Average speed
The average speed will be shown after a distance of approximately 100
metres has been travelled. Dashes will appear in the display until that time.
The display will be updated every 5 seconds whilst the vehicle is in motion.
kms - Distance travelled
The display shows the distance travelled since the ignition was switched on.
The maximum display value in both memories is 9999 kms. The memory will
automatically be deleted once this value has been reached.
kms - Fuel range
The fuel range is calculated using the fi gures for tank content and current fuel
consumption. It shows how far the vehicle can travel using the same condi-
tions as a reference.
Ø litre/100km - Average fuel consumption
The average fuel consumption will be shown ⇒page 62, fig. 42 after a
distance of approximately 100 metres has been travelled. Dashes will appear
in the display until that time. The display will be updated every 5 seconds
whilst the vehicle is in motion. The am ount of fuel used will not be shown. ltr/100km or ltr/hr - Current fuel consumption
The display will show the current fuel consumption in litre/km whilst the
vehicle is in motion or in litre/hour when
the vehicle is in a stationary position
with the engine running.
Using this display you can see how your driving style affects fuel consump-
tion ⇒page 193.
Ambient temperature display
The measurement margin extends from -45°C to +58°C. At temperatures
lower than +4°C, an “ice crystal symbol” is displayed and a “warning” sounds
if the vehicle is moving at more than 20 km/h (ice warning). This symbol will
flash for about 10 seconds and remains lit until the exterior temperature rises
above +4°C or 6°C if it was already lit.
WARNING
There could be black ice on the road surface even if the “snowflake symbol”
is not shown. You should, for this reason, not rely exclusively on this
display - Risk of accident!
Note
When the vehicle is stationary or travelling at very low speeds, the tempera-
ture displayed may be slightly higher than the actual ambient temperature as
a result of the heat radiated from the engine.Warning or information text in the display
Faults are shown in the display with warning lamps and
warning/information reports.The system runs a check on certain components and functions when the igni-
tion is switched on and while the vehicle is moving. Functional faults are indi-
6)Depending on the model version, the message on the screen may vary and may be
represented by flashing of the speed indication or by a speed message.
AA
AAAB
altea_xl ingles.book Seite 63 Donnerstag, 12. April 2007 12:56 12
Page 66 of 312
Cockpit
64cated by symbols with warnings and information texts in the display. An
audible warning is given in certain cases.
Warning symbols
There are red warning symbols (priority 1) and yellow warning symbols
(priority 2)
Information text
In addition to warning me ssages given on a fault, you will receive information
in the display on procedures or will be asked to carry out certain tasks.
Note
In the case of screens without warning or information texts, faults are indi-
cated exclusively by the warning lamps.Warning reports, Priority 1 (red)If one of these faults occurs, the warning lamp will flash or light up and will
be accompanied by three audible warnings . This is a danger warning. Stop
the car and switch off the engine. Check the fault and correct it. Obtain profes-
sional assistance if necessary.
If several priority 1 faults are detected at the same time, the symbols will be
displayed one after the other for about 2 seconds at a time and will continue
until the fault is corrected.
No menus will be shown in the display fo r the duration of a priority 1 warning
report. Examples of priority 1 warning reports (red)
7)
•
Brake system symbol
with warning text
STOP BRAKE FLUID
INSTRUCTION MANUAL or STOP BRAKE FAULT INSTRUCTION MANUAL
•
Coolant symbol
with the warning text STOP COOLANT SERVICE
MANUAL
•
Engine oil pressure symbol
with the warning text STOP ENGINE OIL
PRESSURE LOW! SERVICE MANUAL
Warning reports, Priority 2 (yellow)If one of these faults occurs, the warning lamp lights up, and is accompanied
by one audible warning . The function should be checked as soon as possible.
If several priority 2 warning reports are detected at the same time, the
symbols are displayed one after the other for about 2 seconds at a time. After
a set time, the information text will disappear and the symbol will be shown
as a reminder at the side of the display.
Priority 2 warning reports will not be shown until all Priority 1 warning
reports have been dealt with!
Examples of priority 2 warning reports (yellow):
8)
•
Fuel symbol with the information text PLEASE REFUEL
•
Windscreen washer fluid symbol
with the information text REFILL
WINDSCREEN WASHER FLUID . Refill the windscreen washer tank ⇒page 220
•
Electronic immobiliser symbol
with the information text SAFE. A valid
key was not used, for this reason the vehicle may not start
7)Depending on the model version8)Depending on the model version
altea_xl ingles.book Seite 64 Donnerstag, 12. April 2007 12:56 12
Page 77 of 312
Cockpit75
Safety First
Operating instructions
Tips and Maintenance
Te c h n i c a l D a t a
WARNING
•
Failure to observe warning lamps and warning messages can result in
serious personal injury or damage to your vehicle.
•
The risk of an accident increases if your vehicle breaks down. Use a
warning triangle to draw the attention of other road users to your
stationary vehicle so that it does not represent a danger.
•
The engine compartment of any motor vehicle is a dangerous area!
Before you open the bonnet to work on the engine or in the engine compart-
ment, you must switch off the engine and allow it to cool to reduce the risk
of scalding or other injuries. Read and observe the relevant warnings
⇒ page 211.Note
•
The appropriate warning lamp for a fault will light up in vehicles without
warning or information texts in the display.
•
In vehicles with warning or information texts in the display, the appro-
priate warning lamp for a fault will ligh t up and a warning or information text
will also appear in the display.
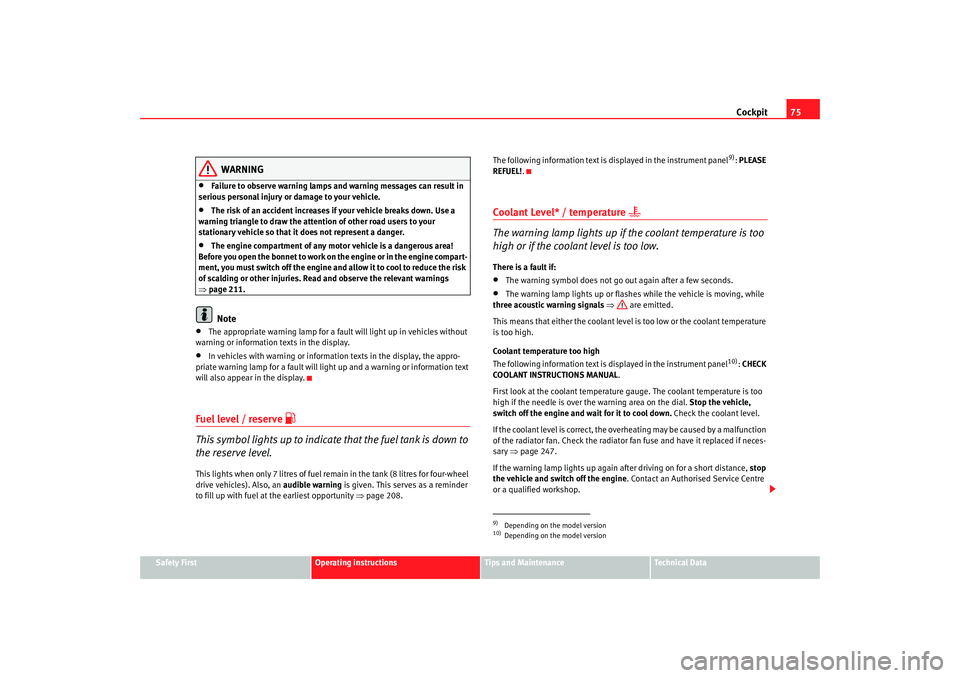
Fuel level / reserve
This symbol lights up to indicate that the fuel tank is down to
the reserve level.This lights when only 7 litres of fuel re main in the tank (8 litres for four-wheel
drive vehicles). Also, an audible warning is given. This serves as a reminder
to fill up with fuel at the earliest opportunity ⇒page 208. The following information text is
displayed in the instrument panel
9): PLEASE
REFUEL! .
Coolant Level* / temperature
The warning lamp lights up if the coolant temperature is too
high or if the coolant level is too low.There is a fault if:•
The warning symbol does not go out again after a few seconds.
•
The warning lamp lights up or flashes while the vehicle is moving, while
three acoustic warning signals ⇒ are emitted.
This means that either the coolant level is too low or the coolant temperature
is too high.
Coolant temperature too high
The following information text is displayed in the instrument panel
10): CHECK
COOLANT INSTRUCTIONS MANUAL .
First look at the coolant temperature gauge. The coolant temperature is too
high if the needle is over the warning area on the dial. Stop the vehicle,
switch off the engine and wait for it to cool down. Check the coolant level.
If the coolant level is correct, the over heating may be caused by a malfunction
of the radiator fan. Check the radiator fan fuse and have it replaced if neces-
sary ⇒page 247.
If the warning lamp lights up again after driving on for a short distance, stop
the vehicle and switch off the engine . Contact an Authorised Service Centre
or a qualified workshop.
9)Depending on the model version10)Depending on the model version
altea_xl ingles.book Seite 75 Donnerstag, 12. April 2007 12:56 12
Page 78 of 312
Cockpit
76Coolant level too low
The following information text is displayed in the instrument panel
11): STOP
CHECK COOLANT INSTRUCTIONS MANUAL ⇒ page 218.
First look at the coolant temperature gauge. If the needle is in the normal
range, top up with coolant at the earliest opportunity ⇒ .
WARNING
•
If your vehicle is immobilised for any technical reasons, move it to a
safe distance from traffic. Turn off the engine, turn on the hazard lights and
place the warning triangle.
•
Never open the bonnet if you can see or hear steam or coolant escaping
from the engine compartment. Risk of scalding. Wait until you can no
longer see or hear escaping steam or coolant.
•
The engine compartment of any motor vehicle is a dangerous area!
Before carrying out any work in the engine compartment, switch off the
engine and allow it to cool down. Alwa ys note the corresponding warnings
⇒ page 211.
Rear fog light
This warning lamp lights up when the rear fog light is switched on
. Further
information ⇒page 111.
Turn sig nals
The warning lamp flashes when the turn signals are in oper-
ation.Depending on which turn signal is operated, either the left
or right
indi-
cator lamp flashes. Both warning lamps will flash at the same time when the
hazard warning lights are switched on.
If one turn signal fails, the warning lamp will start flashing twice as fast.
Further information on the turn signals ⇒page 116.
Trailer turn signals
This warning lamp also flashes when the turn signals are
operated while towing a caravan or trailer.The warning lamp
flashes when the turn signals are operated, provided a
trailer is correctly attached and connected to the vehicle.
The warning lamp will not flash if one of the turn signals on the trailer fails.
Main beam headlights
This warning lamp lights up when the main beams are on.The warning lamp
lights up when the main beams are on or when the
headlight flasher is operated.
Further information ⇒page 116.
11)Depending on the model version
altea_xl ingles.book Seite 76 Donnerstag, 12. April 2007 12:56 12
Page 80 of 312
Cockpit
78•
If the brake warning lamp
lights up together with the ABS warning
lamp
, the control function of the ABS could be out of action. This could
cause the rear wheels to lock quickly when you brake. This could cause the
rear to break away. Risk of skidding. Stop the vehicle and seek technical
assistance.
Engine oil pressure
This warning lamp indicates that the engine oil pressure is
too low.If this warning symbol starts to flash, and is accompanied by three audible
warnings, switch off the engine and check the oil level. If the oil level is too
low, add more engine oil ⇒page 214.
The following information text is displayed in the instrument panel
15): STOP
ENGINE OIL PRESSURE INSTRUCTIONS MANUAL .
If the symbol flashes although the oil level is correct, do not drive on. The
engine must not even run at idle speed. Obtain technical assistance.
Anti-lock brake system (ABS)
A warning lamp system monitors the ABS.
The warning lamp
should light up for a few seconds when the ignition is
switched on. It goes out again after the system has run through an automatic
test sequence. There is a fault in the ABS if:
•
The warning lamp
does not light up when the ignition is switched on.
•
The warning lamp does not go
out again after a few seconds.
•
The warning lamp lights up when the vehicle is moving.
The vehicle can still be braked in the normal way (except that the ABS control
function will not function). Please take the vehicle to a qualified workshop as
soon as possible. For further information on the ABS see the ⇒page 181.
If a fault occurs in the ABS, the ESP* warning lamp will also light up.
Brake system fault
If the ABS warning lamp
lights up together with the brake warning lamp
, this indicates not only a fault in the ABS function, but also a possible fault
in the brake system ⇒.
WARNING
•
Before opening the bonnet, read and observe the warnings on
⇒ page 211.
•
If the brake warning lamp
should light up together with the ABS
warning lamp
, stop the vehicle immediately and check the brake fluid
level in the reservoir ⇒page 224, “Brake fluid”. If the fluid level has
dropped below the “MIN” mark you must not drive on. Risk of accident.
Obtain technical assistance.
•
If the brake fluid level is correct, the fault in the brake system may have
been caused by a failure of the ABS system. This could cause the rear
wheels to lock quickly when you brake. This could cause the rear to break
away. Risk of skidding. Stop the vehicle and seek technical assistance.
15)Depending on the model versionWARNING (continued)
altea_xl ingles.book Seite 78 Donnerstag, 12. April 2007 12:56 12
Page 83 of 312
Cockpit81
Safety First
Operating instructions
Tips and Maintenance
Te c h n i c a l D a t a
Engine management
This warning lamp monitors th e engine management system
for petrol engines.
The warning lamp
(Electronic Power Control) lights up when the ignition
is switched on to show that the lamp is working properly. It should go out
when the engine has started running.
If a fault develops in the electronic engine management system while you are
driving, this warning lamp will light up. Stop the vehicle and seek technical
assistance.
Glow plug system / Engine fault
The warning lamp lights up to show that the glow plugs are
preheating. It flashes if there is an engine fault.
Warning lamp
is lit
The warning lamp lights up while the glow plugs are preheating. When the
warning lamp goes off, the engine should be started straight away.
Warning lamp
flashes
If a fault develops in the engine management system while you are driving,
the glow plug lamp will flash
. Take the vehicle to an Authorised Service
Centre as soon as possible and have the engine checked.
Emission control system*
This warning lamp monitors the exhaust system.
Warning lamp
flashes:
When there is misfiring that can damage the catalytic converter. Reduce
speed and drive carefully to the nearest qualified workshop to have the
engine checked.
The following information text is displayed in the instrument panel
17):
EXHAUST GAS SEE WORKSHOP
Warning lamp
is lit:
If a fault has developed during driving which has reduced the quality of the
exhaust gas (e. g. lambda probe fault). Reduce speed and drive carefully to
the nearest qualified workshop to have the engine checked.
The following information text displayed in the instrument panel display:
EXHAUST GAS SEE WORKSHOP .
Electronic stabilisation programme (ESP)*
This warning lamp monitors the electronic stabilisation
program.
This program includes the ABS, EDL and TCS.
The warning lamp
has the following functions:
•
It will light for about 2 seconds when the ignition is switched on while a
test of the function is carried out.
•
It flashes when the ESP is activated when driving.
•
It will light up continuously if there is a malfunction in the ESP.
17)Depending on the model version
altea_xl ingles.book Seite 81 Donnerstag, 12. April 2007 12:56 12
Page 84 of 312
Cockpit
82•
It will light up continuously if the ESP is switched off.
•
It will also come on if a fault should occur in the ABS because the ESP
operates in conjunction with the ABS.
If the ESP warning lamp
lights up and stays on after the engine is started,
this may mean that the control system has temporarily switched off the ESP.
In this case the ESP can be reactivated by switching the ignition off and then
on again. If the warning lamp goes out, this means the system is fully
functional.
Operating the foot brake
The footbrake must be depressed when this warning lamp lights up. This is
necessary when the automatic gearbox* selector lever is moved out of the
positions P or N.Power steering system*
For vehicles with power steering, the level of steering assistance depends on
the vehicle's speed and on the steering angle.
The warning lamp should light up for a few seconds when the ignition is
switched on. It should go out when the engine has started running.
If the battery is disconnected, the indicator remains lit, even with the engine
running. The warning light only goes off after a distance of approx. 50 m.
There is a fault in the electromechanica l steering system if the lamp does not
go out or lights up whilst the vehicle is in motion. The indicator may appear
in two different colours to indicate fault s. If it lights yellow, this indicates a
minor fault. If it lights red, seek wo rkshop assistance immediately, if no
assistance is available stop driving. Stop the vehicle and seek technical
assistance. The power steering does not work if the battery is flat or if the engine is off (for example, for towing). You should take into account that you
will need considerably more power than normal to steer the vehicle if the
steering assistance is reduced
or has failed completely.
For those vehicles fitted with ESP* the function “Recommended steering
manoeuvre” is included. See ⇒page 183.
Brake pad wear indicator*
As the brake pad wear indicator only monitors the front brake pads, it is advis-
able to have the rear brake pads inspected at the same time.
The following information text is displayed in the instrument panel
18): CHECK
BRAKE PADS .
WARNING
Have the brake pads inspected immediately by a qualified dealership if the
warning display
lights up.
Indicator for open doors or tailgate
This indicator lights if one of th e doors or the tailgate is open.The warning light
should go off when all the doors are closed correctly.
The system also works when the ignition is switched off. It should go off
about 15 seconds after the vehicle is locked.
18)Depending on the model version
altea_xl ingles.book Seite 82 Donnerstag, 12. April 2007 12:56 12
Page 157 of 312

Heating, Ventilation and Air conditioning 155
Safety First
Operating instructions
Tips and Maintenance
Te c h n i c a l D a t a
– Use the air distribution control to guide the flow of air in the
required direction: (to the windscreen), (to the upper
body), (to the foot well) and (to the windscreen and to the
foot well).Heating system
Maximum heat output, which is needed to defrost the windows quickly, is
only available when the engine has reached its operating temperature.
Air conditioner
When the air conditioning system is switched on, not only the temperature,
but also the air humidity in the vehicle interior is reduced. This improves comfort for the vehicle occupants and prevents misting of the windows when
the ambient air humidity is high.
If the air conditioning system cannot be
switched on this may be caused by
the following reasons:
•
The engine may not be running.
•
The blower is switched off.
•
The ambient air temperature is lower than +3°C.
•
The air conditioning system compress or has been temporarily switched
off because the engine coolant temperature is too high.
•
The air conditioner fuse is faulty.
•
Another fault in the vehicle. Have the air conditioner checked by a quali-
fied workshop.
Air recirculation mode
Air recirculation mode prevents fumes or un pleasant smells from entering the vehicle.
Fig. 131 On the dash panel: Climatic controls
altea_xl ingles.book Seite 155 Donnerstag, 12. April 2007 12:56 12