Seat Exeo 2010 MEDIA SYSTEM E
Manufacturer: SEAT, Model Year: 2010, Model line: Exeo, Model: Seat Exeo 2010Pages: 167, PDF Size: 5.4 MB
Page 41 of 167
RADIO
40By briefly pressing the control knob you start automatic seek, which stops at
the next receivable frequency. Since a station often broadcasts on different
frequency, the tuning stops at each of the receivable frequencies. This means
that a station can be found several times.Storing stations– Press the Tuning control button in the radio menu. – Using “Manual station search”
⇒page 39 or “automatic tuning”
⇒ page 39, select the station or frequency to be stored.
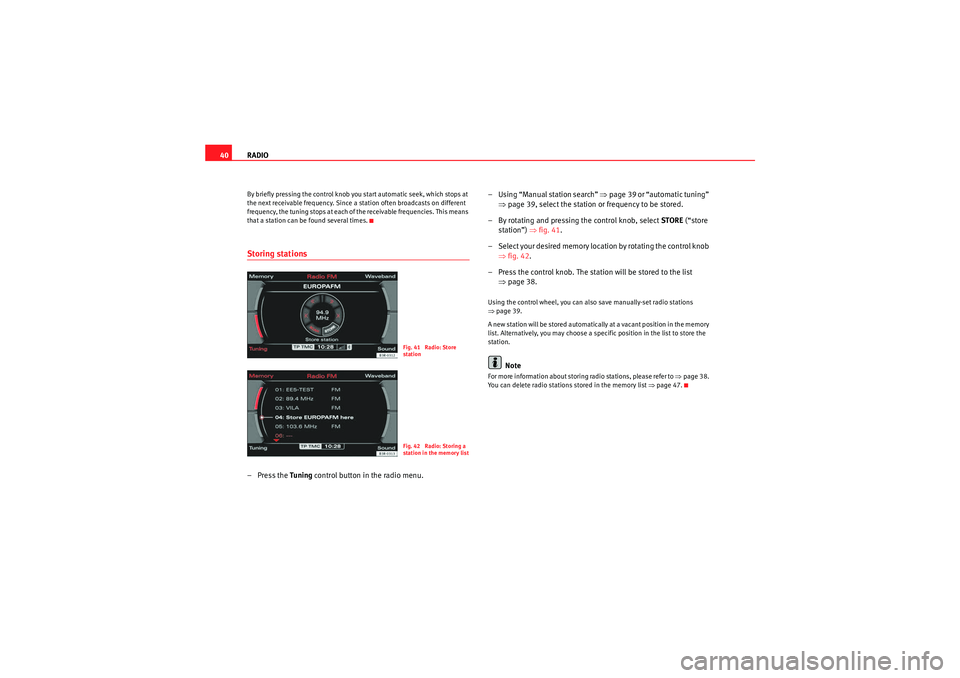
– By rotating and pressing the control knob, select STORE (“store
station”) ⇒fig. 41 .
– Select your desired memory location by rotating the control knob ⇒fig. 42 .
– Press the control knob. The station will be stored to the list ⇒page 38.
Using the control wheel, you can also save manually-set radio stations
⇒page 39.
A new station will be stored automatically at a vacant position in the memory
list. Alternatively, you may choose a specific position in the list to store the
station.
Note
For more information about storing radio stations, please refer to ⇒page 38.
You can delete radio stations stored in the memory list ⇒page 47.
Fig. 41 Radio: Store
stationFig. 42 Radio: Storing a
station in the memory list
media_systemE_EN.book Seite 40 Montag, 21. September 2009 1:48 13
Page 42 of 167
RADIO41
Operating
RADIO, MEDIA (audiovisual
systems)
NAME, TEL
NAV, INFO
CAR, SETUP
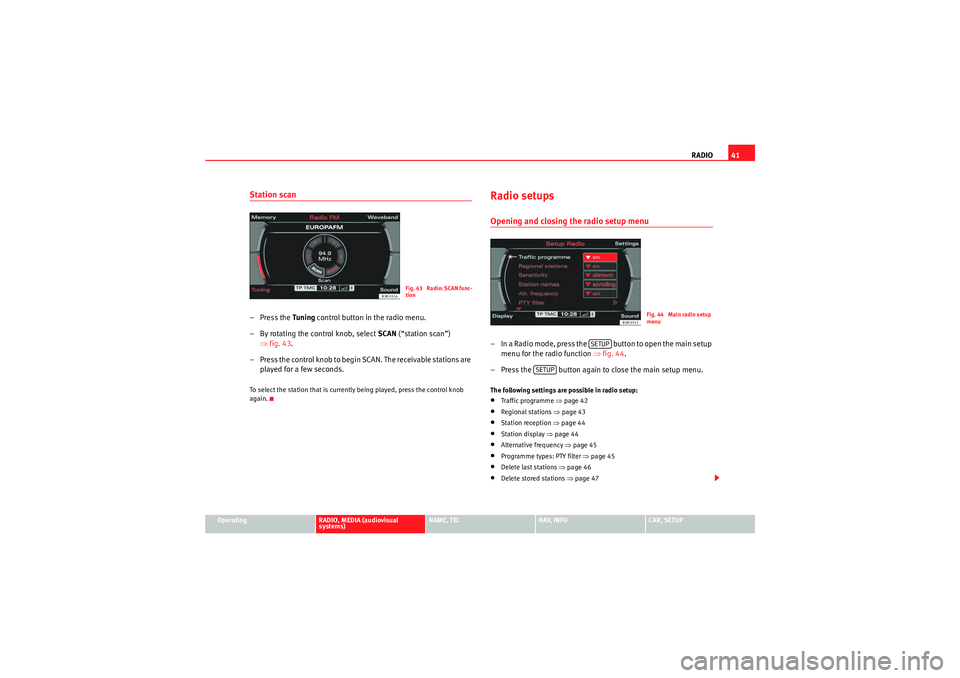
Station scan– Press the Tuning control button in the radio menu.
– By rotating the control knob, select SCAN (“station scan”)
⇒ fig. 43 .
– Press the control knob to begin SCAN. The receivable stations are played for a few seconds.To select the station that is currently being played, press the control knob
again.
Radio setupsOpening and closing the radio setup menu– In a Radio mode, press the button to open the main setup menu for the radio function ⇒fig. 44 .
– Press the button again to close the main setup menu.The following settings are possible in radio setup:•Traffic programme ⇒ page 42•Regional stations ⇒page 43•Station reception ⇒page 44•Station display ⇒page 44•Alternative frequency ⇒page 45•Programme types: PTY filter ⇒page 45•Delete last stations ⇒page 46•Delete stored stations ⇒page 47
Fig. 43 Radio: SCAN func-
tion
Fig. 44 Main radio setup
menu
SETUP
SETUP
media_systemE_EN.book Seite 41 Montag, 21. September 2009 1:48 13
Page 43 of 167
RADIO
42The sound and tuning settings and the brightness of the display can be
altered using the control buttons ⇒page 153.
Note
We recommend that you enter these settings when the vehicle is stationary.
Please note ⇒ page 6, “Notes on road safety”.Traffic programme
Use the traffic programme option to switch the function on
and off as desired.
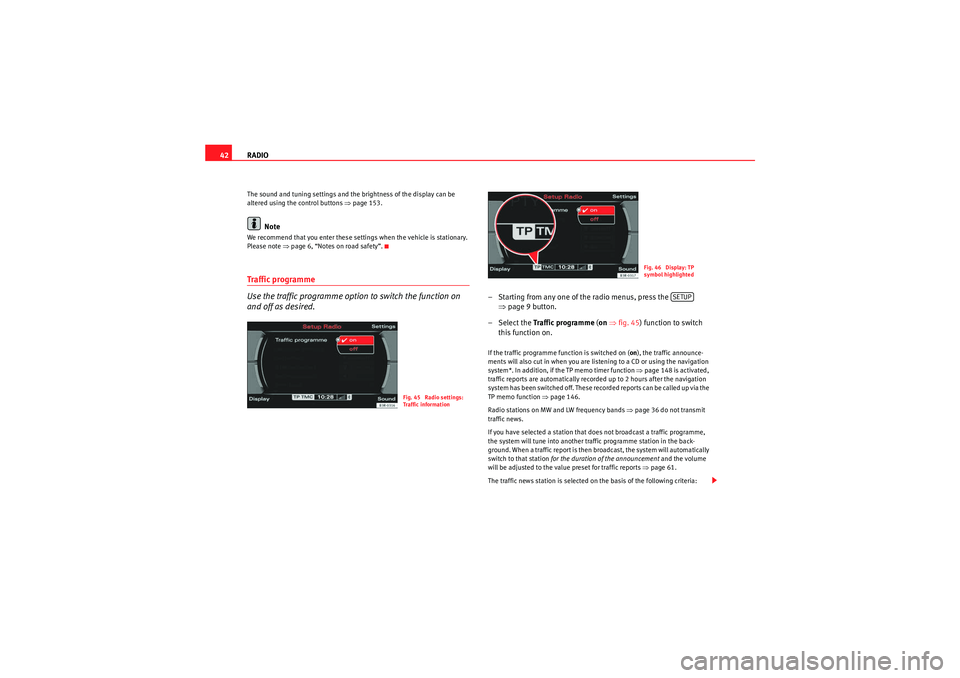
– Starting from any one of the radio menus, press the
⇒page 9 button.
– Select the Traffic programme (on ⇒ fig. 45) function to switch
this function on.If the traffic programme function is switched on ( on), the traffic announce-
ments will also cut in when you are listening to a CD or using the navigation
system*. In addition, if the TP memo timer function ⇒page 148 is activated,
traffic reports are automatically recorded up to 2 hours after the navigation
system has been switched off. These recorded reports can be called up via the
TP memo function ⇒page 146.
Radio stations on MW and LW frequency bands ⇒page 36 do not transmit
traffic news.
If you have selected a station that does not broadcast a traffic programme,
the system will tune into another traffic programme station in the back-
ground. When a traffic report is then broadcast, the system will automatically
switch to that station for the duration of the announcement and the volume
will be adjusted to the value preset for traffic reports ⇒page 61.
The traffic news station is selected on the basis of the following criteria:
Fig. 45 Radio settings:
Traffic information
Fig. 46 Display: TP
symbol highlighted
SETUP
media_systemE_EN.book Seite 42 Montag, 21. September 2009 1:48 13
Page 44 of 167
RADIO43
Operating
RADIO, MEDIA (audiovisual
systems)
NAME, TEL
NAV, INFO
CAR, SETUP
•If the radio station currently selected is a TP station (e.g. Bayern 3 in
Germany), the traffic reports of this station will be broadcast.•If the radio station currently selected is an EON station (e.g. Bayern 2 in
Germany), the traffic reports of this network of stations (in this case the
reports on Bayern 3) will be broadcast.•If the station you are currently tuned to is neither a TP nor an EON station,
the traffic reports of the TP station with the best reception will be broadcast.
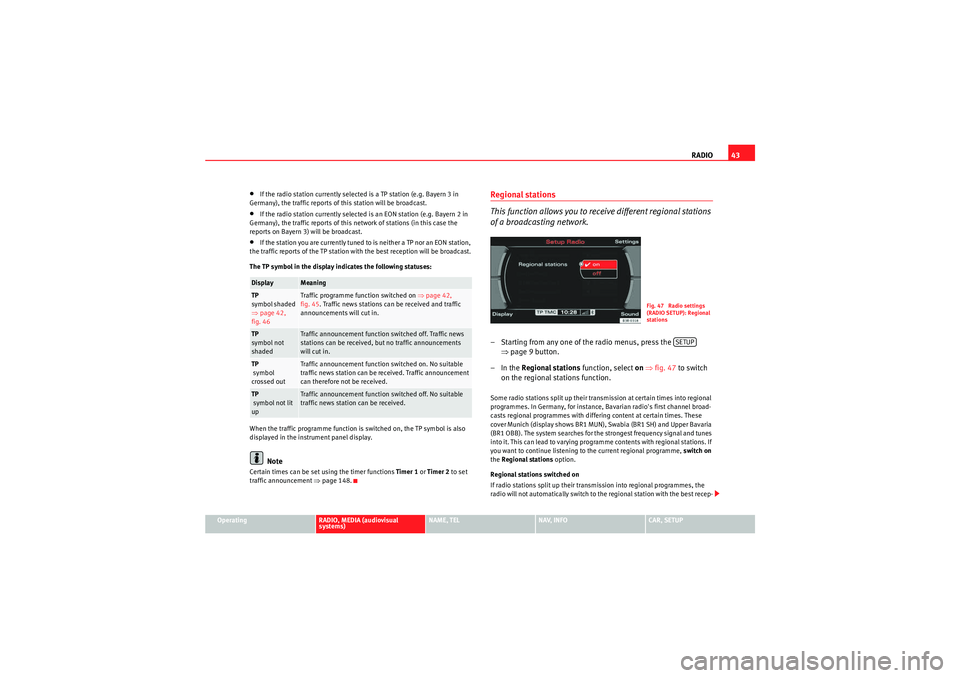
The TP symbol in the display indicates the following statuses:
When the traffic programme function is switched on, the TP symbol is also
displayed in the instrument panel display.Note
Certain times can be set using the timer functions Timer 1 or Timer 2 to set
traffic announcement ⇒ page 148.
Regional stations
This function allows you to receive different regional stations
of a broadcasting network.– Starting from any one of the radio menus, press the
⇒page 9 button.
–In the Regional stations function, select on ⇒ fig. 47 to switch
on the regional stations function.Some radio stations split up their transmission at certain times into regional
programmes. In Germany, for instance, Bavarian radio's first channel broad-
casts regional programmes with differing content at certain times. These
cover Munich (display shows BR1 MUN), Swabia (BR1 SH) and Upper Bavaria
(BR1 OBB). The system searches for the strongest frequency signal and tunes
into it. This can lead to varying programme contents with regional stations. If
you want to continue listening to the current regional programme, switch on
the Regional stations option.
Regional stations switched on
If radio stations split up their transmission into regional programmes, the
radio will not automatically switch to the regional station with the best recep-
Display
Meaning
TP
symbol shaded
⇒ page 42,
fig. 46
Traffic programme function switched on ⇒page 42,
fig. 45 . Traffic news stations can be received and traffic
announcements will cut in.
TP
symbol not
shaded
Traffic announcement function switched off. Traffic news
stations can be received, but no traffic announcements
will cut in.
TP
symbol
crossed out
Traffic announcement function switched on. No suitable
traffic news station can be received. Traffic announcement
can therefore not be received.
TP
symbol not lit
up
Traffic announcement function switched off. No suitable
traffic news station can be received.
Fig. 47 Radio settings
(RADIO SETUP): Regional
stations
SETUP
media_systemE_EN.book Seite 43 Montag, 21. September 2009 1:48 13
Page 45 of 167
RADIO
44tion quality. This avoids switching back and forth between different regional
programmes, whenever the reception quality changes. The current regional
programme remains set. This can, however, lead to reception problems.
You can select any other regional programme broadcast by the regional
station you are tuned to from the station list ⇒ page 36.
We recommend you have the “Regional stations” function switched on (on ) at
all times.
Regional stations switched off
If the Regional stations function is off, only the strongest regional programme
of a specific broadcasting station will be received. In some cases, the radio
will then switch between stations with differing programme contents.Station reception
The sensitivity level of the automatic seek function can be
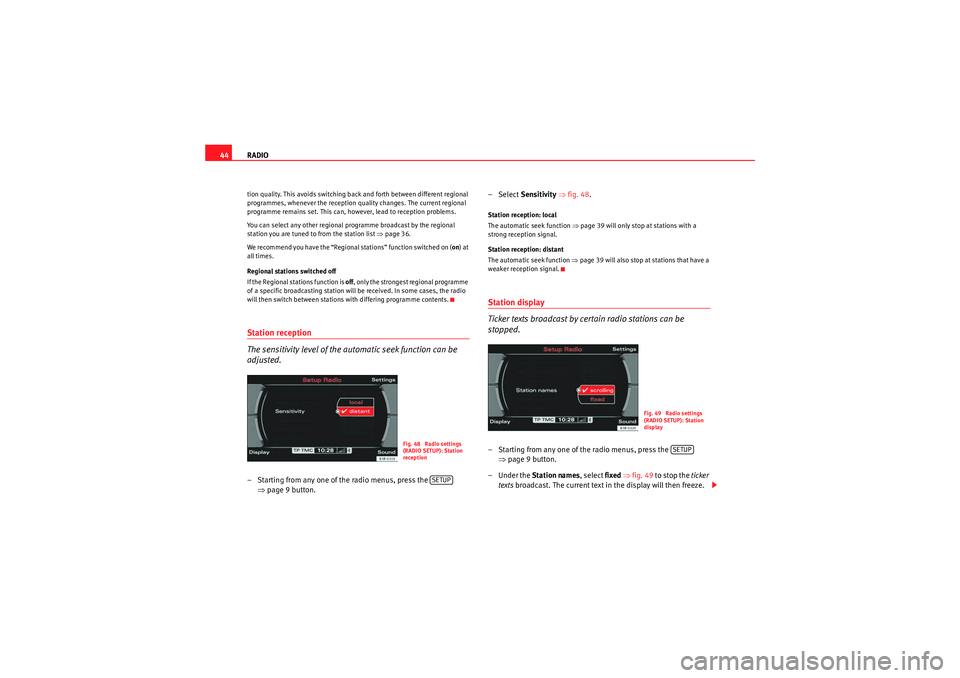
adjusted.– Starting from any one of the radio menus, press the ⇒page 9 button. – Select
Sensitivity ⇒ fig. 48.
Station reception: local
The automatic seek function ⇒page 39 will only stop at stations with a
strong reception signal.
Station reception: distant
The automatic seek function ⇒page 39 will also stop at stations that have a
weaker reception signal.Station display
Ticker texts broadcast by certain radio stations can be
stopped.– Starting from any one of the radio menus, press the ⇒page 9 button.
– Under the Station names , select fixed ⇒ fig. 49 to stop the ticker
texts broadcast. The current text in the display will then freeze.
Fig. 48 Radio settings
(RADIO SETUP): Station
recep tion
SETUP
Fig. 49 Radio settings
(RADIO SETUP): Station
display
SETUP
media_systemE_EN.book Seite 44 Montag, 21. September 2009 1:48 13
Page 46 of 167
RADIO45
Operating
RADIO, MEDIA (audiovisual
systems)
NAME, TEL
NAV, INFO
CAR, SETUP
If you have set the station display to
moving ⇒ page 44, fig. 49, the ticker
text will be shown when you tune into a station broadcasting this type of
information.
Alternative frequencies– Starting from any one of the radio menus, press the ⇒page 9 button.
– Switch on the Alt. frequency function (on) ⇒ page 41, fig. 44 to
automatically change frequency within the same station.Because of the limited range of FM (VHF) signals, a radio station may broad-
cast from several transmitters on different frequencies. If the Alt. frequency
function is switched on (on), the radio-navigation system searches for the
strongest frequency signal and tunes into it.
The radio switches from one frequency to another inaudibly. The programme
name appearing on the display is not changed. The control wheel ⇒page 39
displays the corresponding frequency.
Note
To ensure optimum reception, the alternative frequency function will auto-
matically be set to on when you switch on the navigation system or switch to
another station.
Selecting programme type: PTY filter
Use the programme filter to sort the station list according to
your preferences.Switching on the filter function
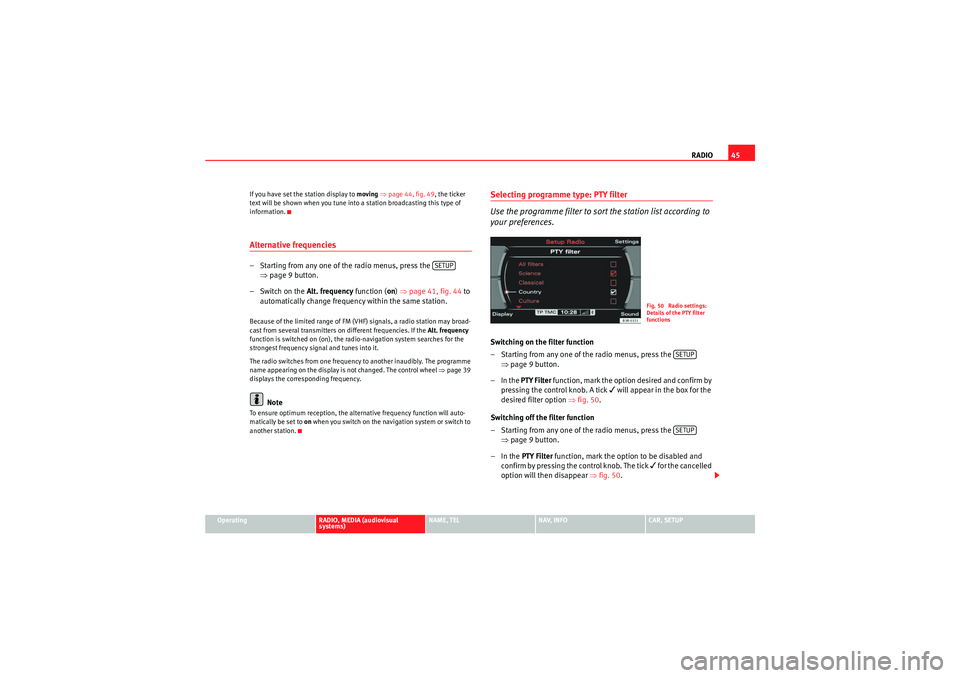
– Starting from any one of the radio menus, press the ⇒page 9 button.
–In the PTY Filter function, mark the option desired and confirm by
pressing the control knob. A tick
will appear in the box for the
desired filter option ⇒fig. 50 .
Switching off the filter function
– Starting from any one of the radio menus, press the ⇒page 9 button.
–In the PTY Filter function, mark the option to be disabled and
confirm by pressing the control knob. The tick
for the cancelled
option will then disappear ⇒fig. 50 .
SETUP
Fig. 50 Radio settings:
Details of the PTY filter
functions
SETUPSETUP
media_systemE_EN.book Seite 45 Montag, 21. September 2009 1:48 13
Page 47 of 167
RADIO
46
Switching off all filter functions
– Starting from any one of the radio menus, press the ⇒page 9 button.
– First select the All filters option and press the control knob so
that the tick box appears after it
. The tick box
will also
appear after all the options.
– Then press the control knob again and the tick boxes
will
disappear from all the options.
All filters with a tick box
after then are enabled. All remaining filters are
disabled.
A total of more than 20 filters can be enabled. The selection made will limit
the number of stations. This will be seen in the station list. For example: if you
select the "Classical" option, the station list will show those stations broad-
casting classical music.
Note
If you want all receivable stations to be displayed, regardless of whether they
support the PTY filter option, you must turn off all filter options.
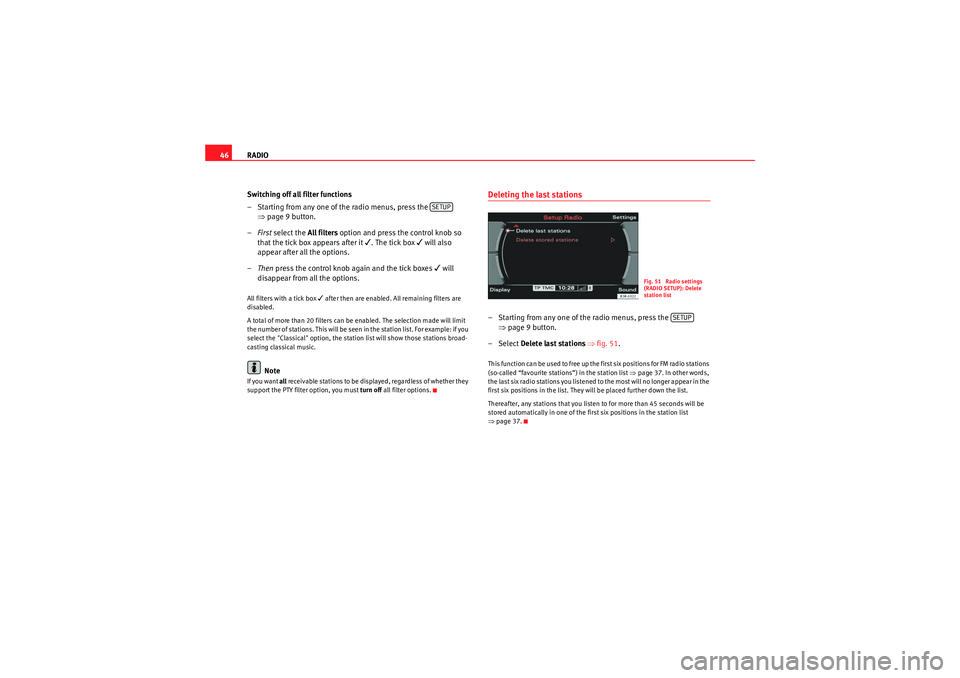
Deleting the last stations– Starting from any one of the radio menus, press the
⇒page 9 button.
– Select Delete last stations ⇒ fig. 51.This function can be used to free up the first six positions for FM radio stations
(so-called “favourite stations”) in the station list ⇒page 37. In other words,
the last six radio stations you listened to the most will no longer appear in the
first six positions in the list. They will be placed further down the list.
Thereafter, any stations that you listen to for more than 45 seconds will be
stored automatically in one of the first six positions in the station list
⇒ page 37.
SETUP
Fig. 51 Radio settings
(RADIO SETUP): Delete
station list
SETUP
media_systemE_EN.book Seite 46 Montag, 21. September 2009 1:48 13
Page 48 of 167
RADIO47
Operating
RADIO, MEDIA (audiovisual
systems)
NAME, TEL
NAV, INFO
CAR, SETUP
Deleting stored stationsDeleting individual stations
– Starting from any one of the radio menus, press the
⇒page 9 button.
–Select Delete stored stations ⇒ page 46, fig. 51 .
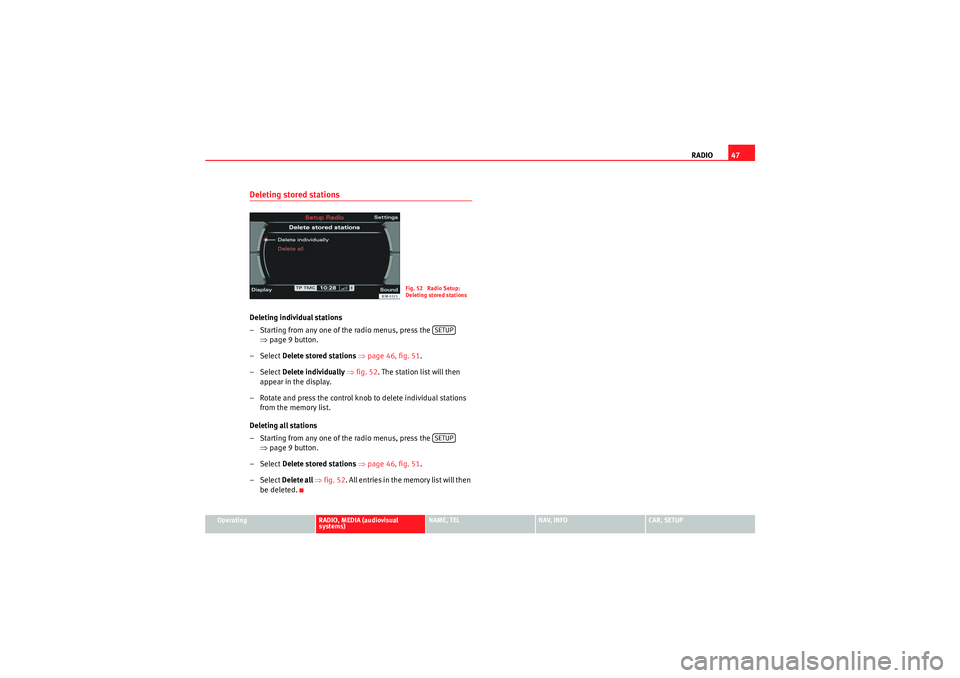
–Select Delete individually ⇒ fig. 52 . The station list will then
appear in the display.
– Rotate and press the control knob to delete individual stations from the memory list.
Deleting all stations
– Starting from any one of the radio menus, press the ⇒page 9 button.
–Select Delete stored stations ⇒ page 46, fig. 51 .
–Select Delete all ⇒ fig. 52. All entries in the me m o r y l is t w i ll t h e n
be deleted.
Fig. 52 Radio Setup:
Deleting stored stations
SETUPSETUP
media_systemE_EN.book Seite 47 Montag, 21. September 2009 1:48 13
Page 49 of 167
MEDIA
48MEDIAIntroductionIntroduction
CD and MP3 modes are selected by using the function
button.Depending on the equipment in your vehicle, you can use the func-
tion to play audio CDs (in the navigation DVD drive) or the MP3 player
⇒ page 54 integrated into the navigation system.
You can switch between the CD and MP3 function by using the control button
with the Source ⇒ page 50 function.Traffic programme
Audio/video* playback can be interrupted for traffic news
announcements.Switching traffic programme on and off
– In the Radio Setup menu, switch the option Traffic programme on
or off as desired ⇒page 42. The TP symbol is lit in the status line
when the traffic programme is activated and a suitable radio
station has been selected.
Cancelling a traffic announcement
– Select Cancel in the display to cancel a running traffic announce-
ment. The audio/video* playback will then be continued.
If the traffic programme function is activated, the audio/video playback will
be interrupted for traffic news announcements.
All following traffic announcements will cut in even after cancelling a running
announcement.
Note
A traffic announcement will not be recorded if you use the Cancel function
while it is playing. This means you will not be able to access the announce-
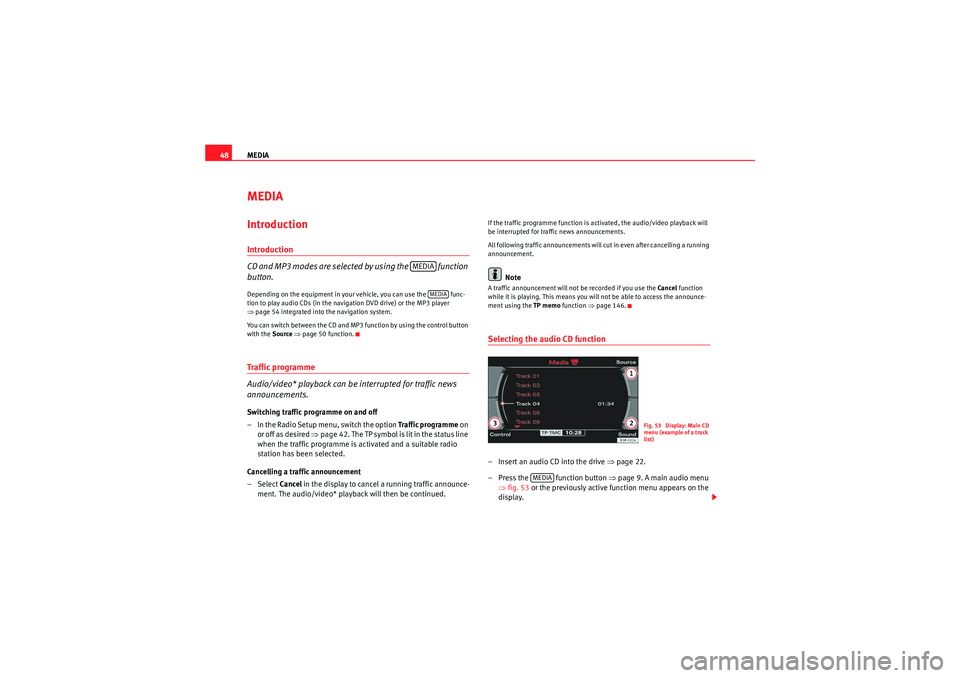
ment using the TP memo function ⇒page 146.Selecting the audio CD function– Insert an audio CD into the drive ⇒ page 22.
– Press the function button ⇒page 9. A main audio menu
⇒ fig. 53 or the previously active function menu appears on the
display.
MEDIA
MEDIA
Fig. 53 Display: Main CD
menu (example of a track
list)
MEDIA
media_systemE_EN.book Seite 48 Montag, 21. September 2009 1:48 13
Page 50 of 167
MEDIA49
Operating
RADIO, MEDIA (audiovisual
systems)
NAME, TEL
NAV, INFO
CAR, SETUP
– Press the control button with the Source function.
–Select audio CD.
– Press one of the control buttons ⇒page 9 ( to ⇒page 48,
fig. 53 ) to move to the appropriate submenus.The CD Menu has the following options:
Selecting the MP3 function– Insert a memory card or MP3 CD into the appropriate drive
⇒page 22.
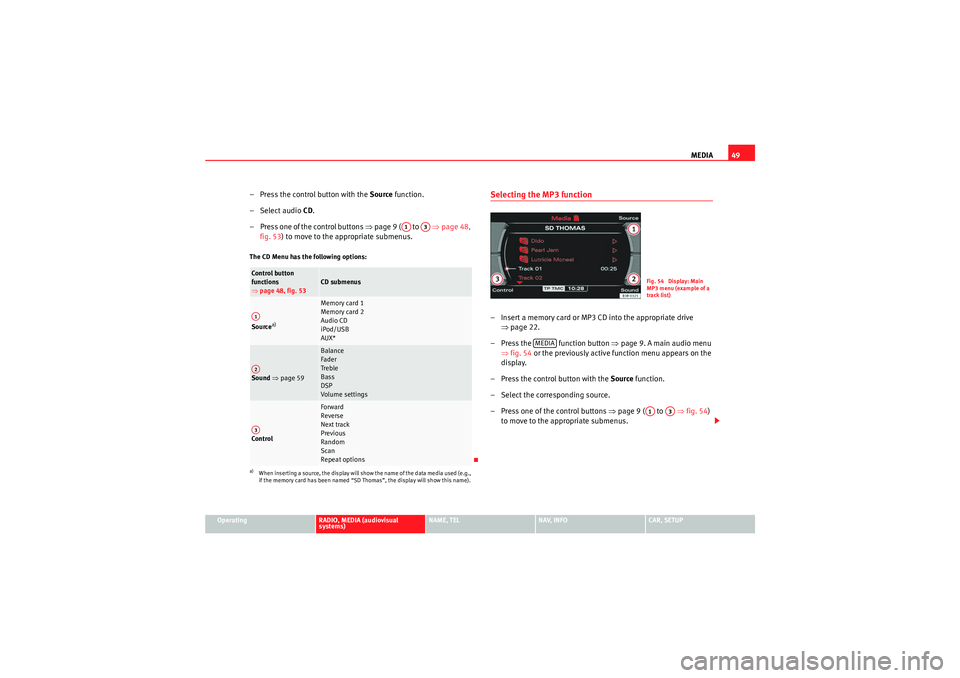
– Press the function button ⇒ page 9. A main audio menu
⇒ fig. 54 or the previously active function menu appears on the
display.
– Press the control button with the Source function.
– Select the corresponding source.
– Press one of the control buttons ⇒page 9 ( to ⇒ fig. 54)
to move to the appropriate submenus.
Co n tro l but to n
functions
⇒ page 48, fig. 53
CD submenus
Source
a)
a)When inserting a source, the display will show the name of the data media used (e.g.,
if the memory card has been named “SD Thomas”, the display will show this name).
Memory card 1
Memory card 2
Audio CD
iPod/USB
AUX*
Sound ⇒ page 59
Balance
Fader
Treble
Bass
DSP
Volume settings
Co n tro l
Forward
Reverse
Next track
Previous
Random
Scan
Repeat options
A1
A3
A1A2A3
Fig. 54 Display: Main
MP3 menu (example of a
track list)
MEDIA
A1
A3
media_systemE_EN.book Seite 49 Montag, 21. September 2009 1:48 13