ESP Seat Ibiza 5D 2009 Owner's Guide
[x] Cancel search | Manufacturer: SEAT, Model Year: 2009, Model line: Ibiza 5D, Model: Seat Ibiza 5D 2009Pages: 257, PDF Size: 6.5 MB
Page 96 of 257
Lights and visibility
94
NoteIf not all the vehicle doors are closed, the interior lights will be switched off
after approx. 10 minutes, providing the key has been removed and the cour-
tesy light position selected. This prevents the battery from discharging.Front reading light*Switching on the reading light
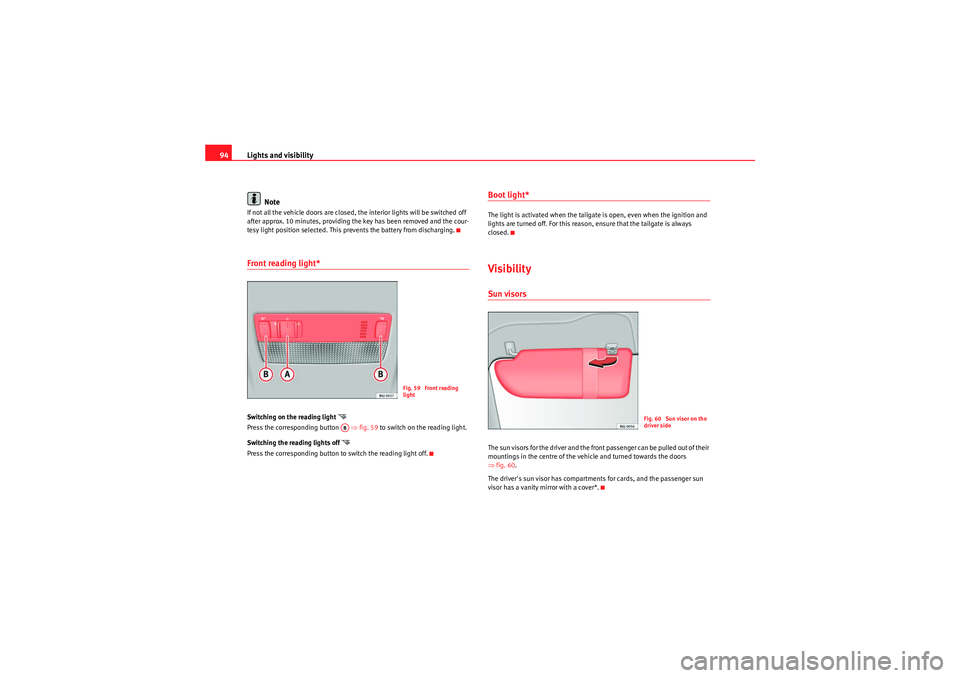
Press the corresponding button ⇒fig. 59 to switch on the reading light.
Switching the reading lights off
Press the corresponding button to switch the reading light off.
Boot light*The light is activated when the tailgate is open, even when the ignition and
lights are turned off. For this reason, ensure that the tailgate is always
closed.VisibilitySun visorsThe sun visors for the driver and the front passenger can be pulled out of their
mountings in the centre of the vehicle and turned towards the doors
⇒ fig. 60.
The driver's sun visor has compartments for cards, and the passenger sun
visor has a vanity mirror with a cover*.
Fig. 59 Front reading
light
AB
Fig. 60 Sun visor on the
driver side
Ibiza_EN.book Seite 94 Montag, 14. September 2009 6:19 18
Page 98 of 257
Lights and visibility
96•Always note the corresponding warnings on ⇒page 188.Caution
In icy conditions, always check that the wiper blades are not frozen to the
glass before using the wipers for the first time. If you switch on the wipers
when the wiper blades are frozen to the windscreen, you could damage both
the wiper blades and the wiper motor.
Note
•The windscreen wipers will only work when the ignition is switched on.•The heat output of the heated jets* is controlled automatically when the
ignition is switched on, depending upon the outside temperature.•In certain versions of vehicles with alarms, the windscreen wiper will only
work when the ignition is on and the bonnet closed.•When the intermittent wipe function is on, the intervals are directly
proportional to the speed. This way, the higher the vehicle speed the shorter
the intervals.
Rain sensor*
The rain sensor controls the frequency of the windscreen
wiper intervals, depending on the amount of rain.Switching on the rain sensor
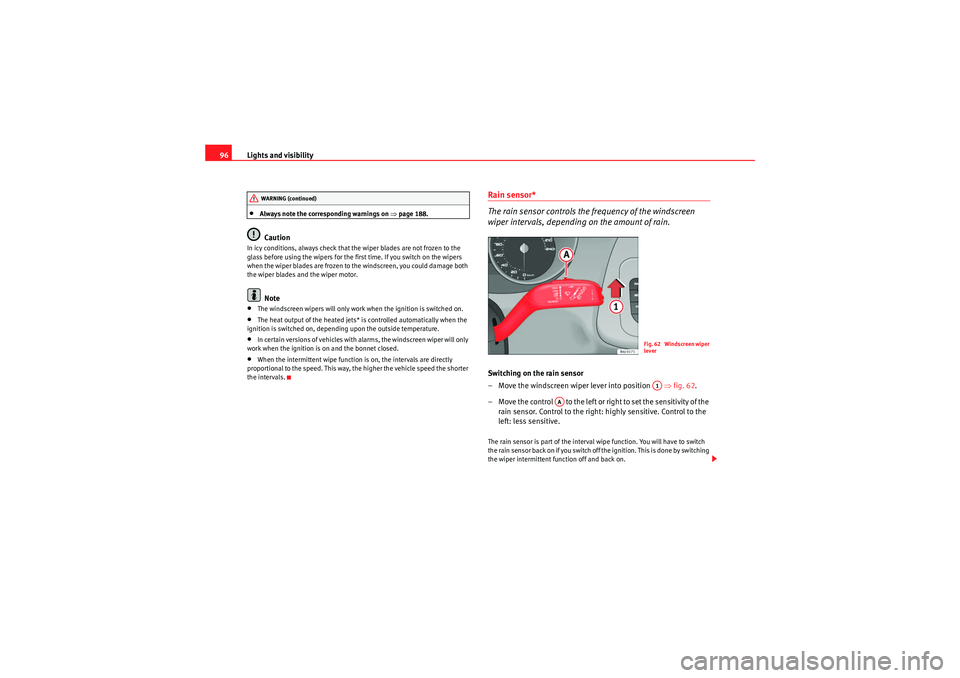
– Move the windscreen wiper lever into position ⇒ fig. 62.
– Move the control to the left or right to set the sensitivity of the rain sensor. Control to the right: highly sensitive. Control to the
left: less sensitive.The rain sensor is part of the interval wipe function. You will have to switch
the rain sensor back on if you switch off the ignition. This is done by switching
the wiper intermittent function off and back on.
WARNING (continued)
Fig. 62 Windscreen wiper
leverA1
AA
Ibiza_EN.book Seite 96 Montag, 14. September 2009 6:19 18
Page 99 of 257
Lights and visibility97
Safety First
Controls and equipment
Practical tips
Technical Data
Note
•Do not put stickers on the windscreen in front of the sensor. This may
cause sensor disruption or faults.Rear window wiper
The windscreen wiper lever operates the windscreen wiper
and the wash and wipe system for the rear window.
Switching on the interval wipe
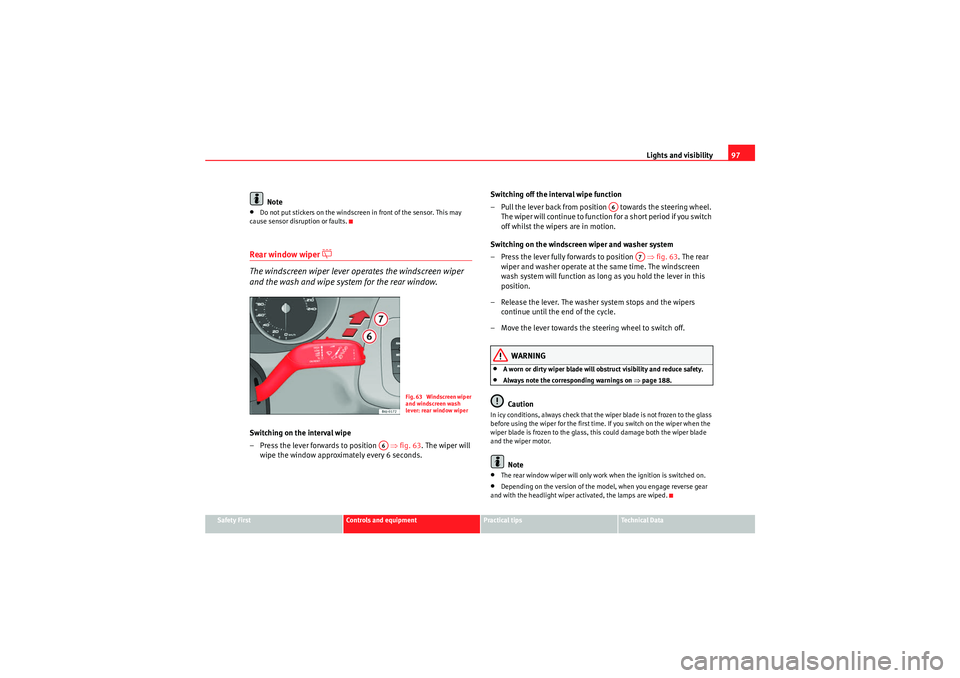
– Press the lever forwards to position ⇒fig. 63 . The wiper will
wipe the window approximately every 6 seconds. Switching off the interval wipe function
– Pull the lever back from position towards the steering wheel.
The wiper will continue to function for a short period if you switch
off whilst the wipers are in motion.
Switching on the windscreen wiper and washer system
– Press the lever fully fo rwards to position ⇒fig. 63 . The rear
wiper and washer operate at the same time. The windscreen
wash system will function as long as you hold the lever in this
position.
– Release the lever. The washer system stops and the wipers continue until the end of the cycle.
– Move the lever towards the steering wheel to switch off.
WARNING
•A worn or dirty wiper blade will obstruct visibility and reduce safety.•Always note the corresponding warnings on ⇒page 188.Caution
In icy conditions, always check that the wiper blade is not frozen to the glass
before using the wiper for the first time. If you switch on the wiper when the
wiper blade is frozen to the glass, this could damage both the wiper blade
and the wiper motor.
Note
•The rear window wiper will only work when the ignition is switched on.•Depending on the version of the model, when you engage reverse gear
and with the headlight wiper activated, the lamps are wiped.
Fig. 63 Windscreen wiper
and windscreen wash
lever: rear window wiper
A6
A6
A7
Ibiza_EN.book Seite 97 Montag, 14. September 2009 6:19 18
Page 103 of 257
Seats and stowage101
Safety First
Controls and equipment
Practical tips
Technical Data
Seats and stowageThe importance of correct seat adjustmentProper seat adjustment optimises the level of protection
offered by seat belts and airbags.Your vehicle has five seats, two on the front part and three on the rear part.
Each seat is equipped with a three-point seat belt.
The driver seat and the front passenger seat can be adjusted in many ways to
suit the physical requirements of the vehicle occupants. The correct seat
position is very important for:•a fast and easy operation of all controls on the instrument panel,•a relaxed posture which does not cause drowsiness,•a safe driving ⇒ page 7,•ensuring that the seat belts and airbag system provide maximum protec-
tion ⇒page 16.WARNING
•If the driver and passengers assume improper sitting positions, they
may sustain critical injuries.•More people than available seats must never be transported in your
vehicle.•Every passenger in the vehicle must properly fasten and wear the seat
belt belonging to his or her seat. Chil dren must be protected with an appro-
priate child restraint system ⇒page 38, “Child safety”.•The front seats and all head restraints must always be adjusted to body
size and the seat belt must always be properly adjusted to provide you and
your passengers with optimum protection.
•Always keep your feet on the foot well when the vehicle is moving;
never rest them on the dash panel, out of the window or on the seat. This
is also applied to passengers. An incorrect sitting position exposes you to
an increased risk of injury in case of a sudden braking or an accident. If the
airbag is triggered, you could sustain severe injuries due to an incorrect
sitting position.•It is important for the driver and front passenger to keep a distance of
at least 25 cm from the steering wheel or dash panel. Failure to respect the
minimum distance means that the airbag will not protect you. Risk of fatal
injury. The distance between the driver and the steering wheel or between
the front passenger and the dash panel should always be as great as
possible.•Adjust the driver or front passenger seat only when the vehicle is
stationary. Otherwise, your seat could move unexpectedly while the
vehicle is moving. This could increase the risk of an accident and therefore,
injury. In addition, while adjusting your seat, you will assume an incorrect
sitting position. Risk of fatal accidents.•Special guidelines apply to installing a child seat on the front
passenger seat. When installing a child seat, please observe the warnings
described in ⇒page 38, “Child safety”.WARNING (continued)
Ibiza_EN.book Seite 101 Montag, 14. September 2009 6:19 18
Page 107 of 257
Seats and stowage105
Safety First
Controls and equipment
Practical tips
Technical Data
Heated seats*
The front seat cushions and backrests can be heated electri-
cally.
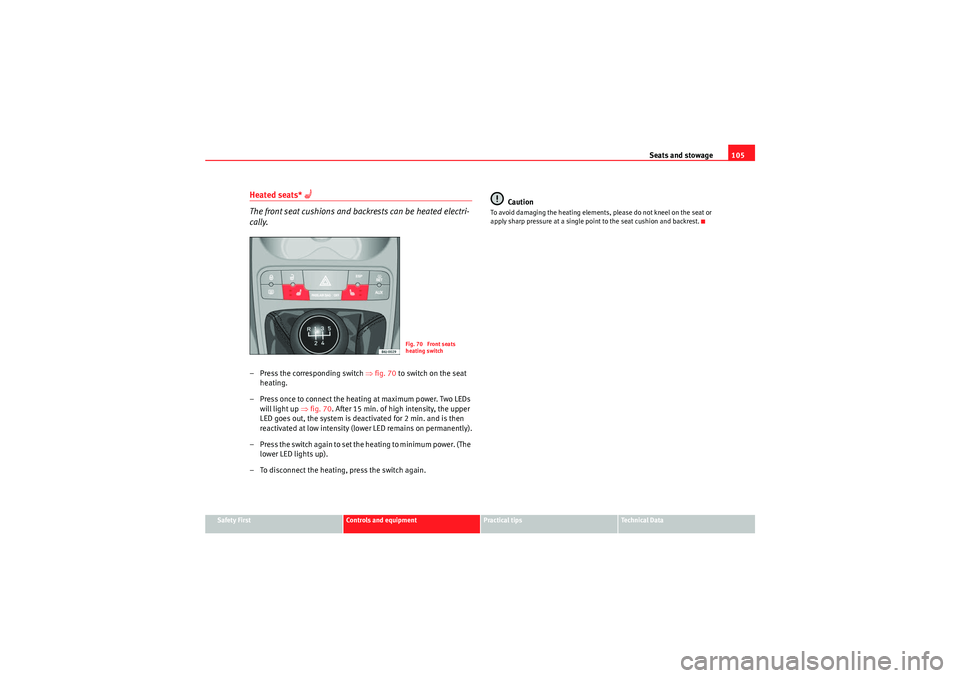
– Press the corresponding switch ⇒fig. 70 to switch on the seat
heating.
– Press once to connect the heating at maximum power. Two LEDs will light up ⇒fig. 70. After 15 min. of high intensity, the upper
LED goes out, the system is deactivated for 2 min. and is then
reactivated at low intensity (lower LED remains on permanently).
– Press the switch again to set the heating to minimum power. (The lower LED lights up).
– To disconnect the heating, press the switch again. Caution
To avoid damaging the heating elements, please do not kneel on the seat or
apply sharp pressure at a single point to the seat cushion and backrest.
Fig. 70 Front seats
heating switch
Ibiza_EN.book Seite 105 Montag, 14. September 2009 6:19 18
Page 108 of 257
Seats and stowage
106Rear seat benchFolding down rear seats
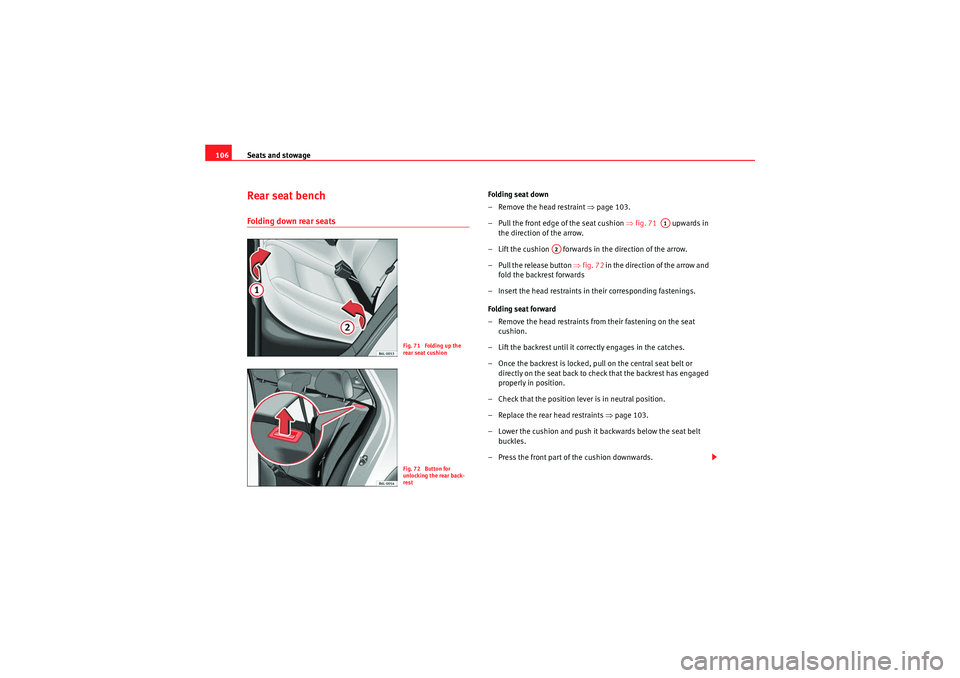
Folding seat down
– Remove the head restraint ⇒page 103.
– Pull the front edge of the seat cushion ⇒ fig. 71 upwards in
the direction of the arrow.
– Lift the cushion forwards in the direction of the arrow.
– Pull the release button ⇒fig. 72 in the direction of the arrow and
fold the backrest forwards
– Insert the head restraints in their corresponding fastenings.
Folding seat forward
– Remove the head restraints from their fastening on the seat cushion.
– Lift the backrest until it correctly engages in the catches.
– Once the backrest is locked, pull on the central seat belt or directly on the seat back to check that the backrest has engaged
properly in position.
– Check that the position lever is in neutral position.
–Replace the rear head restraints ⇒page 103.
– Lower the cushion and push it backwards below the seat belt buckles.
– Press the front part of the cushion downwards.
Fig. 71 Folding up the
rear seat cushionFig. 72 Button for
unlocking the rear back-
rest
A1
A2
Ibiza_EN.book Seite 106 Montag, 14. September 2009 6:19 18
Page 109 of 257
Seats and stowage107
Safety First
Controls and equipment
Practical tips
Technical Data
On split rear seats
9) the backrest and cushion can be lowered and raised
respectively in two sections.
WARNING
•Please be careful when folding back the backrest! Injuries can be
caused if the backrest is tilted without due care and attention.•Do no trap or damage seat belts when raising the backrest.•After raising the backrest, check it has engaged properly in position. Do
this by pulling on the central seat belt or directly on the seat back and
check that the position lever is in the neutral position.•The three point automatic seat belt only works correctly when the back-
rest of the central seat is correctly engaged.
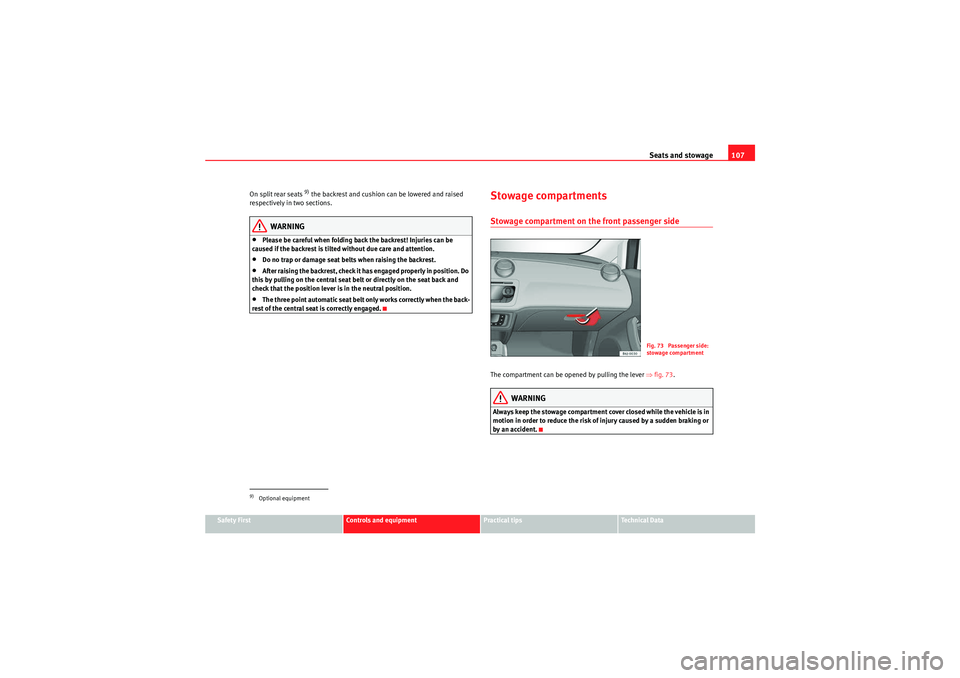
Stowage compartmentsStowage compartment on the front passenger sideThe compartment can be opened by pulling the lever ⇒fig. 73.
WARNING
Always keep the stowage compartment cover closed while the vehicle is in
motion in order to reduce the risk of injury caused by a sudden braking or
by an accident.
9)Optional equipment
Fig. 73 Passenger side:
stowage compartment
Ibiza_EN.book Seite 107 Montag, 14. September 2009 6:19 18
Page 117 of 257
Seats and stowage115
Safety First
Controls and equipment
Practical tips
Technical Data
•An overloaded boot could mean that the rear stowage tray is not correctly
seated and it may be bent or damaged.•If the boot is overloaded, remove the tray.Note
•Ensure that, when placing items of clothing on the luggage compartment
cover, rear visibility is not reduced.Roof carrier*Please observe the following points if you intend to carry loads on the roof:•For safety reasons, only luggage racks and accessories approved by SEAT
should be used.•It is imperative to precisely follow the fitting instructions included for the
rack, taking special care when fitting the front bar in the holes designed for
this and the rear bar between the marks on the upper part of the rear door
frame while respecting the correct direction of travel indicated in the installa-
tion manual. Not following these instructions may damage the bodywork.•Pay special attention to the tightening torque of the attachment bolts and
check them following a short journey. If necessary, retighten the bolts and
check them at regular intervals.•Distribute the load evenly. A maximum load of 40 kg only is permitted for
each roof carrier system support bar, the load must be distributed evenly
along the entire length. However, the maximum load permitted for the entire
roof (including the support system) of 75 kg must not be exceeded nor should
the total weight of the vehicle be exceeded. See the chapter on “Technical
Data”.•When transporting heavy or large objects on the roof, any change in the
normal vehicle behaviour due to a change in the centre of gravity or an increased wind resistance must be taken into account. For this reason, a suit-
able speed and driving style must be used.
•For those vehicles fitted with a sunroof*, ensure that it does not interfere
with the load on the roof carrier system when opened.
Ibiza_EN.book Seite 115 Montag, 14. September 2009 6:19 18
Page 125 of 257
Heating, Ventilation and Air conditioning123
Safety First
Controls and equipment
Practical tips
Technical Data
– Turn the temperature selector ⇒page 122, fig. 92 to adjust
the desired temperature.
– The functions will be switched on when its buttons are pressed. When the function is activated, a symbol is displayed on the
screen. Press the button again to switch off the function.
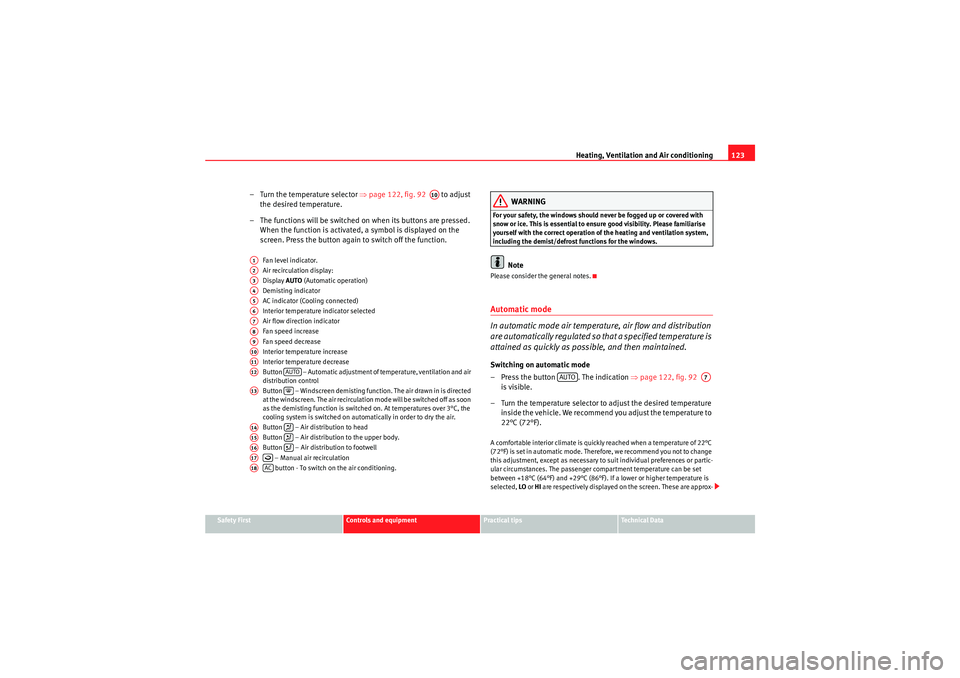
Fan level indicator.
Air recirculation display:
Display AUTO (Automatic operation)
Demisting indicator
AC indicator (Cooling connected)
Interior temperature indicator selected
Air flow direction indicator
Fan speed increase
Fan speed decrease
Interior temperature increase
Interior temperature decrease
Button – Automatic adjustment of temperature, ventilation and air
distribution control
Button – Windscreen demisting function. The air drawn in is directed
at the windscreen. The air recirculation mode will be switched off as soon
as the demisting function is switched on. At temperatures over 3°C, the
cooling system is switched on automatically in order to dry the air.
Button – Air distribution to head
Button – Air distribution to the upper body.
Button – Air distribution to footwell
– Manual air recirculation button - To switch on the air conditioning.
WARNING
For your safety, the windows should never be fogged up or covered with
snow or ice. This is essential to ensure good visibility. Please familiarise
yourself with the correct operation of the heating and ventilation system,
including the demist/defrost functions for the windows.
Note
Please consider the general notes.Automatic mode
In automatic mode air temperature, air flow and distribution
are automatically regulated so that a specified temperature is
attained as quickly as possible, and then maintained.Switching on automatic mode
– Press the button . The indication ⇒page 122, fig. 92
is visible.
– Turn the temperature selector to adjust the desired temperature inside the vehicle. We recommend you adjust the temperature to
22°C (72°F).A comfortable interior climate is quickly reached when a temperature of 22°C
(72°F) is set in automatic mode. Therefore, we recommend you not to change
this adjustment, except as necessary to suit individual preferences or partic-
ular circumstances. The passenger compartment temperature can be set
between +18°C (64°F) and +29°C (86°F). If a lower or higher temperature is
selected, LO or HI are respectively displayed on the screen. These are approx-
A10
A1A2A3A4A5A6A7A8A9A10A11A12
AUTO
A13
A14
A15
A16
A17
A18
AC
AUTO
A7
Ibiza_EN.book Seite 123 Montag, 14. September 2009 6:19 18
Page 130 of 257
Driving
128SafetyElectronic stabilisation programme (ESP)*
ESP helps make driving safer in certain situations.The Electronic Stabilisation Program (ESP) contains the electronic differential
lock (EDL) and the traction control system (TCS). The ESP function works
together with the ABS. Both warning lamps will light up if the ESP or ABS
systems are faulty.
The ESP is started automatically when the engine is started.
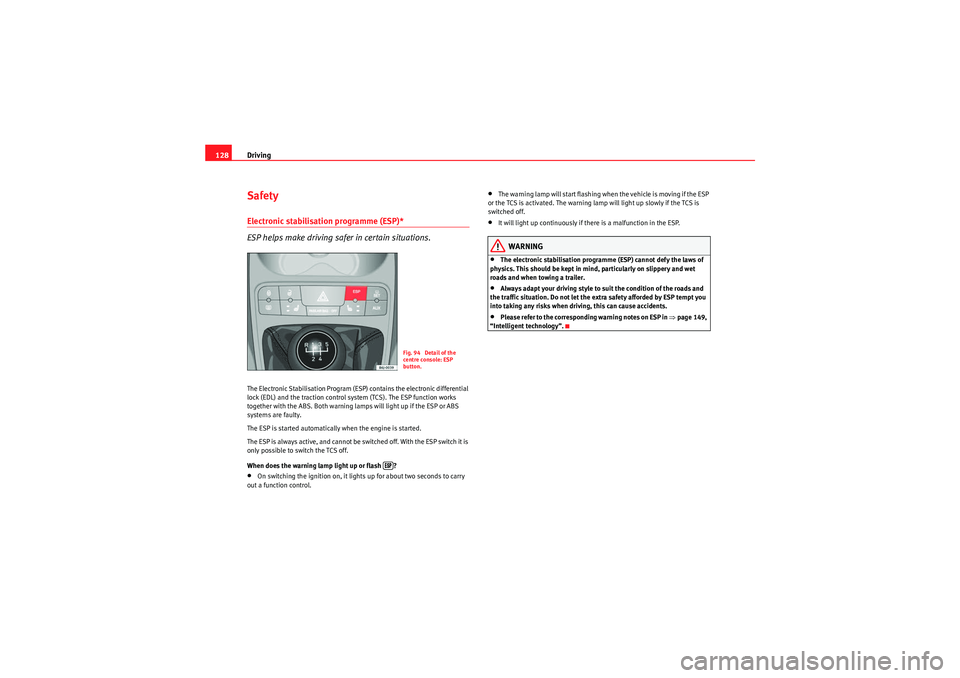
The ESP is always active, and cannot be switched off. With the ESP switch it is
only possible to switch the TCS off.
When does the warning lamp light up or flash ?•On switching the ignition on, it lights up for about two seconds to carry
out a function control.
•The warning lamp will start flashing when the vehicle is moving if the ESP
or the TCS is activated. The warning lamp will light up slowly if the TCS is
switched off.•It will light up continuously if there is a malfunction in the ESP.WARNING
•The electronic stabilisation programme (ESP) cannot defy the laws of
physics. This should be kept in mi nd, particularly on slippery and wet
roads and when towing a trailer.•Always adapt your driving style to suit the condition of the roads and
the traffic situation. Do not let the extra safety afforded by ESP tempt you
into taking any risks when driving, this can cause accidents.•Please refer to the corresponding warning notes on ESP in ⇒page 149,
“Intelligent technology”.
Fig. 94 Detail of the
centre console: ESP
button.
Ibiza_EN.book Seite 128 Montag, 14. September 2009 6:19 18