headlights Seat Ibiza SC 2009 Owner's manual
[x] Cancel search | Manufacturer: SEAT, Model Year: 2009, Model line: Ibiza SC, Model: Seat Ibiza SC 2009Pages: 257, PDF Size: 6.61 MB
Page 65 of 257
Cockpit63
Safety First
Controls and equipment
Practical tips
Technical Data
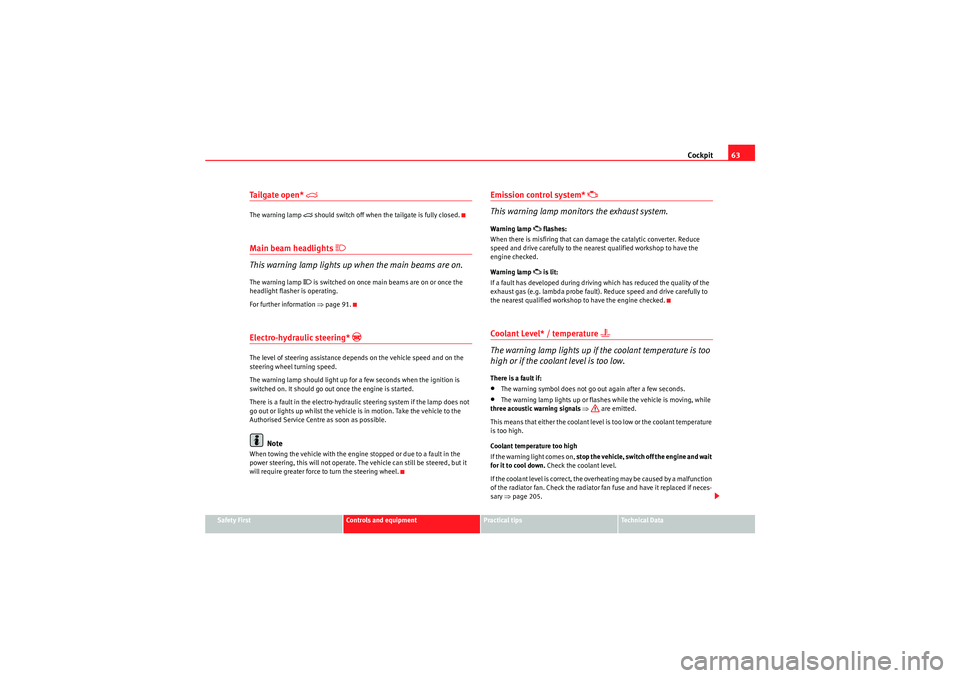
Ta i l g a t e o p e n *
The warning lamp
should switch off when the tailgate is fully closed.
Main beam headlights
This warning lamp lights up when the main beams are on.The warning lamp
is switched on once main beams are on or once the
headlight flasher is operating.
For further information ⇒page 91.
Electro-hydraulic steering*
The level of steering assistance depends on the vehicle speed and on the
steering wheel turning speed.
The warning lamp should light up for a few seconds when the ignition is
switched on. It should go out once the engine is started.
There is a fault in the electro-hydraulic steering system if the lamp does not
go out or lights up whilst the vehicle is in motion. Take the vehicle to the
Authorised Service Centre as soon as possible.
Note
When towing the vehicle with the engine stopped or due to a fault in the
power steering, this will not operate. The vehicle can still be steered, but it
will require greater force to turn the steering wheel.
Emission control system*
This warning lamp monitors the exhaust system.
Warning lamp
flashes:
When there is misfiring that can damage the catalytic converter. Reduce
speed and drive carefully to the nearest qualified workshop to have the
engine checked.
Warning lamp is lit:
If a fault has developed during driving which has reduced the quality of the
exhaust gas (e.g. lambda probe fault). Reduce speed and drive carefully to
the nearest qualified workshop to have the engine checked.
Coolant Level* / temperature
The warning lamp lights up if the coolant temperature is too
high or if the coolant level is too low.There is a fault if:•The warning symbol does not go out again after a few seconds.•The warning lamp lights up or flashes while the vehicle is moving, while
three acoustic warning signals ⇒ are emitted.
This means that either the coolant level is too low or the coolant temperature
is too high.
Coolant temperature too high
If the warning light comes on, stop the vehicle, switch off the engine and wait
for it to cool down. Check the coolant level.
If the coolant level is correct, the overheating may be caused by a malfunction
of the radiator fan. Check the radiator fan fuse and have it replaced if neces-
sary ⇒page 205.
IbizaSC_EN.book Seite 63 Mittwoch, 16. September 2009 12:11 12
Page 88 of 257
Lights and visibility
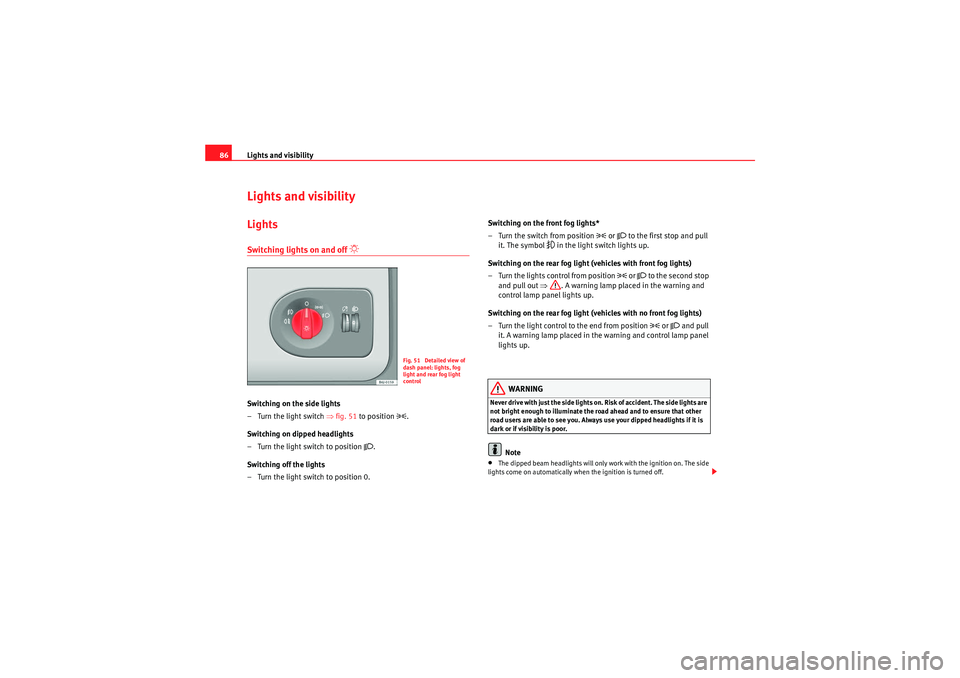
86Lights and visibilityLightsSwitching lights on and off
Switching on the side lights
–Turn the light switch ⇒ fig. 51 to position
.
Switching on dipped headlights
– Turn the light switch to position
.
Switching off the lights
– Turn the light switch to position 0. Switching on the front fog lights*
– Turn the switch from position
or to the first stop and pull
it. The symbol
in the light switch lights up.
Switching on the rear fog light (vehicles with front fog lights)
– Turn the lights control from position
or to the second stop
and pull out ⇒ . A warning lamp placed in the warning and
control lamp panel lights up.
Switching on the rear fog light (vehicles with no front fog lights)
– Turn the light control to the end from position or and pull
it. A warning lamp placed in th e warning and control lamp panel
lights up.
WARNING
Never drive with just the side lights on. Risk of accident. The side lights are
not bright enough to illuminate the road ahead and to ensure that other
road users are able to see you. Always use your dipped headlights if it is
dark or if visibility is poor.
Note
•The dipped beam headlights will only work with the ignition on. The side
lights come on automatically when the ignition is turned off.
Fig. 51 Detailed view of
dash panel: lights, fog
light and rear fog light
control
IbizaSC_EN.book Seite 86 Mittwoch, 16. September 2009 12:11 12
Page 89 of 257
Lights and visibility87
Safety First
Controls and equipment
Practical tips
Technical Data
•If the lights are left on after the key has been taken out of the ignition lock,
a buzzer will sound while the driver door remains open. This is a reminder to
switch the lights off.•The rear fog light is so bright that it can dazzle drivers behind you. You
should use the rear fog light only when visibility is very poor.•The use of the lighting described here is subject to the relevant statutory
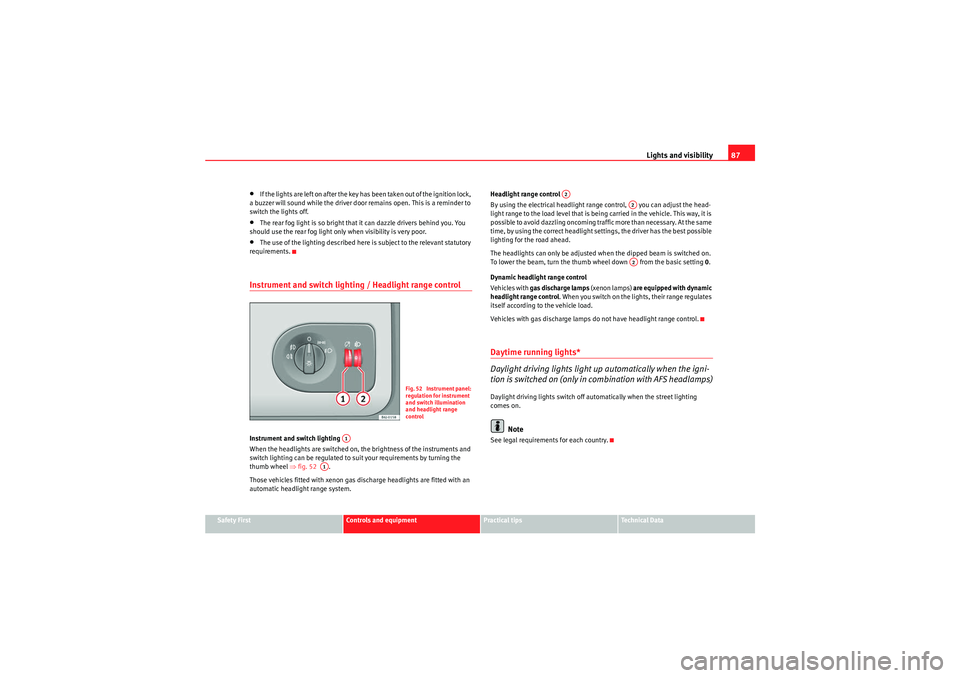
requirements.Instrument and switch lighting / Headlight range controlInstrument and switch lighting
When the headlights are switched on, the brightness of the instruments and
switch lighting can be regulated to suit your requirements by turning the
thumb wheel ⇒fig. 52 .
Those vehicles fitted with xenon gas discharge headlights are fitted with an
automatic headlight range system. Headlight range control
By using the electrical headlight range control, you can adjust the head-
light range to the load level that is being carried in the vehicle. This way, it is
possible to avoid dazzling oncoming traffic more than necessary. At the same
time, by using the correct headlight settings, the driver has the best possible
lighting for the road ahead.
The headlights can only be adjusted when the dipped beam is switched on.
To lower the beam, turn the thumb wheel down from the basic setting
0.
Dynamic headlight range control
Vehicles with gas discharge lamps (xenon lamps) are equipped with dynamic
headlight range control . When you switch on the lights, their range regulates
itself according to the vehicle load.
Vehicles with gas discharge lamps do not have headlight range control.
Daytime running lights*
Daylight driving lights light up automatically when the igni-
tion is switched on (only in combination with AFS headlamps)Daylight driving lights switch off automatically when the street lighting
comes on.
Note
See legal requirements for each country.
Fig. 52 Instrument panel:
regulation for instrument
and switch illumination
and headlight range
control
A1
A1
A2
A2A2
IbizaSC_EN.book Seite 87 Mittwoch, 16. September 2009 12:11 12
Page 90 of 257
Lights and visibility
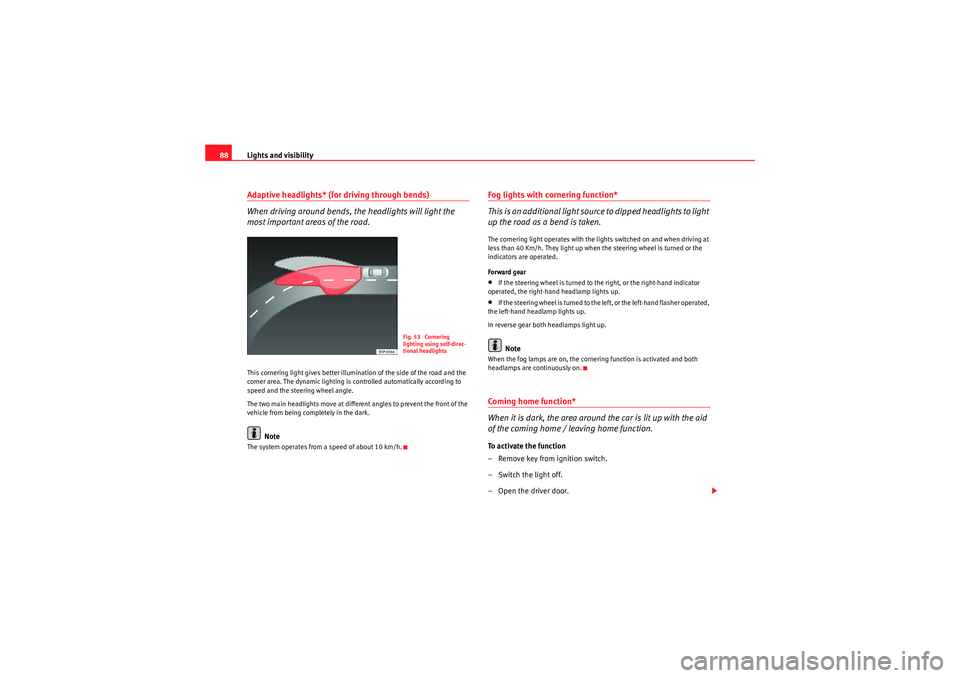
88Adaptive headlights* (for driving through bends)
When driving around bends, the headlights will light the
most important areas of the road.This cornering light gives better illumination of the side of the road and the
corner area. The dynamic lighting is controlled automatically according to
speed and the steering wheel angle.
The two main headlights move at different angles to prevent the front of the
vehicle from being completely in the dark.
Note
The system operates from a speed of about 10 km/h.
Fog lights with cornering function*
This is an additional light source to dipped headlights to light
up the road as a bend is taken.The cornering light operates with the lights switched on and when driving at
less than 40 Km/h. They light up when the steering wheel is turned or the
indicators are operated.
Forward gear•If the steering wheel is turned to the right, or the right-hand indicator
operated, the right-hand headlamp lights up.•If the steering wheel is turned to the left, or the left-hand flasher operated,
the left-hand headlamp lights up.
In reverse gear both headlamps light up.Note
When the fog lamps are on, the cornering function is activated and both
headlamps are continuously on.Coming home function*
When it is dark, the area around the car is lit up with the aid
of the coming home / leaving home function.To activate the function
– Remove key from ignition switch.
– Switch the light off.
– Open the driver door.
Fig. 53 Cornering
lighting using self-direc-
tional headlights
IbizaSC_EN.book Seite 88 Mittwoch, 16. September 2009 12:11 12
Page 91 of 257
Lights and visibility89
Safety First
Controls and equipment
Practical tips
Technical Data
– Push the headlight lever to the main beam position
.
– Dipped headlights come on when the door is opened.
Yo u h a v e 2 m i ns . f r o m w h e n t h e ke y i s ta ke n o u t o f t h e i g n i t i o n s wi tch t o w h e n
the lights flash; after this, the Coming home function will not activate. To acti-
vate it again, repeat the operation.
When the system is activated, dipped headlights remain on for 30 seconds.
after closing the door. If the door is open for more than 3 mins., the system
will not remain active after the 3 mins., which means that the dipped lights
will not light up.
Note
•If the vehicle is often used during the night for short trips and the Coming
home function is used, the battery will considerably discharge. To avoid this,
make longer journeys whenever possible.•Observe all relevant statutory requirements when using the lighting
systems described here.
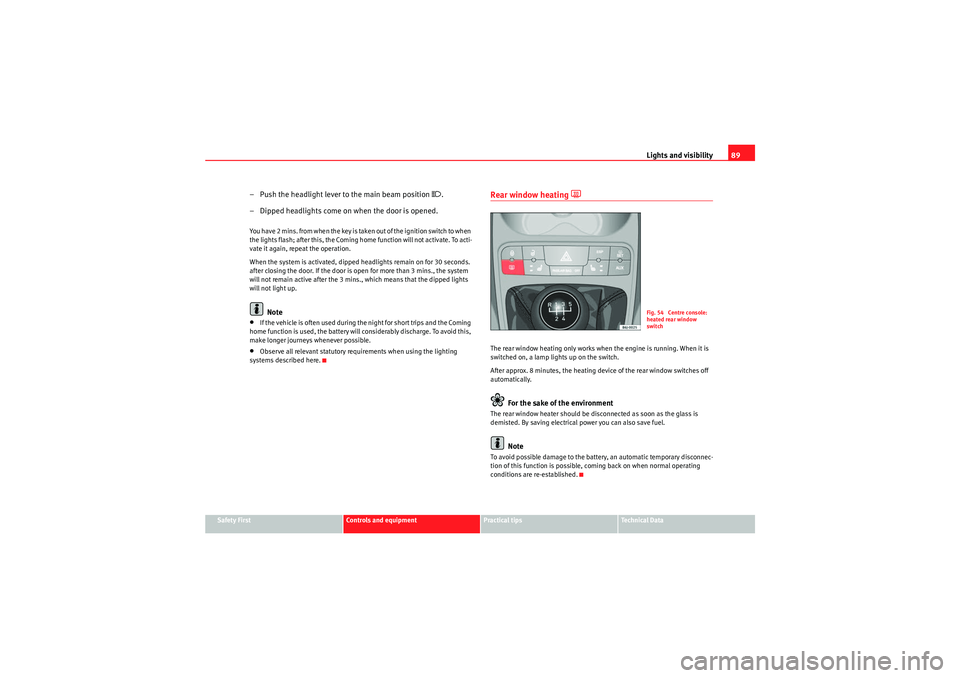
Rear window heating
The rear window heating only works when the engine is running. When it is
switched on, a lamp lights up on the switch.
After approx. 8 minutes, the heating device of the rear window switches off
automatically.
For the sake of the environment
The rear window heater should be disconnected as soon as the glass is
demisted. By saving electrical power you can also save fuel.
Note
To avoid possible damage to the battery, an automatic temporary disconnec-
tion of this function is possible, coming back on when normal operating
conditions are re-established.
Fig. 54 Centre console:
heated rear window
switch
IbizaSC_EN.book Seite 89 Mittwoch, 16. September 2009 12:11 12
Page 93 of 257
Lights and visibility91
Safety First
Controls and equipment
Practical tips
Technical Data
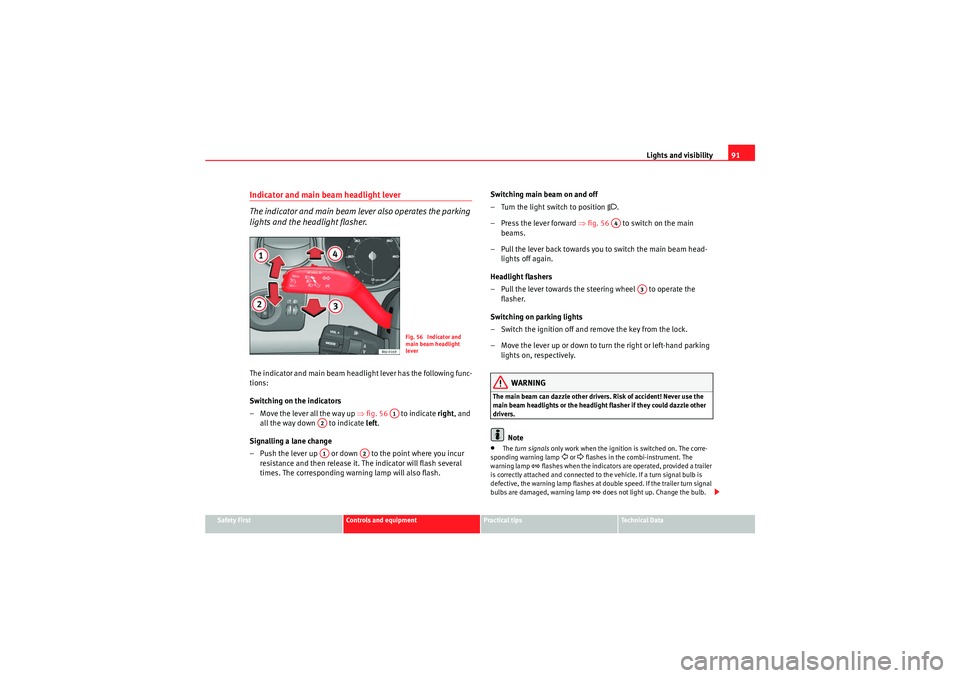
Indicator and main beam headlight lever
The indicator and main beam lever also operates the parking
lights and the headlight flasher.The indicator and main beam headlight lever has the following func-
tions:
Switching on the indicators
– Move the lever all the way up ⇒fig. 56 to indicate right, and
all the way down to indicate left.
Signalling a lane change
– Push the lever up or down to the point where you incur resistance and then release it. The indicator will flash several
times. The corresponding warning lamp will also flash. Switching main beam on and off
– Turn the light switch to position
.
– Press the lever forward ⇒fig. 56 to switch on the main
beams.
– Pull the lever back towards you to switch the main beam head- lights off again.
Headlight flashers
– Pull the lever towards the steering wheel to operate the flasher.
Switching on parking lights
– Switch the ignition off and remove the key from the lock.
– Move the lever up or down to turn the right or left-hand parking lights on, respectively.
WARNING
The main beam can dazzle other drivers. Risk of accident! Never use the
main beam headlights or the headligh t flasher if they could dazzle other
drivers.
Note
• The turn signals only work when the ignition is switched on. The corre-
sponding warning lamp
or flashes in the combi-instrument. The
warning lamp
flashes when the indicators are operated, provided a trailer
is correctly attached and connected to the vehicle. If a turn signal bulb is
defective, the warning lamp flashes at double speed. If the trailer turn signal
bulbs are damaged, warning lamp
does not light up. Change the bulb.
Fig. 56 Indicator and
main beam headlight
lever
A1
A2A1
A2
A4
A3
IbizaSC_EN.book Seite 91 Mittwoch, 16. September 2009 12:11 12
Page 94 of 257
Lights and visibility
92•The main beam headlights can only be switched on if the dipped beam
headlights are already on. The warning lamp
then comes on in the combi-
instrument.
•The headlight flasher comes on for as long as you pull the lever – even if
no other lights are switched on. The warning lamp
then comes on in the
combi-instrument.
•When the parking lights are switched on, the headlight and the rear light
on the corresponding side of the vehicle light up. The parking lights will only
work if the key is removed from the ignition. If the lights are switched on, a
buzzer gives an audible warning while the driver door is open.•If the turn signal lever is left on after the key has been taken out of the
ignition lock, an acoustic signal sounds when the driver door is opened. This
is a reminder to switch off the turn signal, unless of course you wish to leave
the parking light on.
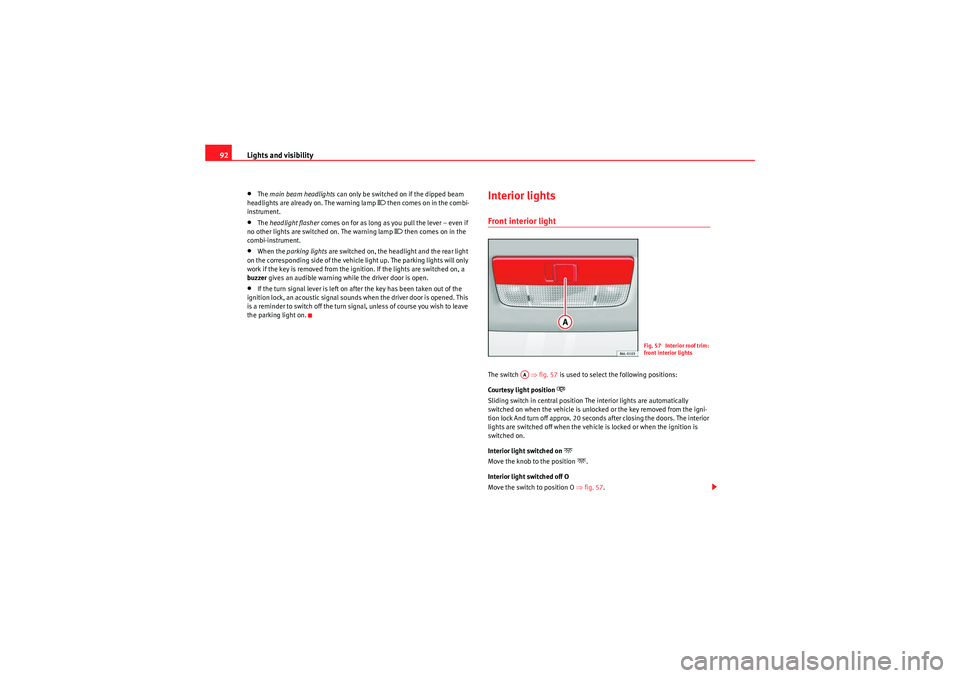
Interior lightsFront interior light The switch ⇒fig. 57 is used to select the following positions:
Courtesy light position
Sliding switch in central position The interior lights are automatically
switched on when the vehicle is unlocked or the key removed from the igni-
tion lock And turn off approx. 20 seconds after closing the doors. The interior
lights are switched off when the vehicle is locked or when the ignition is
switched on.
Interior light switched on
Move the knob to the position
.
Interior light switched off O
Move the switch to position O ⇒fig. 57 .
Fig. 57 Interior roof trim:
front interior lights
AA
IbizaSC_EN.book Seite 92 Mittwoch, 16. September 2009 12:11 12
Page 99 of 257
Lights and visibility97
Safety First
Controls and equipment
Practical tips
Technical Data
•Depending on the version of the model, when you engage reverse gear
and with the headlight wiper activated, the lamps are wiped.Headlight washer system
The headlight washers clean the headlight lenses.The headlight washers are activated automatically when the windscreen
washer is used and the windscreen wiper lever is pulled towards the steering
wheel for at least 1.5 seconds – provided the dipped headlights or main
beams are switched on. Clean off stubborn dirt (insects, etc.) from the head-
lights at regular intervals, for instance when filling the fuel tank.
Note
•To ensure that the headlight washers work properly in winter, keep the
nozzle holders in the bumper free of snow and remove any ice with a de-icer
spray.•To remove water, the windscreen wipers will be activated from time to
time, the headlight wipers will be activated every three cycles.Rear-view mirrorsAdjusting the head restraintsBefore beginning any journey, adjust the rear-view mirrors for correct
visibility.
Interior mirror
It is dangerous to drive if you cannot see clearly through the
rear window.Manual anti-dazzle function for interior mirror
In the basic mirror position, the lever at the bottom edge of the mirror should
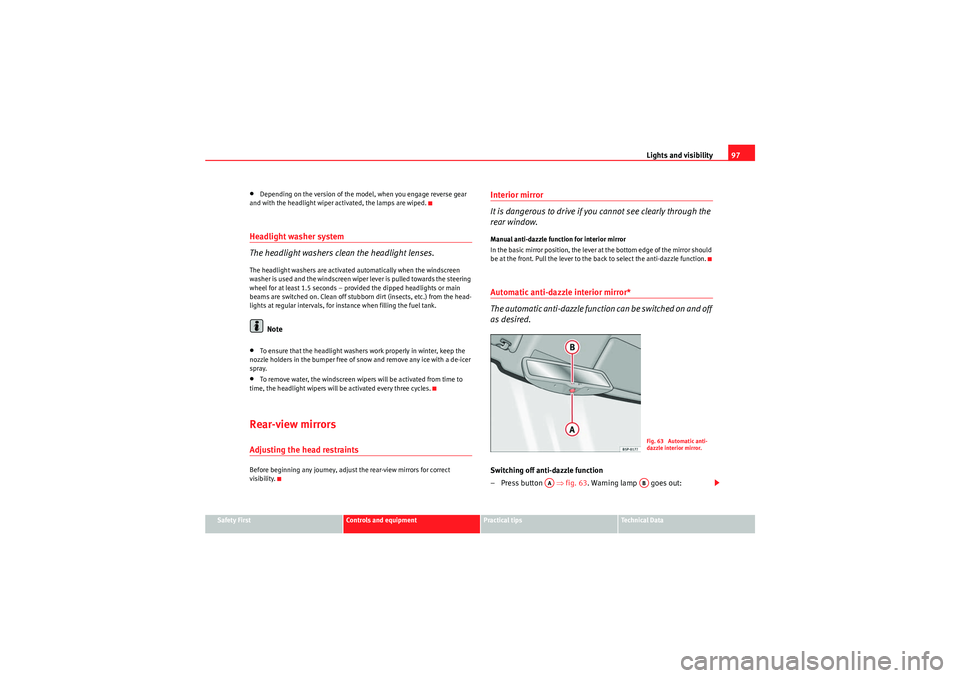
be at the front. Pull the lever to the back to select the anti-dazzle function.Automatic anti-dazzle interior mirror*
The automatic anti-dazzle function can be switched on and off
as desired.Switching off anti-dazzle function
– Press button ⇒fig. 63 . Warning lamp goes out:
Fig. 63 Automatic anti-
dazzle interior mirror.
AA
AB
IbizaSC_EN.book Seite 97 Mittwoch, 16. September 2009 12:11 12
Page 100 of 257
Lights and visibility
98
Switching on anti-dazzle function
–Press button ⇒page 97, fig. 63 . Warning lamp is lit.Anti-dazzle function
The anti-dazzle function is activated every time the ignition is switched on.
The green indicator lamp lights up in the mirror housing.
When the anti-dazzle function is activated the interior mirror will darken auto-
matically according to the amount of light it receives (for example from the
headlights of a vehicle behind). The anti-dazzle function is cancelled if
reverse gear is engaged.
Note
•The automatic anti-dazzle function will only work properly if the sun
blind* for the rear window is retracted and there are no other objects
preventing light from reaching the interior mirror.•If you have to stick any type of sticker on the windscreen, do not do so in
front of the sensors. Doing so could prevent the anti-dazzle function from
working well or even from working at all.Folding in the wing mirrorsThe wing mirrors of the vehicle may be folded in. For this, press the mirror
housing towards the vehicle.
Note
Before washing the vehicle with an automatic car wash, fold in the mirrors to
avoid damage.
Electric wing mirrors*
The wing mirrors can be adjusted using the rotary knob in the
driver's door.Basic setting of wing mirrors
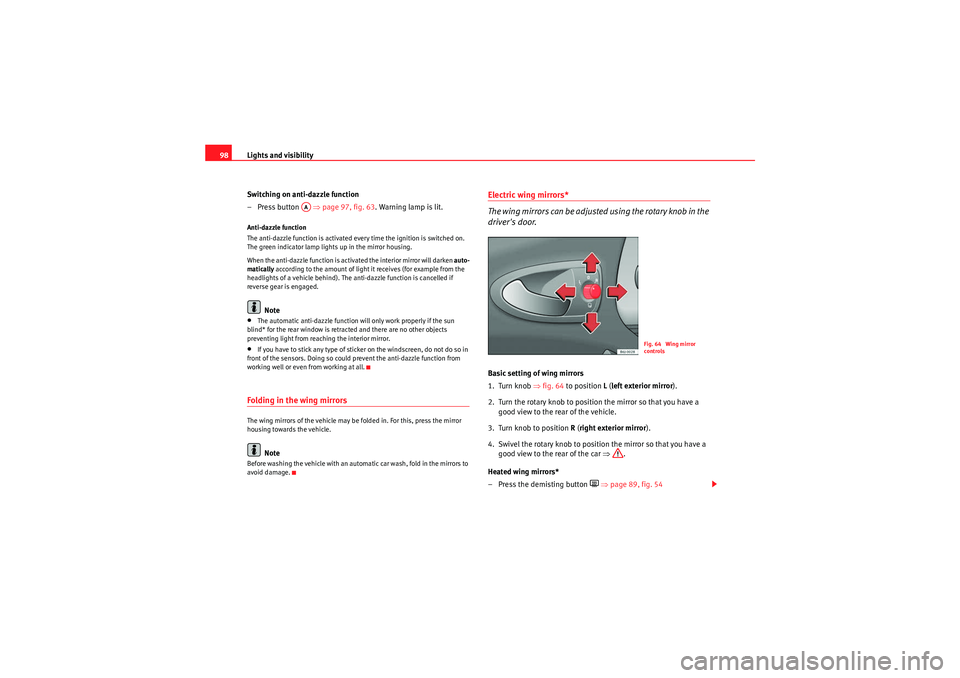
1. Turn knob ⇒fig. 64 to position L ( left exterior mirror ).
2. Turn the rotary knob to positi on the mirror so that you have a
good view to the rear of the vehicle.
3. Turn knob to position R (right exterior mirror ).
4. Swivel the rotary knob to position the mirror so that you have a good view to the rear of the car ⇒.
Heated wing mirrors*
–Press the demisting button
⇒ page 89, fig. 54
AA
Fig. 64 Wing mirror
controls
IbizaSC_EN.book Seite 98 Mittwoch, 16. September 2009 12:11 12
Page 158 of 257
Driving and the environment
156Compliance with prohibited materials laws : cadmium, asbestos, lead,
mercury, chrome VI.
Manufacturing methods•Use of recycled material for manufacturing plastic parts•Solvent-free cavity sealing•Solvent-free wax for protecting the vehicles in transit•Solvent-free adhesives•No CFCs used in production•Surplus materials used extensively for energy conversion and building
materials•Reduction in waste water production•The use of heat recovery systems for power generation•The use of water-soluble paintDriving abroadObservationsTo drive abroad, the following must be taken into consideration:•For vehicles fitted with a catalytic converter ensure that unleaded petrol is
available for the journey. See the chapter “Refuelling”. Automobile organisa-
tions will have information about service station networks selling unleaded
fuel.•In some countries, it is possible that a vehicle model is sold under condi-
tions where some spare parts are not available or that the Authorised Service
Centre may only carry out limited repairs. SEAT importers and distributors will gladly provide information about the
technical preparation of your vehicle and also about necessary maintenance
and repair possibilities.
Adhesive strips for headlightsIf you have to drive a right-hand drive vehicle in a left-hand drive country, or
vice versa, the asymmetric dipped beam headlights will dazzle oncoming
traffic.
To prevent dazzling, you must apply stickers to certain parts of the headlight
lenses. Further information is available in your Authorised Service Centre.
In vehicles with self-directing headlights, the rotation system must be
disconnected first. To do this, please go to a specialist workshop.Trailer towingWhat do you need to bear in mind when towing a trailer?Your vehicle may be used to tow a trailer when fitted with the correct equip-
ment.
If the car is supplied with a
factory-fitted towing bracket it will already have
the necessary technical modifications and meet the statutory requirements
for towing a trailer. For the after-market fitting of a trailer towing bracket see
⇒ page 171.
Connectors
Your vehicle is fitted with a 12-pin connector for the electrical connection
between the trailer and the vehicle.
IbizaSC_EN.book Seite 156 Mittwoch, 16. September 2009 12:11 12