service Seat Ibiza ST 2012 User Guide
[x] Cancel search | Manufacturer: SEAT, Model Year: 2012, Model line: Ibiza ST, Model: Seat Ibiza ST 2012Pages: 282, PDF Size: 3.77 MB
Page 77 of 282
75
Cockpit
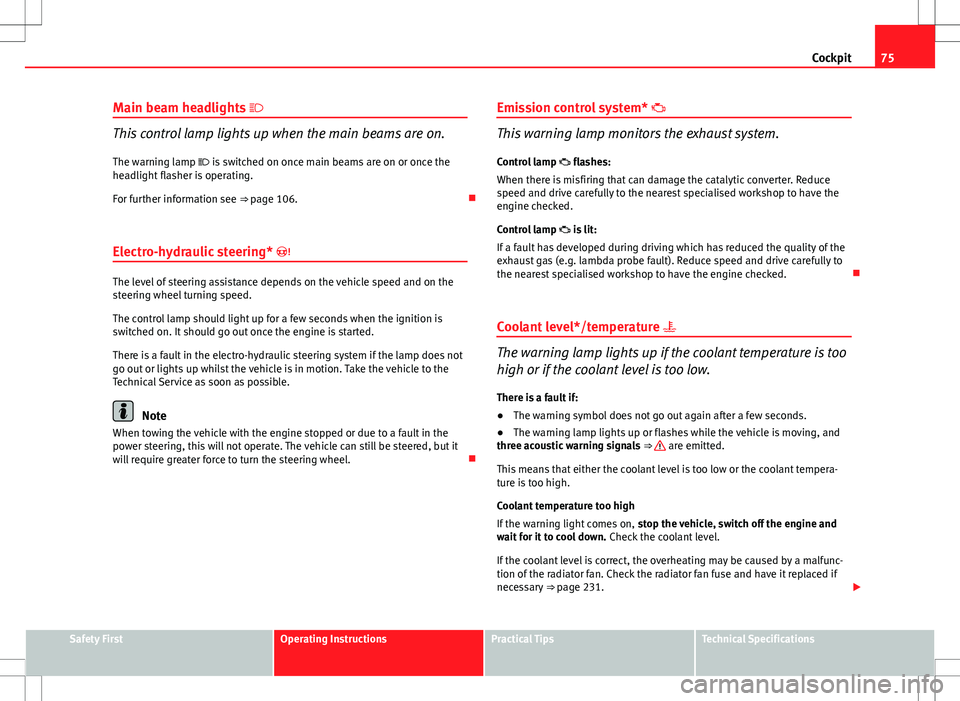
Main beam headlights
This control lamp lights up when the main beams are on.
The warning lamp is switched on once main beams are on or once the
headlight flasher is operating.
For further information see ⇒ page 106.
Electro-hydraulic steering*
The level of steering assistance depends on the vehicle speed and on the
steering wheel turning speed.
The control lamp should light up for a few seconds when the ignition is
switched on. It should go out once the engine is started.
There is a fault in the electro-hydraulic steering system if the lamp does not
go out or lights up whilst the vehicle is in motion. Take the vehicle to the
Technical Service as soon as possible.
Note
When towing the vehicle with the engine stopped or due to a fault in the
power steering, this will not operate. The vehicle can still be steered, but it
will require greater force to turn the steering wheel. Emission control system*
This warning lamp monitors the exhaust system.
Control lamp flashes:
When there is misfiring that can damage the catalytic converter. Reduce
speed and drive carefully to the nearest specialised workshop to have the
engine checked.
Control lamp is lit:
If a fault has developed during driving which has reduced the quality of the
exhaust gas (e.g. lambda probe fault). Reduce speed and drive carefully to
the nearest specialised workshop to have the engine checked.
Coolant level*/temperature
The warning lamp lights up if the coolant temperature is too
high or if the coolant level is too low.
There is a fault if:
● The warning symbol does not go out again after a few seconds.
● The warning lamp lights up or flashes while the vehicle is moving, and
three acoustic warning signals ⇒
are emitted.
This means that either the coolant level is too low or the coolant tempera-
ture is too high.
Coolant temperature too high
If the warning light comes on, stop the vehicle, switch off the engine and
wait for it to cool down. Check the coolant level.
If the coolant level is correct, the overheating may be caused by a malfunc-
tion of the radiator fan. Check the radiator fan fuse and have it replaced if
necessary ⇒ page 231.
Safety FirstOperating InstructionsPractical TipsTechnical Specifications
Page 78 of 282
76Cockpit
If the control lamp lights up again after driving on for a short distance, stop
the vehicle and switch the engine off . Contact a Technical Service or a spe-
cialised workshop.
Coolant level too low
If the warning light comes on, stop the vehicle, switch off the engine and
wait for it to cool down First check the coolant level. If the level of the cool-
ant is below the “MIN” mark, top up with coolant liquid ⇒
.
WARNING
● If your vehicle is immobilised for technical reasons, move it to a safe
distance from traffic. Turn the engine off, turn the hazard lights on and
place the warning triangle.
● Never open the bonnet if you can see or hear steam or coolant escap-
ing from the engine compartment. Risk of scalding. Wait until you can no
longer see or hear escaping steam or coolant.
● The engine compartment is a dangerous area! Before carrying out any
work in the engine compartment, switch off the engine and allow it to
cool down. Always note the corresponding warnings ⇒ page 200.
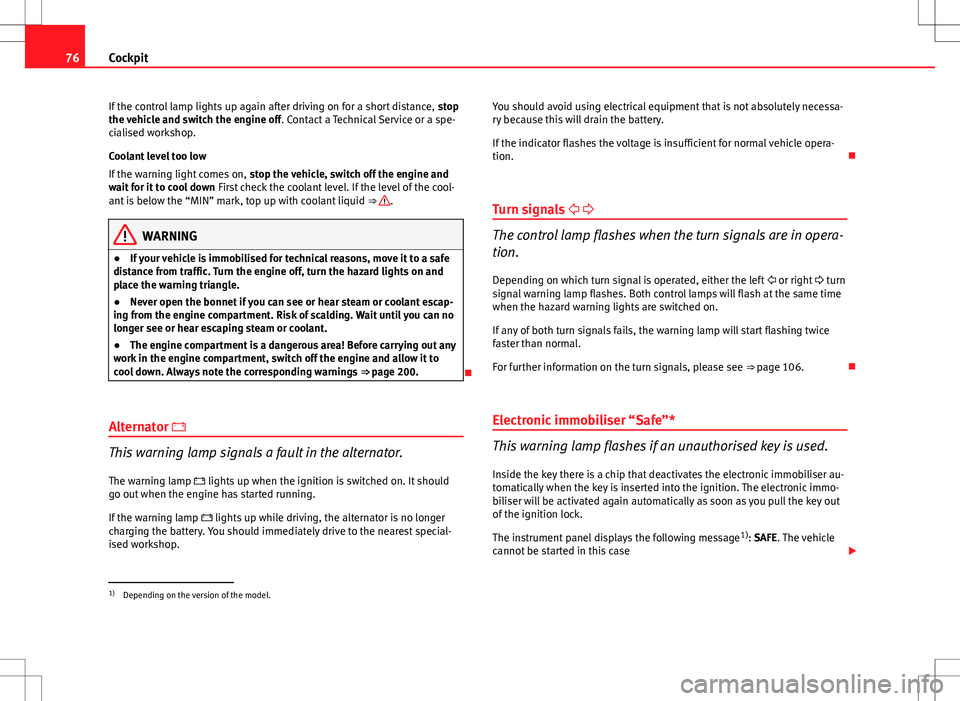
Alternator
This warning lamp signals a fault in the alternator.
The warning lamp lights up when the ignition is switched on. It should
go out when the engine has started running.
If the warning lamp lights up while driving, the alternator is no longer
charging the battery. You should immediately drive to the nearest special-
ised workshop. You should avoid using electrical equipment that is not absolutely necessa-
ry because this will drain the battery.
If the indicator flashes the voltage is insufficient for normal vehicle opera-
tion.
Turn signals
The control lamp flashes when the turn signals are in opera-
tion.
Depending on which turn signal is operated, either the left or right turn
signal warning lamp flashes. Both control lamps will flash at the same time
when the hazard warning lights are switched on.
If any of both turn signals fails, the warning lamp will start flashing twice
faster than normal.
For further information on the turn signals, please see ⇒ page 106.
Electronic immobiliser “Safe”*
This warning lamp flashes if an unauthorised key is used.
Inside the key there is a chip that deactivates the electronic immobiliser au-
tomatically when the key is inserted into the ignition. The electronic immo-
biliser will be activated again automatically as soon as you pull the key out
of the ignition lock.
The instrument panel displays the following message 1)
: SAFE. The vehicle
cannot be started in this case
1)
Depending on the version of the model.
Page 89 of 282
87
Opening and closing
Keys
Set of keys
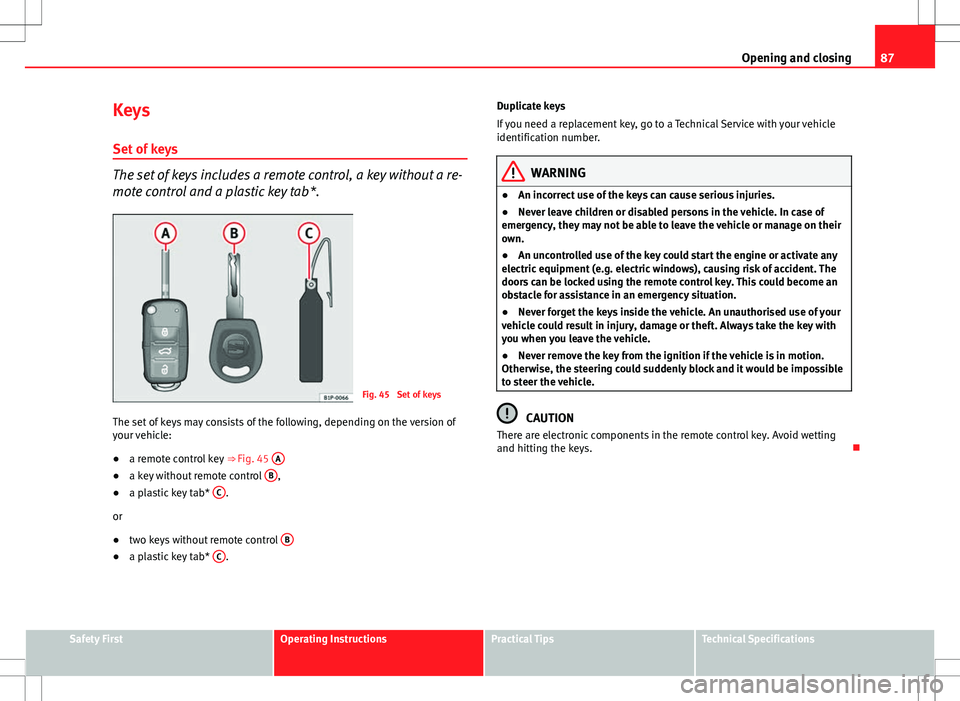
The set of keys includes a remote control, a key without a re-
mote control and a plastic key tab*.
Fig. 45 Set of keys
The set of keys may consists of the following, depending on the version of
your vehicle:
● a remote control key
⇒ Fig. 45 A
●
a key without remote control B,
● a plastic key tab* C.
or
● two keys without remote control B
●
a plastic key tab* C. Duplicate keys
If you need a replacement key, go to a Technical Service with your vehicle
identification number.
WARNING
● An incorrect use of the keys can cause serious injuries.
● Never leave children or disabled persons in the vehicle. In case of
emergency, they may not be able to leave the vehicle or manage on their
own.
● An uncontrolled use of the key could start the engine or activate any
electric equipment (e.g. electric windows), causing risk of accident. The
doors can be locked using the remote control key. This could become an
obstacle for assistance in an emergency situation.
● Never forget the keys inside the vehicle. An unauthorised use of your
vehicle could result in injury, damage or theft. Always take the key with
you when you leave the vehicle.
● Never remove the key from the ignition if the vehicle is in motion.
Otherwise, the steering could suddenly block and it would be impossible
to steer the vehicle.
CAUTION
There are electronic components in the remote control key. Avoid wetting
and hitting the keys.
Safety FirstOperating InstructionsPractical TipsTechnical Specifications
Page 91 of 282
89
Opening and closing
WARNING
● An improper use of the key can cause serious injuries.
● Never leave children or disabled persons in the vehicle. In case of
emergency, they may not be able to leave the vehicle or manage on their
own.
● Never forget the keys inside the vehicle. Otherwise, this could result
in serious injuries, accidents or even the theft of your vehicle. Always
take the key with you when you leave the vehicle.
● An uncontrolled use of the key could start the engine or activate any
electric equipment (e.g. electric windows), causing risk of accident. The
vehicle can be locked when using the remote control key. This could com-
plicate the aid in case of emergency.
Note
● The radio frequency remote control key functions only when you are
within range ⇒ Fig. 47.
● If the vehicle cannot be unlocked or locked by using the radio frequency
remote control, the remote control key will have to be re-synchronised. For
this, go to your Technical Service.
Changing the battery
If the battery indicator does not flash when the buttons are pushed, the bat-
tery must be replaced.
CAUTION
The use of inappropriate batteries may damage the radio frequency remote
control. For this reason, always replace the dead battery with another of the
same size and power.
For the sake of the environment
Used batteries must be disposed of at an appropriate waste facility or
through an authorised service, given that their components can affect the
environment.
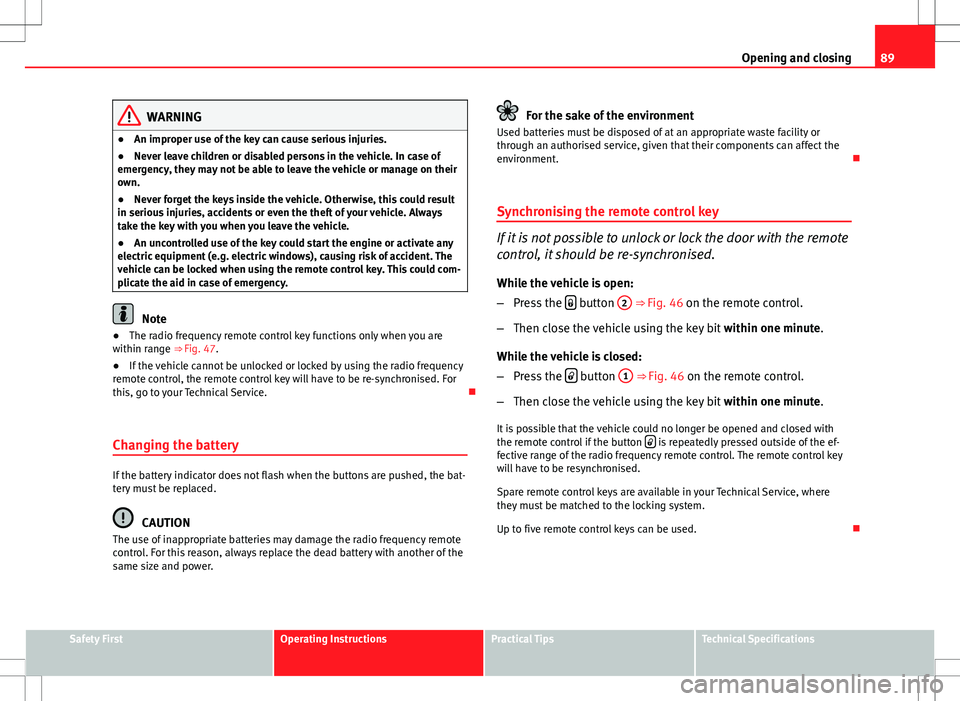
Synchronising the remote control key
If it is not possible to unlock or lock the door with the remote
control, it should be re-synchronised.
While the vehicle is open:
– Press the
button
2 ⇒
Fig. 46 on the remote control.
– Then close the vehicle using the key bit within one minute.
While the vehicle is closed:
– Press the
button
1 ⇒ Fig. 46 on the remote control.
– Then close the vehicle using the key bit within one minute.
It is possible that the vehicle could no longer be opened and closed with
the remote control if the button
is repeatedly pressed outside of the ef-
fective range of the radio frequency remote control. The remote control key
will have to be resynchronised.
Spare remote control keys are available in your Technical Service, where
they must be matched to the locking system.
Up to five remote control keys can be used.
Safety FirstOperating InstructionsPractical TipsTechnical Specifications
Page 125 of 282
123
Seats and storage compartments
Navigator bracket on dash panel*
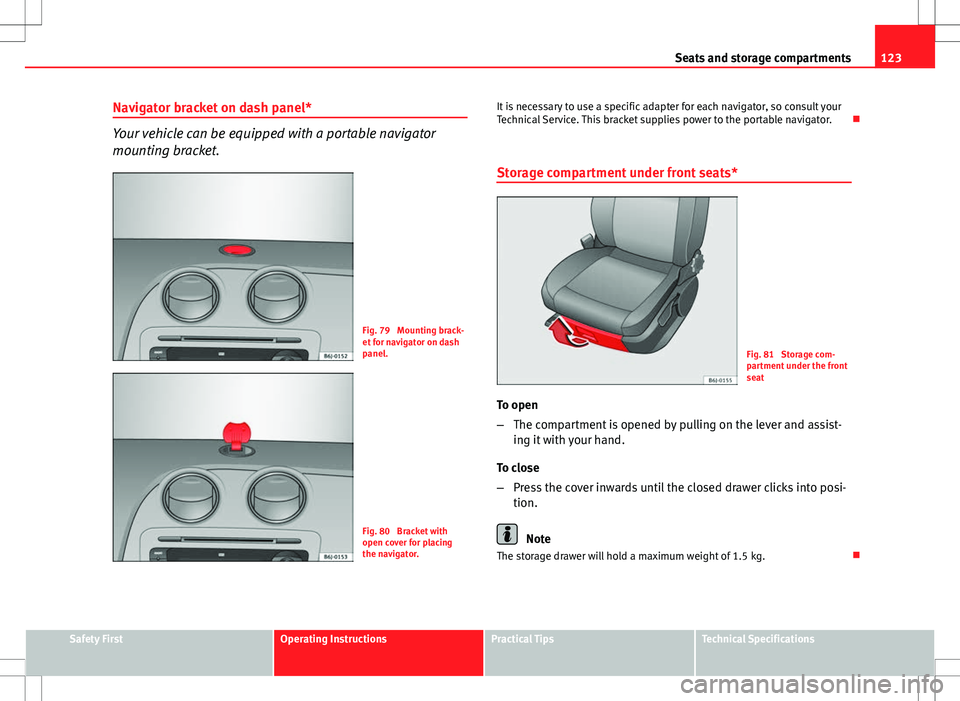
Your vehicle can be equipped with a portable navigator
mounting bracket.
Fig. 79 Mounting brack-
et for navigator on dash
panel.
Fig. 80 Bracket with
open cover for placing
the navigator. It is necessary to use a specific adapter for each navigator, so consult your
Technical Service. This bracket supplies power to the portable navigator.
Storage compartment under front seats*
Fig. 81 Storage com-
partment under the front
seat
To open
– The compartment is opened by pulling on the lever and assist-
ing it with your hand.
To close
– Press the cover inwards until the closed drawer clicks into posi-
tion.
Note
The storage drawer will hold a maximum weight of 1.5 kg.
Safety FirstOperating InstructionsPractical TipsTechnical Specifications
Page 134 of 282
132Seats and storage compartments
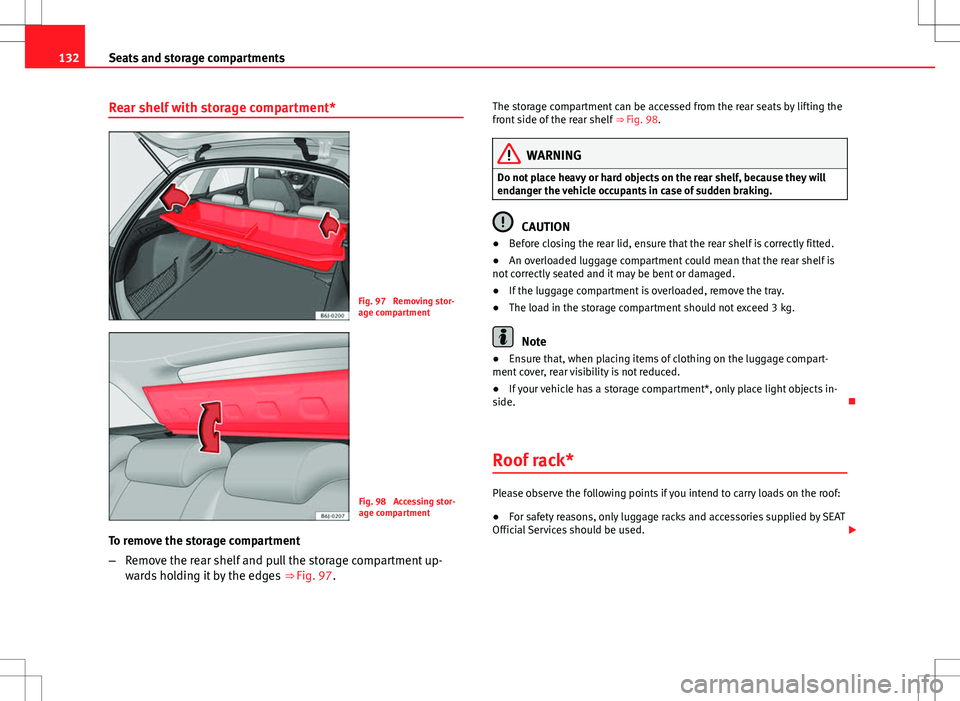
Rear shelf with storage compartment*
Fig. 97 Removing stor-
age compartment
Fig. 98 Accessing stor-
age compartment
To remove the storage compartment
– Remove the rear shelf and pull the storage compartment up-
wards holding it by the edges ⇒ Fig. 97. The storage compartment can be accessed from the rear seats by lifting the
front side of the rear shelf
⇒ Fig. 98.
WARNING
Do not place heavy or hard objects on the rear shelf, because they will
endanger the vehicle occupants in case of sudden braking.
CAUTION
● Before closing the rear lid, ensure that the rear shelf is correctly fitted.
● An overloaded luggage compartment could mean that the rear shelf is
not correctly seated and it may be bent or damaged.
● If the luggage compartment is overloaded, remove the tray.
● The load in the storage compartment should not exceed 3 kg.
Note
● Ensure that, when placing items of clothing on the luggage compart-
ment cover, rear visibility is not reduced.
● If your vehicle has a storage compartment*, only place light objects in-
side.
Roof rack*
Please observe the following points if you intend to carry loads on the roof:
● For safety reasons, only luggage racks and accessories supplied by SEAT
Official Services should be used.
Page 144 of 282
142Air conditioning
Air recirculation mode
Air recirculation mode prevents fumes or unpleasant smells
from coming from the outside.
– Press the button
to switch air recirculation mode on or off.
This is ON if the symbol ⇒ Fig. 104 is displayed on the
screen.
Air recirculation mode prevents strong odours in the ambient air from enter-
ing the vehicle interior, for example when passing through a tunnel or in a
traffic jam.
When the outside temperature is low, air recirculation mode improves heat-
ing performance by heating air from the interior instead of cold air from the
outside.
When the outside temperature is high, air recirculation mode improves cool-
ing performance by cooling air from the interior instead of warm air from
outside.
For safety reasons, the air recirculation should not be switched on when the
air distribution control is set to the windscreen setting .
WARNING
In air recirculation mode, no cold air from the outside enters the vehicle
interior. If the air conditioner is switched off, the windows can quickly
mist over. Therefore, never leave the air recirculation mode switched on
for a long time (risk of accident).
Note
When engaging reverse gear, the air recirculation is connected automatical-
ly to prevent the entrance of exhaust gases in the vehicle on travelling back-
wards. In this case the symbol
for air recirculation is not displayed. General notes
Pollution filter
The pollution filter (a combined particulate filter and active carbon filter)
serves as a barrier against impurities in the outside air, including dust and
pollen.
For the air conditioner to work with maximum efficiency, the pollution filter
must be replaced at the specified intervals in the Maintenance Programme.
If the filter loses efficiency prematurely due to use in areas reaching very
high pollution levels, the pollen filter must be changed more frequently
than stated in the Service Schedule.
CAUTION
● If you suspect that the air conditioner is damaged, switch it off with but-
ton AC
to prevent further damage and have it checked by a specialised
workshop.
● Repairs to the air conditioner require specialist knowledge and special
tools. Therefore, we recommend you to take the vehicle to a specialised
workshop.
Note
● If the humidity and temperature outside the vehicle are high, condensa-
tion can drip off the evaporator in the cooling system and so forming a pud-
dle underneath the vehicle. This is completely normal and there is no need
to suspect a leak.
● Keep the air intake slots in front of the windscreen free of snow, ice and
leaves to ensure heating and cooling are not impaired, and to prevent the
windows from misting over.
● The air from the vents flows through the vehicle interior and is extracted
by slots designed for this purpose. Therefore, do not cover these slots with
items of clothing or other objects.
Page 145 of 282
143
Air conditioning
● The air conditioner operates most effectively with the windows and the
sliding/tilting sunroof* closed. However, if the temperature inside the vehi-
cle is excessive because of the sun, the air inside can be cooled faster by
opening the windows for a short time.
● Do not smoke while air recirculation mode is on, as smoke drawn into
the air conditioning system leaves a residue on the evaporator, producing a
permanent unpleasant odour.
● At low outside temperatures the compressor switches off automatically.
The AUTO
button cannot be switched on either.
● It is advisable to connect the air conditioning at least once a month, to
lubricate the system gaskets and prevent leaks. If a decrease in the cooling
capacity is detected, a Technical Service should be consulted to check the
system.
● To ensure correct operation, the grilles on both sides of the screen must
not be obstructed
● When the engine is under extreme strain, switch off the compressor for a
moment.
Safety FirstOperating InstructionsPractical TipsTechnical Specifications
Page 146 of 282
144Driving
Driving
SteeringAdjusting the steering wheel position
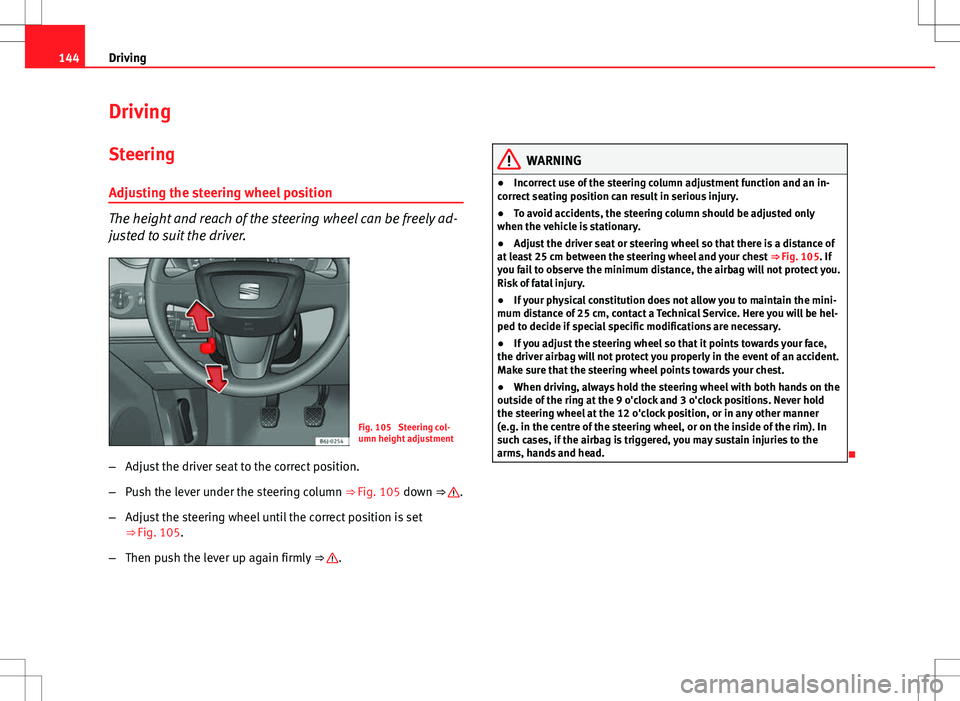
The height and reach of the steering wheel can be freely ad-
justed to suit the driver.
Fig. 105 Steering col-
umn height adjustment
– Adjust the driver seat to the correct position.
– Push the lever under the steering column ⇒ Fig. 105 down ⇒
.
– Adjust the steering wheel until the correct position is set
⇒ Fig. 105.
– Then push the lever up again firmly ⇒
.
WARNING
● Incorrect use of the steering column adjustment function and an in-
correct seating position can result in serious injury.
● To avoid accidents, the steering column should be adjusted only
when the vehicle is stationary.
● Adjust the driver seat or steering wheel so that there is a distance of
at least 25 cm between the steering wheel and your chest ⇒ Fig. 105. If
you fail to observe the minimum distance, the airbag will not protect you.
Risk of fatal injury.
● If your physical constitution does not allow you to maintain the mini-
mum distance of 25 cm, contact a Technical Service. Here you will be hel-
ped to decide if special specific modifications are necessary.
● If you adjust the steering wheel so that it points towards your face,
the driver airbag will not protect you properly in the event of an accident.
Make sure that the steering wheel points towards your chest.
● When driving, always hold the steering wheel with both hands on the
outside of the ring at the 9 o'clock and 3 o'clock positions. Never hold
the steering wheel at the 12 o'clock position, or in any other manner
(e.g. in the centre of the steering wheel, or on the inside of the rim). In
such cases, if the airbag is triggered, you may sustain injuries to the
arms, hands and head.
Page 165 of 282
163
Driving
WARNING
● If you do not start the vehicle immediately after taking your foot off
the brake pedal, the vehicle may start to roll back under certain condi-
tions. Depress the brake pedal or use the handbrake immediately.
● If the engine stalls, depress the brake pedal or use the handbrake im-
mediately.
● When following a line of traffic uphill, if you want to prevent the vehi-
cle from rolling back accidentally when starting off, hold the brake pedal
down for a few seconds before starting off.
Note
The Official Service or a specialised workshop can tell you if your vehicle is
equipped with this system.
Acoustic parking aid system* Rear parking aid
The parking aid system will use an audible warning to indi-
cate of the approach of any object towards the rear of the ve-
hicle. Description
The acoustic parking aid system will measure the distance between the rear
of the vehicle and any possible obstacle using four ultrasonic sensors loca-
ted on the rear bumper. The measuring range of the sensors starts approxi-
mately and depending on the nature of the obstacle at a distance of:
● side of the rear bumper: 0.6 m
● middle of the rear bumper: 1.6 m Activation
The system is activated by engagement of the reverse gear. A brief audible
warning confirms the activation and correct function of the system.
Reverse gear
The distance warning will begin as soon as an obstacle is detected by the
system. The frequency of the bleeps emitted by the system will increase rap-
idly as the vehicle approaches the obstacle.
Within a short distance of about 30cm, a continuous signal sounds (stop
signal). The driver should not reverse any further.
Models with a factory-fitted towing bracket: When the vehicle is less than
0.35 m away from the obstacle the warning tone will sound continuously.
The driver should then not reverse any further.
The warning tone decreases by 30% after 3 seconds from the start of the
system.
Provided that it is not in continuous mode, the tone on the parking aid sys-
tem stops when it detects a wall parallel to the vehicle.
Trailer towing
For vehicles factory-fitted with a towing bar, the parking aid system will not
be activated by the engagement of the reverse gear when pulling a trailer,
as the trailer's electric connector will be plugged into the vehicle.
Possible faults
If a continuous beep sounds for some seconds when the reverse gear is en-
gaged, this indicates that there is a fault in the parking aid system.
If the fault continues until the ignition is turned off, the audible warning of
the fault will not be emitted every time the system is reactivated (by engag-
ing the reverse gear). Thus, the system ready indication will not sound ei-
ther. Have the fault repaired by a Technical Service as soon as possible.
If there is no ready signal or no acoustic warning signal, then the parking
aid loudspeaker is faulty and may not warn of obstacles.
Safety FirstOperating InstructionsPractical TipsTechnical Specifications