navigation system Seat Ibiza ST 2016 MEDIA SYSTEM PLUS - NAVI SYSTEM - NAVI SYSTEM PLUS
[x] Cancel search | Manufacturer: SEAT, Model Year: 2016, Model line: Ibiza ST, Model: Seat Ibiza ST 2016Pages: 100, PDF Size: 2.53 MB
Page 52 of 100
Navigation
● Pr e
ss the My destinations function button in
the m ain
Navigation menu.
● Select the desired function button.
Stor
e position ,
R
out es ,
D
e stinations ,
La s
t destinations or
Home a
d dress .
St or
e position
● By pressing the Stor
e position function but-
t on, the indic
ated position is stored as a
Flagged destination in the destination
memory.
To permanently store the saved position as a Flagged destination , it must be re-
named in the destination memory. Otherwise
the stored position will be overwritten the
next time a flagged destination is stored.
● Mark the Flagged destination in the
des
tination memory.
● Press the Stor
e function button.
The n ame c
an be changed in the following in-
put window. Press the function button to
s t
ore the destination.
Routes
In the Route mode, you can define various
destinations (final destination and stop-
overs).
The starting point of a route is always the
current vehicle position determined by the In-
fotainment system. The destination is the end point of a route.
Stopo
ver destinations
are driven to before the destination.
● In the Navigation main menu, press the
M
y Dests. function button.
● Press the R
out
es function button. The
r out
es stored previously will appear
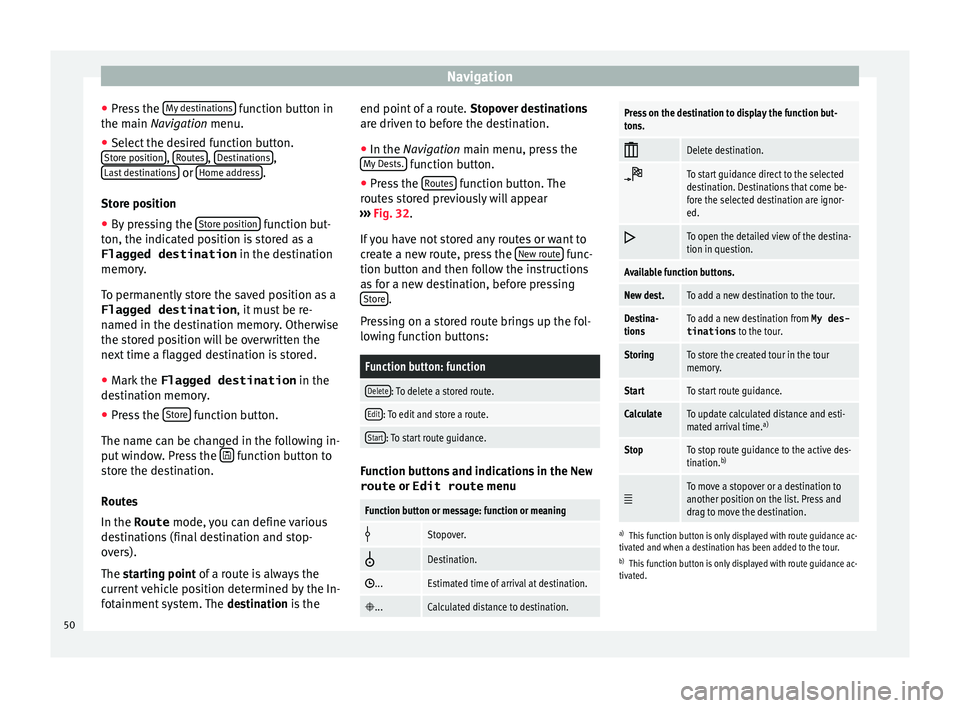
››› Fig. 32.
If you have not stored any routes or want to
create a new route, press the New route func-
tion b utt
on and then follow the instructions
as for a new destination, before pressing Store .
Pr e
ssing on a stored route brings up the fol-
lowing function buttons:
Function button: function
Delete: To delete a stored route.
Edit: To edit and store a route.
Start: To start route guidance. Function buttons and indications in the
New
route or Edit route menu
Function button or message: function or meaning
Stopover.
Destination.
...Estimated time of arrival at destination.
...Calculated distance to destination.
Press on the destination to display the function but-
tons.
Delete destination.
To start guidance direct to the selected
destination. Destinations that come be-
fore the selected destination are ignor-
ed.
To open the detailed view of the destina-
tion in question.
Available function buttons.
New dest.To add a new destination to the tour.
Destina-
tionsTo add a new destination from My des-
tinations
to the tour.
StoringTo store the created tour in the tour
memory.
StartTo start route guidance.
CalculateTo update calculated distance and esti-
mated arrival time. a)
StopTo stop route guidance to the active des-
tination.b)
To move a stopover or a destination to
another position on the list. Press and
drag to move the destination.
a)
This function button is only displayed with route guidance ac-
tivated and when a destination has been added to the tour.
b) This function button is only displayed with route guidance ac-
tivated.
50
Page 53 of 100
Navigation
Last destinations
V iew of
destinations for which a route has al-
ready been started.
Destinations
● Select the desired function button.
Function button: function
Destination memory: View of destinations stored manually
and from imported vCards ››› page 54, Importing
vCards (electronic business cards) .
Favourites: View of destinations stored as favourites.
Contacts: View of entries in the phonebook that have a
stored address (postal address). Home address
On
ly
one address or position can be stored
as the home address at any one time. The
stored home address can be edited or over-
written.
If a home address has already been stored,
route guidance will be started to the stored
home address.
If a home address has not yet been stored,
an address can be assigned as the home ad-
dress.
Assigning the home address for the first time:
Position: Press to store the vehicle's current position as
the home address.
Address: Press to enter the home address manually.
Editing the home address:
The home address can be edited in the Navigation
settings menu ››› page 56.
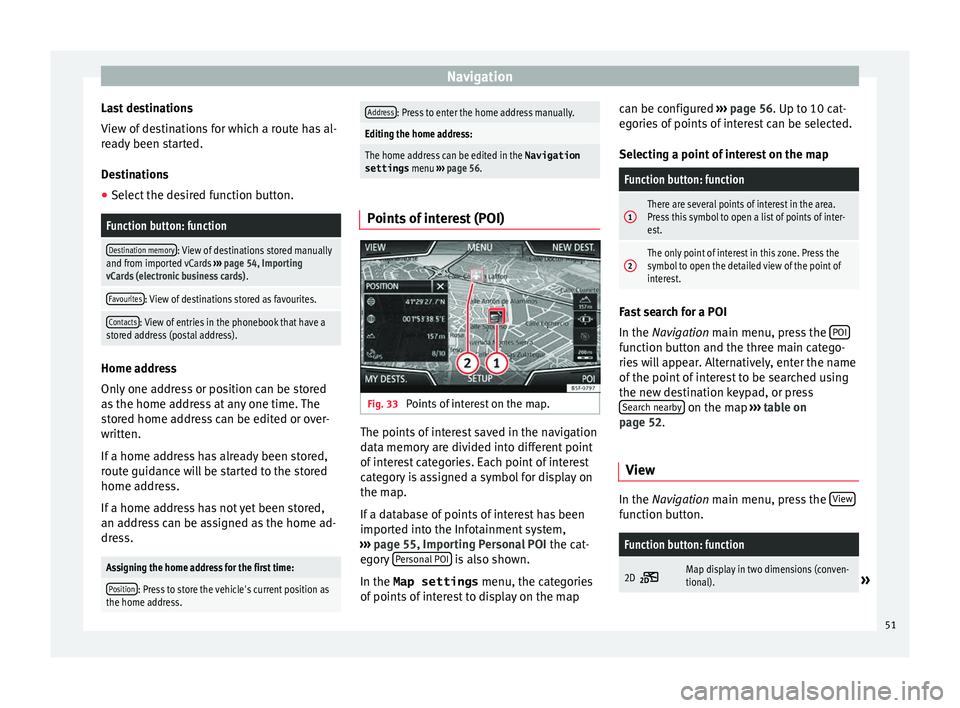
Points of interest (POI) Fig. 33
Points of interest on the map. The points of interest saved in the navigation
d
at
a memory are divided into different point
of interest categories. Each point of interest
category is assigned a symbol for display on
the map.
If a database of points of interest has been
imported into the Infotainment system,
››› page 55, Importing Personal POI the cat-
egory Personal POI is also shown.
In the Map settings menu, the cat
egories
of points of interest to display on the map can be configured
››
› page 56. Up to 10 cat-
egories of points of interest can be selected.
Selecting a point of interest on the map
Function button: function
1There are several points of interest in the area.
Press this symbol to open a list of points of inter-
est.
2The only point of interest in this zone. Press the
symbol to open the detailed view of the point of
interest. Fast search for a POI
In the Na
vigation
main menu, press the POI function button and the three main catego-
rie
s
will appear. Alternatively, enter the name
of the point of interest to be searched using
the new destination keypad, or press Search nearby on the map
››
›
table on
page 52.
View In the Na
vigation main menu, press the V
iew function button.
Function button: function
2D Map display in two dimensions (conven-
tional).»
51
Page 55 of 100
NavigationFunction button: function
Demo mode start (only when demo mode is active)
Map display
Fig. 35
Messages and function buttons on
the m ap di
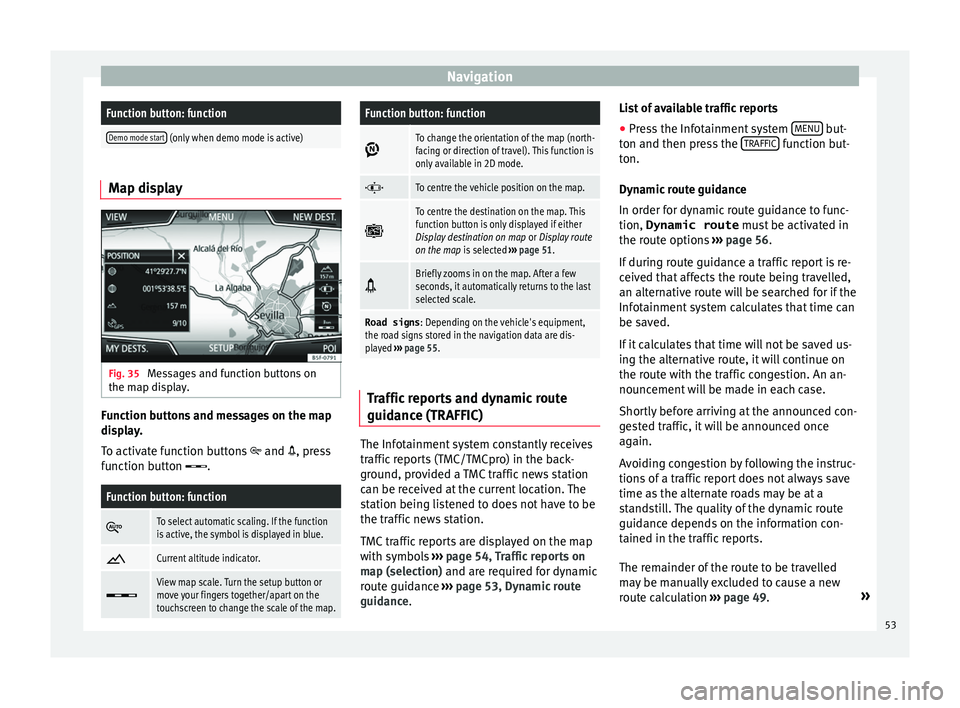
splay. Function buttons and messages on the map
di
s
play.
To activate function buttons
and , press
function button .
Function button: function
To select automatic scaling. If the function
is active, the symbol is displayed in blue.
Current altitude indicator.
View map scale. Turn the setup button or
move your fingers together/apart on the
touchscreen to change the scale of the map.
Function button: function
To change the orientation of the map (north-
facing or direction of travel). This function is
only available in 2D mode.
To centre the vehicle position on the map.
To centre the destination on the map. This
function button is only displayed if either
Display destination on map
or Display route
on the map is selected ››› page 51.
Briefly zooms in on the map. After a few
seconds, it automatically returns to the last
selected scale.
Road signs
: Depending on the vehicle's equipment,
the road signs stored in the navigation data are dis-
played ››› page 55. Traffic reports and dynamic route
guid
anc
e (TRAFFIC) The Infotainment system constantly receives
tr
affic
reports (TMC/TMCpro) in the back-
ground, provided a TMC traffic news station
can be received at the current location. The
station being listened to does not have to be
the traffic news station.
TMC traffic reports are displayed on the map
with symbols ›››
page 54, Traffic reports on
map (selection) and are required for dynamic
route guidance ››› page 53, Dynamic route
guidance. List of available traffic reports
● Press the Infotainment system MENU but-
t on and then pr
ess the TRAFFIC function but-
t on.
D
ynamic route guidance
In order for dynamic route guidance to func-
tion, Dynamic route must be activated in
the route options ››› page 56.
If during route guidance a traffic report is re-
ceived that affects the route being travelled,
an alternative route will be searched for if the
Infotainment system calculates that time can
be saved.
If it calculates that time will not be saved us-
ing the alternative route, it will continue on
the route with the traffic congestion. An an-
nouncement will be made in each case.
Shortly before arriving at the announced con-
gested traffic, it will be announced once
again.
Avoiding congestion by following the instruc-
tions of a traffic report does not always save
time as the alternate roads may be at a
standstill. The quality of the dynamic route
guidance depends on the information con-
tained in the traffic reports.
The remainder of the route to be travelled
may be manually excluded to cause a new
route calculation ››› page 49. »
53
Page 56 of 100
Navigation
Traffic reports on map (selection)Symbol: Meaning
: Traffic congestion
: Traffic jam
: Accident
: Slippery road surface (ice or snow)
: Slippery road surface
: Danger
: Road works
: Strong wind
: Road closed to traffic
During route guidance, traffic congestion that
doe
s
not affect the route calculated is dis-
played in grey.
The extent of the traffic congestion along the
route calculated is shown by a red line.
Any incidents that affect the route calculated
and have caused the route to be recalculated
are displayed in orange. The position of a symbol indicates the start
of the tr
affic congestion if it is clearly defined
in the traffic report.
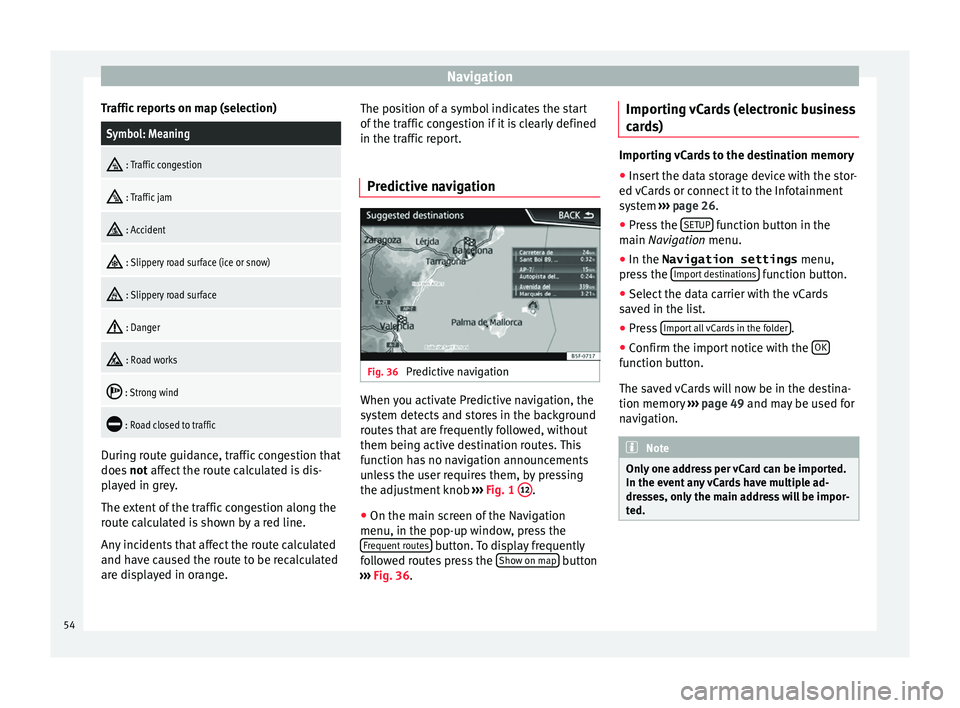
Predictive navigation Fig. 36
Predictive navigation When you activate Predictive navigation, the
sy s
tem detects and stores in the background
routes that are frequently followed, without
them being active destination routes. This
function has no navigation announcements
unless the user requires them, by pressing
the adjustment knob ››› Fig. 1 12 .
● On the main screen of the Navigation
menu, in the pop-up w indo
w, press the
Frequent routes button. To display frequently
f o
llowed routes press the Show on map button
› ›
› Fig. 36. Importing vCards (electronic business
car
ds) Importing vCards to the destination memory
● Insert the data storage device with the stor-
ed vC
ards or connect it to the Infotainment
system ››› page 26.
● Press the SETUP function button in the
m ain
Navigation menu.
● In the Navigation settings menu,
pre
ss the Import destinations function button.
● Select the data carrier with the vCards
s av
ed in the list.
● Press Import
all vCards in the folder .
● Confirm the import notice with the OK function button.
The s
av
ed vCards will now be in the destina-
tion memory ›››
page 49 and may be used for
navigation. Note
Only one address per vCard can be imported.
In the ev ent
any vCards have multiple ad-
dresses, only the main address will be impor-
ted. 54
Page 57 of 100
Navigation
Importing Personal POI Importing the Personal POI to a points of in-
t
er
est destination memory
● Insert the data storage device with the stor-
ed Per
sonal POI or connect it to the Infotain-
ment system ››› page 26.
● Press the Infotainment NAV button and
then sel ect
Settings .
● In the Settings menu, pre
ss the
Manage memory function button.
● Press U
pd
ate my POIs and then press
U
pd ateand
Ne
xt to import the Personal POIs.
● Confirm the import notification with the OKfunction button.
The s
t
ored Personal POI are now in the points
of interest destination memory ›››
page 51
and can be used for navigation purposes.
The stored Personal POI can be deleted in the
Navigation Settings menu
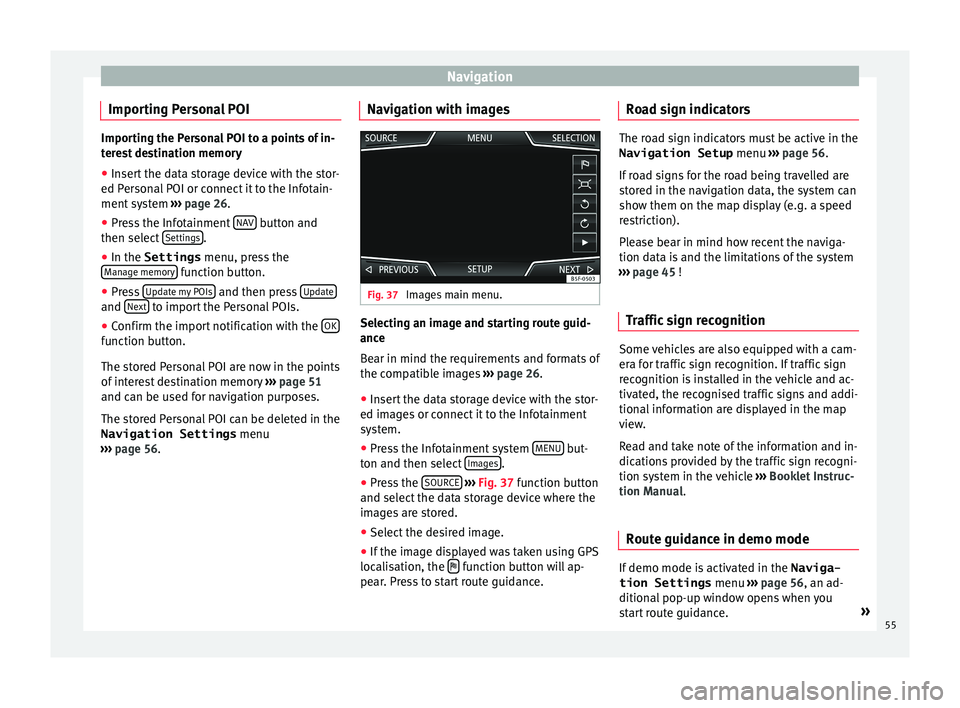
››› page 56. Navigation with images Fig. 37
Images main menu. Selecting an image and starting route guid-
anc
e
B
ear in mind the requirements and formats of
the compatible images ››› page 26.
● Insert the data storage device with the stor-
ed imag
es or connect it to the Infotainment
system.
● Press the Infotainment system MENU but-
t on and then sel
ect Images .
● Press the SOURC
E
› ›
›
Fig. 37 function button
and select the data storage device where the
images are stored.
● Select the desired image.
● If the image displayed was taken using GPS
locali
sation, the function button will ap-
pe ar
. Press to start route guidance. Road sign indicators The road sign indicators must be active in the
Navigation Setup menu ››
› page 56.
If road signs for the road being travelled are
stored in the navigation data, the system can
show them on the map display (e.g. a speed
restriction).
Please bear in mind how recent the naviga-
tion data is and the limitations of the system
››› page 45 !
Traffic sign recognition Some vehicles are also equipped with a cam-
er
a f
or traffic sign recognition. If traffic sign
recognition is installed in the vehicle and ac-
tivated, the recognised traffic signs and addi-
tional information are displayed in the map
view.
Read and take note of the information and in-
dications provided by the traffic sign recogni-
tion system in the vehicle ›››
Booklet Instruc-
tion Manual.
Route guidance in demo mode If demo mode is activated in the
Naviga-
tion Settings menu ››
› page 56, an ad-
ditional pop-up window opens when you
start route guidance. »
55
Page 59 of 100

NavigationFunction button: function
Manage memory: To modify saved destinations.
Sort contacts: To select the sequential order of the en-
tries in the phonebook that have (postal) addresses,
see also ››› page 49.
Define home address: To assign or edit a home address,
see also ››› page 51.
Delete my points of interest (POI): To delete the points of
interest stored in the destination memory ››› page 55.
Update my POIs: To update the stored points of interest
››› page 55.
Import destinations (SD/USB): To import electronic busi-
ness cards (vCards) into the destination memory
››› page 54.
Delete user data: To delete the stored destinations
(e.g., the Last destinations or the Destina-
tion memory ).
Navigation announcements: To make adjustments to naviga-
tion announcements.
Volume: To adjust the volume for driving recommen-
dations.
Entertainment fading (nav. announcements): Adjusting the
volume of the active audio source during navigation
instructions.
Navigation announcementsb) : To adjust driving recom-
mendations during route guidance.
Comprehensive: Detailed driving recommendations
and other directions.
Brief: Some recommendations and directions are
muted.
Function button: function
Congestion only: Recommendations are only given
in the event of congestion along the route (e.g.
traffic jam).
No voice guidance during call: No audible driving in-
structions will be given during a telephone conversa-
tion.
Warning: My points of interest: Audible announcement
when nearing a point of interest.
Fuel options: To make adjustments relating to fuel.
Select preferred fuel station: The selected petrol station
mark will be shown before other points of interest in
the search.
Fuel warning: The warning to refuel is active.
If the fuel level reaches the reserve level, the corre-
sponding warning is generated which permits the
search for petrol stations.
Version information: Information on the stored navigation
data.
Speed limits: Shows the speed limits, depending on the
road, for the current country.
Advanced setup: To make advanced adjustments to the
navigation.
Time display: displayed during route guidance.
Estimated time of arrival: The estimated time of arrival
at the final destination is displayed.
Duration: The estimated travelling time to the final
destination is displayed.
Status line: displayed during route guidance.
Function button: function
Destination: The distance calculated to final desti-
nation is displayed.
Next stopover: The calculated distance until next
stopover is displayed.
Note: National border crossed: Displays the speed lim-
its of the country in question when crossing the bor-
der.
Demo mode: When Demo mode is activated and
route guidance is started, virtual guidance to the en-
tered destination can be initiated ››› page 55.
Define demo mode starting point: if demo mode is acti-
vated, a fictitious starting point for virtual route
guidance can be defined when the vehicle is sta-
tionary.
Waypoint modeb) : To start Offroad navigation.
a) This function depends on the country.
b) Only available for the model: “Navi System Plus”.
Navigation in Offroad mode*
Introduction 3 On
ly
available for the model: Navi System Plus
Offroad* navigation is a function for offroad
driving that provides directions in “non-digi-
tised areas” at low speeds.
Non-digitised areas are areas about which
the system does not have information for the »
57
Page 60 of 100
Navigation
streets or terrain. It does not detect streets,
b ui
ldings or natural limits such as mountains
or rivers, although they may be shown on the
map.
Offroad* navigation is not suitable for driving
on conventional roads as it does not detect
one-way streets, motorway entries or similar.
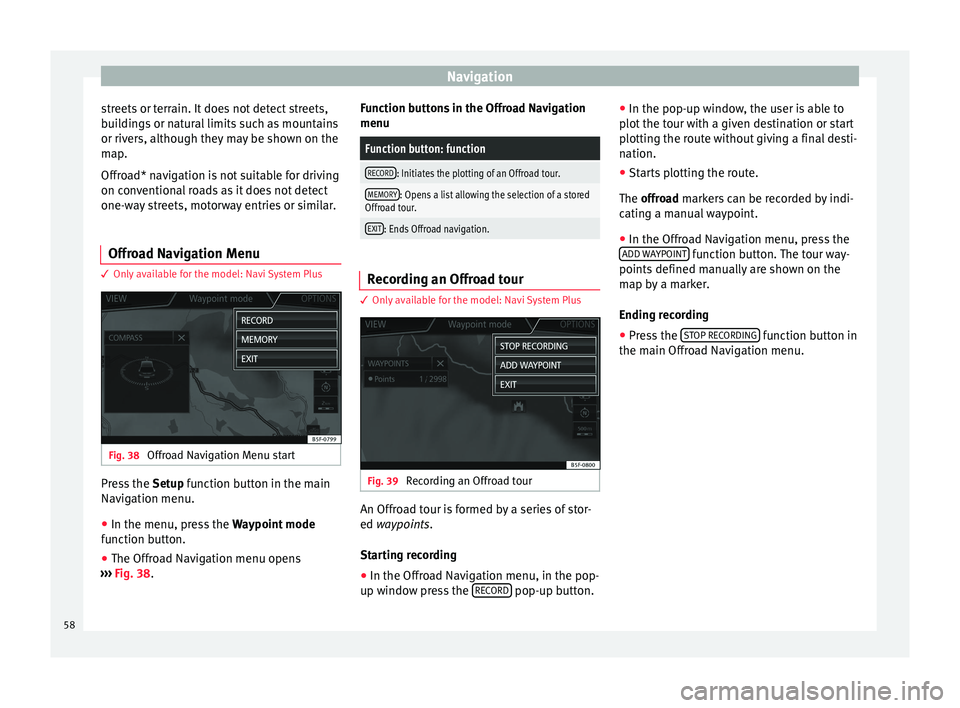
Offroad Navigation Menu 3 On
ly available for the model: Navi System Plus Fig. 38
Offroad Navigation Menu start Press the
Setup
function button in the main
Navigation menu.
● In the menu, press the Wa
ypoint mode
function button.
● The Offroad Navigation menu opens
››
› Fig. 38. Function buttons in the Offroad Navigation
menu
Function button: function
RECORD: Initiates the plotting of an Offroad tour.
MEMORY: Opens a list allowing the selection of a stored
Offroad tour.
EXIT: Ends Offroad navigation. Recording an Offroad tour
3 On
ly
available for the model: Navi System Plus Fig. 39
Recording an Offroad tour An Offroad tour is formed by a series of stor-
ed wa
ypoin
ts.
Starting recording
● In the Offroad Navigation menu, in the pop-
up w indo
w press the RECORD pop-up button.●
In the pop-up w indo
w, the user is able to
plot the tour with a given destination or start
plotting the route without giving a final desti-
nation.
● Starts plotting the route.
The offro
ad markers can be recorded by indi-
cating a manual waypoint.
● In the Offroad Navigation menu, press the
ADD W
AYPOINT function button. The tour way-
points defined m
anually are shown on the
map by a marker.
Ending recording
● Press the ST
OP RECORDING function button in
the m ain O
ffroad Navigation menu.
58
Page 61 of 100

Navigation
Managing stored Offroad tours 3 On
ly available for the model: Navi System Plus Fig. 40
Offroad Navigation menu, stored
t our
s ●
Press the MEMORY function button in the
O ffr
oad Navigation menu.
● A list of stored Offroad tours opens, if there
are an
y.
When a tour is selected, the following icons
will appear ››› Fig. 40:
Export the tour to an SD card.
Edit the name of the tour.
Delete the tour.
Load tour
Function button: function
IMPORT: allows the import of an Offroad route in “.GPX”
format.
Loading an Offroad tour
When the O
ffr
oad tour is selected, press Play
and the selected tour will be loaded onto
the Navigation system.
Creating an Offroad tour 3 On
ly available for the model: Navi System Plus Fig. 41
Offroad route guidance mode Start route guidance
● Loads the stored Offroad tour.
● Starting off in a stored route is not detected
b y
the system automatically.
Setup
Function button: function
Invert: Reverses the direction of the stored Offroad tour.
Next point: Starts the Offroad tour from the nearest point.
Function button: function
Start: Starts the complete Offroad tour. When route guidance starts, the system
sw
it
ches to the map view.
Stopping route guidance ● Press the Options button on the screen and
then pr e
ss Stop .
End w a
ypoint navigation
● Press the EXIT function button in the Off-
r o
ad Navigation menu. WARNING
Terrain features are disregarded during route
guid anc
e Drive slowly and following the in-
structions in order to perform the manoeuvre
as far as possible!
● The general direction of travel is indicated
str
aight ahead by direction arrows in the In-
fotainment System pop-up window ››› Fig. 41
A .
Note
If an Offroad tour is being recorded, this is
aut om
atically stored if Offroad navigation is
discontinued. 59
Page 74 of 100
Telephone management system (PHONE)
available on the Infotainment system. De-
pendin g on the
volume of data to be transfer-
red, the process can take several minutes. It
may be necessary to confirm the data transfer
on the mobile telephone.
The phonebook can also be opened during a
telephone call.
If the name stored in the phonebook has an
assigned photo, it can be displayed in the list
next to the name ››› page 74, Telephone
settings. For this purpose the option Show pictures for contacts must be activated in
the Phone settin g
s and your mobile phone
must support this function (check the com-
patibility list).
In the PHONE main menu, press the Contactsfunction button to access the phonebook.
Possible functions
Select a con-
tact from the
list
Search the list and press the desired
contact to make the call.
OR: If the contact has several tele-
phone numbers, first press the con-
tact and then the number to be used
to make the call.
Possible functions
Searching for a
contact in the
search window
Press the
Search function button
››› Fig. 55 to open the search window.
Enter the name of the contact to be
searched for in the window ››› Fig. 56.
As the characters are entered, a con-
tact is displayed in the input field.
The number of matching results is
displayed to the right of the input
field. Press the function button to
change to the list.
Search the list and press the desired
contact to make the call.
Opening the
detailed view
of a contact
Press the ››› Fig. 55 function but-
ton located next to the entry in the
phonebook.
All the telephone numbers are dis-
played in the detailed view, and
where applicable, the address recor-
ded for the contact in question.
Read contact
namePress the function button on the
detailed list for the voice control sys-
tem to say the contact name.
Dialling a con-
tact
Press the desired telephone number
on the detailed list to make the call.
Press the (pencil) icon to edit the
number before calling.
Send an SMS
to a contactPress the function button in the
detailed list.
Possible functions
Starting route
guidance to
the address of
a contact a)If the address details of a contact
have been stored, route guidance can
be started for the address of the con-
tact. Press the address data on the
detailed view to start route guidance.
a)
A system with a navigation function is required. Note
If you edit the number before calling, this will
on ly
be used for the call and will not be stor-
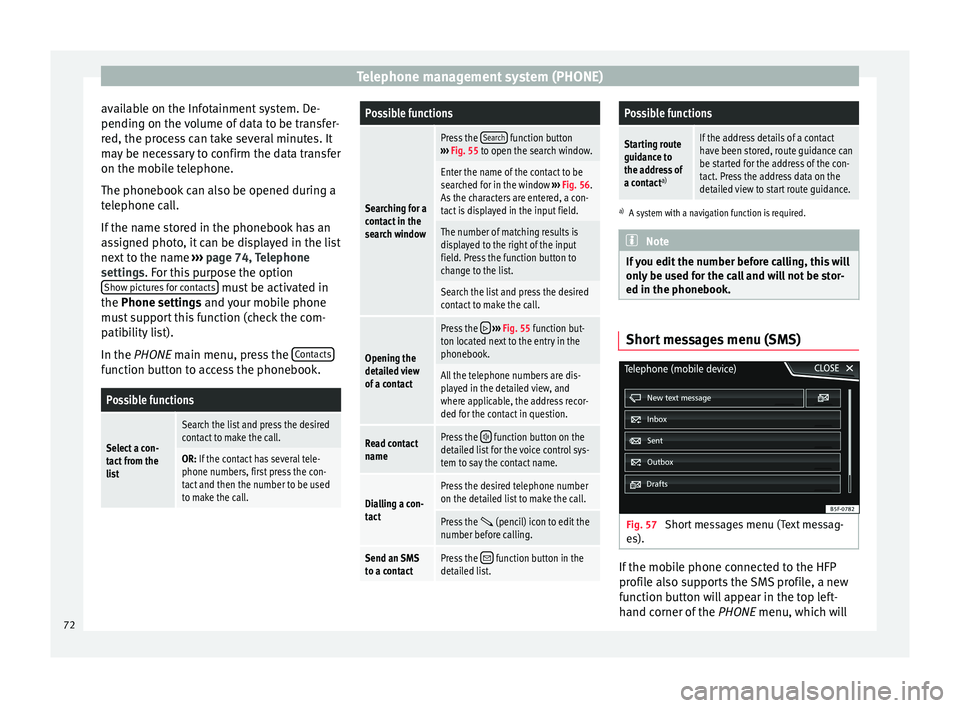
ed in the phonebook. Short messages menu (SMS)
Fig. 57
Short messages menu (Text messag-
e s). If the mobile phone connected to the HFP
pr
ofi
le also supports the SMS profile, a new
function button will appear in the top left-
hand corner of the PHONE menu, which will
72
Page 87 of 100

Full Link*
Frequently asked questions about Full LinkWhat is the connection method?USB cable.
Will the USB cable be supplied with the vehicle?No. The USB cable supplied with the device should be used.
Is navigation possible?Navigation is possible in each one of the Full Link technologies if the technology is available in your country
and if you have the Navigation app.
What is the difference between using the Full Link system navigator
(via telephone) instead of another navigator?Advantages: daily updates.
Disadvantages: data consumption, reception problems.
Can I send voice messages?With certified apps, such as SEAT ConnectApp, you can answer but not send.
What apps will be visible as I am driving?Depending on the technology:
– for MirrorLink ®
: apps certified by SEAT and the CCC,
– for Android Auto™: the Apps selected by Google™,
– for Apple CarPlay™: the Apps selected by Apple™.
Where can I find compatible Apps?Compatible apps are shown at the following links:
www.mirrorlink.com/
www.android.com/auto/
www.apple.com/ios/carplay/
Where can I download the apps?From Google Play™ for Android Auto™/MirrorLink ®
and from the Apple Store™ for Apple CarPlay™.
If Full Link stops working, where can I have it repaired?If the problem is in the car, you should go to the dealer. If the problem is in the mobile device, you should see
your mobile telephone vendor.
Will WhatsApp be certified?This depends on the technology.
Is MirrorLink ®
available in my country?Yes, MirrorLink ®
is available in all the countries and regions where SEAT operates.
What are the differences between MirrorLink ®
, Android Auto™ and
Apple CarPlay™?MirrorLink ®
is not compatible with Android Auto™ or Apple CarPlay™, as they are different technologies.
They have all coexist in Full Link, although Android Auto™ is designed for telephones with the Android™ op-
erating system and Apple CarPlay™ is designed for iPhones.
Can MirrorLink ®
be installed in a previous SEAT model?No, that is not possible. 85