light Seat Leon 5D 2013 MEDIA SYSTEM PLUS - NAVI SYSTEM
[x] Cancel search | Manufacturer: SEAT, Model Year: 2013, Model line: Leon 5D, Model: Seat Leon 5D 2013Pages: 72, PDF Size: 3 MB
Page 9 of 72
8IntroductionGeneral information on operating the unit
Introduction
Note
●Lightly pressing the buttons or briefly pressing the touchscreen is suffi-cient to operate the unit.●
It is possible that not all the functions and function buttons are availa-ble as the software of the unit responds to the specific characteristics ofeach market. If a function button is missing on the display this is not due toan error in the unit.
●
Due to country-specific legislation, certain functions cannot be selectedon the screen when the vehicle is travelling above a certain speed.
●
Using a mobile phone inside the vehicle can cause noise in the speak-ers.
●
There may be restrictions on the use of Bluetooth devices in some coun-tries. Information is available from the local authorities.
●
In some vehicles equipped with a parking distance warning system, thevolume of the audio source is automatically lowered when the gear is en-gaged.
Rotary push knobs and buttons
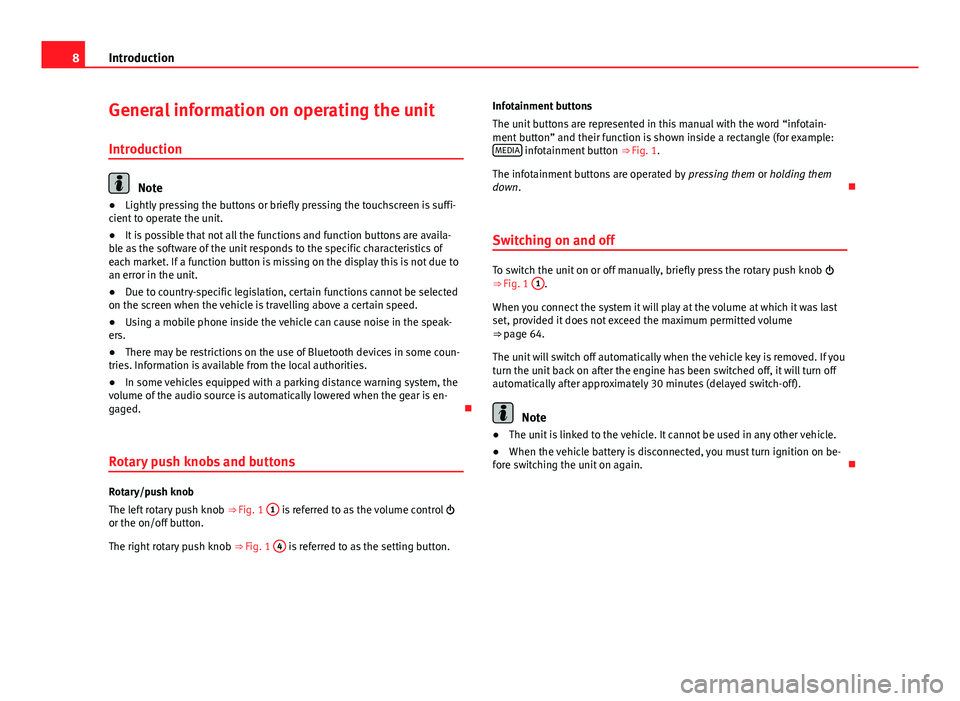
Rotary/push knob
The left rotary push knob ⇒ Fig. 1
1
is referred to as the volume control or the on/off button.
The right rotary push knob ⇒ Fig. 1
4
is referred to as the setting button.
Infotainment buttons
The unit buttons are represented in this manual with the word “infotain-ment button” and their function is shown inside a rectangle (for example:MEDIA infotainment button ⇒ Fig. 1.
The infotainment buttons are operated by pressing them or holding themdown.
Switching on and off
To switch the unit on or off manually, briefly press the rotary push knob ⇒ Fig. 1
1
.
When you connect the system it will play at the volume at which it was lastset, provided it does not exceed the maximum permitted volume⇒ page 64.
The unit will switch off automatically when the vehicle key is removed. If youturn the unit back on after the engine has been switched off, it will turn offautomatically after approximately 30 minutes (delayed switch-off).
Note
●The unit is linked to the vehicle. It cannot be used in any other vehicle.●
When the vehicle battery is disconnected, you must turn ignition on be-fore switching the unit on again.
Page 11 of 72
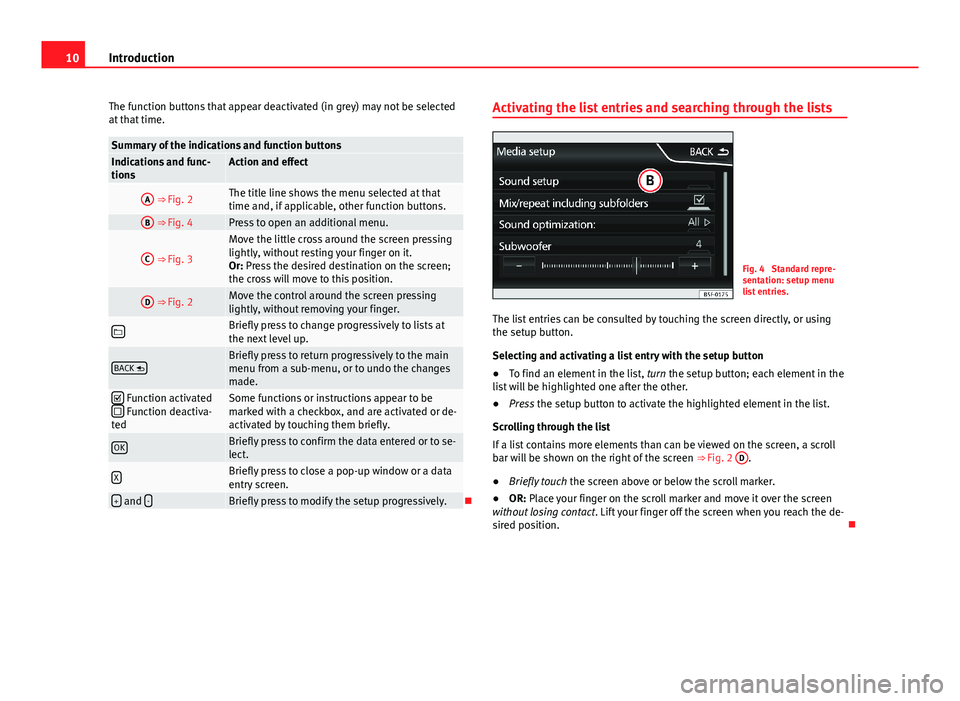
10IntroductionThe function buttons that appear deactivated (in grey) may not be selectedat that time.Summary of the indications and function buttonsIndications and func-tionsAction and effectA ⇒ Fig. 2The title line shows the menu selected at thattime and, if applicable, other function buttons.
B ⇒ Fig. 4Press to open an additional menu.C
⇒ Fig. 3
Move the little cross around the screen pressinglightly, without resting your finger on it.Or: Press the desired destination on the screen;the cross will move to this position.
D ⇒ Fig. 2Move the control around the screen pressinglightly, without removing your finger.Briefly press to change progressively to lists atthe next level up.BACK Briefly press to return progressively to the mainmenu from a sub-menu, or to undo the changesmade.
Function activated Function deactiva-ted
Some functions or instructions appear to bemarked with a checkbox, and are activated or de-activated by touching them briefly.
OKBriefly press to confirm the data entered or to se-lect.XBriefly press to close a pop-up window or a dataentry screen.+ and -Briefly press to modify the setup progressively.
Activating the list entries and searching through the listsFig. 4
Standard repre-sentation: setup menulist entries.
The list entries can be consulted by touching the screen directly, or usingthe setup button.
Selecting and activating a list entry with the setup button
●
To find an element in the list, turn the setup button; each element in thelist will be highlighted one after the other.
●
Press the setup button to activate the highlighted element in the list.
Scrolling through the list
If a list contains more elements than can be viewed on the screen, a scrollbar will be shown on the right of the screen ⇒ Fig. 2
D
.
●
Briefly touch the screen above or below the scroll marker.
●
OR: Place your finger on the scroll marker and move it over the screenwithout losing contact. Lift your finger off the screen when you reach the de-sired position.
Page 17 of 72
16Audio modeActivating a stationusing the stored sta-tion buttons
Press the stored station button corresponding tothe desired station.A stored station can be activated by pressing itsstored station button only if it can still be receivedin your current location.
Change the group ofstored station but-tons by sliding yourfinger gently
Press lightly on the station area and slide your fin-ger horizontally to access the next/previous group⇒ Fig. 10
1
.The stored station buttons are shown in groups of5 function buttons.
Storing stations instored station but-tons
See: storing stations ⇒ page 17.Storing station logosin stored station but-tons
It is possible to assign the logo of the stations stor-ed. The logos will be shown in the stored stationbuttons ⇒ page 16.
Manually save station logos in the saved station buttons
The station logos can be imported from a compatible data medium (for ex-ample, memory card or memories with USB port).
●
Press the Setup function button, then Manage logos.
●
Press the station button where you wish to store the logo of a station.
●
Select the source where the logo is stored (for example, SD 1). We rec-ommend saving logos in the memory unit’s root directory.
●
Select the station logo.
●
Repeat the process to assign other logos; press the infotainment buttonRADIO to return to the RADIO main menu.
Automatically save station logos in the saved station
buttons (only in FM and DAB modes)
Fig. 11
Standard rep-resentation: logochoice menu.
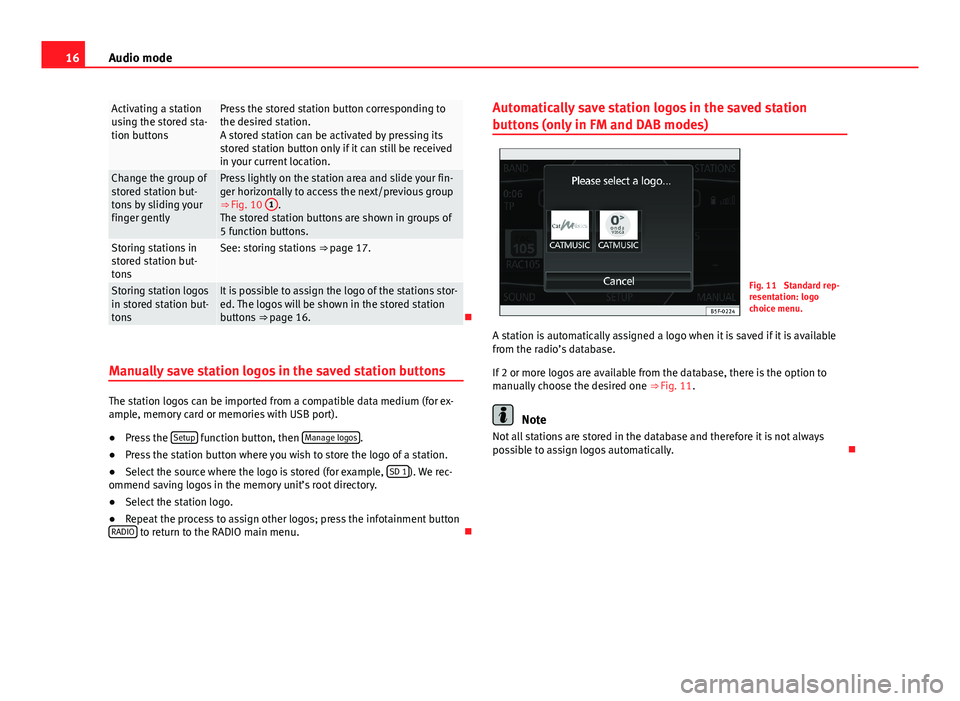
A station is automatically assigned a logo when it is saved if it is availablefrom the radio’s database.
If 2 or more logos are available from the database, there is the option tomanually choose the desired one ⇒ Fig. 11.
Note
Not all stations are stored in the database and therefore it is not alwayspossible to assign logos automatically.
Page 18 of 72
17Audio modeSelecting, adjusting and storing a stationFig. 12
Standard repre-sentation: RADIO mainmenu.
Fig. 13
Standard repre-sentation: list of DAB ra-dio stations and blocks.
Selecting a stationSelecting a sta-tion with the re-search buttons
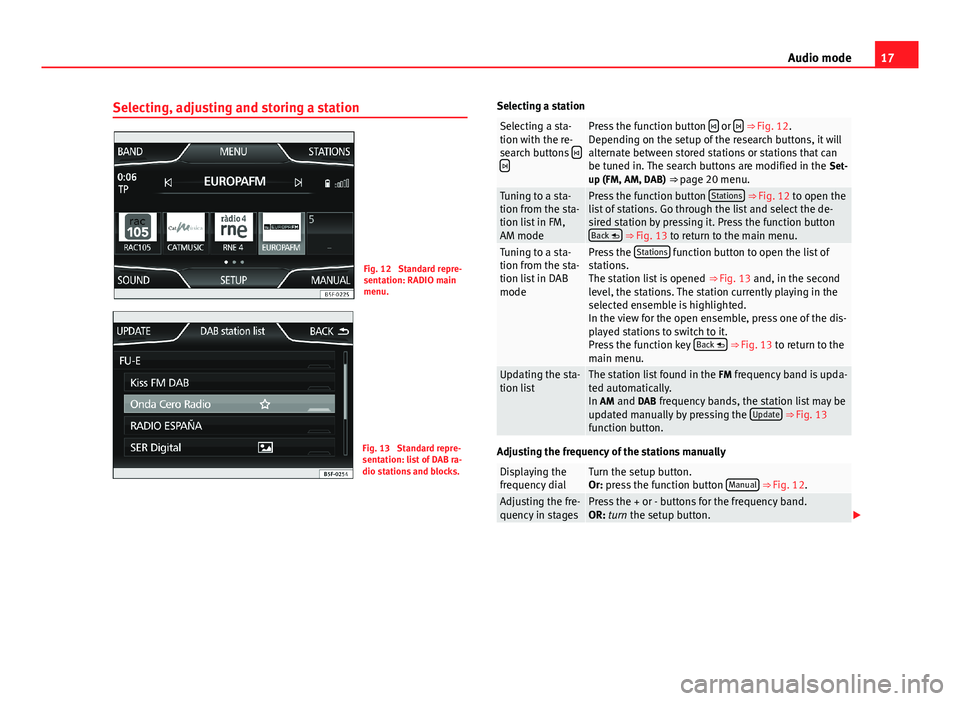
Press the function button or ⇒ Fig. 12.Depending on the setup of the research buttons, it willalternate between stored stations or stations that canbe tuned in. The search buttons are modified in the Set-up (FM, AM, DAB) ⇒ page 20 menu.
Tuning to a sta-tion from the sta-tion list in FM,AM mode
Press the function button Stations ⇒ Fig. 12 to open thelist of stations. Go through the list and select the de-sired station by pressing it. Press the function buttonBack ⇒ Fig. 13 to return to the main menu.
Tuning to a sta-tion from the sta-tion list in DABmode
Press the Stations function button to open the list ofstations.The station list is opened ⇒ Fig. 13 and, in the secondlevel, the stations. The station currently playing in theselected ensemble is highlighted.In the view for the open ensemble, press one of the dis-played stations to switch to it.Press the function key Back ⇒ Fig. 13 to return to themain menu.
Updating the sta-tion listThe station list found in the FM frequency band is upda-ted automatically.In AM and DAB frequency bands, the station list may beupdated manually by pressing the Update ⇒ Fig. 13function button.
Adjusting the frequency of the stations manually
Displaying thefrequency dialTurn the setup button.Or: press the function button Manual ⇒ Fig. 12.Adjusting the fre-quency in stagesPress the + or - buttons for the frequency band.OR: turn the setup button.
Page 34 of 72
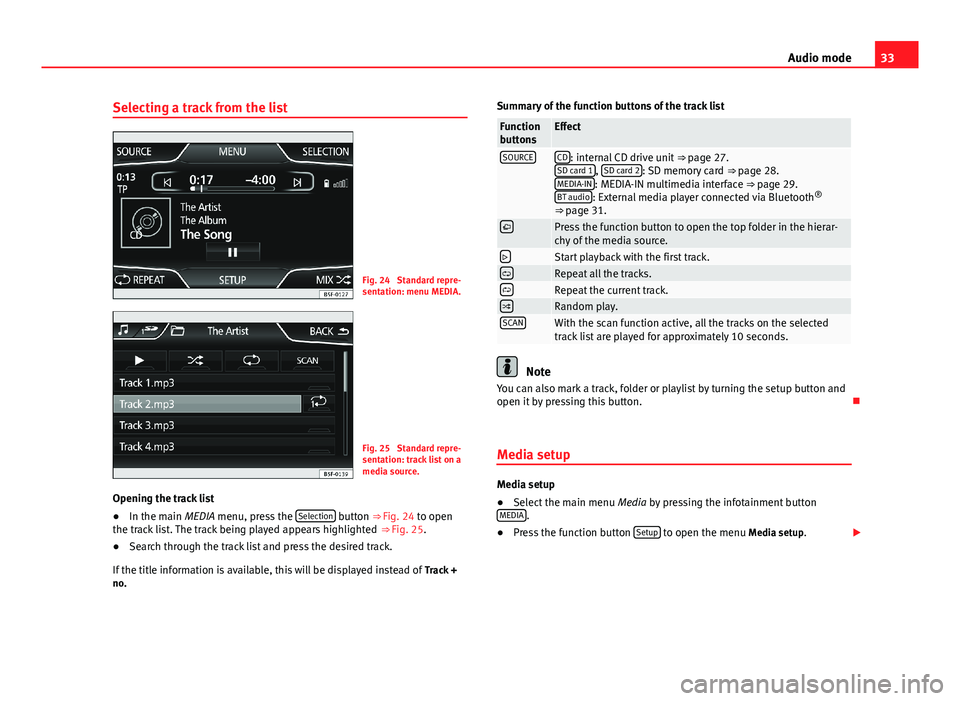
33Audio modeSelecting a track from the listFig. 24
Standard repre-sentation: menu MEDIA.
Fig. 25
Standard repre-sentation: track list on amedia source.
Opening the track list
●
In the main MEDIA menu, press the Selection button ⇒ Fig. 24 to openthe track list. The track being played appears highlighted ⇒ Fig. 25.
●
Search through the track list and press the desired track.
If the title information is available, this will be displayed instead of Track +no.
Summary of the function buttons of the track listFunctionbuttonsEffectSOURCECD: internal CD drive unit ⇒ page 27.SD card 1, SD card 2: SD memory card ⇒ page 28.MEDIA-IN: MEDIA-IN multimedia interface ⇒ page 29.BT audio: External media player connected via Bluetooth®
⇒ page 31.
Press the function button to open the top folder in the hierar-chy of the media source.Start playback with the first track.Repeat all the tracks.Repeat the current track.Random play.SCANWith the scan function active, all the tracks on the selectedtrack list are played for approximately 10 seconds.
Note
You can also mark a track, folder or playlist by turning the setup button andopen it by pressing this button.
Media setup
Media setup
●
Select the main menu Media by pressing the infotainment buttonMEDIA.
●
Press the function button Setup to open the menu Media setup.
Page 64 of 72
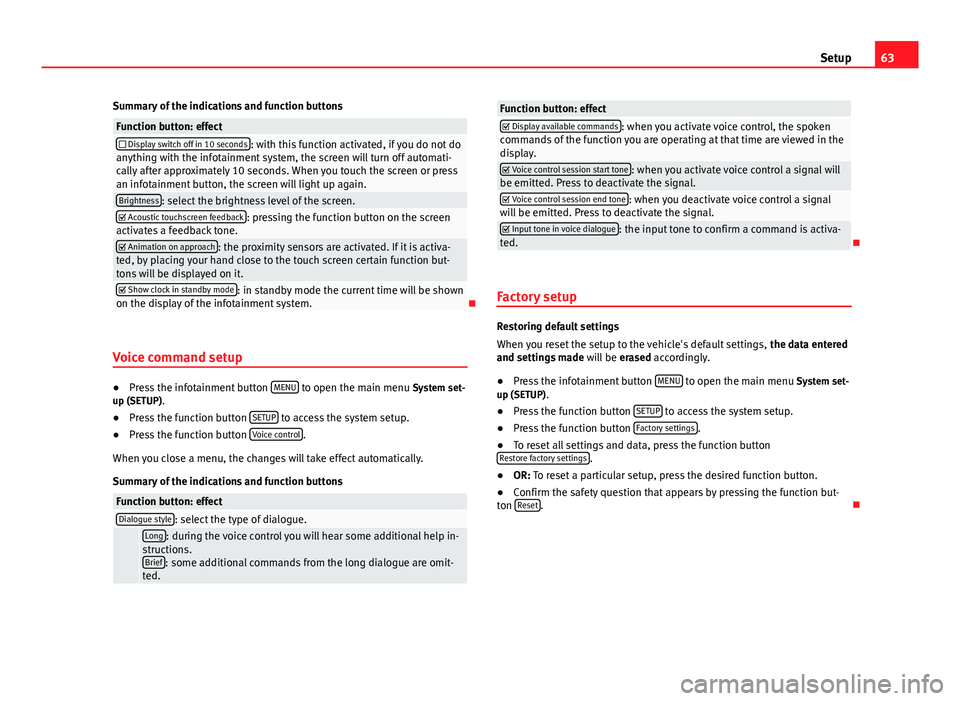
63SetupSummary of the indications and function buttonsFunction button: effect Display switch off in 10 seconds: with this function activated, if you do not doanything with the infotainment system, the screen will turn off automati-cally after approximately 10 seconds. When you touch the screen or pressan infotainment button, the screen will light up again.
Brightness: select the brightness level of the screen. Acoustic touchscreen feedback: pressing the function button on the screenactivates a feedback tone. Animation on approach: the proximity sensors are activated. If it is activa-ted, by placing your hand close to the touch screen certain function but-tons will be displayed on it.
Show clock in standby mode: in standby mode the current time will be shownon the display of the infotainment system.
Voice command setup
●
Press the infotainment button MENU to open the main menu System set-up (SETUP).
●
Press the function button SETUP to access the system setup.
●
Press the function button Voice control.
When you close a menu, the changes will take effect automatically.
Summary of the indications and function buttons
Function button: effectDialogue style: select the type of dialogue. Long: during the voice control you will hear some additional help in-structions.Brief: some additional commands from the long dialogue are omit-ted.
Function button: effect Display available commands: when you activate voice control, the spokencommands of the function you are operating at that time are viewed in thedisplay.
Voice control session start tone: when you activate voice control a signal willbe emitted. Press to deactivate the signal. Voice control session end tone: when you deactivate voice control a signalwill be emitted. Press to deactivate the signal. Input tone in voice dialogue: the input tone to confirm a command is activa-ted.
Factory setup
Restoring default settings
When you reset the setup to the vehicle's default settings, the data enteredand settings made will be erased accordingly.
●
Press the infotainment button MENU to open the main menu System set-up (SETUP).
●
Press the function button SETUP to access the system setup.
●
Press the function button Factory settings.
●
To reset all settings and data, press the function buttonRestore factory settings.
●
OR: To reset a particular setup, press the desired function button.
●
Confirm the safety question that appears by pressing the function but-ton Reset.
Page 66 of 72
65AbbreviationsAbbreviationsAbbreviationsAbbreviationMeaningA2DPTechnology included by many manufacturers to transmitaudio signals via Bluetooth (Advanced Audio DistributionProfile).
AMModulation of the wave amplitude (medium wave, MW)AUXAdditional audio input (Auxiliary Input)AVRCPTechnology included by many manufacturers for the remotemanagement of audio sources via Bluetooth (Audio VideoRemote Control Profile).
DABDigital transmission standard for digital radio (Digital Au-dio Broadcasting)DINDeutsches Institut fur Normung (German industry stand-ard).DRMDigital Rights ManagementDTMFDial tone with dual tone multiple frequencyDVB-TDigital television or “omnipresent television” (Digital VideoBroadcasting-Terrestric)EONAssistance for other radio transmission networks (En-hanced Other Network)EPGElectronic programme guide for DVB-T (Electronic Pro-gramme Guide)FMFrequency modulation (ultra-short wave, UKW)GPSGlobal Positioning System.GSMGlobal System for Mobile CommunicationsHDDMedia centre (Hard Disc Drive unit).HFPWireless phone (Hands-Free-Profile)IMEISerial number for univocally identifying GSM devices (Inter-national Mobile Station Equipment Identity).LEDLight Emitting DiodeMDIExternal data medium, for example, an iPod (Media DeviceInterface)MP3Audio file compression format.PDCPark-Distance-ControlPIN codePersonal identification number.RDSRadio data system.rSAPProfile for SIM access via Bluetooth (remote SIM-Access-Profile).SIMSubscriber Identity Module.SMSShort Message Service.TMCTraffic reports for dynamic navigation (Traffic MessageChannel)TPTraffic reports function in Radio mode (Traffic Program).VBRVariable bit rate.WMAAudio file compression format.