start stop button Seat Leon 5D 2014 NAVI SYSTEM PLUS
[x] Cancel search | Manufacturer: SEAT, Model Year: 2014, Model line: Leon 5D, Model: Seat Leon 5D 2014Pages: 84, PDF Size: 2.08 MB
Page 8 of 84
Introduction
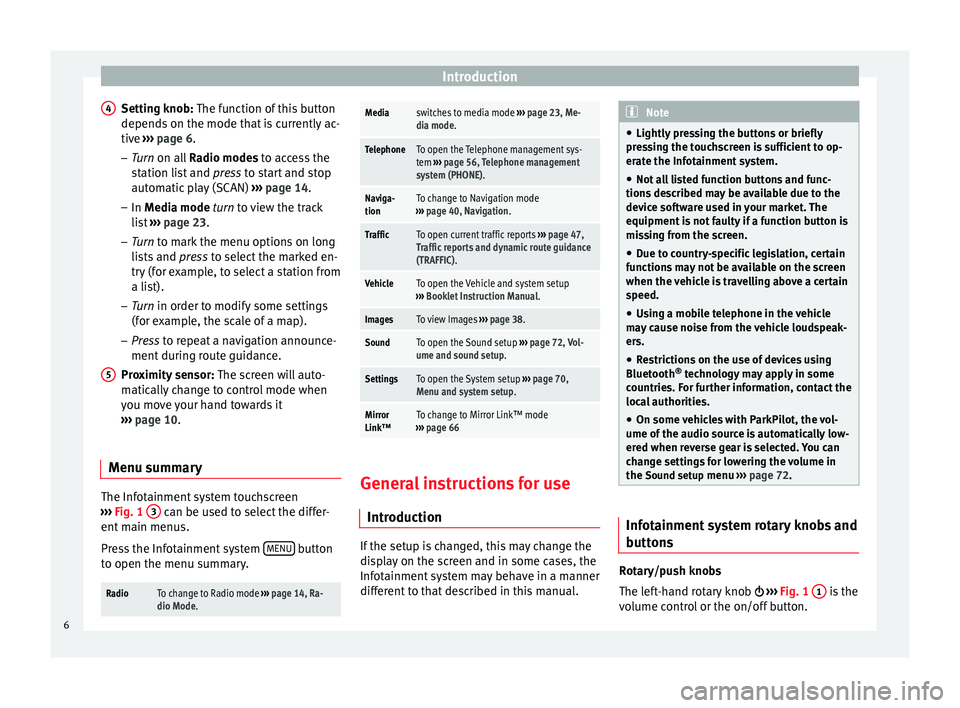
Setting knob: The function of this button
depends on the mode that is currently ac-
tive ››› page 6 .
– Tur
n on all Radio modes to access the
s
tation list and press to start and stop
automatic play (SCAN) ››› page 14.
– In Media mode
turn to view the track
list ››› page 23.
– Tur
n to mark the menu options on long
lis
ts and press to select the marked en-
try (for example, to select a station from
a list).
– Turn in order to modify some settings
(for e
xample, the scale of a map).
– Press to repeat a navigation announce-
ment durin
g route guidance.
Proximity sensor: The screen will auto-
matically change to control mode when
you move your hand towards it
››› page 10.
Menu s
ummary The Infotainment system touchscreen
››› Fig. 1 3 can be used to select the differ-
ent main menus.
Press the Infotainment system MENU button
to open the menu summary.
RadioTo change to Radio mode ››› page 14, Ra-
dio Mode. 4
5
Mediaswitches to media mode
››› page 23, Me-
dia mode.
TelephoneTo open the Telephone management sys-
tem ››› page 56, Telephone management
system (PHONE).
Naviga-
tionTo change to Navigation mode
››› page 40, Navigation.
TrafficTo open current traffic reports ››› page 47,
Traffic reports and dynamic route guidance
(TRAFFIC).
VehicleTo open the Vehicle and system setup
››› Booklet Instruction Manual.
ImagesTo view Images ››› page 38.
SoundTo open the Sound setup ››› page 72, Vol-
ume and sound setup.
SettingsTo open the System setup ››› page 70,
Menu and system setup.
Mirror
Link™To change to Mirror Link™ mode
››› page 66 General instructions for use
Introduction If the setup is changed, this may change the
display on the screen and in some cases, the
Infotainment system may behave in a manner
different to that described in this manual. Note
● Lightly pressing the buttons or briefly
pressing the touchscreen is sufficient to op-
erate the Infotainment system.
● Not all listed function buttons and func-
tions described may be available due to the
device software used in your market. The
equipment is not faulty if a function button is
missing from the screen.
● Due to country-specific legislation, certain
functions may not be available on the screen
when the vehicle is travelling above a certain
speed.
● Using a mobile telephone in the vehicle
may cause noise from the vehicle loudspeak-
ers.
● Restrictions on the use of devices using
Bluetooth ®
technology may apply in some
countries. For further information, contact the
local authorities.
● On some vehicles with ParkPilot, the vol-
ume of the audio source is automatically low-
ered when reverse gear is selected. You can
change settings for lowering the volume in
the Sound setup menu ››› page 72. Infotainment system rotary knobs and
buttons
Rotary/push knobs
The left-hand rotary knob
›››
Fig. 1 1 is the
volume control or the on/off button.
6
Page 9 of 84
Introduction
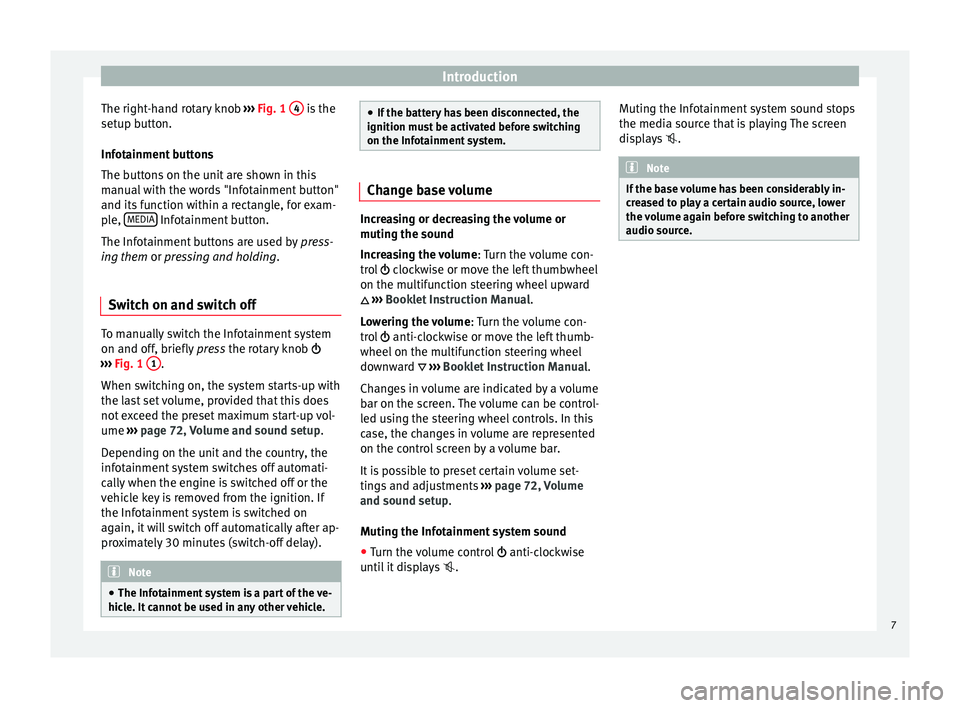
The right-hand rotary knob ››› Fig. 1 4 is the
setup button.
Infotainment buttons
The buttons on the unit are shown in this
manual with the words "Infotainment button"
and its function within a rectangle, for exam-
ple, MEDIA Infotainment button.
The Infotainment buttons are used by press-
ing them or pressing and holding.
Sw it
ch on and switch off To manually switch the Infotainment system
on and off, briefly
press the rotary knob
››› Fig. 1 1 .
When switching on, the system starts-up with
the last set volume, provided that this does
not exceed the preset maximum start-up vol-
ume ››› page 72, Volume and sound setup .
D ependin
g on the unit and the country, the
infotainment system switches off automati-
cally when the engine is switched off or the
vehicle key is removed from the ignition. If
the Infotainment system is switched on
again, it will switch off automatically after ap-
proximately 30 minutes (switch-off delay). Note
● The Infotainment system is a part of the ve-
hicle. It cannot be used in any other vehicle. ●
If the battery has been disconnected, the
ignition must be activated before switching
on the Infotainment system. Change base volume
Increasing or decreasing the volume or
muting the sound
Increasing the volume
: Turn the volume con-
trol clockwise or move the left thumbwheel
on the mu ltif
unction steering wheel upward
››› Booklet Instruction Manual.
L o
wering the volume : Turn the volume con-
trol anti-clockwise or move the left thumb-
wheel on the multifunction steering wheel
downward ››› Booklet Instruction Manual.
Changes in volume are indicated by a volume
bar on the screen. The volume can be control-
led using the steering wheel controls. In this
case, the changes in volume are represented
on the control screen by a volume bar.
It is possible to preset certain volume set-
tings and adjustments ››› page 72, Volume
and sound setup.
Mutin
g the Infotainment system sound
● Turn the volume control anti-clockwise
until it displays . Muting the Infotainment system sound stops
the media source that is playing The screen
displays
. Note
If the base volume has been considerably in-
creased to play a certain audio source, lower
the volume again before switching to another
audio source. 7
Page 13 of 84
Introduction
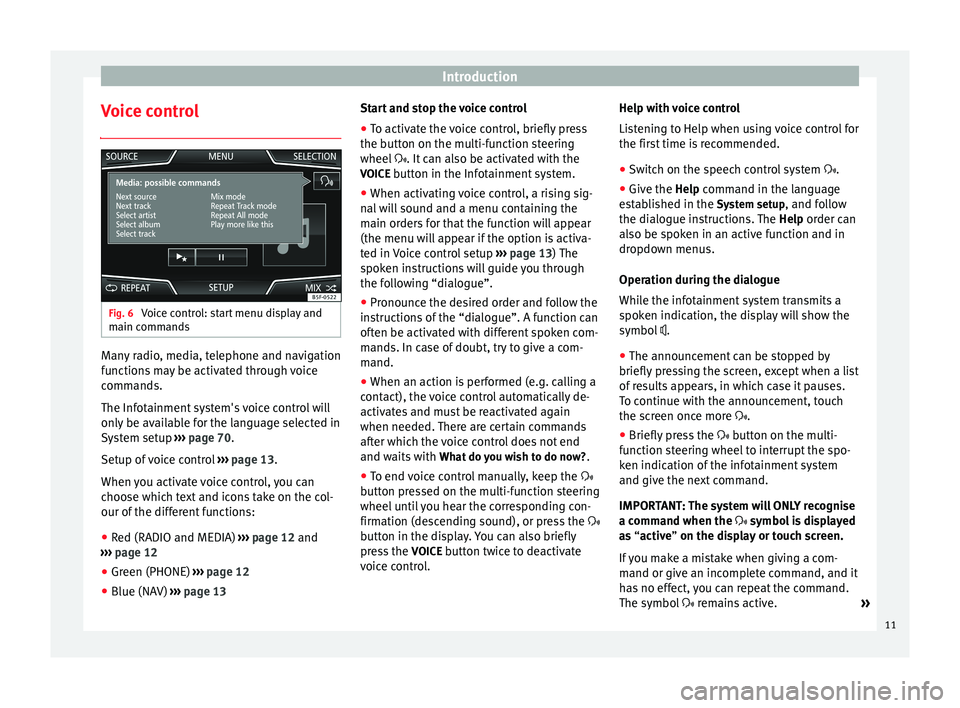
Voice control Fig. 6
Voice control: start menu display and
main commands Many radio, media, telephone and navigation
functions may be activated through voice
commands.
The Infotainment system's voice control will
only be available for the language selected in
System setup
››› page 70 .
Set up of
voice control ››› page 13.
When you activate voice control, you can
choose which text and icons take on the col-
our of the different functions:
● Red (RADIO and MEDIA) ›››
page 12 and
››› page 12
● Green (PHONE) ››› page 12
● Blue (NAV) ››› page 13 Start and stop the voice control
●
To activate the voice control, briefly press
the button on the multi-function steering
wheel . It can also be activated with the
VOIC
E button in the Infotainment system.
● When activating voice control, a rising sig-
nal will sound and a menu containing the
main orders for that the function will appear
(the menu will appear if the option is activa-
ted in Voice control setup ››› page 13) The
spoken instructions will guide you through
the following “dialogue”.
● Pronounce the desired order and follow the
instructions of the “dialogue”. A function can
often be activated with different spoken com-
mands. In case of doubt, try to give a com-
mand.
● When an action is performed (e.g. calling a
contact), the voice control automatically de-
activates and must be reactivated again
when needed. There are certain commands
after which the voice control does not end
and waits with What do you wish to do now? .
● To end voice control manually, keep the
button pressed on the multi-function steering
wheel until you hear the corresponding con-
firmation (descending sound), or press the
button in the display. You can also briefly
press the VOICE
button twice to deactivate
voice control. Help with voice control
Listening to Help when using voice control for
the first time is recommended.
● Switch on the speech control system .
● Give the
Help command in the language
established in the System setup, and follow
the dialogue instructions. The Help order can
also be s
poken in an active function and in
dropdown menus.
Operation during the dialogue
While the infotainment system transmits a
spoken indication, the display will show the
symbol .
● The announcement can be stopped by
briefly pressing the screen, except when a list
of results appears, in which case it pauses.
To continue with the announcement, touch
the screen once more .
● Briefly press the button on the multi-
function steering wheel to interrupt the spo-
ken indication of the infotainment system
and give the next command.
IMPORTANT: The system will ONLY recognise
a command when the symbol is displayed
as “active
” on the display or touch screen.
If you make a mistake when giving a com-
mand or give an incomplete command, and it
has no effect, you can repeat the command.
The symbol remains active.
»
11
Page 15 of 84
Introduction
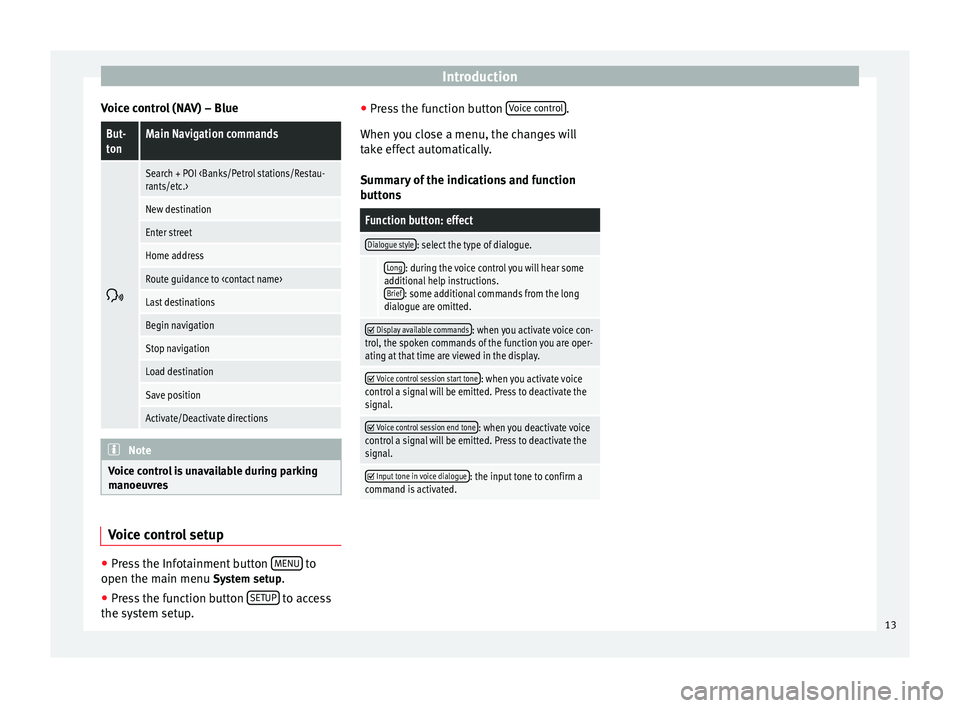
Voice control (NAV) – BlueBut-
tonMain Navigation commands
Search + POI
New destination
Enter street
Home address
Route guidance to
Last destinations
Begin navigation
Stop navigation
Load destination
Save position
Activate/Deactivate directions
Note
Voice control is unavailable during parking
manoeuvres Voice control setup
●
Press the Infotainment button MENU to
open the main menu System setup
.
● Press the function button SETUP to access
the system setup. ●
Press the function button Voice control .
When you close a menu, the changes will
take effect automatically.
Summary of the indications and function
buttons
Function button: effect
Dialogue style: select the type of dialogue.
Long: during the voice control you will hear some
additional help instructions. Brief
: some additional commands from the long
dialogue are omitted.
Display available commands: when you activate voice con-
trol, the spoken commands of the function you are oper-
ating at that time are viewed in the display.
Voice control session start tone: when you activate voice
control a signal will be emitted. Press to deactivate the
signal.
Voice control session end tone: when you deactivate voice
control a signal will be emitted. Press to deactivate the
signal.
Input tone in voice dialogue: the input tone to confirm a
command is activated. 13
Page 21 of 84
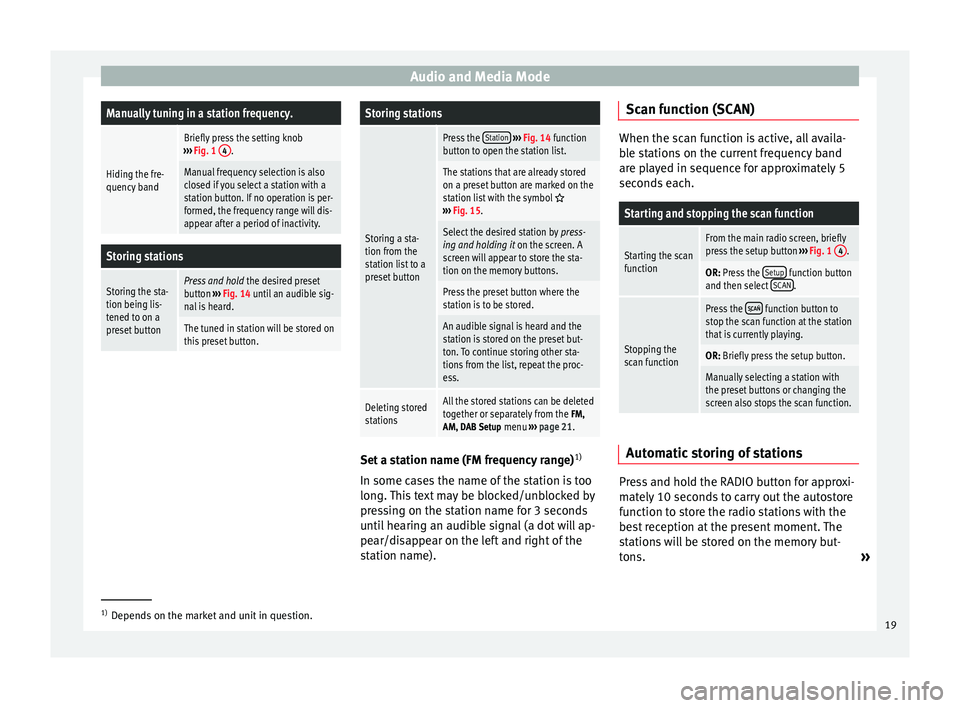
Audio and Media ModeManually tuning in a station frequency.
Hiding the fre-
quency band
Briefly press the setting knob
››› Fig. 1 4.
Manual frequency selection is also
closed if you select a station with a
station button. If no operation is per-
formed, the frequency range will dis-
appear after a period of inactivity.
Storing stations
Storing the sta-
tion being lis-
tened to on a
preset buttonPress and hold
the desired preset
button ››› Fig. 14 until an audible sig-
nal is heard.
The tuned in station will be stored on
this preset button.
Storing stations
Storing a sta-
tion from the
station list to a
preset button
Press the Station
››› Fig. 14 function
button to open the station list.
The stations that are already stored
on a preset button are marked on the
station list with the symbol
››› Fig. 15.
Select the desired station by press-
ing and holding it on the screen. A
screen will appear to store the sta-
tion on the memory buttons.
Press the preset button where the
station is to be stored.
An audible signal is heard and the
station is stored on the preset but-
ton. To continue storing other sta-
tions from the list, repeat the proc-
ess.
Deleting stored
stationsAll the stored stations can be deleted
together or separately from the FM,
AM, DAB Setup menu ››› page 21. Set a station name (FM frequency range)
1)
In some cases the name of the station is too
long. This text may be blocked/unblocked by
pressing on the station name for 3 seconds
until hearing an audible signal (a dot will ap-
pear/disappear on the left and right of the
station name). Scan function (SCAN) When the scan function is active, all availa-
ble stations on the current frequency band
are played in sequence for approximately 5
seconds each.
Starting and stopping the scan function
Starting the scan
functionFrom the main radio screen, briefly
press the setup button
››› Fig. 1 4.
OR: Press the Setup function button
and then select SCAN.
Stopping the
scan function
Press the function button to
stop the scan function at the station
that is currently playing.
OR: Briefly press the setup button.
Manually selecting a station with
the preset buttons or changing the
screen also stops the scan function. Automatic storing of stations
Press and hold the RADIO button for approxi-
mately 10 seconds to carry out the autostore
function to store the radio stations with the
best reception at the present moment. The
stations will be stored on the memory but-
tons.
»1)
Depends on the market and unit in question.
19
Page 29 of 84
Audio and Media ModeDisplay: Meaning
b)DAB not available
››› page 16.
a)
Gracenote ®
is a database available on the Infotainment sys-
tem hard drive that contains information on the tracks about dif-
ferent artists and albums. In order for the user to benefit from
the functions offered by Gracenote ®
, it is necessary for the
tracks to contain the artist and/or album data.
b) Depends on the market and unit in question.
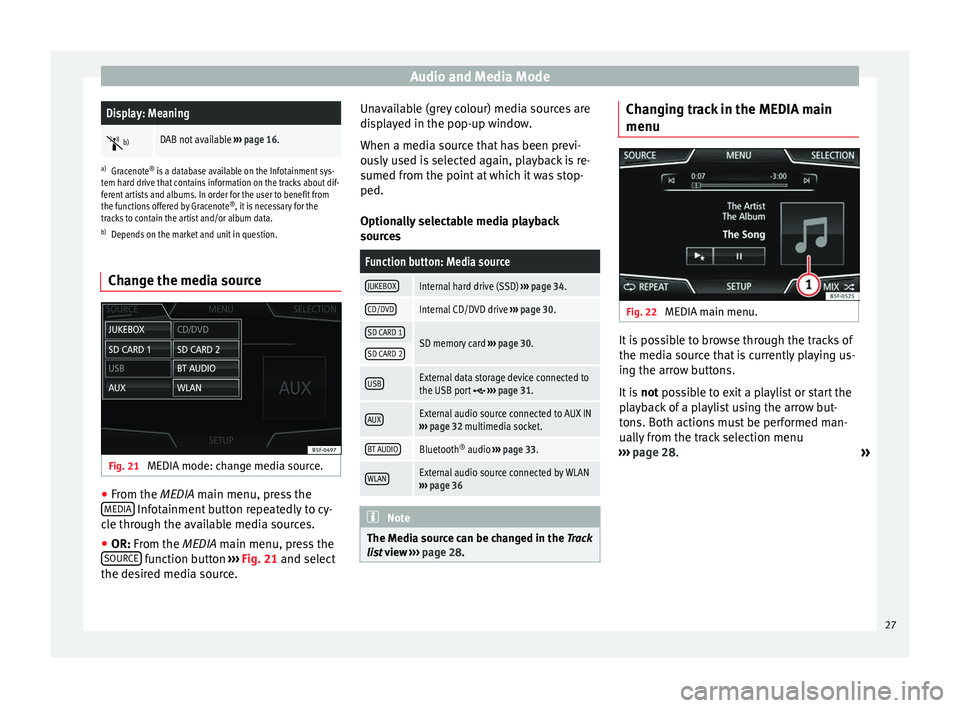
Change the media source Fig. 21
MEDIA mode: change media source. ●
From the MEDIA
main menu, press the
MEDIA Infotainment button repeatedly to cy-
cle through the available media sources.
● OR: From the
MEDIA
main menu, press the
SOURCE function button
›››
Fig. 21 and select
the de s
ired media source. Unavailable (grey colour) media sources are
displayed in the pop-up window.
When a media source that has been previ-
ously used is selected again, playback is re-
sumed from the point at which it was stop-
ped.
Optionally selectable media playback
sources
Function button: Media source
JUKEBOXInternal hard drive (SSD)
››› page 34.
CD/DVDInternal CD/DVD drive ››› page 30.
SD CARD 1SD memory card ››› page 30.SD CARD 2
USBExternal data storage device connected to
the USB port ››› page 31.
AUXExternal audio source connected to AUX IN
››› page 32 multimedia socket.
BT AUDIOBluetooth ®
audio ››› page 33.
WLANExternal audio source connected by WLAN
››› page 36 Note
The Media source can be changed in the Track
lis t
view ››› page 28. Changing track in the MEDIA main
menu
Fig. 22
MEDIA main menu. It is possible to browse through the tracks of
the media source that is currently playing us-
ing the arrow buttons.
It is
not possible to exit a playlist or start the
p l
ayback of a playlist using the arrow but-
tons. Both actions must be performed man-
ually from the track selection menu
››› page 28.
»
27
Page 35 of 84
Audio and Media Mode
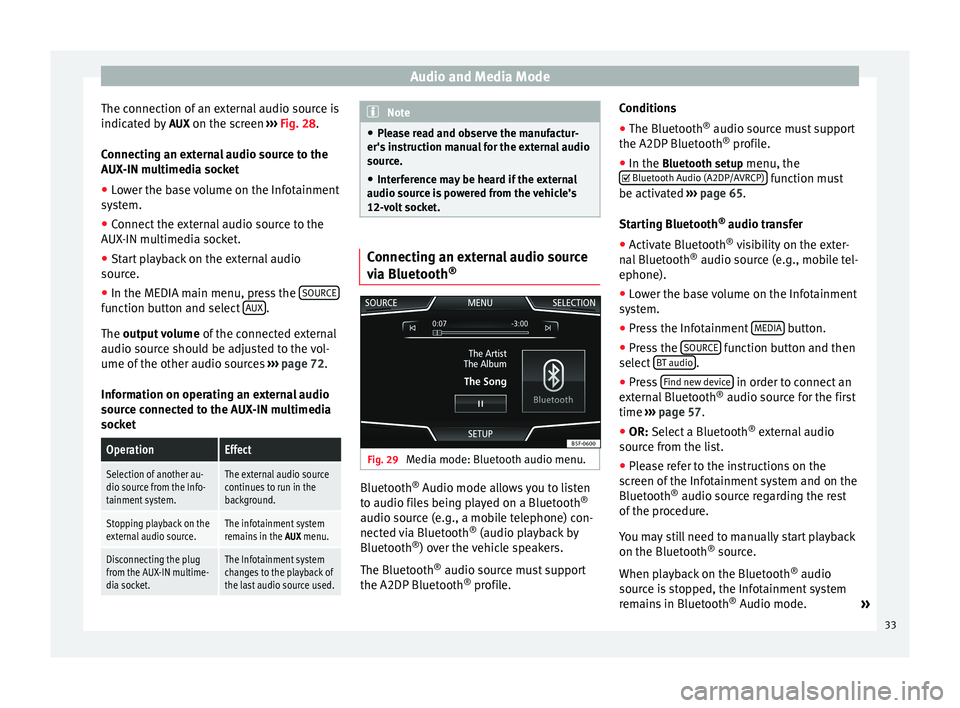
The connection of an external audio source is
indicated by AUX on the screen ››› Fig. 28 .
Connecting an external audio source to the
AUX-IN multimedia socket
● Lower the base volume on the Infotainment
system.
● Connect the external audio source to the
AUX-IN multimedia socket.
● Start playback on the external audio
source.
● In the MEDIA main menu, press the SOURCEfunction button and select
AUX .
The output volume
of
the c onnected external
audio source should be adjusted to the vol-
ume of the other audio sources ››› page 72.
Information on operating an external audio
source connected to the AUX-IN multimedia
socket
OperationEffect
Selection of another au-
dio source from the Info-
tainment system.The external audio source
continues to run in the
background.
Stopping playback on the
external audio source.The infotainment system
remains in the AUX menu.
Disconnecting the plug
from the AUX-IN multime-
dia socket.The Infotainment system
changes to the playback of
the last audio source used. Note
● Please read and observe the manufactur-
er's instruction manual for the external audio
source.
● Interference may be heard if the external
audio source is powered from the vehicle’s
12-volt socket. Connecting an external audio source
via Bluetooth
® Fig. 29
Media mode: Bluetooth audio menu. Bluetooth
®
Audio mode allows you to listen
to audio files being played on a Bluetooth ®
audio source (e.g., a mobile telephone) con-
nected via Bluetooth ®
(audio playback by
Bluetooth ®
) over the vehicle speakers.
The Bluetooth ®
audio source must support
the A2DP Bluetooth ®
profile. Conditions
●
The Bluetooth ®
audio source must support
the A2DP Bluetooth ®
profile.
● In the Bluetooth setup menu, the
Bluet
ooth Audio (A2DP/AVRCP) function must
be activated ››› page 65 .
St ar
ting Bluetooth ®
audio transfer
● Activate Bluetooth ®
visibility on the exter-
nal Bluetooth ®
audio source (e.g., mobile tel-
ephone).
● Lower the base volume on the Infotainment
system.
● Press the Infotainment MEDIA button.
● Press the SOURCE function button and then
select BT audio .
● Press Find new device in order to connect an
external Bluetooth ®
audio source for the first
time ››› page 57 .
● OR: Select a Bluetooth ®
e xt
ernal audio
source from the list.
● Please refer to the instructions on the
screen of the Infotainment system and on the
Bluetooth ®
audio source regarding the rest
of the procedure.
You may still need to manually start playback
on the Bluetooth ®
source.
When playback on the Bluetooth ®
audio
source is stopped, the Infotainment system
remains in Bluetooth ®
Audio mode. »
33
Page 36 of 84
Audio and Media Mode
Controlling playback
The extent to which the Bluetooth ®
audio
source can be controlled via the Infotainment
system depends on the connected Blue-
tooth ®
audio source.
The available functions will depend on the
Bluetooth ®
Audio profile that the connected
external player supports.
With media players that support the AVRCP
Bluetooth ®
profile, playback on the Blue-
tooth ®
audio source can be automatically
started or stopped when the unit is switched
to Bluetooth ®
Audio mode or to a different
audio source. In addition, it is possible to
view or change the track via the Infotainment
system. Note
● Due to the large number of possible Blue-
tooth ®
audio sources, it is not possible to
guarantee fault-free operation of all descri-
bed functions.
● Always switch off the warning and service
tones on a connected Bluetooth ®
audio
source, e.g. key tones on a mobile telephone,
to prevent possible interference noise and
malfunctions.
● Do not connect an external media player to
play music via Bluetooth ®
and via the USB
port ››› page 31 at the same time with the Infotainment system, as this could cause
playback limitations.
● If the external player is an Apple device™,
it cannot be simultaneously connected by
USB and by Bluetooth. Jukebox (SSD)
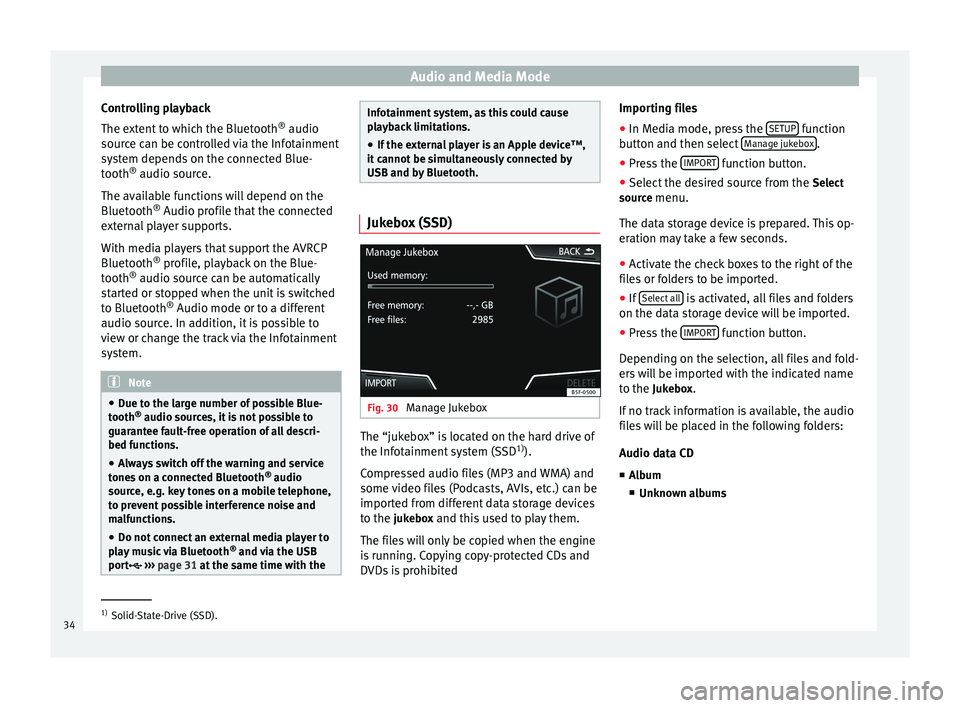
Fig. 30
Manage Jukebox The “jukebox” is located on the hard drive of
the Infotainment system (SSD
1)
).
Compressed audio files (MP3 and WMA) and
some video files (Podcasts, AVIs, etc.) can be
imported from different data storage devices
to the jukebox and this used to play them. The files will only be copied when the engine
is running. Copying copy-protected CDs and
DVDs is prohibited Importing files
● In Media mode, press the SETUP function
button and then select Manage jukebox .
● Press the IMPORT function button.
● Select the desired source from the Select
source menu.
The data storage device is prepared. This op-
eration may take a few seconds.
● Activate the check boxes to the right of the
files or folders to be imported.
● If Select all is activated, all files and folders
on the data storage device will be imported.
● Press the IMPORT function button.
Depending on the selection, all files and fold-
ers will be imported with the indicated name
to the Jukebox. If no track information is available, the audio
files will be placed in the following folders:
Audio data CD
■ Album
■ Unknown albums 1)
Solid-State-Drive (SSD).
34
Page 39 of 84
Audio and Media Mode
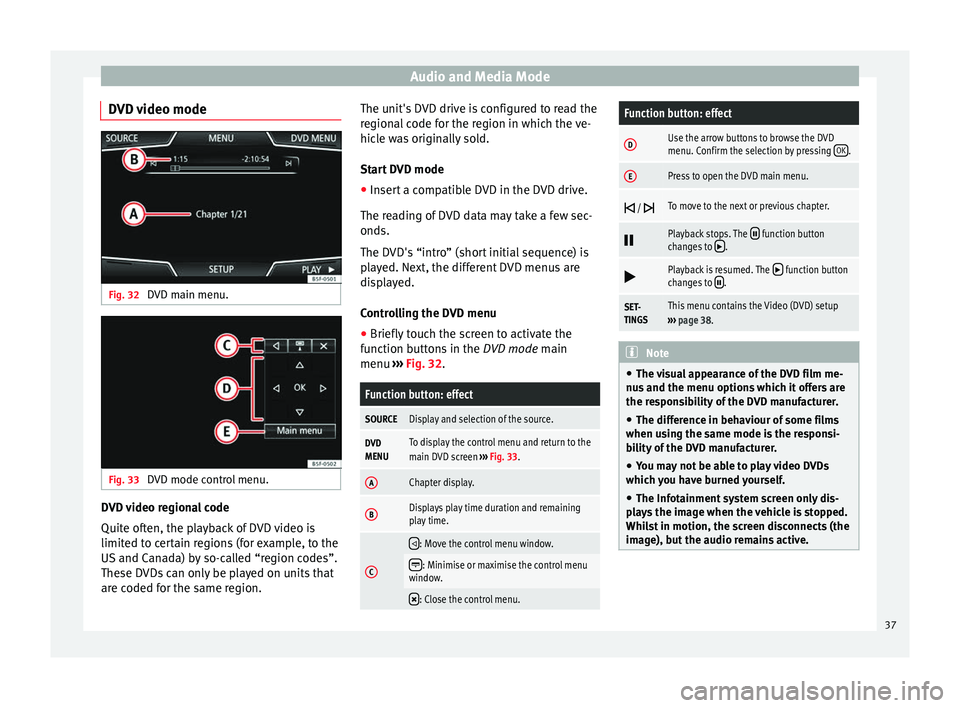
DVD video mode Fig. 32
DVD main menu. Fig. 33
DVD mode control menu. DVD video regional code
Quite often, the playback of DVD video is
limited to certain regions (for example, to the
US and Canada) by so-called “region codes”.
These DVDs can only be played on units that
are coded for the same region. The unit's DVD drive is configured to read the
regional code for the region in which the ve-
hicle was originally sold.
Start DVD mode
● Insert a compatible DVD in the DVD drive.
The reading of DVD data may take a few sec-
onds.
The DVD's “intro” (short initial sequence) is
played. Next, the different DVD menus are
displayed.
Controlling the DVD menu
● Briefly touch the screen to activate the
function buttons in the DVD mode main
menu ›
›
› Fig. 32.
Function button: effect
SOURCEDisplay and selection of the source.
DVD
MENUTo display the control menu and return to the
main DVD screen ››› Fig. 33.
AChapter display.
BDisplays play time duration and remaining
play time.
C
: Move the control menu window.
: Minimise or maximise the control menu
window.
: Close the control menu.
Function button: effect
DUse the arrow buttons to browse the DVD
menu. Confirm the selection by pressing
OK.
EPress to open the DVD main menu.
/ To move to the next or previous chapter.
Playback stops. The function button
changes to .
Playback is resumed. The function button
changes to .
SET-
TINGSThis menu contains the Video (DVD) setup
››› page 38. Note
● The visual appearance of the DVD film me-
nus and the menu options which it offers are
the responsibility of the DVD manufacturer.
● The difference in behaviour of some films
when using the same mode is the responsi-
bility of the DVD manufacturer.
● You may not be able to play video DVDs
which you have burned yourself.
● The Infotainment system screen only dis-
plays the image when the vehicle is stopped.
Whilst in motion, the screen disconnects (the
image), but the audio remains active. 37
Page 40 of 84
Audio and Media Mode
DVD video setup On the DVD mode
main menu, press the
S
ETUP function and then select the option
Video setup (DVD).
Function button: effect
Format: To select the screen format. If Automatic is selec-
ted, it adjusts automatically to the optimal format for the
screen.
Audio channel: select language for acoustic voice output.
Subtitles: To select the subtitle language.
Enter/change PIN for parental settings: Parental settings pass-
word.
Parental settings: To select the level of protection for DVD
playback. The options in the Video setup (DVD) menu
may vary depending on the DVD or the chap-
ter currently being played.
The available audio language channels and
subtitles depend on the inserted DVD.
All or a part of the DVD video content may be
protected by means of a password (PIN) if the
DVD is compatible with parental settings. Fur-
thermore, the level of protection can be set
according to age with 1 being the least re-
strictive (appropriate for all audiences) and
8, the most restrictive (adults). Images
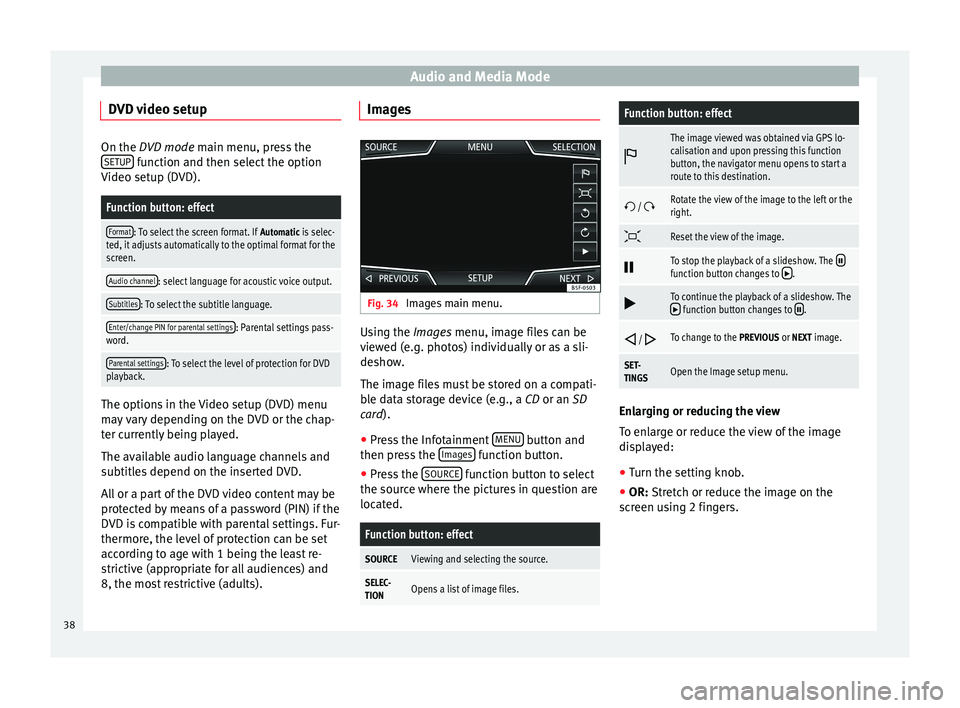
Fig. 34
Images main menu. Using the
Images
menu, image files can be
v
iewed (e.g. photos) individually or as a sli-
deshow.
The image files must be stored on a compati-
ble data storage device (e.g., a
CD or an SD
card).
● Press the Infotainment MENU button and
then press the Images function button.
● Press the SOURCE function button to select
the source where the pictures in question are
located.
Function button: effect
SOURCEViewing and selecting the source.
SELEC-
TIONOpens a list of image files.
Function button: effect
The image viewed was obtained via GPS lo-
calisation and upon pressing this function
button, the navigator menu opens to start a
route to this destination.
/ Rotate the view of the image to the left or the
right.
Reset the view of the image.
To stop the playback of a slideshow. The function button changes to .
To continue the playback of a slideshow. The function button changes to .
/ To change to the PREVIOUS or NEXT image.
SET-
TINGSOpen the Image setup menu.
Enlarging or reducing the view
To enlarge or reduce the view of the image
displayed:
●
Turn the setting knob.
● OR: Stretch or reduce the image on the
s c
reen using 2 fingers.
38