reset Seat Leon 5D 2016 MEDIA SYSTEM TOUCH - COLOUR
[x] Cancel search | Manufacturer: SEAT, Model Year: 2016, Model line: Leon 5D, Model: Seat Leon 5D 2016Pages: 52, PDF Size: 1.5 MB
Page 9 of 52
Introduction
●
Lightly pr
essing the buttons or briefly
pressing the touchscreen is sufficient to op-
erate the unit.
● It is possible that not all the functions and
fu
nction buttons are available as the software
of the unit responds to the specific character-
istics of each market. A missing function but-
ton on the screen is not the result of an error
in the unit.
● Due to country-specific legislation, certain
fu
nctions cannot be selected on the screen
when the vehicle is travelling above a certain
speed.
● Using a mobile telephone inside the vehicle
can c
ause noise in the speakers.
● There may be restrictions on the use of
Bluetooth dev
ices in some countries. Infor-
mation is available from the local authorities.
● In some vehicles equipped with a parking
dis
tance warning system, the volume of the
audio source is automatically lowered when
the gear is engaged.
● If the steering wheel has a voice control
butt
on , it will not work in this radio mod-
el, so it has no function in relation to the ra-
dio. Rotary knobs and buttons
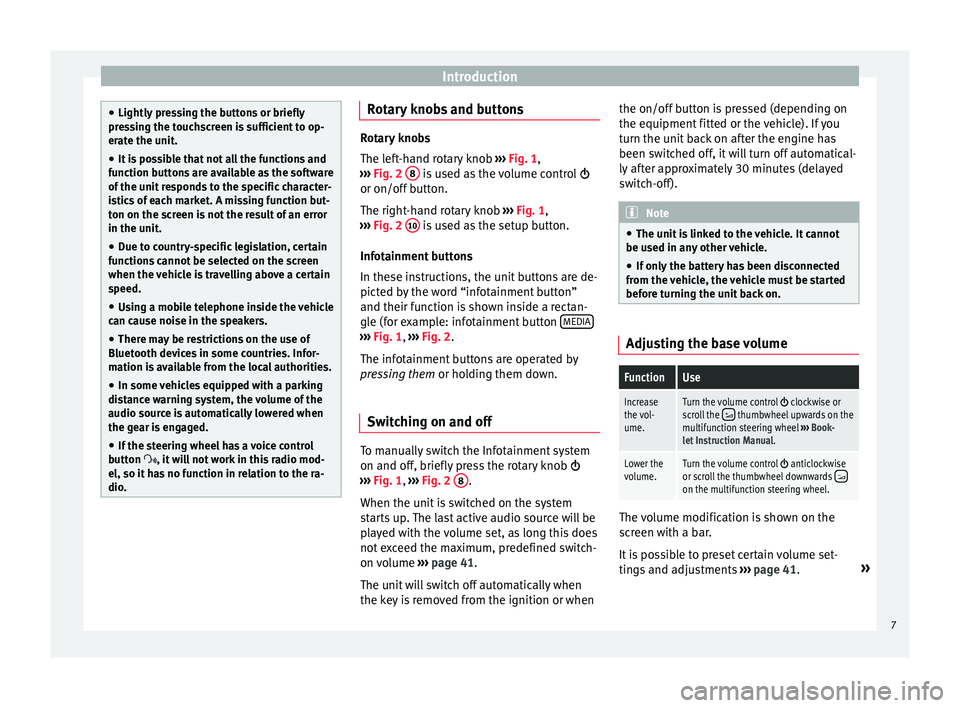
Rotary knobs
The l
ef
t-hand rotary knob ››› Fig. 1,
››› Fig. 2 8 is used as the volume control
or on/off b
utton.
The right-hand rotary knob ››› Fig. 1,
››› Fig. 2 10 is used as the setup button.
Inf ot
ainment buttons
In these instructions, the unit buttons are de-
picted by the word “infotainment button”
and their function is shown inside a rectan-
gle (for example: infotainment button MEDIA ›››
Fig. 1, ›
››
Fig. 2
.
The infotainment buttons are operated by
pressing them or holding them down.
Switching on and off To manually switch the Infotainment system
on and off
, briefly
press the rotary knob
››› Fig. 1, ›››
Fig. 2 8 .
When the u nit
is switched on the system
starts up. The last active audio source will be
played with the volume set, as long this does
not exceed the maximum, predefined switch-
on volume ›››
page 41.
The unit will switch off automatically when
the key is removed from the ignition or when the on/off button is pressed (depending on
the equipment fitt
ed or the vehicle). If you
turn the unit back on after the engine has
been switched off, it will turn off automatical-
ly after approximately 30 minutes (delayed
switch-off). Note
● The u nit
is linked to the vehicle. It cannot
be used in any other vehicle.
● If only the battery has been disconnected
from the
vehicle, the vehicle must be started
before turning the unit back on. Adjusting the base volume
FunctionUse
Increase
the vol-
ume.Turn the volume control clockwise or
scroll the thumbwheel upwards on the
multifunction steering wheel ››› Book-
let Instruction Manual.
Lower the
volume.Turn the volume control anticlockwise
or scroll the thumbwheel downwards on the multifunction steering wheel. The volume modification is shown on the
s
c
reen with a bar.
It is possible to preset certain volume set-
tings and adjustments ›››
page 41. »
7
Page 12 of 52
Introduction
The initial configuration wizard will help you
t o set
up your Infotainment system the first
time you switch it on.
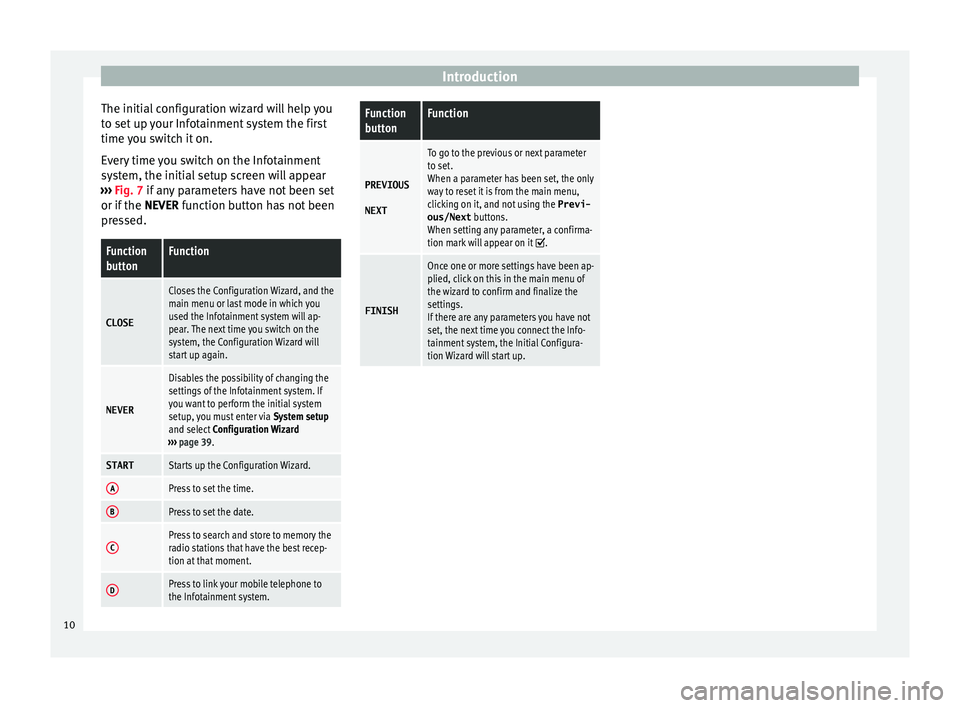
Every time you switch on the Infotainment
system, the initial setup screen will appear
››› Fig. 7 if any parameters have not been set
or if the NEVER function button has not been
pressed.
Function
buttonFunction
CLOSE
Closes the Configuration Wizard, and the
main menu or last mode in which you
used the Infotainment system will ap-
pear. The next time you switch on the
system, the Configuration Wizard will
start up again.
NEVER
Disables the possibility of changing the
settings of the Infotainment system. If
you want to perform the initial system
setup, you must enter via System setup
and select Configuration Wizard
››› page 39.
STARTStarts up the Configuration Wizard.
APress to set the time.
BPress to set the date.
CPress to search and store to memory the
radio stations that have the best recep-
tion at that moment.
DPress to link your mobile telephone to
the Infotainment system.
Function
buttonFunction
PREVIOUS
NEXT
To go to the previous or next parameter
to set.
When a parameter has been set, the only
way to reset it is from the main menu,
clicking on it, and not using the Previ-
ous/Next buttons.
When setting any parameter, a confirma-
tion mark will appear on it
.
FINISH
Once one or more settings have been ap-
plied, click on this in the main menu of
the wizard to confirm and finalize the
settings.
If there are any parameters you have not
set, the next time you connect the Info-
tainment system, the Initial Configura-
tion Wizard will start up. 10
Page 17 of 52
RadioStoring stations
Storing a sta-
tion on the
list of sta-
tionsPress the Stations function button to
open the list of stations. Select the de-
sired station (by holding a finger on the
touchscreen or holding down the setup
button) until the store display appears.
Press the memory button and, after the
confirmation tone, the station will then
be recorded on this memory button.
To store more stations from the list,
press Back and repeat the process.
Deleting a
stored sta-
tionThe stored stations can be deleted one
by one or all at once in the FM, AM and
DAB setup menu. Scan function (SCAN)
When the scan function is running, all availa-
b
l
e stations on the current frequency band
are played in sequence for around 5 seconds
each.
Starting the scan function
● Press the function button Setup and then
sel ect
SCAN .
End s t
ation scan function
● Press the fu
nction button to stop the
scan function on the station you are listening
to.
● OR: Briefly press the setup button. The
s
can function also ends when you manually select a station using the stored station but-
ton
s, or when a traffic announcement comes
in.
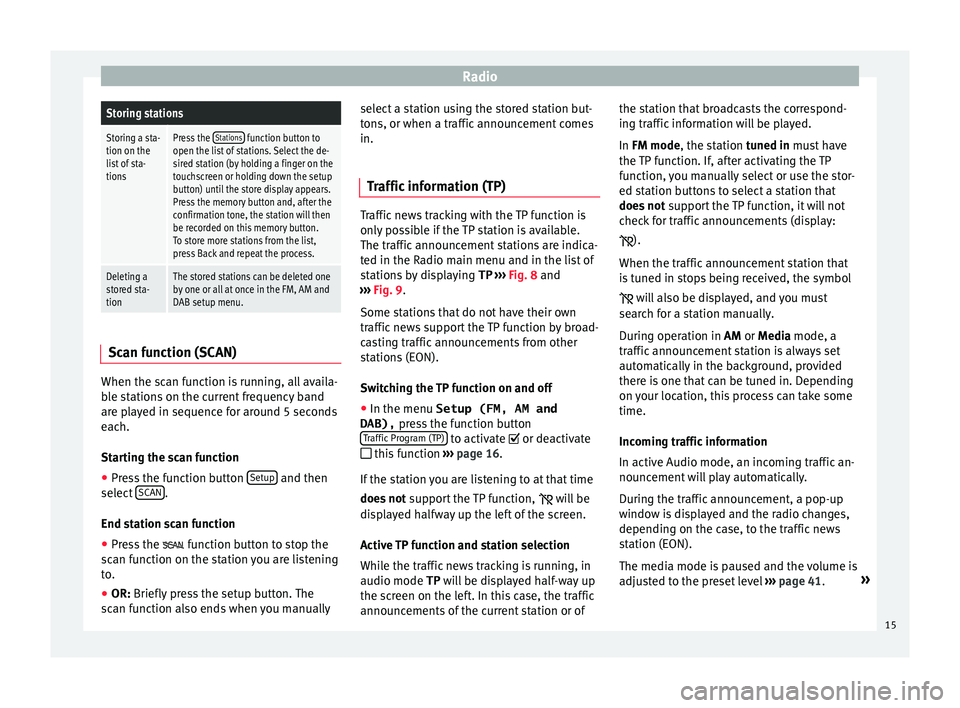
Traffic information (TP) Traffic news tracking with the TP function is
on
ly
possible if the TP station is available.
The traffic announcement stations are indica-
ted in the Radio main menu and in the list of
stations by displaying TP ››› Fig. 8 and
››› Fig. 9.
Some stations that do not have their own
traffic news support the TP function by broad-
casting traffic announcements from other
stations (EON).
Switching the TP function on and off
● In the menu Setup (FM, AM and
DAB), pre
ss the function button
Traffic Program (TP) to activate or de
activ
ate
this function ›››
page 16.
If the station you are listening to at that time
does not support the TP function,
will be
displayed halfway up the left of the screen.
Active TP function and station selection
While the traffic news tracking is running, in
audio mode TP will be displayed half-way up
the screen on the left. In this case, the traffic
announcements of the current station or of the station that broadcasts the correspond-
ing tr
affic information will be played.
In FM mode, the station tuned in must have
the TP function. If, after activating the TP
function, you manually select or use the stor-
ed station buttons to select a station that
does not support the TP function, it will not
check for traffic announcements (display:
).
When the traffic announcement station that
is tuned in stops being received, the symbol will also be displayed, and you must
search for a station manually.
During operation in AM or Media mode, a
traffic announcement station is always set
automatically in the background, provided
there is one that can be tuned in. Depending
on your location, this process can take some
time.
Incoming traffic information
In active Audio mode, an incoming traffic an-
nouncement will play automatically.
During the traffic announcement, a pop-up
window is displayed and the radio changes,
depending on the case, to the traffic news
station (EON).
The media mode is paused and the volume is
adjusted to the preset level ››› page 41. »
15
Page 18 of 52
Radio
The volume of the traffic announcement can
be a dju
sted with the volume control. The ad-
justed volume setting will be applied to sub-
sequent announcements.
● Press the function button Canc
el to end the
c urr
ent traffic announcement. The TP function
remains activated.
● OR: Press the function button D
eactivate to
end the c urr
ent traffic announcement and
permanently deactivate the TP function. This
can be reactivated in the setup menu.
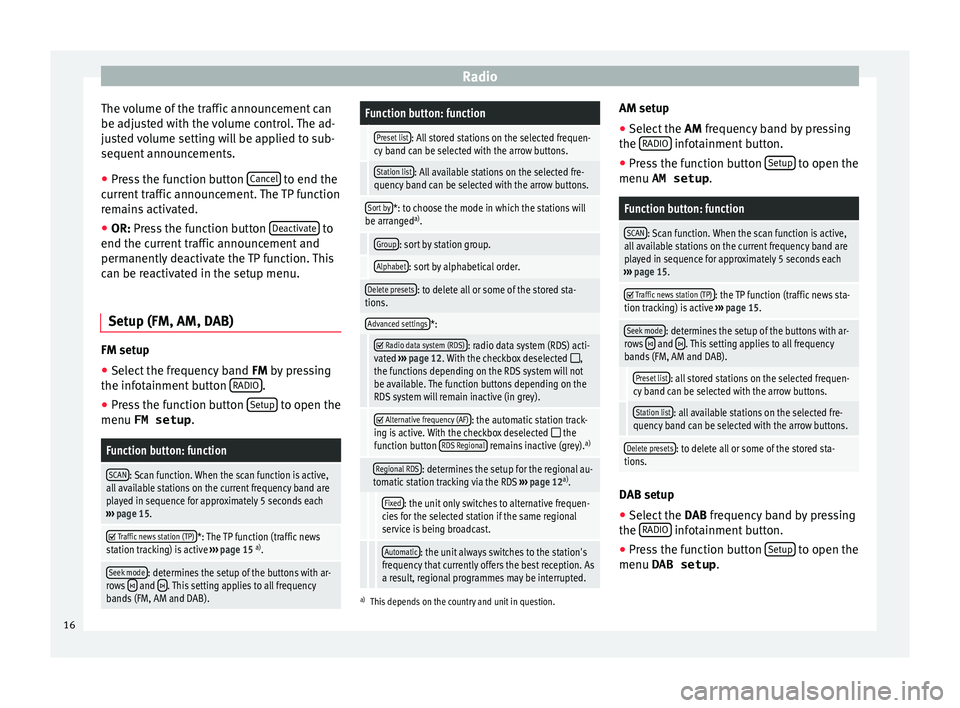
Setup (FM, AM, DAB) FM setup
● Select the frequency band FM by
pressing
the infotainment button RADIO .
● Press the function button Set
up to open the
menu FM setup .
Function button: function
SCAN: Scan function. When the scan function is active,
all available stations on the current frequency band are
played in sequence for approximately 5 seconds each
››› page 15.
Traffic news station (TP)*: The TP function (traffic news
station tracking) is active ››› page 15 a)
.
Seek mode: determines the setup of the buttons with ar-
rows and . This setting applies to all frequency
bands (FM, AM and DAB).
Function button: function
Preset list: All stored stations on the selected frequen-
cy band can be selected with the arrow buttons.
Station list: All available stations on the selected fre-
quency band can be selected with the arrow buttons.
Sort by*: to choose the mode in which the stations will
be arranged a)
.
Group: sort by station group.
Alphabet: sort by alphabetical order.
Delete presets: to delete all or some of the stored sta-
tions.
Advanced settings*:
Radio data system (RDS): radio data system (RDS) acti-
vated ››› page 12. With the checkbox deselected ,
the functions depending on the RDS system will not
be available. The function buttons depending on the
RDS system will remain inactive (in grey).
Alternative frequency (AF): the automatic station track-
ing is active. With the checkbox deselected the
function button RDS Regional remains inactive (grey). a)
Regional RDS: determines the setup for the regional au-
tomatic station tracking via the RDS ››› page 12 a)
.
Fixed: the unit only switches to alternative frequen-
cies for the selected station if the same regional
service is being broadcast.
Automatic: the unit always switches to the station's
frequency that currently offers the best reception. As
a result, regional programmes may be interrupted.
a) This depends on the country and unit in question.
AM setup
● Select the AM frequency
band by pressing
the RADIO infotainment button.
● Press the function button Set
up to open the
menu AM setup .
Function button: function
SCAN: Scan function. When the scan function is active,
all available stations on the current frequency band are
played in sequence for approximately 5 seconds each
››› page 15.
Traffic news station (TP): the TP function (traffic news sta-
tion tracking) is active ››› page 15.
Seek mode: determines the setup of the buttons with ar-
rows and . This setting applies to all frequency
bands (FM, AM and DAB).
Preset list: all stored stations on the selected frequen-
cy band can be selected with the arrow buttons.
Station list: all available stations on the selected fre-
quency band can be selected with the arrow buttons.
Delete presets: to delete all or some of the stored sta-
tions. DAB setup
● Select the DAB
frequency band by pressing
the RADIO infotainment button.
● Press the function button Set
up to open the
menu DAB setup .
16
Page 19 of 52
RadioFunction button: function
SCAN: Scan function. When the scan function is active,
all available stations on the current frequency band are
played in sequence for approximately 5 seconds each
››› page 15.
Seek mode: determines the setup of the buttons with ar-
rows and . This setting applies to all frequency
bands (FM, AM and DAB).
Preset list: all stored stations on the selected frequen-
cy band can be selected with the arrow buttons.
Station list: all available stations on the selected fre-
quency band can be selected with the arrow buttons.
VIEW: to select the type of view of the DAB station list.
Ensemble: hierarchical view of stations and ensembles
in alphabetical order.
Station list: overall view of stations in alphabetical or-
der.
Traffic news station (TP): the TP function (traffic news sta-
tion tracking) is active ››› page 15.
Delete presets: to delete all or some of the stored sta-
tions.
Advanced settings: DAB services setup.
DAB traffic announcements: DAB traffic announcements
are played in the same way as TP traffic announce-
ments in all operating modes.
Other DAB alerts: DAB announcements (news, sport,
weather, warnings etc.) will interrupt the current DAB
radio mode.
Function button: function
DAB-DAB station tracking: automatic station tracking
within the DAB frequency band has been activated.
Automatic DAB-FM switching: switching to FM frequency
band is allowed for automatic station tracking. 17
Page 42 of 52
SetupFunction button: effect
Switch off screen (in 10 s): With this function activated, if
there is no activity in the infotainment system after this
period of time has elapsed, the screen will switch off.
When you touch the screen or press an infotainment
button, the screen will light up again. Setting the menu language
The screen language can be adjusted.
● Press the Infotainment button, Set
up to
open the System setup main menu.
● Pr
ess the function button, Idioma/Lan
guage .
● Press to select the required language from
the li s
t.
The additional keypad language and the sys-
tem language can be adjusted separately.
Date and time ●
Press the Infotainment button, Set
up to
open the System setup main menu.
● Pr
ess the function button, Time and Date.
Summ
ary of the indications and function
buttons
Function button: effect
Time: set the time by pressing the arrow buttons or.
Time format: select the time format (12 or 24 hour clock).
Automatic summer timea)
: Summer (DST) is automatically
adjusted.
Date: set the date by pressing the arrow buttons or.
Date format: select the date format.
a) Option available depending on the equipment.
Units 1) ●
Press the Infotainment button, Set
up to
open the System setup main menu.
● Pr
ess the function button, Units.
Factory settings Reset factory settings
When
y
ou reset the settings to the vehicle's
default setup, all the data entered is deleted
accordingly, in addition to the settings
made. ●
Scr
oll through the list below and press the
lower function button, Factory settings .
● Select the required setting or the option
A l
l .
● Confirm the safety question that appears
b y
pressing the function button Reset .
1)
See vehicle instruction manual, CAR System setup.
40
Page 43 of 52
Sound
Sound
Sou nd and
volume setup
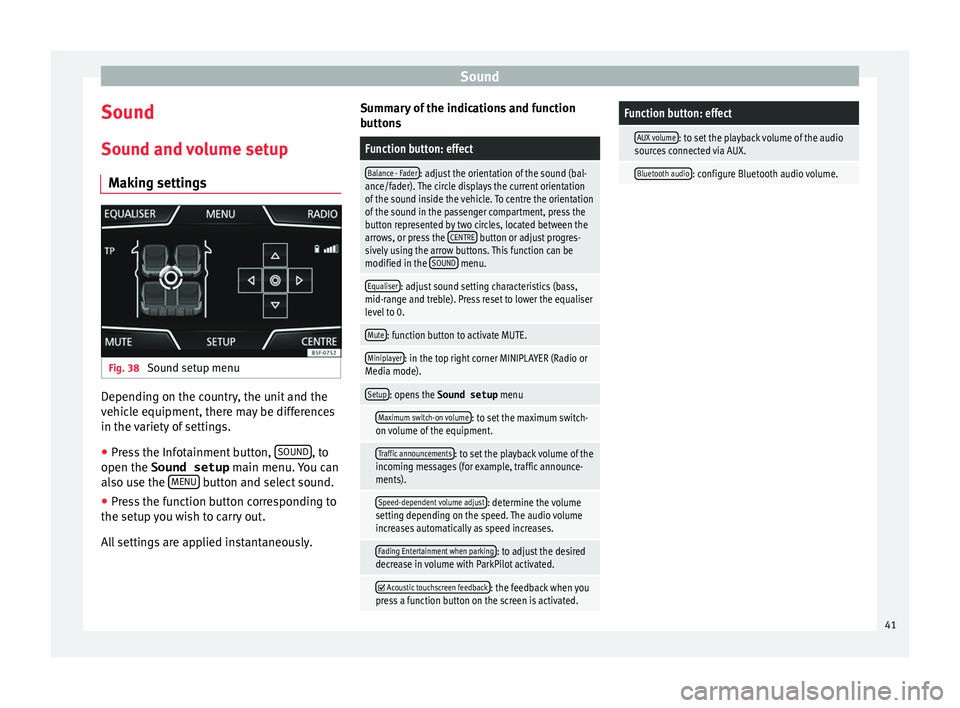
Making settings Fig. 38
Sound setup menu Depending on the country, the unit and the
v
ehic
le equipment, there may be differences
in the variety of settings.
● Press the Infotainment button, SOUND , to
open the Sound setup main menu.
You can
also use the MENU button and select sound.
● Press the function button corresponding to
the set up
you wish to carry out.
All settings are applied instantaneously. Summary of the indications and function
butt
ons
Function button: effect
Balance - Fader: adjust the orientation of the sound (bal-
ance/fader). The circle displays the current orientation
of the sound inside the vehicle. To centre the orientation
of the sound in the passenger compartment, press the
button represented by two circles, located between the
arrows, or press the CENTRE
button or adjust progres-
sively using the arrow buttons. This function can be
modified in the SOUND
menu.
Equaliser: adjust sound setting characteristics (bass,
mid-range and treble). Press reset to lower the equaliser
level to 0.
Mute: function button to activate MUTE.
Miniplayer: in the top right corner MINIPLAYER (Radio or
Media mode).
Setup: opens the Sound setup menu
Maximum switch-on volume: to set the maximum switch-
on volume of the equipment.
Traffic announcements: to set the playback volume of the
incoming messages (for example, traffic announce-
ments).
Speed-dependent volume adjust: determine the volume
setting depending on the speed. The audio volume
increases automatically as speed increases.
Fading Entertainment when parking: to adjust the desired
decrease in volume with ParkPilot activated.
Acoustic touchscreen feedback: the feedback when you
press a function button on the screen is activated.
Function button: effect
AUX volume: to set the playback volume of the audio
sources connected via AUX.
Bluetooth audio: configure Bluetooth audio volume. 41