buttons Seat Leon SC 2014 MEDIA SYSTEM TOUCH - COLOUR
[x] Cancel search | Manufacturer: SEAT, Model Year: 2014, Model line: Leon SC, Model: Seat Leon SC 2014Pages: 44, PDF Size: 1.45 MB
Page 21 of 44
Audio mode
to memory card mode after loading. It will
show the corresponding indication.
External media player connected via
Bluetooth ®In Bluetooth audio mode, audio files from an
external audio source that is connected via
Bluetooth
®
, for example a mobile phone
(Bluetooth audio playback), can be played
over the vehicle speakers.
The Bluetooth audio source must be compati-
ble with the Bluetooth A2DP profile.
Starting sound transmission via Bluetooth
● Reduce the base volume of the infotain-
ment system.
● Pair or connect the Bluetooth audio source
with the Bluetooth interface from the mobile
preinstallation, according to the operating in-
structions.
Playing through the vehicle speakers
In Media Setup
, the default setup
Bluetooth audio autoplay is deactivated. After
making the connection with the Bluetooth
audio source, Bluetooth audio mode must be
selected manually.
● If you require the system to change to Blue-
tooth audio automatically each time the con-
nection is established with the connected Bluetooth audio source, you can activate the
setup
Bluetooth audio autoplay in
Media Setup
.
● In the MEDIA main menu, press the func-
tion b
utton, MEDIA ››› Fig. 15 and select
Bluetooth audio .
Once playback of the Bluetooth audio source
has finished, the infotainment system will re-
main in Bluetooth audio mode.
Controlling playback
The extent to which the Bluetooth audio
source can be controlled via the infotainment
system depends on the Bluetooth audio
source connected.
Media players with the AVRCP Bluetooth pro-
file, the playback of the Bluetooth audio
source can be started and stopped automati-
cally when changing to Bluetooth audio
mode, or to another audio source. In addi-
tion, it is possible to view or change the track
via the infotainment system.
It is possible to connect a device as a player
and another as hands-free at the same time. Note
● Due to the large number of different Blue-
tooth audio sources available, it is not possi-
ble to guarantee fault-free operation of all
functions described here.
● Deactivate the service and warning sounds
of a connected Bluetooth audio source (for example, the key tones of the mobile phone)
to avoid interference noise and anomalies in
the operation.
● To play music, do not link the external me-
dia player simultaneously to Bluetooth and
the USB interface of the infotainment system,
as this can cause limitations during playback.
● Depending on the external player connec-
ted, the response time of the system can
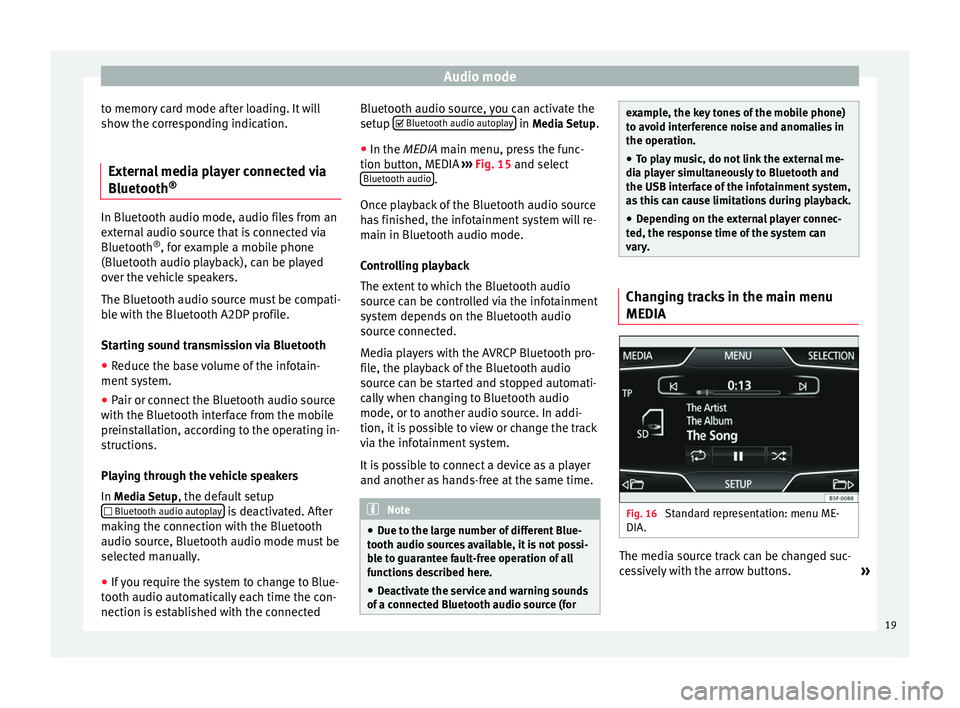
vary. Changing tracks in the main menu
MEDIA
Fig. 16
Standard representation: menu ME-
DIA. The media source track can be changed suc-
cessively with the arrow buttons.
»
19
Page 22 of 44
Audio mode
The arrow buttons do not allow you to change
p l
aylist. A playlist must be started manually
through the track selection menu.
Controlling playback via the MEDIA main
menu
ActionEffect
Briefly pressing the
function button, once.
Goes to the start of the cur-
rent track.
Briefly pressing the
function button, two
consecutive times.Goes to the start of the previ-
ous track. It will go from the
first track to the last on the
data medium being played.
Briefly pressing the
function button, once.
Goes to the next track. It will
go from the first track to the
last on the data medium be-
ing played.
Keeping the function
button pressed.Rewind.
Keeping the function
button pressed.Fast forward.
Briefly pressing the
function button, once.
Playback will stop. The func-
tion button changes to .
Briefly pressing the
function button, once.
Playback will continue. The
function button changes
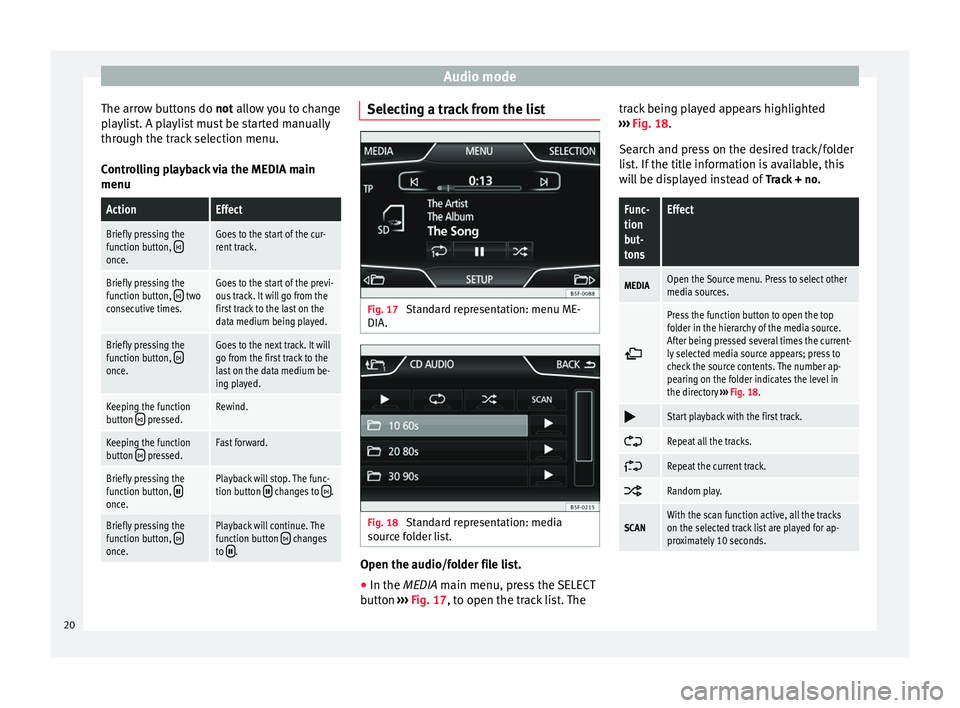
to . Selecting a track from the list
Fig. 17
Standard representation: menu ME-
DIA. Fig. 18
Standard representation: media
source folder list. Open the audio/folder file list.
● In the MEDIA
main menu, press the SELECT
b
utton ›››
Fig. 17, to open the track list. The track being played appears highlighted
››› Fig. 18
.
Search and press on the desired track/folder
list. If the title information is available, this
will be displayed instead of Track + no.
Func-
tion
but-
tonsEffect
MEDIAOpen the Source menu. Press to select other
media sources.
Press the function button to open the top
folder in the hierarchy of the media source.
After being pressed several times the current-
ly selected media source appears; press to
check the source contents. The number ap-
pearing on the folder indicates the level in
the directory
››› Fig. 18.
Start playback with the first track.
Repeat all the tracks.
Repeat the current track.
Random play.
SCANWith the scan function active, all the tracks
on the selected track list are played for ap-
proximately 10 seconds.
20
Page 25 of 44
Audio mode
● ALTERNATIVELY: Press the button marked
SETUP on infotainment.
● Press the function button
Remove the USB device safely
››› page 21.
Illegible data medium
If the data on a connected support device
cannot be read, the warning No playable files
is displayed. Note
Read and bear in mind the manufacturer's in-
struction manual for the external data medi-
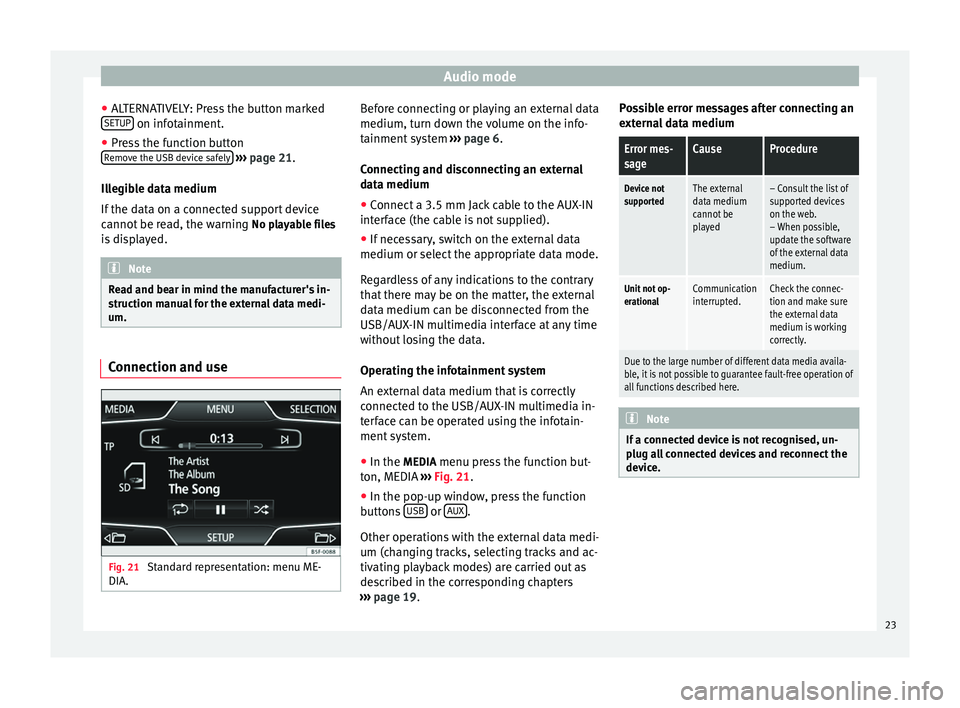
um. Connection and use
Fig. 21
Standard representation: menu ME-
DIA. Before connecting or playing an external data
medium, turn down the volume on the info-
tainment system
››› page 6.
Connecting and disconnecting an external
data medium ● Connect a 3.5 mm Jack cable to the AUX-IN
interface (the cable is not supplied).
● If necessary, switch on the external data
medium or select the appropriate data mode.
Regardless of any indications to the contrary
that there may be on the matter, the external
data medium can be disconnected from the
USB/AUX-IN multimedia interface at any time
without losing the data.
Operating the infotainment system
An external data medium that is correctly
connected to the USB/AUX-IN multimedia in-
terface can be operated using the infotain-
ment system.
● In the MEDIA menu press the function but-
ton, MEDIA ››› Fig. 21 .
● In the pop-up w indo
w, press the function
buttons USB or
AUX .
Other operations with the external data medi-
um (changing tracks, selecting tracks and ac-
tivating playback modes) are carried out as
described in the corresponding chapters
››› page 19 . P
o
ssible error messages after connecting an
external data medium
Error mes-
sageCauseProcedure
Device not
supportedThe external
data medium
cannot be
played– Consult the list of
supported devices
on the web.
– When possible,
update the software
of the external data
medium.
Unit not op-
erationalCommunication
interrupted.Check the connec-
tion and make sure
the external data
medium is working
correctly.
Due to the large number of different data media availa-
ble, it is not possible to guarantee fault-free operation of
all functions described here. Note
If a connected device is not recognised, un-
plug all connected devices and reconnect the
device. 23
Page 30 of 44
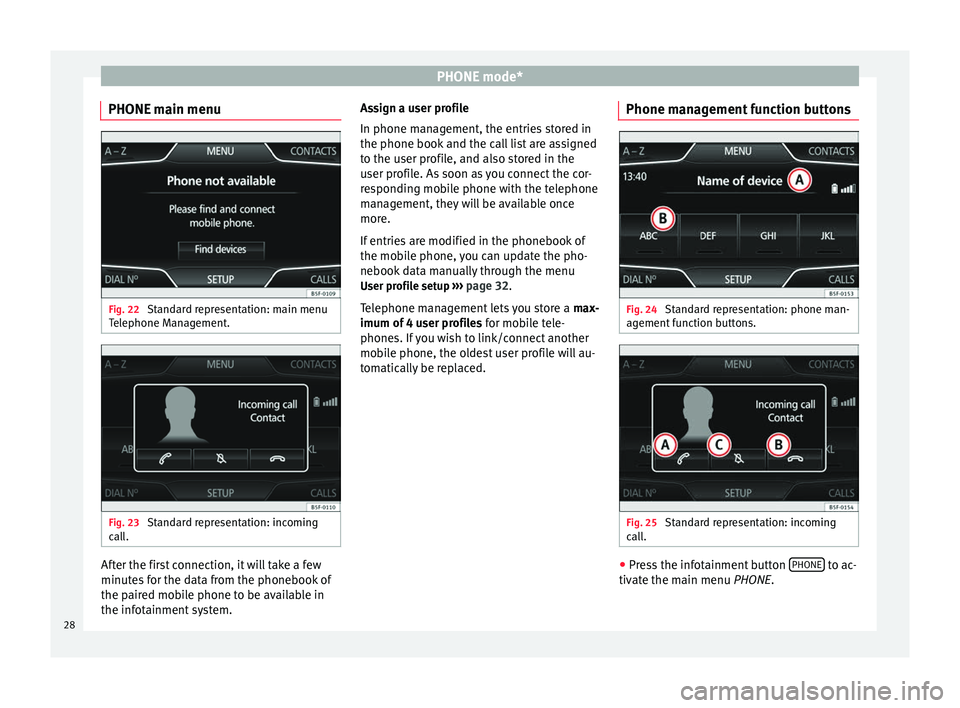
PHONE mode*
PHONE main menu Fig. 22
Standard representation: main menu
Telephone Management. Fig. 23
Standard representation: incoming
call. After the first connection, it will take a few
minutes for the data from the phonebook of
the paired mobile phone to be available in
the infotainment system. Assign a user profile
In phone management, the entries stored in
the phone book and the call list are assigned
to the user profile, and also stored in the
user profile. As soon as you connect the cor-
responding mobile phone with the telephone
management, they will be available once
more.
If entries are modified in the phonebook of
the mobile phone, you can update the pho-
nebook data manually through the menu
User profile setup ››› page 32 .
T el
ephone management lets you store a max-
imum of 4 user profiles for mobile tele-
phones. If you wish to link/connect another
mobile phone, the oldest user profile will au-
tomatically be replaced. Phone management function buttons Fig. 24
Standard representation: phone man-
agement function buttons. Fig. 25
Standard representation: incoming
call. ●
Press the infotainment button PHONE to ac-
tivate the main menu PHONE.
28
Page 33 of 44
PHONE mode*Dis-
playMeaning
Dialled: shows the numbers that have been
dialled using the mobile phone and phone
manager of the infotainment system.
Received: shows the numbers of the calls re-
ceived by the mobile phone and telephone
manager of the infotainment system and that
have been answered.
Note
The call list display will depend on the mobile
phone used. Phonebook shortcut keys
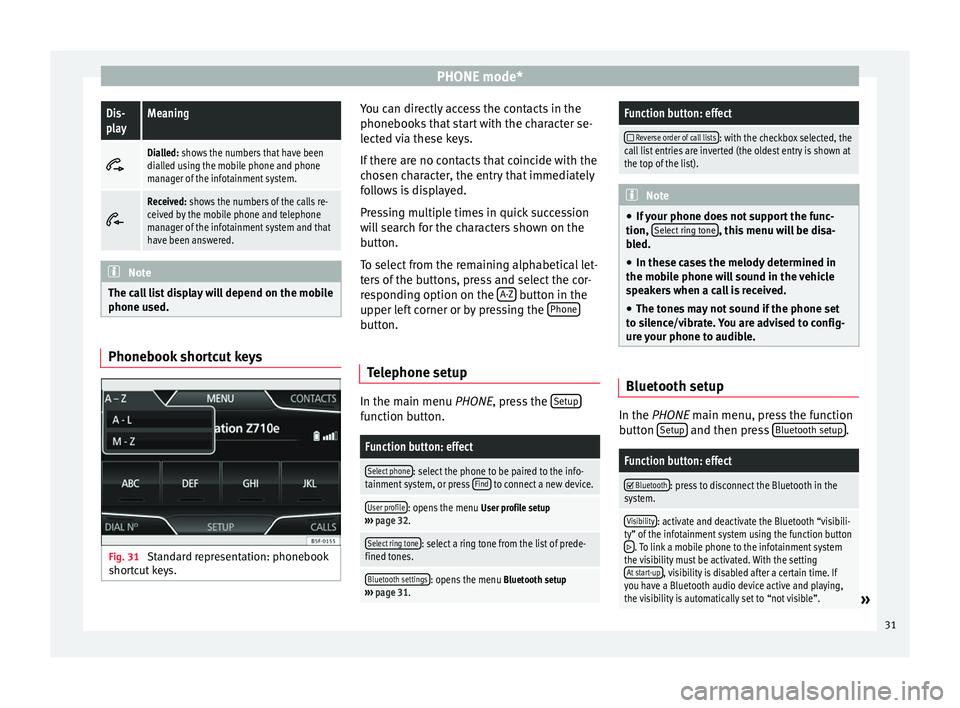
Fig. 31
Standard representation: phonebook
shortcut keys. You can directly access the contacts in the
phonebooks that start with the character se-
lected via these keys.
If there are no contacts that coincide with the
chosen character, the entry that immediately
follows is displayed.
Pressing multiple times in quick succession
will search for the characters shown on the
button.
To select from the remaining alphabetical let-
ters of the buttons, press and select the cor-
responding option on the
A-Z button in the
upper left corner or by pressing the Phone button.
Telephone setup In the main menu
PHONE
, press the Set
up function button.
Function button: effect
Select phone: select the phone to be paired to the info-
tainment system, or press Find to connect a new device.
User profile: opens the menu
User profile setup
››› page 32.
Select ring tone: select a ring tone from the list of prede-
fined tones.
Bluetooth settings: opens the menu Bluetooth setup
››› page 31.
Function button: effect
Reverse order of call lists: with the checkbox selected, the
call list entries are inverted (the oldest entry is shown at
the top of the list). Note
● If your phone does not support the func-
tion, Select ring tone , this menu will be disa-
bled.
● In these cases the melody determined in
the mobile phone will sound in the vehicle
speakers when a call is received.
● The tones may not sound if the phone set
to silence/vibrate. You are advised to config-
ure your phone to audible. Bluetooth setup
In the
PHONE
main menu, press the function
b
utton Setup and then press
Bluetooth setup .
Function button: effect
Bluetooth: press to disconnect the Bluetooth in the
system.
Visibility: activate and deactivate the Bluetooth “visibili-
ty” of the infotainment system using the function button
. To link a mobile phone to the infotainment system
the visibility must be activated. With the setting At start-up
, visibility is disabled after a certain time. If
you have a Bluetooth audio device active and playing,
the visibility is automatically set to “not visible”.
» 31
Page 38 of 44
Setup
Setup
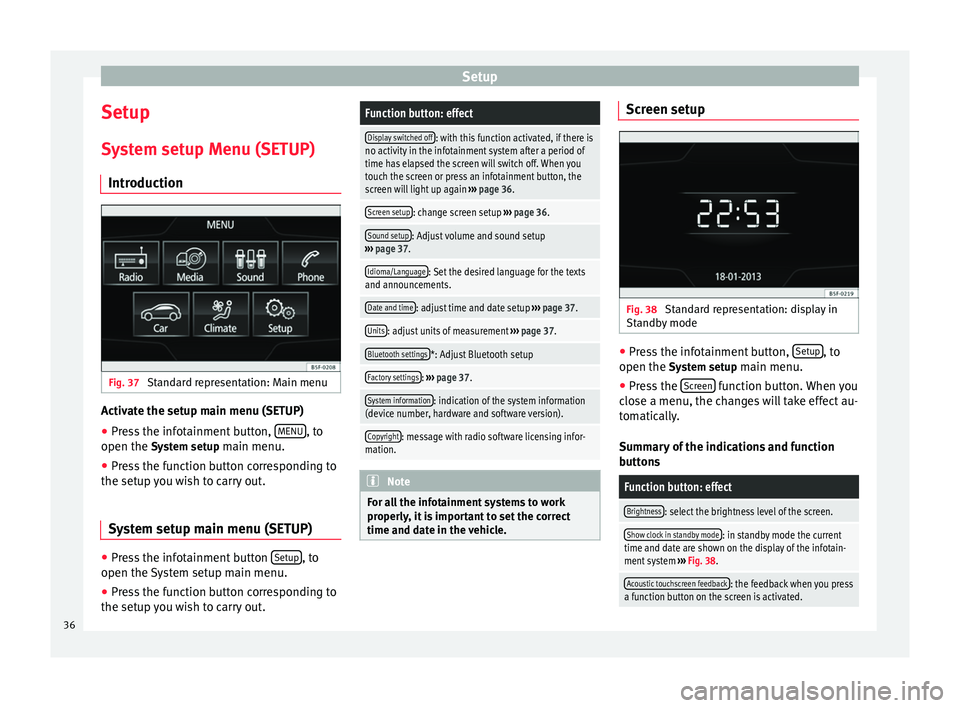
System setup Menu (SETUP) Introduction Fig. 37
Standard representation: Main menu Activate the setup main menu (SETUP)
● Press the infotainment button, MENU , to
open the System setup
main menu.
● Press the function button corresponding to
the setup you wish to carry out.
System setup main menu (SETUP) ●
Press the infotainment button Setup , to
open the System setup main menu.
● Press the function button corresponding to
the setup you wish to carry out.Function button: effect
Display switched off: with this function activated, if there is
no activity in the infotainment system after a period of
time has elapsed the screen will switch off. When you
touch the screen or press an infotainment button, the
screen will light up again ››› page 36.
Screen setup: change screen setup ››› page 36.
Sound setup: Adjust volume and sound setup
››› page 37.
Idioma/Language: Set the desired language for the texts
and announcements.
Date and time: adjust time and date setup ››› page 37.
Units: adjust units of measurement ››› page 37.
Bluetooth settings*: Adjust Bluetooth setup
Factory settings: ››› page 37.
System information: indication of the system information
(device number, hardware and software version).
Copyright: message with radio software licensing infor-
mation. Note
For all the infotainment systems to work
properly, it is important to set the correct
time and date in the vehicle. Screen setup
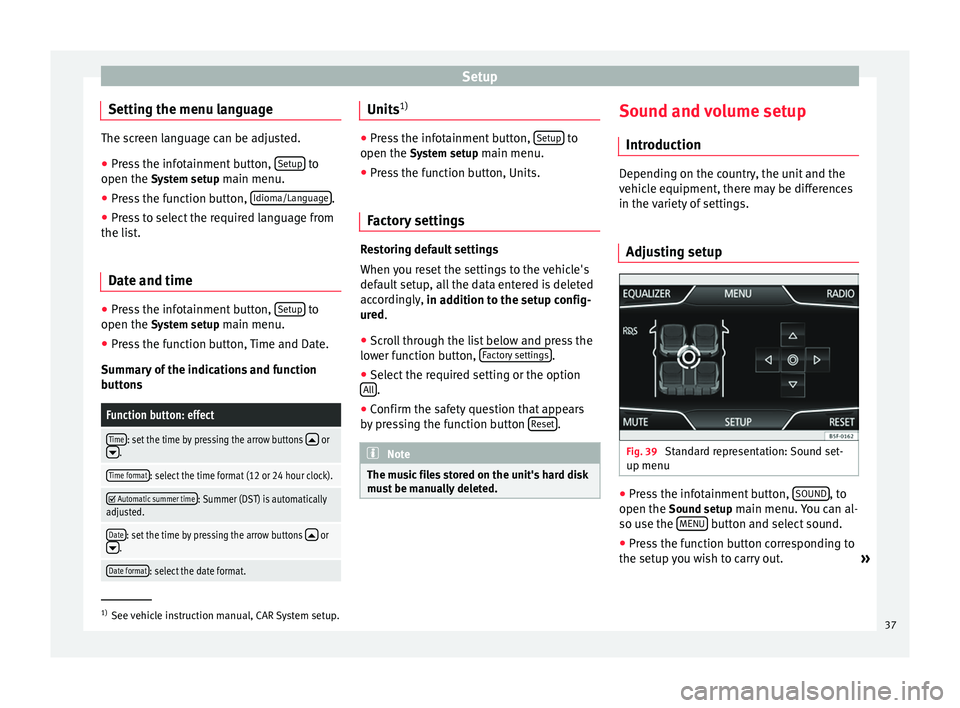
Fig. 38
Standard representation: display in
Standby mode ●
Press the infotainment button, Setup , to
open the System setup
main menu.
● Press the Screen function button. When you
close a menu, the changes will take effect au-
tomatically.
Summary of the indications and function
buttons
Function button: effect
Brightness: select the brightness level of the screen.
Show clock in standby mode: in standby mode the current
time and date are shown on the display of the infotain-
ment system ››› Fig. 38.
Acoustic touchscreen feedback: the feedback when you press
a function button on the screen is activated. 36
Page 39 of 44
Setup
Setting the menu language The screen language can be adjusted.
● Press the infotainment button, Setup to
open the System setup main menu.
● Pr e
ss the function button, Idioma/Language .
● Press to select the required language from
the list.
Date and time ●
Press the infotainment button, Setup to
open the System setup
main menu.
● Press the function button, Time and Date.
Summary of the indications and function
buttons
Function button: effect
Time: set the time by pressing the arrow buttons or.
Time format: select the time format (12 or 24 hour clock).
Automatic summer time: Summer (DST) is automatically
adjusted.
Date: set the time by pressing the arrow buttons or.
Date format: select the date format. Units
1) ●
Press the infotainment button, Setup to
open the System setup main menu.
● Pr e
ss the function button, Units.
Factory settings Restoring default settings
When you reset the settings to the vehicle's
default setup, all the data entered is deleted
accordingly,
in addition to the setup config-
ur ed
.
● Scroll through the list below and press the
lower function button, Factory settings .
● Select the required setting or the option
All .
● Confirm the safety question that appears
by pressing the function button Reset .
Note
The music files stored on the unit's hard disk
must be manually deleted. Sound and volume setup
Introduction Depending on the country, the unit and the
vehicle equipment, there may be differences
in the variety of settings.
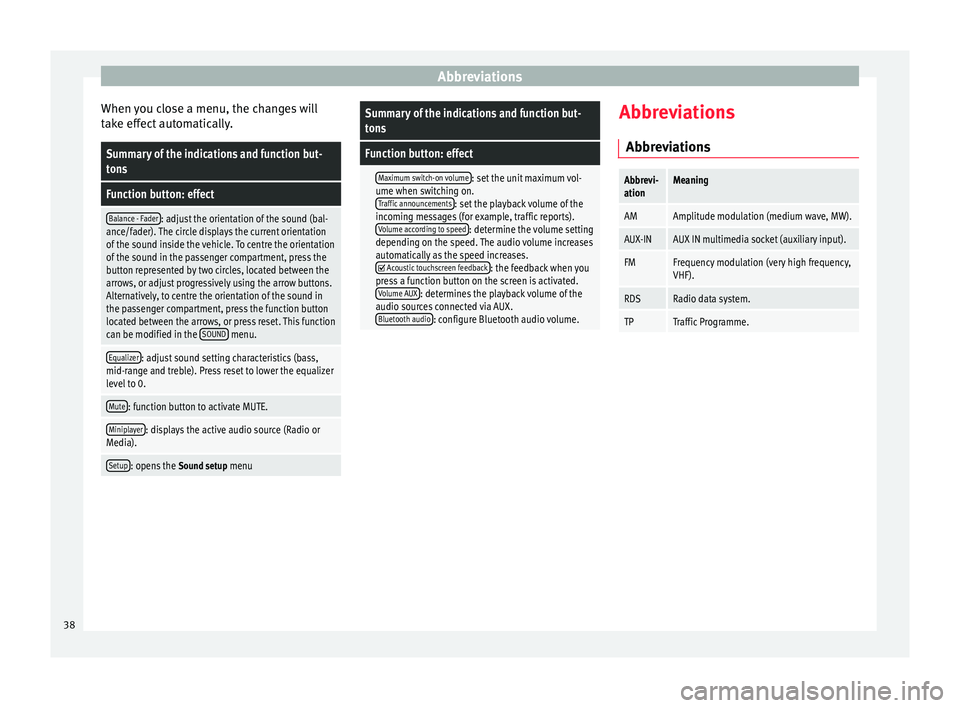
Adjusting setup Fig. 39
Standard representation: Sound set-
up menu ●
Press the infotainment button, SOUND , to
open the Sound setup
main menu. You can al-
so use the MENU button and select sound.
● Press the function button corresponding to
the setup you wish to carry out. »1)
See vehicle instruction manual, CAR System setup.
37
Page 40 of 44
Abbreviations
When you close a menu, the changes will
take effect automatically.Summary of the indications and function but-
tons
Function button: effect
Balance - Fader: adjust the orientation of the sound (bal-
ance/fader). The circle displays the current orientation
of the sound inside the vehicle. To centre the orientation
of the sound in the passenger compartment, press the
button represented by two circles, located between the
arrows, or adjust progressively using the arrow buttons.
Alternatively, to centre the orientation of the sound in
the passenger compartment, press the function button
located between the arrows, or press reset. This function
can be modified in the SOUND
menu.
Equalizer: adjust sound setting characteristics (bass,
mid-range and treble). Press reset to lower the equalizer
level to 0.
Mute: function button to activate MUTE.
Miniplayer: displays the active audio source (Radio or
Media).
Setup: opens the Sound setup menu
Summary of the indications and function but-
tons
Function button: effect
Maximum switch-on volume: set the unit maximum vol-
ume when switching on. Traffic announcements
: set the playback volume of the
incoming messages (for example, traffic reports). Volume according to speed
: determine the volume setting
depending on the speed. The audio volume increases
automatically as the speed increases.
Acoustic touchscreen feedback: the feedback when you
press a function button on the screen is activated. Volume AUX
: determines the playback volume of the
audio sources connected via AUX. Bluetooth audio
: configure Bluetooth audio volume. Abbreviations
Abbreviations
Abbrevi-
ationMeaning
AMAmplitude modulation (medium wave, MW).
AUX-INAUX IN multimedia socket (auxiliary input).
FMFrequency modulation (very high frequency,
VHF).
RDSRadio data system.
TPTraffic Programme. 38
Page 41 of 44
Index
Index
A
Air Conditioning . . . . . . . . . . . . . . . . . . . . . . . . . . . 35
Air Conditioning menu . . . . . . . . . . . . . . . . . . . . . . 35
AM . . . . . . . . . . . . . . . . . . . . . . . . . . . . . . . . . . . . . . 38
Automatic station storing . . . . . . . . . . . . . . . . . . . 11
Autostore . . . . . . . . . . . . . . . . . . . . . . . . . . . . . . . . 11
AUX . . . . . . . . . . . . . . . . . . . . . . . . . . . . . . . . . . 21, 38 AUX-IN multimedia socket . . . . . . . . . . . . . . . . . 21
External audio source . . . . . . . . . . . . . . . . . . . . . 21
AUX-IN . . . . . . . . . . . . . . . . . . . . . . . . . . . . . . . . . . . 21
AUX-IN multimedia socket See: AUX . . . . . . . . . . . . . . . . . . . . . . . . . . . . . . . 21
B Back . . . . . . . . . . . . . . . . . . . . . . . . . . . . . . . . . . . . 19
Balance . . . . . . . . . . . . . . . . . . . . . . . . . . . . . . . . . . 37
Base volume Change . . . . . . . . . . . . . . . . . . . . . . . . . . . . . . . . . 6
Mute . . . . . . . . . . . . . . . . . . . . . . . . . . . . . . . . . . . 6
Bass . . . . . . . . . . . . . . . . . . . . . . . . . . . . . . . . . . . . 37
Bluetooth . . . . . . . . . . . . . . . . . . . . . . . . . . . . . . . . 27
Bluetooth audio (external audio source) . . . . . . . 19
BT audio . . . . . . . . . . . . . . . . . . . . . . . . . . . . . . . . . 19
C
CAR . . . . . . . . . . . . . . . . . . . . . . . . . . . . . . . . . . . . . 33
CAR menu . . . . . . . . . . . . . . . . . . . . . . . . . . . . . . . . 33
CD mode See: MEDIA . . . . . . . . . . . . . . . . . . . . . . . . . . . . . 18
Controls . . . . . . . . . . . . . . . . . . . . . . . . . . . . . . . . . . . 5
D
Delayed switch-off . . . . . . . . . . . . . . . . . . . . . . . . . . 6 E
Explosion: places of risk
Telephone . . . . . . . . . . . . . . . . . . . . . . . . . . . . . . 25
External audio source Bluetooth audio . . . . . . . . . . . . . . . . . . . . . . . . . 19
See: AUX . . . . . . . . . . . . . . . . . . . . . . . . . . . . . . . 21
F Fader . . . . . . . . . . . . . . . . . . . . . . . . . . . . . . . . . . . . 37
FM . . . . . . . . . . . . . . . . . . . . . . . . . . . . . . . . . . . . . . 38
Forward . . . . . . . . . . . . . . . . . . . . . . . . . . . . . . . . . . 19
Function buttons see: Function buttons . . . . . . . . . . . . . . . . . . . . . . 7
Function buttons (softkeys) . . . . . . . . . . . . . . . . . . . 7
Function buttons (virtual buttons) . . . . . . . . . . . . . 6
I
Introduction . . . . . . . . . . . . . . . . . . . . . . . . . . . . . . . 3
M Main menu MEDIA . . . . . . . . . . . . . . . . . . . . . . . . . . . . . . . . . 16
RADIO . . . . . . . . . . . . . . . . . . . . . . . . . . . . . . . . . . 9
System . . . . . . . . . . . . . . . . . . . . . . . . . . . . . . . . . 36
MDI Error messages . . . . . . . . . . . . . . . . . . . . . . . . . . 23
Faults . . . . . . . . . . . . . . . . . . . . . . . . . . . . . . . . . . 23
MEDIA . . . . . . . . . . . . . . . . . . . . . . . . . . . . . . . . . . . 14 Audio data CD . . . . . . . . . . . . . . . . . . . . . . . . . . . 15
AUX-IN multimedia socket . . . . . . . . . . . . . . . . . 21
back . . . . . . . . . . . . . . . . . . . . . . . . . . . . . . . . . . . 19
Bit rate . . . . . . . . . . . . . . . . . . . . . . . . . . . . . . . . . 15
Bluetooth audio . . . . . . . . . . . . . . . . . . . . . . . . . 19
CD mode . . . . . . . . . . . . . . . . . . . . . . . . . . . . . . . 18
changing the media source . . . . . . . . . . . . . . . . 17
changing tracks . . . . . . . . . . . . . . . . . . . . . . . . . 19 forward . . . . . . . . . . . . . . . . . . . . . . . . . . . . . . . . 19
instructions . . . . . . . . . . . . . . . . . . . . . . . . . . 15, 16
main menu . . . . . . . . . . . . . . . . . . . . . . . . . . . . . 16
MP3 files . . . . . . . . . . . . . . . . . . . . . . . . . . . . . . . 15
Playing order . . . . . . . . . . . . . . . . . . . . . . . . . . . . 16
Playlists . . . . . . . . . . . . . . . . . . . . . . . . . . . . . . . . 15
Requirements . . . . . . . . . . . . . . . . . . . . . . . . . . . 15
selecting tracks . . . . . . . . . . . . . . . . . . . . . . . . . 19
Setup . . . . . . . . . . . . . . . . . . . . . . . . . . . . . . . . . . 21
Unreadable CD . . . . . . . . . . . . . . . . . . . . . . . . . . 18
USB . . . . . . . . . . . . . . . . . . . . . . . . . . . . . . . . . . . 15
WMA files . . . . . . . . . . . . . . . . . . . . . . . . . . . . . . 15
Medium wave . . . . . . . . . . . . . . . . . . . . . . . . . . . . . 38
Memory card (SD card) . . . . . . . . . . . . . . . . . . . . . 18
Midrange . . . . . . . . . . . . . . . . . . . . . . . . . . . . . . . . . 37
Multimedia . . . . . . . . . . . . . . . . . . . . . . . . . . . . . . . 21
Multimedia interface USB/AUX-IN . . . . . . . . . . . . . . . . . . . . . . . . . . . . 21
Mute . . . . . . . . . . . . . . . . . . . . . . . . . . . . . . . . . . . . . 6
O Operating instructions checkboxes . . . . . . . . . . . . . . . . . . . . . . . . . . . . . . 7
function buttons . . . . . . . . . . . . . . . . . . . . . . . . . . 7
Unit buttons . . . . . . . . . . . . . . . . . . . . . . . . . . . . . 7
P
Phone . . . . . . . . . . . . . . . . . . . . . . . . . . . . . . . . . . . 24 Introduction . . . . . . . . . . . . . . . . . . . . . . . . . . . . 24
PHONE Bluetooth setup . . . . . . . . . . . . . . . . . . . . . . . . . 31
Call lists menu . . . . . . . . . . . . . . . . . . . . . . . . . . 30
Enter number . . . . . . . . . . . . . . . . . . . . . . . . . . . 29
Function buttons . . . . . . . . . . . . . . . . . . . . . . . . . 28
Linking and connecting to the infotainmentsystem . . . . . . . . . . . . . . . . . . . . . . . . . . . . . . . 25
Main menu . . . . . . . . . . . . . . . . . . . . . . . . . . . . . 28
39
Page 42 of 44
Index
Phonebook menu . . . . . . . . . . . . . . . . . . . . . . . . 30
Places with risk of explosion . . . . . . . . . . . . . . . 25
Places with special regulations . . . . . . . . . . . . . 25
Setup . . . . . . . . . . . . . . . . . . . . . . . . . . . . . . . . . . 31
Places with special regulations . . . . . . . . . . . . . . . 25
Pop-up window . . . . . . . . . . . . . . . . . . . . . . . . . . . . . 7
Q Quick Reference Guide . . . . . . . . . . . . . . . . . . . . . . . 3
R
Radio . . . . . . . . . . . . . . . . . . . . . . . . . . . . . . . . . . . . . 9
RADIO frequency bands . . . . . . . . . . . . . . . . . . . . . . . . . 10
Main menu . . . . . . . . . . . . . . . . . . . . . . . . . . . . . . 9
radio data services RDS . . . . . . . . . . . . . . . . . . . 11
radio text . . . . . . . . . . . . . . . . . . . . . . . . . . . . . . . 12
scan function (SCAN) . . . . . . . . . . . . . . . . . . . . . 11
selecting, adjusting and storing a station . . . . 10
station name and automatic station tracking . . 11
Stored station buttons . . . . . . . . . . . . . . . . . . . . 10
RDS . . . . . . . . . . . . . . . . . . . . . . . . . . . . . . . . . . . . . 38 TP (Traffic Program) . . . . . . . . . . . . . . . . . . . 12, 13
Requirements CDs . . . . . . . . . . . . . . . . . . . . . . . . . . . . . . . . . . . 15
Memory cards . . . . . . . . . . . . . . . . . . . . . . . . . . . 15
SD cards . . . . . . . . . . . . . . . . . . . . . . . . . . . . . . . 15
Requirements for adapter (MDI) . . . . . . . . . . . . . . . . . . . . . . . . . . . 22
external data media (MDI) . . . . . . . . . . . . . . . . . 22
Rotary/push knobs . . . . . . . . . . . . . . . . . . . . . . . . . 7
Rotary knobs . . . . . . . . . . . . . . . . . . . . . . . . . . . . . . . 6
S Safety notes . . . . . . . . . . . . . . . . . . . . . . . . . . . . . . . 3
SCAN see scan function . . . . . . . . . . . . . . . . . . . . . . . . 11 Scan function (SCAN)
Radio mode . . . . . . . . . . . . . . . . . . . . . . . . . . . . . 11
SD card . . . . . . . . . . . . . . . . . . . . . . . . . . . . . . . . . . 18
SETUP see: "Setup (SETUP)" . . . . . . . . . . . . . . . . . . . . . 36
Setup (SETUP) . . . . . . . . . . . . . . . . . . . . . . . . . . . . . 36 Bluetooth setup . . . . . . . . . . . . . . . . . . . . . . . . . 36
Date and Time . . . . . . . . . . . . . . . . . . . . . . . . . . . 36
factory settings . . . . . . . . . . . . . . . . . . . . . . . . . . 36
language . . . . . . . . . . . . . . . . . . . . . . . . . . . . . . . 36
screen setup . . . . . . . . . . . . . . . . . . . . . . . . . . . . 36
sound . . . . . . . . . . . . . . . . . . . . . . . . . . . . . . . . . 37
system . . . . . . . . . . . . . . . . . . . . . . . . . . . . . . . . . 36
units . . . . . . . . . . . . . . . . . . . . . . . . . . . . . . . . . . 36
volume distribution . . . . . . . . . . . . . . . . . . . . . . 37
Sound distribution (Balance/Fader) . . . . . . . . . . . 37
Sound setup . . . . . . . . . . . . . . . . . . . . . . . . . . . . . . 37
Sound (treble/midrange/bass) . . . . . . . . . . . . . . . 37
Station search see scan function . . . . . . . . . . . . . . . . . . . . . . . . 11
Switch-on volume . . . . . . . . . . . . . . . . . . . . . . . . . . 37
Switching off . . . . . . . . . . . . . . . . . . . . . . . . . . . . . . . 6
Switching on . . . . . . . . . . . . . . . . . . . . . . . . . . . . . . . 6
Symbols used in this manual . . . . . . . . . . . . . . . . . 7
T
Things to note AUX mode . . . . . . . . . . . . . . . . . . . . . . . . . . . . . . 22
Touchscreen . . . . . . . . . . . . . . . . . . . . . . . . . . . . . . . 7
TP (Traffic Program) traffic news station . . . . . . . . . . . . . . . . . . . . 12, 13
Track search . . . . . . . . . . . . . . . . . . . . . . . . . . . . . . 19
Traffic news (TP) station monitoring . . . . . . . . 12, 13
Traffic Program (TP) station monitoring . . . . . . . . 13
Treble . . . . . . . . . . . . . . . . . . . . . . . . . . . . . . . . . . . 37 U
Unit buttons overview . . . . . . . . . . . . . . . . . . . . . . . 5
Unit buttons (physical buttons) . . . . . . . . . . . . . . . . 6
Unit overview . . . . . . . . . . . . . . . . . . . . . . . . . . . . . . 5
USB . . . . . . . . . . . . . . . . . . . . . . . . . . . . . . . . . . . . . 21
V Volume See base volume . . . . . . . . . . . . . . . . . . . . . . . . . 6
switch-on volume . . . . . . . . . . . . . . . . . . . . . . . . 37
traffic reports . . . . . . . . . . . . . . . . . . . . . . . . . . . 37
Volume distribution (Balance/Fader) . . . . . . . . . . 37
W Wireless communication interface . . . . . . . . . . . . 19
40