display Seat Leon SC 2014 Owner's Guide
[x] Cancel search | Manufacturer: SEAT, Model Year: 2014, Model line: Leon SC, Model: Seat Leon SC 2014Pages: 284, PDF Size: 5.85 MB
Page 78 of 284
Operation
Assist systems submenuAssist
systems
menuFunction
Lane As-
sist*Switching the Lane Assist system on or off
››› page 168.
Tiredness
detection*Switching the tiredness detection on or off
(pause recommendation) ››› page 172. Driving data
Presets The MFD (multifunction display) shows differ-
ent values for the journey and the consump-
tion.
Changing between display modes on the
MFD
● In vehicles without multifunction steering
wheel: Press the rocker switch on the
windscreen wiper lever ›››
Fig. 87 .
● Vehicle
s with a multifunction steering
wheel: turn the thumbwheel ››
› Fig. 88.
Mu
ltifunction display memory
The multifunction display is equipped with
three memories that work automatically: MFD
from departure, MFD from refuelling, MFD to- tal calculation. On the screen display, you
can read which memory is currently dis-
played.
To change between memories with the igni-
tion on and the memory shown, press the
button
on the windscreen wiper lever
or you can also change between memories
using the button on the multifunction
steering wheel.
MenuFunction
MFD from
depar-
ture
Display and storage of the values for the
journey and the consumption from when the
ignition is switched on to when it is switch-
ed off.
If the journey is continued in less than 2
hours after the ignition is switched off, the
new data is added to the data already stor-
ed in the memory. The memory will auto-
matically be deleted if the journey is inter-
rupted for more than 2 hours.
MFD from
refuellingDisplay and storage of the values for the
journey and the consumption. By refuelling,
the memory will be erased automatically.
MFD total
calcula-
tion
The memory records the values for a specif-
ic number of partial trips, up to a total of 19
hours and 59 minutes or 99 hours and 59
minutes, or 1999.9 km or 9999 km, de-
pending on the model of instrument panel.
On reaching either of these limits a)
, the
memory is automatically erased and starts
to count from 0 again.
a) It varies according to the type of instrument panel fitted.
Erasing a memory manually
● Select the memory that you wish to erase.
● Hold the button of the multifunction
steering wheel or the button of the multi-
function wheel pressed down for about 2 sec-
onds.
Personalising the displays
In the Easy Connect system you can adjust
which of the possible displays of the MFD can
be shown on the instrument panel display
with the button and the function button
Setup
››› page 81 .
Dat a s
ummary
MenuFunction
Current fuel
consumption
The current fuel consumption display
operates throughout the journey, in li-
tres/100 km; and with the engine run-
ning and the vehicle stopped, in li-
tres/hour.
Average fuel
consumption a)
After turning on the ignition, average
fuel consumption in litres/100 km will
be displayed after travelling about 100
metres. Otherwise horizontal lines are
displayed. The value shown is updated
approximately every 5 seconds.
ACT®
*: Depending on the equipment,
number of active cylinders. 76
Page 79 of 284
Driver information systemMenuFunction
Operating
range
a)
Approximate distance in km that can
still be travelled with the fuel remain-
ing in the tank, assuming the same
style of driving is maintained. This is
calculated using the current fuel con-
sumption.
Journey dura-
tionThis indicates the hours (h) and mi-
nutes (min) since the ignition was
switched on.
Distance cov-
eredDistance covered in km (m) after
switching on the ignition.
CNG quality
Whenever you refuel the quality of the
natural gas is automatically verified
and is displayed when the ignition is
switched on. The display is made in a
percentage of between 70% and
100%. The greater the percentage dis-
played the lower the consumption may
be.
Average speed
The average speed will be shown after
a distance of about 100 metres has
been travelled. Otherwise horizontal
lines are displayed. The value shown is
updated approximately every 5 sec-
onds.
Digital display
of speedCurrent speed displayed in digital for-
mat.
Speed warn-
ing at --- km/h
or Speed warning at ---
mphIf the stored speed is exceeded (be-
tween 30 - 250 km/h, or 19 -
155 mph), an audible warning is given
together with a visual warning.
MenuFunction
Oil tempera-
tureUpdated engine oil temperature digital
display
Coolant tem-
perature
gaugeDigital display of the current tempera-
ture of the liquid coolant.
a) In vehicles with a natural gas engine, range and average con-
sumption refer only to data or natural gas consumption. If you
are in “petrol mode”, the information of both data only appears
on the dash panel and not on the multifunction screen.
Storing a speed for the speed warning
● Select the display Speed warning at --- km/h
(--- mph)
● Press the button on the windscreen
wiper lever or the button on the multifunc-
tion steering wheel to store the current speed
and activate the warning.
● If necessary, adjust the desired speed with-
in 5 seconds using the rocker switch on
the windscreen wiper lever or by turning the
thumbwheel on the multifunction steering
wheel. Next, press the button or
again or wait several seconds. The speed is
stored and the warning activated.
● To deactivate it press the button
or
the button . The stored speed is deleted.Engine oil temperature display Vehicles without multifunction steering
wheel
– To view the temperature, press the rocker
button ››› Fig. 87 2 until the main menu
comes up. Enter into Journey data. With the
button 2 move to the oil temperature
gauge.
Vehicles with multifunction steering wheel
– To display the engine oil temperature, enter
the submenu Journey data and turn the
thumbwheel until the oil temperature dis-
play appears.
The engine reaches its operating temperature
when in normal driving conditions, the oil
temperature is between 80°C (180°F)
and
120°C (250°F) . If the engine is required to
work hard and the outside temperature is
high, the engine oil temperature can in-
crease. This does not present any problems
as long as the warning lamps ›››
ta-
ble on page 23 or ››
›
table on page 23
do not appear on the display.
Additional electrical appliances 3 Not available in vehicles equipped with natural
gas engine (CNG).
– Operation with the windscreen wiper lev-
er*: Press the rocker switch ›››
Fig. 87 2 »
77
Technical specifications
Advice
Operation
Safety
The essentials
Page 80 of 284
Operation
until the main menu appears. Enter into the
section Journey data
.
W ith the rocker
switch, move to the display Convenience ap-
pliances.
– Operation with the multifunction steering
wheel*: Move with the buttons 1 or
2 to
Journey data and enter with OK
. Turn the
thumb
wheel to the right until the Conven-
ience appliances display appears.
In addition, a scale will inform you of the cur-
rent sum of all the additional appliances.
Saving tips Tips on how to save fuel will be displayed in
certain conditions that contribute to in-
creased consumption. Following these tips
could reduce the fuel consumption of your
vehicle. The displays appear automatically
and will only be shown with the efficiency
programme. After a time, the saving tips will
disappear automatically.
– If you wish to hide a saving tip immediately
after it appears, press any button on the
windscreen wiper lever*/multifunction
steering wheel*. Note
● If you hide a saving tip, it will reappear af-
ter you switch the ignition on again. ●
The saving tips do not appear in all situa-
tions, but rather with a large separation of
time. Timer*
If you have the corresponding equipment you
can access the timer via the selection menu
››› page 74.
The timer al lo
ws you to manually time lap
times on a racing circuit, memorise them and
compare then to the vehicle's previous best
times.
The following menus can be displayed:
● Stop
● Lap
● Pause
● Partial time
● Statistics
Change from one menu to another ● Vehicles without multifunction steering
wheel: press the rocker switch in the
windscreen wiper lever.
● Vehicles with multifunction steering wheel:
press or
.
Menu “Stop”
Start
The timer starts.
If there are existing laps and they are in-
cluded in the statistics, it will begin with
the number of laps in question.
It is only possible to begin with a new first
lap if the statistics have been reset first in
the Statistics menu.
Since start
The timer begins when the vehicle sets
off.
If the vehicle is already moving, the timer
begins once the vehicle has stopped.
StatisticsThe Statistics menu is displayed on the
screen.
Menu “Lap”
New lap
The timer of the current lap stops and a
new lap starts immediately. The time for
the lap you have just completed is inclu-
ded in the statistics.
Partial timeFor about 5 seconds a partial time is dis-
played. The timer continues in parallel.
StopThe current lap timer will be interrupted.
The lap does not end. The Pause menu is
displayed.
Menu “Pause”
ContinueThe interrupted timer continues.
New lapA new timer starts. The halted lap ends
and is included in the statistics. 78
Page 81 of 284
Driver information systemMenu “Pause”
Interr. lapThe timer of the current lap ends and is
cancelled. It is not included in the statis-
tics.
EndThe current timer ends. The lap is inclu-
ded in the statistics.
Menu “Partial time”
Partial timeFor about 5 seconds a partial time is dis-
played. The timer continues in parallel.
New lap
The timer of the current lap stops and a
new lap starts immediately. The time for
the lap you have just completed is inclu-
ded in the statistics.
StopThe current lap timer will be interrupted.
The lap does not end. The
Pause menu is
displayed.
Menu “Statistics”
View of the latest lap times:
– total time
– best lap time
– worst lap time
– average lap duration
A maximum of 10 laps is possible, and a
total duration of 99 hours, 59 minutes
and 59 seconds.
If one of the 2 limits is reached, you will
have to reset the statistics in order to be-
gin a new timer.
BackThis returns to the previous menu.
Menu “Statistics”
Resetting
to zeroAll the memorised statistical data are re-
set. WARNING
Do your best to avoid handling the timer
while driving.
● Only set the timer or consult statistics
when the vehicle is stationary.
● While driving, do not handle the timer in
complicated driving situations. Speed warning function
Introduction The speed warning function will warn the
driver if a pre-set maximum speed is excee-
ded. The system gives an warning buzzer sig-
nal if the set speed is exceeded by about 3
km/h. The warning lamp
and the driver
message Speed limit exceeded!
will be dis-
played simultaneously on the instrument
panel display. The warning lamp switches
off when reducing speed below the stored
maximum limit.
You are recommended to store this speed
limit warning if you always wish to be re-
minded of a particular speed limit. This could
be when driving in countries with general speed limits, or if a particular speed should
not be exceeded when winter tyres are fitted
etc.
Note
● Please bear in mind that, even with the
speed warning function, it is still important
to keep an eye on the vehicle speed with the
speedometer and to observe the legal speed
limits.
● The speed limit warning function in the ver-
sion for several countries warns you at a
speed of 120 km/h (80 mph). This is a facto-
ry-set speed limit. Setting speed limit warning
You can use the radio or the Easy Connect* to
set, alter or cancel the speed limit warning.
Vehicles with radio
–
Select: SETUP button > control button
Driver assistant > Speed warning
.
Vehicles with Easy Connect
– Select: Systems
control button or Vehicle
systems > Driver assistant
> Speed warning
.
The warning limit can be set from 30 to
240 km/h (20 to 150 mph). The adjustment
is done in 10 km/h (mph) intervals.
79
Technical specifications
Advice
Operation
Safety
The essentials
Page 82 of 284
Operation
Service interval display Service interval display The service interval indication appears on the
instrument panel display
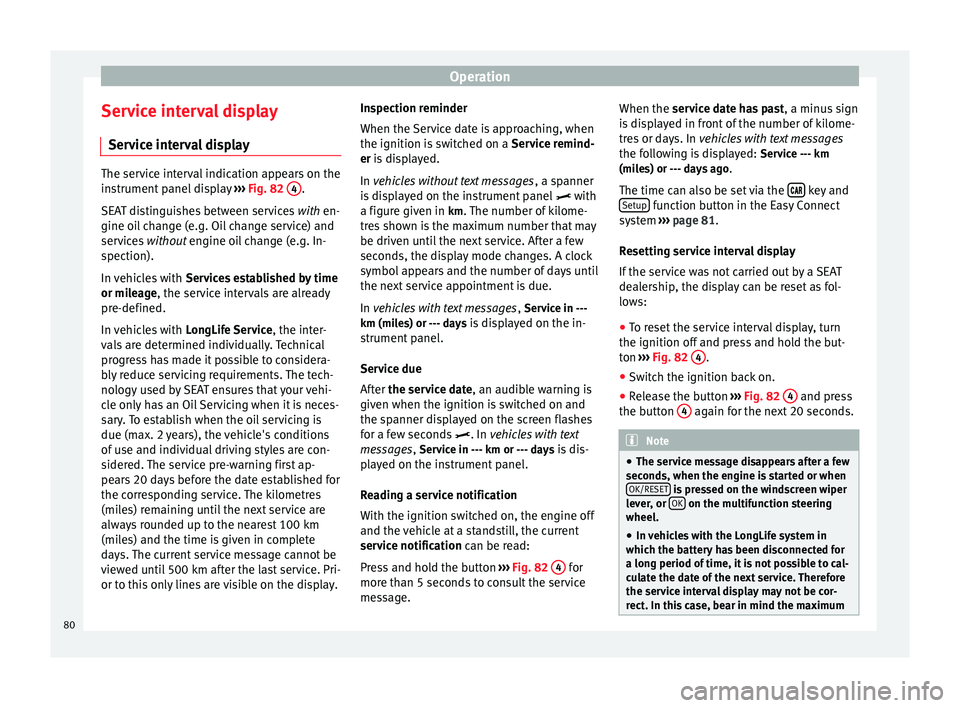
››› Fig. 82 4 .
SEAT distinguishes between services with en-
gine oi l
change (e.g. Oil change service) and
services without
engine oil change (e.g. In-
spection).
In vehicles with Services established by time
or mileage, the service intervals are already
pr e-defined.
In
vehicles with LongLife Service , the inter-
vals are determined individually. Technical
progress has made it possible to considera-
bly reduce servicing requirements. The tech-
nology used by SEAT ensures that your vehi-
cle only has an Oil Servicing when it is neces-
sary. To establish when the oil servicing is
due (max. 2 years), the vehicle's conditions
of use and individual driving styles are con-
sidered. The service pre-warning first ap-
pears 20 days before the date established for
the corresponding service. The kilometres
(miles) remaining until the next service are
always rounded up to the nearest 100 km
(miles) and the time is given in complete
days. The current service message cannot be
viewed until 500 km after the last service. Pri-
or to this only lines are visible on the display. Inspection reminder
When the Service date is approaching, when
the ignition is switched on a
Service remind-
er is displayed.
In vehicles without text messages , a s
panner
is displayed on the instrument panel with
a figure giv
en in km. The number of kilome-
tres shown is the maximum number that may
be driven until the next service. After a few
seconds, the display mode changes. A clock
symbol appears and the number of days until
the next service appointment is due.
In vehicles with text messages , Serv
ice in ---
km (miles) or --- days is displayed on the in- strument panel.
Service due
After the service date, an audible warning is
given when the ignition i
s switched on and
the spanner displayed on the screen flashes
for a few seconds . In
vehicles with text
messages, Service in --- km or --- days is dis-
played on the instrument panel.
Reading a service notification
With the ignition switched on, the engine off
and the vehicle at a standstill, the current
service notification
can be read:
Press and hold the button ››› Fig. 82 4 for
more than 5 seconds to consult the service
message. When the service date has past
, a minus sign
is displayed in front of the number of kilome-
tres or days. In vehicles with text messages
the following is displayed: Service --- km
(miles) or --- days ago .
The time can also be set via the key and
Setup function button in the Easy Connect
system ››› page 81 .
R e
setting service interval display
If the service was not carried out by a SEAT
dealership, the display can be reset as fol-
lows:
● To reset the service interval display, turn
the ignition off and press and hold the but-
ton ››› Fig. 82 4 .
● Switch the ignition back on.
● Release the button ››› Fig. 82 4 and press
the button 4 again for the next 20 seconds.
Note
● The service message disappears after a few
seconds, when the engine is started or when OK/RESET is pressed on the windscreen wiper
lever, or OK on the multifunction steering
wheel.
● In vehicles with the LongLife system in
which the battery has been disconnected for
a long period of time, it is not possible to cal-
culate the date of the next service. Therefore
the service interval display may not be cor- rect. In this case, bear in mind the maximum 80
Page 83 of 284
Introduction to the Easy Connect system*
service intervals permitted in the
››› Book-
let Maintenance Programme. Introduction to the Easy
Connect system*
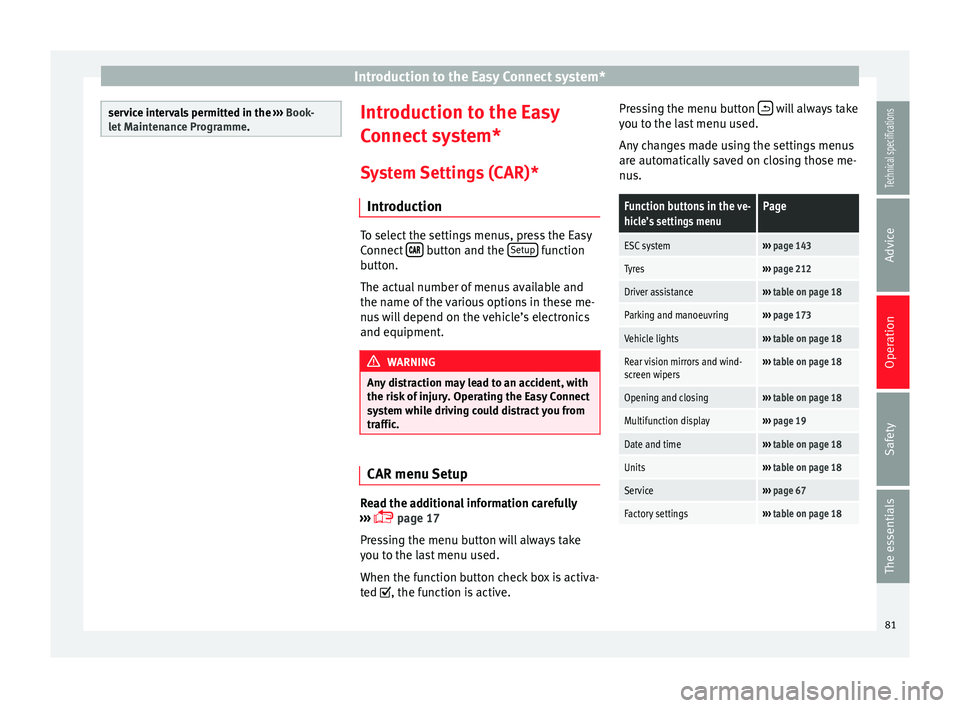
System Settings (CAR)* Introduction To select the settings menus, press the Easy
Connect
button and the
Setup function
button.
The actual number of menus available and
the name of the various options in these me-
nus will depend on the vehicle’s electronics
and equipment. WARNING
Any distraction may lead to an accident, with
the risk of injury. Operating the Easy Connect
system while driving could distract you from
traffic. CAR menu Setup
Read the additional information carefully
››› page 17
Pressing the menu button will always take
you to the last menu used.
When the function button check box is activa-
ted , the function is active. Pressing the menu button
will always take
you to the last menu used.
Any changes made using the settings menus
are automatically saved on closing those me-
nus.Function buttons in the ve-
hicle’s settings menuPage
ESC system››› page 143
Tyres››› page 212
Driver assistance››› table on page 18
Parking and manoeuvring››› page 173
Vehicle lights››› table on page 18
Rear vision mirrors and wind-
screen wipers››› table on page 18
Opening and closing››› table on page 18
Multifunction display››› page 19
Date and time››› table on page 18
Units››› table on page 18
Service››› page 67
Factory settings››› table on page 18 81
Technical specifications
Advice
Operation
Safety
The essentials
Page 87 of 284
Opening and closing
Programming the central locking
system You can use Easy Connect* to select which
doors are unlocked with the central locking
system. Using the radio or the Easy Connect*
system, you can select whether the vehicle
automatically closes with the “Auto Lock”
programme at speeds of more than 15 km/h
(10 mph).
Programming the unlocking of the doors
(vehicles with Easy Connect)
– Select: control button Systems or Vehicle
systems > Vehicle settings > Central locking >
Unlocking doors.
Programming the Auto Lock (vehicles with
radio)
– Select: SETUP button > control button
Central locking > Locking while driving
.
Programming the Auto Lock (vehicles with
Easy Connect)
– Select: control button Systems
or Vehicle
systems > Vehicle settings
> Locking while
driving .
Unlocking doors You can choose to unlock all
the doors or only the driver door
when you
unlock the vehicle. In all
the options, the fuel
tank flap is also unlocked. With the Driver setting, when you press the
button on the remote control key only the
door on the driver's side is unlocked. If that
button is pressed twice, the rest of the doors
and the rear lid will be unlocked.
In vehicles with a conventional key, turn the
key in the door lock, in the direction of open-
ing, twice within 2 seconds.
If the button is pressed, all the vehicle
doors are locked. At the same time, a confir-
mation signal* is heard.
Auto Lock/Locking while driving. If you select
on, all the vehicle doors are locked at speeds above 15 km/h (10 mph).
Central locking switch Read the additional information carefully
››› page 9
Please note the following when using the
central locking switch to lock your vehicle:
● It is not possible to open the doors or the
rear lid from the outside
(for safety reasons,
e.
g. when stopped at traffic lights).
● The LED in the central locking switch lights
up when all the doors are closed and locked.
● You can open the doors individually from
the inside by pulling the inside door handle. ●
In the event of an accident in which the air-
bags inflate, doors locked from the inside will
be automatically unlocked to facilitate access
and assistance. WARNING
● The central locking switch also operates
when the ignition is switched off and auto-
matically locks all the vehicle doors when the
button is pressed.
● The central locking switch does not operate
if the vehicle is locked from the outside and
the anti-theft security system is switched on.
● Locked doors could delay assistance in an
emergency, potentially putting lives at risk.
Do not leave anyone, especially children, in
the vehicle. Note
The doors and the tailgate are locked auto-
matically when the vehicle reaches a speed of
about 15 km/h (Auto Lock) ››› page 82. You
can unlock the vehicle again using button on the central locking switch.
Anti-theft security system (Safelock)*
The following message is displayed on the in-
strument panel to remind the driver that
when the vehicle is closed from the outside,
the anti-theft security system is switched on.
Do not forget the Safelock. Please see »
85
Technical specifications
Advice
Operation
Safety
The essentials
Page 92 of 284
Operation
To change the locking / unlocking status,
press the button or the button
1›››
page 9
on the remote control key.
A w arnin
g appears on the instrument panel
display if the rear lid is open or not properly
closed.* An audible warning is also given if
the rear lid is open when the car is driven
faster than 6 km/h*. WARNING
Observe the safety warnings ››› in Intro-
duction on page 227.
● Alw
ays close the rear lid properly. Risk of
accident or injury.
● The rear lid must not be opened when the
reverse or rear fog lights are lit. This may
damage the tail lights.
● Do not close the rear lid by pushing it down
with your hand on the rear window. The glass
could smash. Risk of injury!
● Ensure the rear lid is locked after closing it.
If not, it may open unexpectedly while driv-
ing.
● Closing the rear lid without observing and
ensuring it is clear could cause serious injury
to you and to third parties. Make sure that no
one is in the path of the rear lid.
● Never drive with the rear lid open or half-
closed, exhaust gases may penetrate into the
interior of the vehicle. Danger of poisoning!
● If you only open the rear lid, do not leave
the key inside. The vehicle cannot be opened
if the key is left inside. Tailgate automatic lock
Where the vehicle has been locked by press-
ing the
button on the remote control with
the rear lid open, the rear lid will lock auto-
matically when closed.
The automatic tailgate locking time extension
function can be activated. Where this func-
tion is activated and once the rear lid has
been unlocked by pressing the button on
the remote control key ››› page 84, the rear lid
can be re-opened for a certain length of time.
Where required, the automatic tailgate lock-
ing time extension function can be activated
or deactivated at an Authorised SEAT Service,
which will provide all the necessary informa-
tion.
Before the vehicle locks automatically, there
is a risk of intruders getting into the vehicle.
Therefore, we recommend you always lock
the vehicle by pressing the button on the
remote control or by using the central locking
button. Electric windows
Opening and closing of the electric
windows* Fig. 97
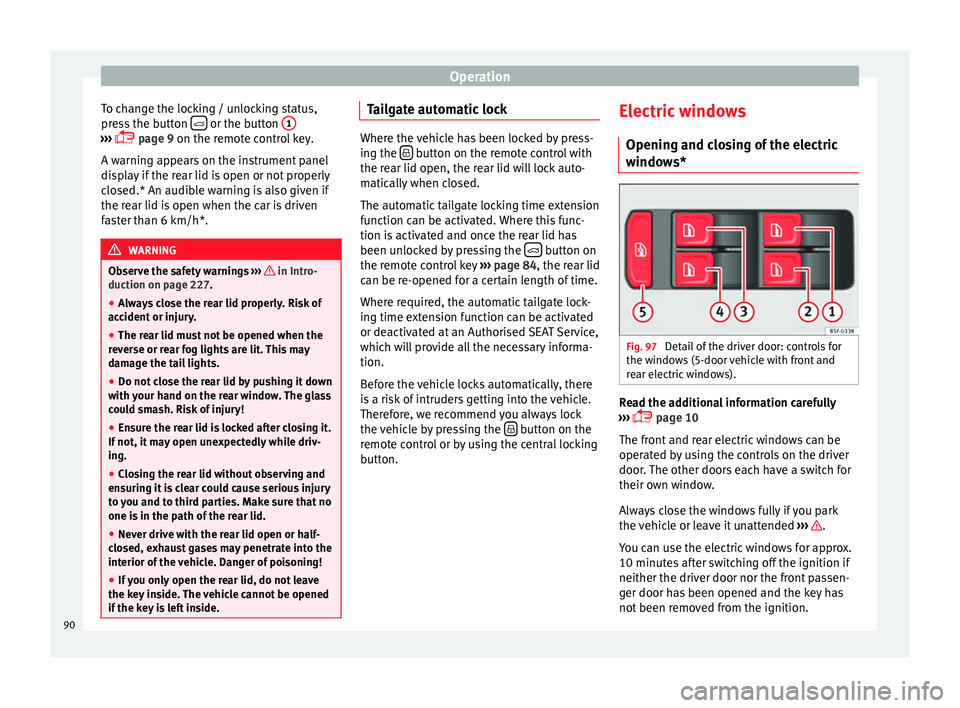
Detail of the driver door: controls for
the windows (5-door vehicle with front and
rear electric windows). Read the additional information carefully
››› page 10
The front and rear electric windows can be
operated by using the controls on the driver
door. The other doors each have a switch for
their own window.
Always close the windows fully if you park
the vehicle or leave it unattended ››› .
You can use the electric windows for approx.
10 minutes after switching off the ignition if
neither the driver door nor the front passen-
ger door has been opened and the key has
not been removed from the ignition.
90
Page 98 of 284
Operation
Note
In cold or damp weather conditions, the
headlights, tail lights and turn signals may
mist up inside temporarily. This is normal and
in no way effects the useful life of the vehicle
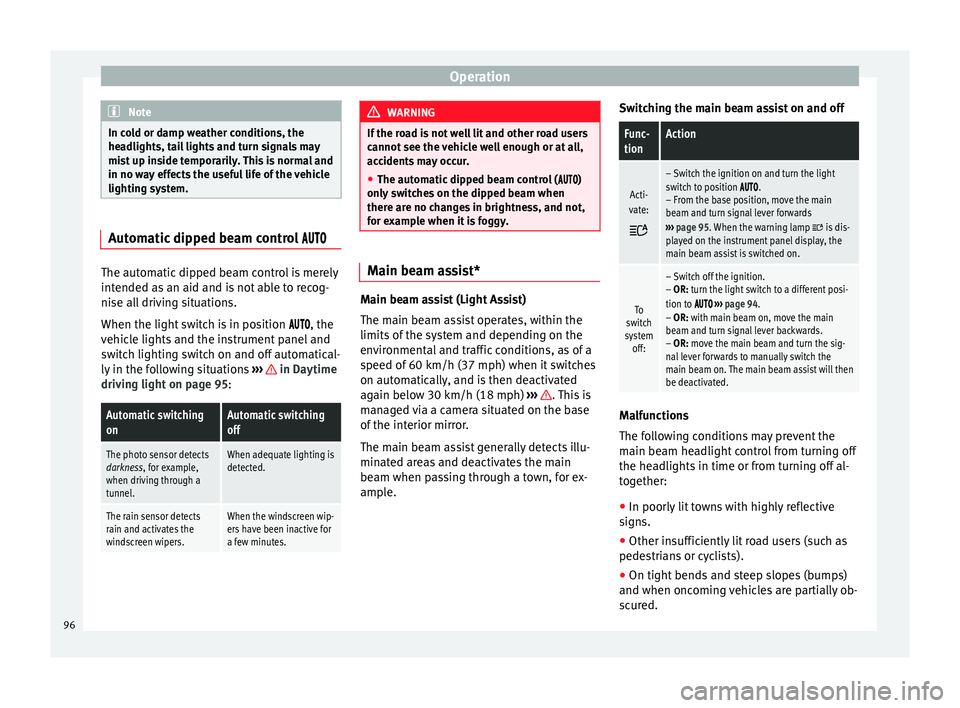
lighting system. Automatic dipped beam control
The automatic dipped beam control is merely
intended as an aid and is not able to recog-
nise all driving situations.
When the light switch is in position , the
vehicle lights and the instrument panel and
switch lighting switch on and off automatical-
ly in the following situations
››› in Daytime
driving light on page 95:Automatic switching
onAutomatic switching
off
The photo sensor detects
darkness, for example,
when driving through a
tunnel.When adequate lighting is
detected.
The rain sensor detects
rain and activates the
windscreen wipers.When the windscreen wip-
ers have been inactive for
a few minutes. WARNING
If the road is not well lit and other road users
cannot see the vehicle well enough or at all,
accidents may occur.
● The automatic dipped beam control ( )
only switches on the dipped beam when
there are no changes in brightness, and not,
for example when it is foggy. Main beam assist*
Main beam assist (Light Assist)
The main beam assist operates, within the
limits of the system and depending on the
environmental and traffic conditions, as of a
speed of 60 km/h (37 mph) when it switches
on automatically, and is then deactivated
again below 30 km/h (18 mph)
››› . This is
managed via a camera situated on the base
of the interior mirror.
The main beam assist generally detects illu-
minated areas and deactivates the main
beam when passing through a town, for ex-
ample. Switching the main beam assist on and off
Func-
tionAction
Acti-
vate:
– Switch the ignition on and turn the light
switch to position .
– From the base position, move the main
beam and turn signal lever forwards
››› page 95. When the warning lamp
is dis-
played on the instrument panel display, the
main beam assist is switched on.
To
switch
system off:
– Switch off the ignition.
– OR: turn the light switch to a different posi-
tion to
››› page 94.
– OR: with main beam on, move the main
beam and turn signal lever backwards.
– OR: move the main beam and turn the sig-
nal lever forwards to manually switch the
main beam on. The main beam assist will then
be deactivated. Malfunctions
The following conditions may prevent the
main beam headlight control from turning off
the headlights in time or from turning off al-
together:
● In poorly lit towns with highly reflective
signs.
● Other insufficiently lit road users (such as
pedestrians or cyclists).
● On tight bends and steep slopes (bumps)
and when oncoming vehicles are partially ob-
scured.
96
Page 128 of 284
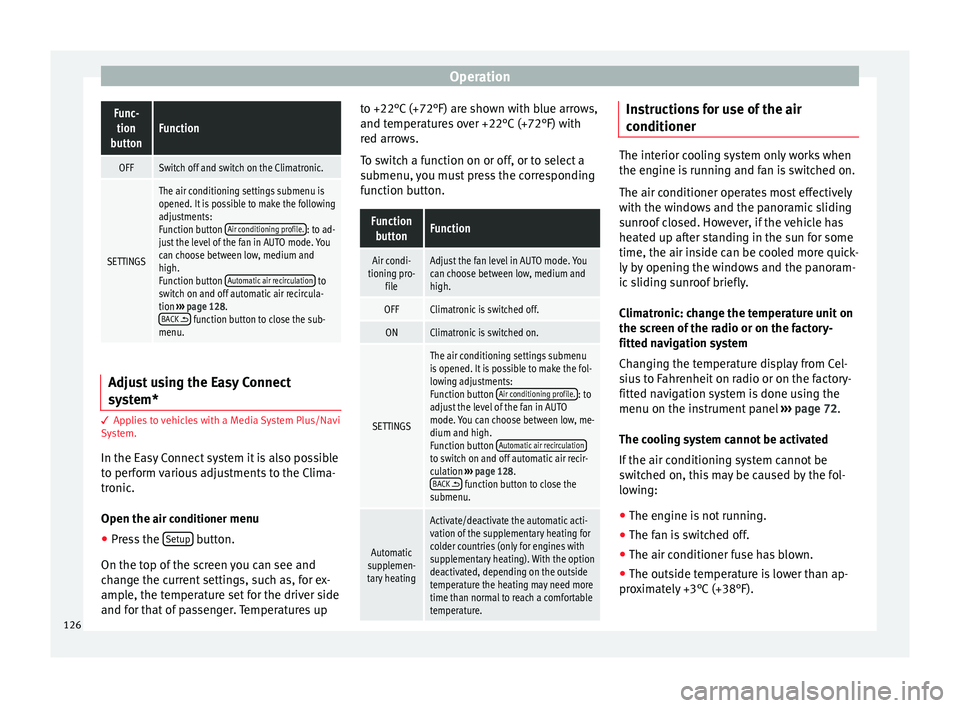
OperationFunc-
tion
buttonFunction
OFFSwitch off and switch on the Climatronic.
SETTINGS
The air conditioning settings submenu is
opened. It is possible to make the following
adjustments:
Function button Air conditioning profile.
: to ad-
just the level of the fan in AUTO mode. You
can choose between low, medium and
high.
Function button Automatic air recirculation
to
switch on and off automatic air recircula-
tion ››› page 128.
BACK
function button to close the sub-
menu. Adjust using the Easy Connect
system*
3 Applies to vehicles with a Media System Plus/Navi
System.
In the Easy Connect system it is also possible
to perform various adjustments to the Clima-
tronic.
Open the air conditioner
menu
● Press the Setup button.
On the top of the screen you can see and
change the current settings, such as, for ex-
ample, the temperature set for the driver side
and for that of passenger. Temperatures up to +22°C (+72°F) are shown with blue arrows,
and temperatures over +22°C (+72°F) with
red arrows.
To switch a function on or off, or to select a
submenu, you must press the corresponding
function button.
Function
buttonFunction
Air condi-
tioning pro- fileAdjust the fan level in AUTO mode. You
can choose between low, medium and
high.
OFFClimatronic is switched off.
ONClimatronic is switched on.
SETTINGS
The air conditioning settings submenu
is opened. It is possible to make the fol-
lowing adjustments:
Function button Air conditioning profile.
: to
adjust the level of the fan in AUTO
mode. You can choose between low, me-
dium and high.
Function button Automatic air recirculation
to switch on and off automatic air recir-
culation
››› page 128.
BACK
function button to close the
submenu.
Automatic
supplemen-
tary heating
Activate/deactivate the automatic acti-
vation of the supplementary heating for
colder countries (only for engines with
supplementary heating). With the option
deactivated, depending on the outside
temperature the heating may need more
time than normal to reach a comfortable
temperature. Instructions for use of the air
conditioner
The interior cooling system only works when
the engine is running and fan is switched on.
The air conditioner operates most effectively
with the windows and the panoramic sliding
sunroof closed. However, if the vehicle has
heated up after standing in the sun for some
time, the air inside can be cooled more quick-
ly by opening the windows and the panoram-
ic sliding sunroof briefly.
Climatronic: change the temperature unit on
the screen of the radio or on the factory-
fitted navigation system
Changing the temperature display from Cel-
sius to Fahrenheit on radio or on the factory-
fitted navigation system is done using the
menu on the instrument panel
›››
page 72.
The cooling system cannot be activated
If the air conditioning system cannot be
switched on, this may be caused by the fol-
lowing:
● The engine is not running.
● The fan is switched off.
● The air conditioner fuse has blown.
● The outside temperature is lower than ap-
proximately +3°C (+38°F).
126