ECO mode Seat Leon SC 2014 SOUND SYSTEM 2.0
[x] Cancel search | Manufacturer: SEAT, Model Year: 2014, Model line: Leon SC, Model: Seat Leon SC 2014Pages: 62, PDF Size: 1.14 MB
Page 3 of 62
2General information
General information
This manual contains information, recommendations, advice and warnings
related to your radio system. The other publications in the vehicle documen-
tation contain further information of which you should be aware for your
own safety and for that of your passengers.
Ensure that the onboard documentation is kept in the vehicle at all times.
This is especially important when lending or selling the vehicle to another
person.
This manual contains a description of the equipment supplied with the ve-
hicle at the time of press. Some of the units described herein will not be
available until a later date or is only available in certain markets.
The illustrations are intended as a general guide and may vary from the
equipment fitted in your vehicle in some details.
The screen colour and the colour of the information displayed on it can vary
according to vehicle model.
Directions and positions of components (e.g. right, left, front, rear) are al-
ways relative to the direction of travel of the vehicle unless otherwise sta-
ted.
The equipment marked with an asterisk is only supplied as standard in
certain model versions, is optional in others or is only available in spe-
cific countries.
Registered trademarks are marked ®. The absence of this symbol does
not constitute a waiver of the rights concerning any proprietary name.
The section is continued on the following page.
Marks the end of a section .
®
WARNING
Texts preceded by this symbol contain information on safety. They warn
you about possible dangers of accident or injury.
CAUTION
Texts with this symbol draw your attention to potential sources of damage
to your vehicle.
For the sake of the environment
Texts preceded by this symbol contain relevant information concerning envi-
ronmental protection.
Note
Texts preceded by this symbol contain additional information.
Page 11 of 62
10Audio mode
Audio mode
FM and AM Radio mode Introduction
The radio system is supplied in different versions depending on the country
and model in which it is installed and the vehicle equipment. The overview
of the unit shows all the possible versions ⇒ Fig. 1.
How the Radio mode is activated and operated depends partly on the ver-
sion of the unit.
Additional information and warnings:
● Safety notes ⇒ page 4
● Unit overview ⇒ page 6
● RDS and TP radio data services (Traffic Programme) ⇒ page 15
● System and function settings (SETUP) ⇒ page 52
Note
● Multi-storey car parks, tunnels, high buildings and mountains can im-
pair radio signals.
● Foil or metal-coated stickers attached to the windows may affect recep-
tion on vehicles with a window aerial. RADIO main menu
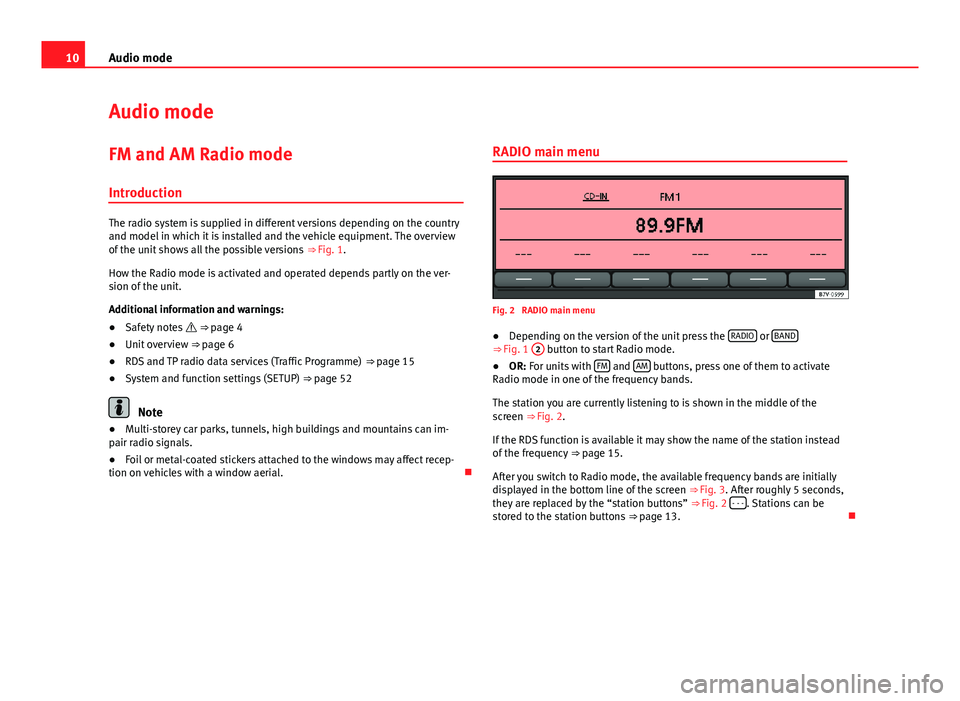
Fig. 2 RADIO main menu
● Depending on the version of the unit press the RADIO
or BAND⇒
Fig. 1 2 button to start Radio mode.
● OR: For units with FM and AM buttons, press one of them to activate
Radio mode in one of the frequency bands.
The station you are currently listening to is shown in the middle of the
screen ⇒ Fig. 2.
If the RDS function is available it may show the name of the station instead
of the frequency ⇒ page 15.
After you switch to Radio mode, the available frequency bands are initially
displayed in the bottom line of the screen ⇒ Fig. 3. After roughly 5 seconds,
they are replaced by the “station buttons” ⇒ Fig. 2 - - -
. Stations can be
stored to the station buttons ⇒ page 13.
Page 12 of 62
11
Audio mode
Changing frequency band
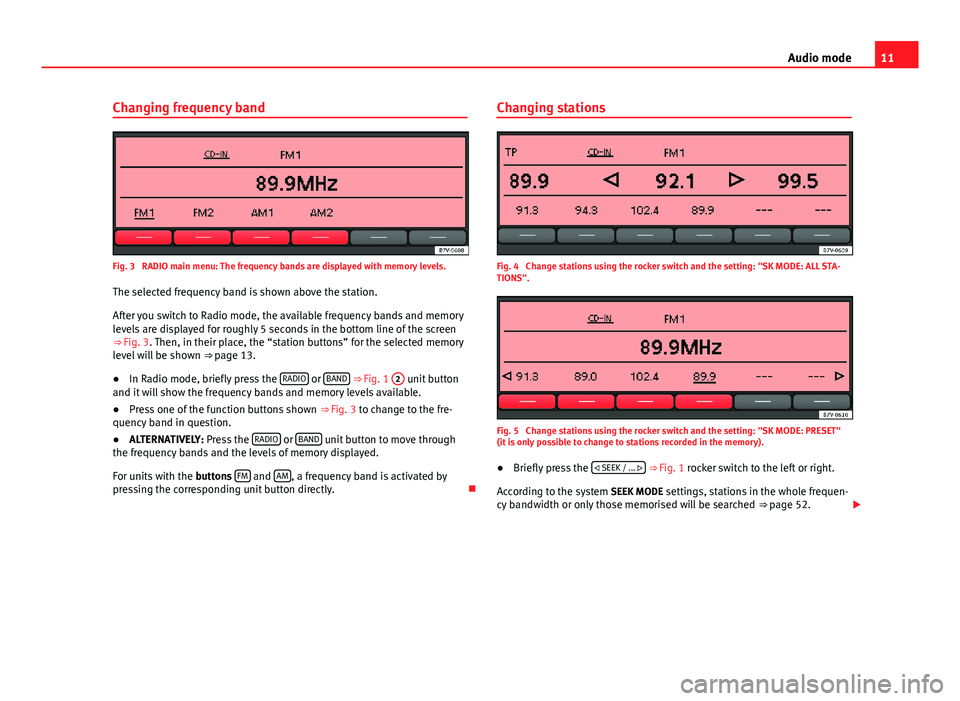
Fig. 3 RADIO main menu: The frequency bands are displayed with memory levels. The selected frequency band is shown above the station.
After you switch to Radio mode, the available frequency bands and memory
levels are displayed for roughly 5 seconds in the bottom line of the screen
⇒ Fig. 3. Then, in their place, the “station buttons” for the selected memory
level will be shown ⇒ page 13.
● In Radio mode, briefly press the RADIO
or BAND
⇒ Fig. 1 2 unit button
and it will show the frequency bands and memory levels available.
● Press one of the function buttons shown ⇒ Fig. 3 to change to the fre-
quency band in question.
● ALTERNATIVELY: Press the RADIO
or BAND unit button to move through
the frequency bands and the levels of memory displayed.
For units with the buttons FM
and AM, a frequency band is activated by
pressing the corresponding unit button directly. Changing stations
Fig. 4 Change stations using the rocker switch and the setting: "SK MODE: ALL STA-
TIONS".
Fig. 5 Change stations using the rocker switch and the setting: "SK MODE: PRESET"
(it is only possible to change to stations recorded in the memory).
● Briefly press the
SEEK / ...
⇒ Fig. 1 rocker switch to the left or right.
According to the system SEEK MODE settings, stations in the whole frequen-
cy bandwidth or only those memorised will be searched ⇒ page 52.
Page 13 of 62
12Audio mode
StatuseffectRadio mode with ... displayed in
the centre line of the screen
⇒ Fig. 4.Switches to the next available station
on the current frequency band. As you
scroll through the subsequent sta-
tions will be shown.
Radio mode with ... displayed in
the bottom line of the screen
⇒ Fig. 5.Switches to the next stored station
⇒ page 13.
Radio mode with ... displayed in
the centre line of the screen and TP
indication ⇒ Fig. 4.Switches to the next available traffic
news station ⇒ page 15.
AM mode: quickly browsing the frequency band
In AM mode it is possible to skip stations.
●Press and hold the
SEEK / ...
rocker switch.
● When the rocker switch
SEEK / ... is released a search will be per-
formed until the next tunable station is found.
Tuning to a station frequency manually
● Select the desired frequency band ⇒ page 10.
● Turn the setting knob ⇒ Fig. 1 8
until the desired station frequency
(e.g. 89.9 MHz) is displayed on the screen. Scan function (SCAN)
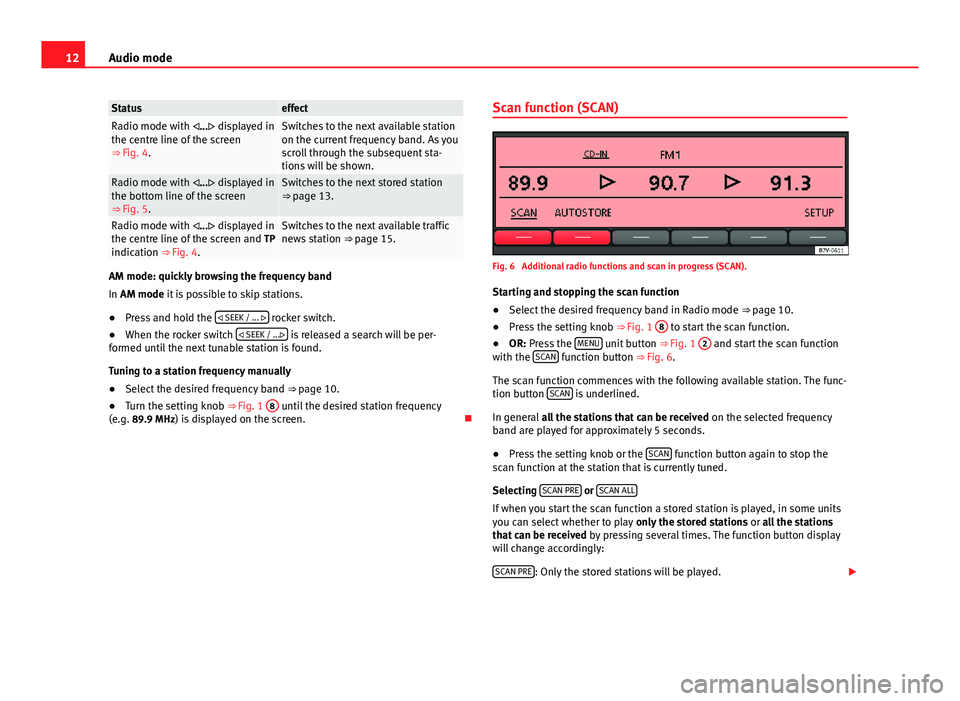
Fig. 6 Additional radio functions and scan in progress (SCAN).
Starting and stopping the scan function
● Select the desired frequency band in Radio mode ⇒ page 10.
● Press the setting knob ⇒ Fig. 1 8
to start the scan function.
● OR: Press the MENU unit button
⇒ Fig. 1 2 and start the scan function
with the SCAN function button
⇒ Fig. 6.
The scan function commences with the following available station. The func-
tion button SCAN
is underlined.
In general all the stations that can be received on the selected frequency
band are played for approximately 5 seconds.
● Press the setting knob or the SCAN
function button again to stop the
scan function at the station that is currently tuned.
Selecting SCAN PRE
or SCAN ALLIf when you start the scan function a stored station is played, in some units
you can select whether to play only the stored stations or all the stations
that can be received by pressing several times. The function button display
will change accordingly:
SCAN PRE
: Only the stored stations will be played.
Page 14 of 62
13
Audio mode
SCAN ALL
: All the stations that can be received in the selected frequency
band will be played.
Special case: Search using the
SEEK / ...
rocker switch after completing
the scan function (SCAN)
If all tunable stations have been listened to, and the scan function (SCAN)
has stopped, the search for stations using the rocker switch SEEK / ...
will,
in this case, search all tunable stations, even if the SEEK MODE function set-
ting is PRESET ⇒ page 52.
Note
If traffic news monitoring is switched on (display: TP), the scan function only
tunes to stations that support the TP function ⇒ page 15.
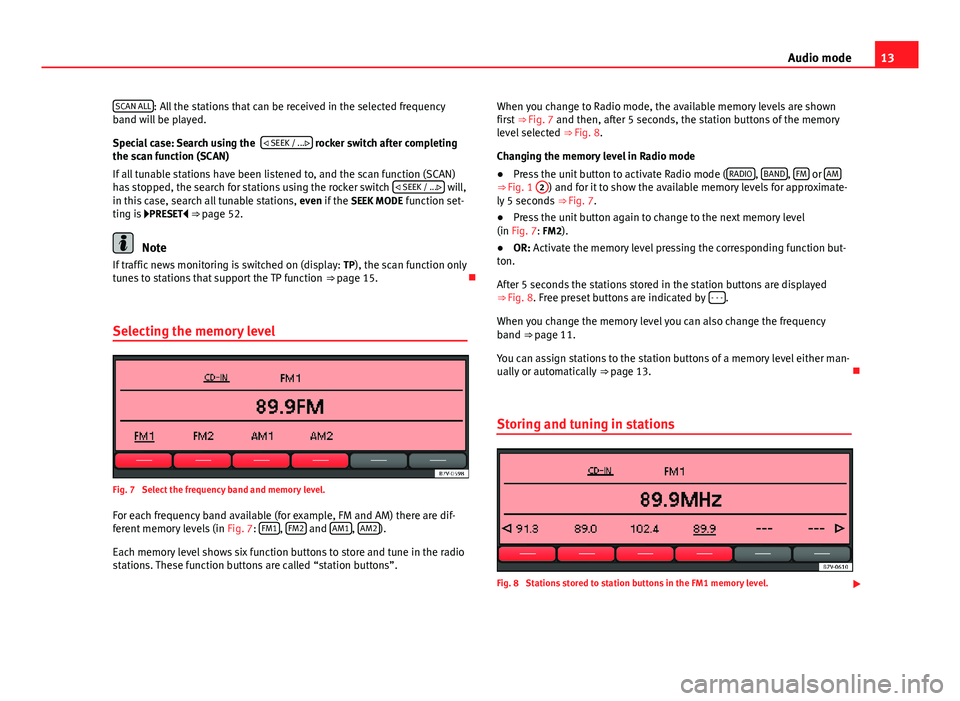
Selecting the memory level
Fig. 7 Select the frequency band and memory level.
For each frequency band available (for example, FM and AM) there are dif-
ferent memory levels (in Fig. 7: FM1
, FM2 and AM1, AM2).
Each memory level shows six function buttons to store and tune in the radio
stations. These function buttons are called “station buttons”. When you change to Radio mode, the available memory levels are shown
first ⇒ Fig. 7 and then, after 5 seconds, the station buttons of the memory
level selected ⇒ Fig. 8.
Changing the memory level in Radio mode
● Press the unit button to activate Radio mode ( RADIO
, BAND, FM or AM⇒ Fig. 1
2) and for it to show the available memory levels for approximate-
ly 5 seconds ⇒ Fig. 7.
● Press the unit button again to change to the next memory level
(in Fig. 7: FM2).
● OR: Activate the memory level pressing the corresponding function but-
ton.
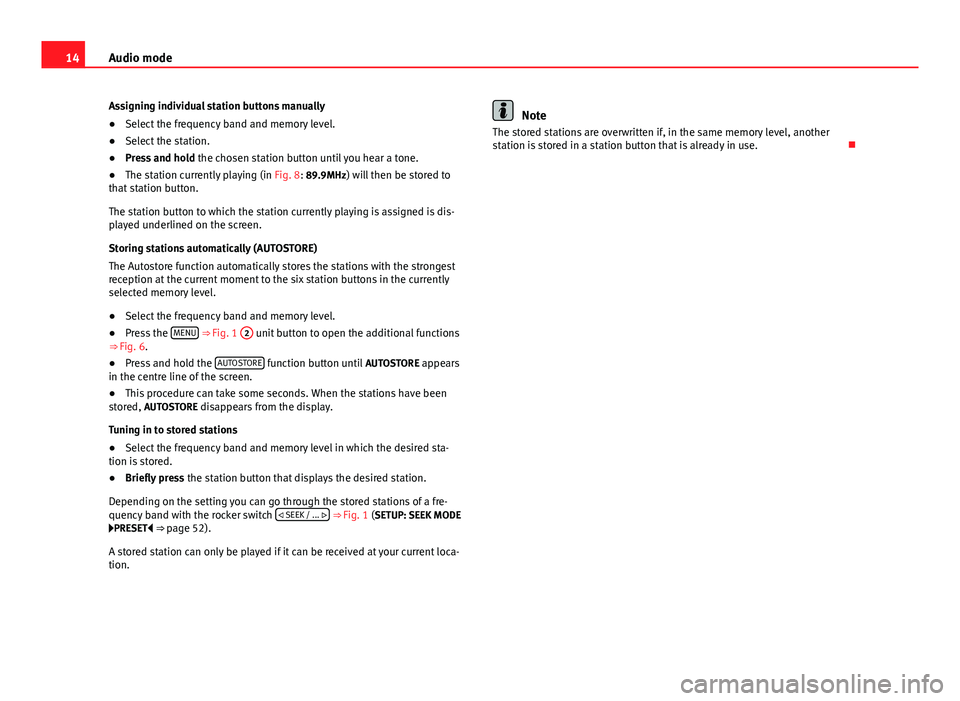
After 5 seconds the stations stored in the station buttons are displayed
⇒ Fig. 8. Free preset buttons are indicated by - - -
.
When you change the memory level you can also change the frequency
band ⇒ page 11.
You can assign stations to the station buttons of a memory level either man-
ually or automatically ⇒ page 13.
Storing and tuning in stations
Fig. 8 Stations stored to station buttons in the FM1 memory level.
Page 15 of 62
14Audio mode
Assigning individual station buttons manually
● Select the frequency band and memory level.
● Select the station.
● Press and hold the chosen station button until you hear a tone.
● The station currently playing (in Fig. 8: 89.9MHz) will then be stored to
that station button.
The station button to which the station currently playing is assigned is dis-
played underlined on the screen.
Storing stations automatically (AUTOSTORE)
The Autostore function automatically stores the stations with the strongest
reception at the current moment to the six station buttons in the currently
selected memory level.
● Select the frequency band and memory level.
● Press the MENU
⇒ Fig. 1 2 unit button to open the additional functions
⇒ Fig. 6.
● Press and hold the AUTOSTORE
function button until
AUTOSTORE appears
in the centre line of the screen.
● This procedure can take some seconds. When the stations have been
stored, AUTOSTORE disappears from the display.
Tuning in to stored stations
● Select the frequency band and memory level in which the desired sta-
tion is stored.
● Briefly press the station button that displays the desired station.
Depending on the setting you can go through the stored stations of a fre-
quency band with the rocker switch
SEEK / ...
⇒ Fig. 1 (SETUP: SEEK MODE
PRESET ⇒ page 52).
A stored station can only be played if it can be received at your current loca-
tion.
Note
The stored stations are overwritten if, in the same memory level, another
station is stored in a station button that is already in use.
Page 17 of 62
16Audio mode
TP traffic news station function (Traffic Programme)
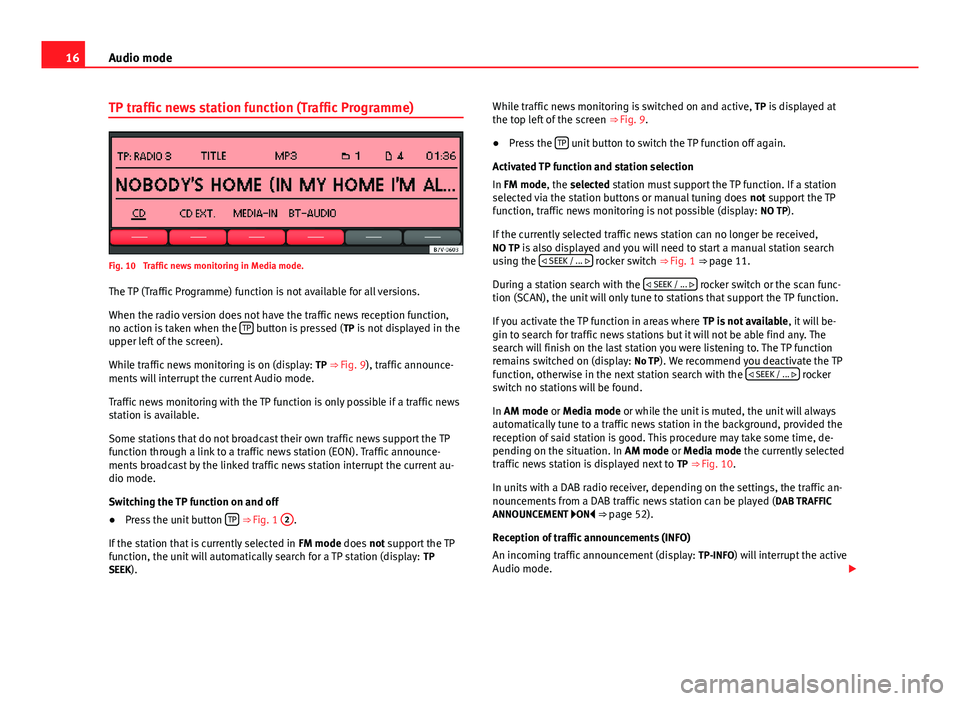
Fig. 10 Traffic news monitoring in Media mode.
The TP (Traffic Programme) function is not available for all versions.
When the radio version does not have the traffic news reception function,
no action is taken when the TP
button is pressed (
TP is not displayed in the
upper left of the screen).
While traffic news monitoring is on (display: TP ⇒ Fig. 9), traffic announce-
ments will interrupt the current Audio mode.
Traffic news monitoring with the TP function is only possible if a traffic news
station is available.
Some stations that do not broadcast their own traffic news support the TP
function through a link to a traffic news station (EON). Traffic announce-
ments broadcast by the linked traffic news station interrupt the current au-
dio mode.
Switching the TP function on and off
● Press the unit button TP
⇒ Fig. 1 2.
If the station that is currently selected in FM mode does not support the TP
function, the unit will automatically search for a TP station (display: TP
SEEK). While traffic news monitoring is switched on and active,
TP is displayed at
the top left of the screen ⇒ Fig. 9.
● Press the TP
unit button to switch the TP function off again.
Activated TP function and station selection
In FM mode, the selected station must support the TP function. If a station
selected via the station buttons or manual tuning does not support the TP
function, traffic news monitoring is not possible (display: NO TP).
If the currently selected traffic news station can no longer be received,
NO TP is also displayed and you will need to start a manual station search using the
SEEK / ...
rocker switch ⇒ Fig. 1 ⇒ page 11.
During a station search with the
SEEK / ...
rocker switch or the scan func-
tion (SCAN), the unit will only tune to stations that support the TP function.
If you activate the TP function in areas where TP is not available, it will be-
gin to search for traffic news stations but it will not be able find any. The
search will finish on the last station you were listening to. The TP function
remains switched on (display: No TP). We recommend you deactivate the TP
function, otherwise in the next station search with the
SEEK / ...
rocker
switch no stations will be found.
In AM mode or Media mode or while the unit is muted, the unit will always
automatically tune to a traffic news station in the background, provided the
reception of said station is good. This procedure may take some time, de-
pending on the situation. In AM mode or Media mode the currently selected
traffic news station is displayed next to TP ⇒ Fig. 10.
In units with a DAB radio receiver, depending on the settings, the traffic an-
nouncements from a DAB traffic news station can be played ( DAB TRAFFIC
ANNOUNCEMENT ON ⇒ page 52).
Reception of traffic announcements (INFO)
An incoming traffic announcement (display: TP-INFO) will interrupt the active
Audio mode.
Page 20 of 62
19
Audio mode
After selecting the last (or first) DAB station in the current ensemble, the
unit changes to the first (or last) DAB station in the next ensemble.
According to the SEEK MODE system settings, you can only change to the
stored stations ⇒ page 52.
Changing the set of stations
● Briefly press the ENS / ...
rocker switch ⇒ Fig. 1
9 to the left or right.
If the location is changed, the list of stations should be updated ( UPDATE)
so that the radio does not search for the groups available in the previous
location in the wrong channel ⇒ page 20.
Changing DAB frequency band channels by hand
● Turn the settings knob ⇒ Fig. 1 8
.
The channel selected is displayed in the centre of the screen. If a DAB group
is broadcast on the channel selected, its name will be displayed at the top
right of the screen and the first DAB station of the group will be played.
Scan function (SCAN) and Autostore
The operating and handling of these additional functions is the same as
that described for FM and AM Radio mode ⇒ page 10.
Note
If the data of a channel has been tuned in cannot be decoded, No Audio will
be displayed after the name of the group. The DAB stations of a group of
this kind cannot be played. Function only available in Europe
Selecting additional DAB stations
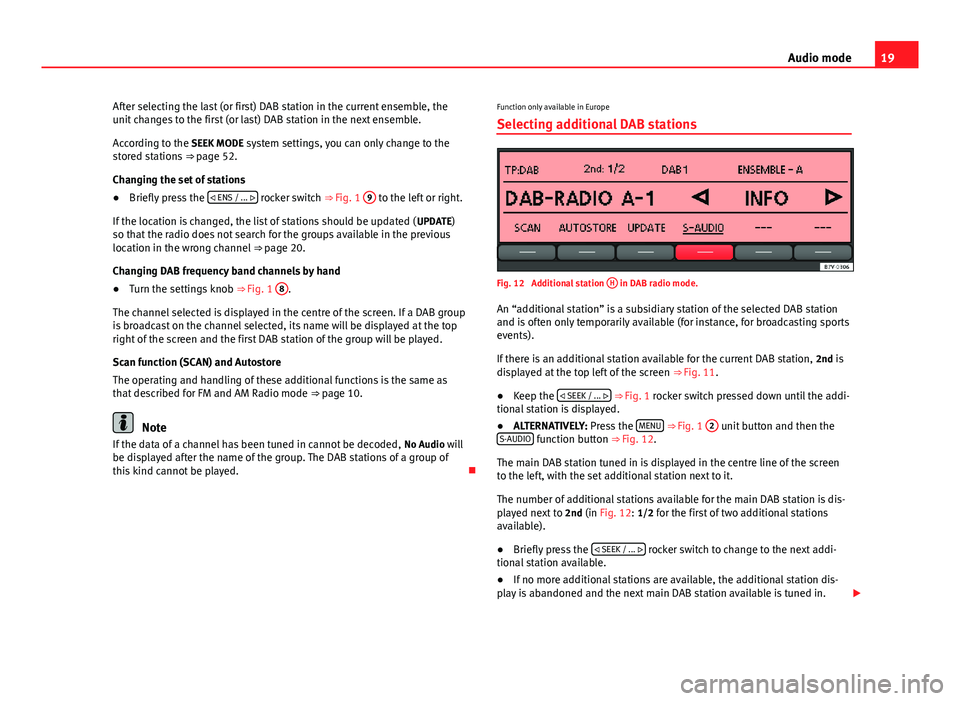
Fig. 12 Additional station H in DAB radio mode.
An “additional station” is a subsidiary station of the selected DAB station
and is often only temporarily available (for instance, for broadcasting sports
events).
If there is an additional station available for the current DAB station, 2nd is
displayed at the top left of the screen ⇒ Fig. 11.
● Keep the
SEEK / ...
⇒ Fig. 1 rocker switch pressed down until the addi-
tional station is displayed.
● ALTERNATIVELY: Press the MENU
⇒ Fig. 1 2 unit button and then the
S-AUDIO function button ⇒ Fig. 12.
The main DAB station tuned in is displayed in the centre line of the screen
to the left, with the set additional station next to it.
The number of additional stations available for the main DAB station is dis-
played next to 2nd (in Fig. 12: 1/2 for the first of two additional stations
available).
● Briefly press the
SEEK / ...
rocker switch to change to the next addi-
tional station available.
● If no more additional stations are available, the additional station dis-
play is abandoned and the next main DAB station available is tuned in.
Page 23 of 62
22Audio mode
Restrictions and notes
Contamination, exposure to high temperatures and mechanical damage can
render a data medium unusable. Please observe the manufacturer's instruc-
tions.
Variations in the quality of data media produced by different manufacturers
may lead to problems during playback.
Please observe copyright laws.
CDs recorded in UDF or Direct CD format cannot be played. Under Windows
Vista ®
ensure that the correct format is selected.
The unit may be unable to read individual tracks or the entire data medium
due to the data medium configuration or the devices and programs used for
recording. Compatibility with all encoding/recording software, recording de-
vices and recording media cannot be guaranteed. Incompatible USB devi-
ces can make noise, interrupt playback or not playback at all. Information
about the best ways to create audio files and data media (compression
rate, ID3 tag etc.) can be found on the Internet.
Due to the larger quantity of data, it takes longer to read a data medium
containing compressed audio files (MP3, WMA etc.) than a “normal” audio
CD. Complex folder structures can also slow down the reading of a data me-
dium.
Playlists only determine a certain playing order. There are no files stored in
a playlist. The unit will not play a playlist if the files are not stored on the
data medium at the locations referred to by the playlist (relative file paths). Playing order for audio data CDs
Fig. 14 Example of an MP3 CD structure.
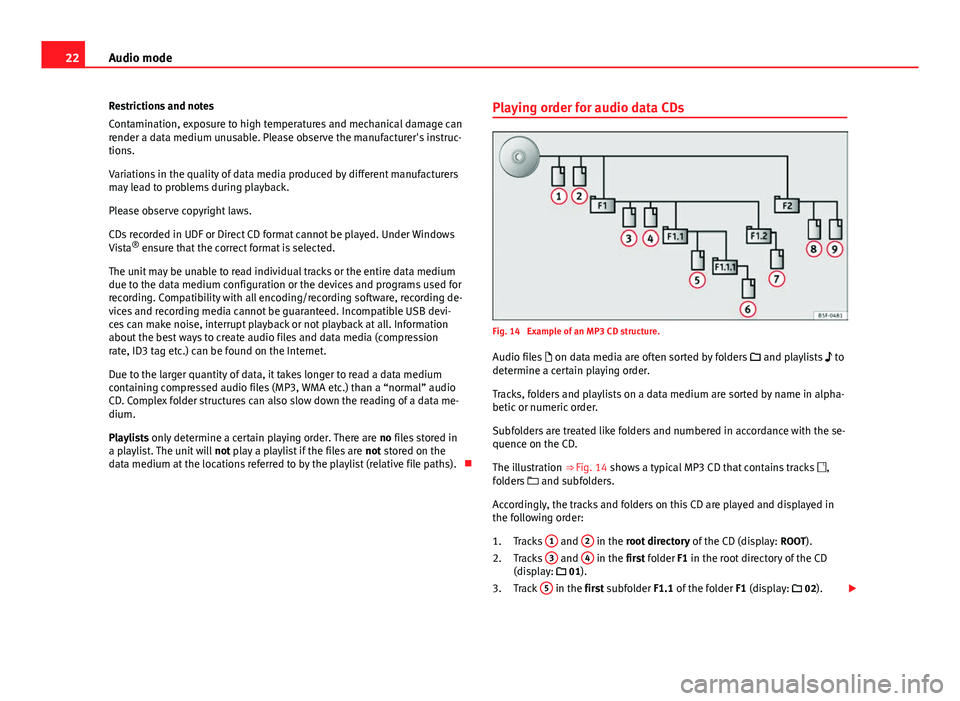
Audio files on data media are often sorted by folders and playlists
to
determine a certain playing order.
Tracks, folders and playlists on a data medium are sorted by name in alpha-
betic or numeric order.
Subfolders are treated like folders and numbered in accordance with the se-
quence on the CD.
The illustration ⇒ Fig. 14 shows a typical MP3 CD that contains tracks
,
folders and subfolders.
Accordingly, the tracks and folders on this CD are played and displayed in
the following order: Tracks 1
and 2 in the root directory
of the CD (display: ROOT).
Tracks 3 and 4 in the first folder F1 in the root directory of the CD
(display: 01).
Track 5
in the first subfolder F1.1 of the folder
F1 (display: 02).
1.
2.
3.
Page 24 of 62
23
Audio mode
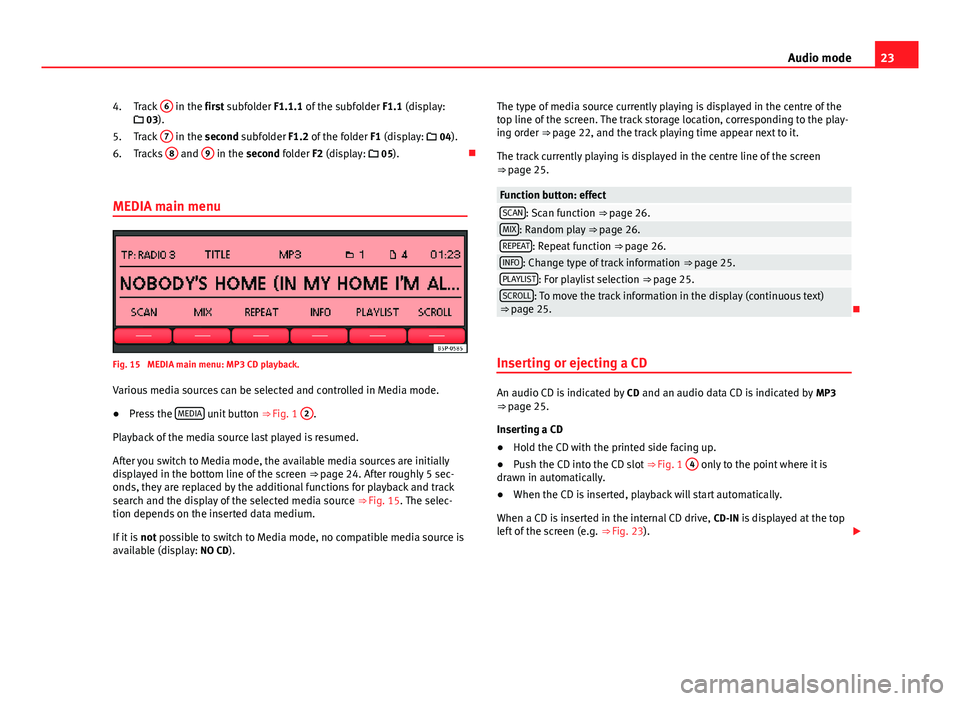
Track 6
in the first subfolder F1.1.1 of the subfolder
F1.1 (display:
03).
Track 7
in the second subfolder F1.2 of the folder
F1 (display: 04).
Tracks 8 and 9 in the second folder F2 (display:
05).
MEDIA main menu
Fig. 15 MEDIA main menu: MP3 CD playback. Various media sources can be selected and controlled in Media mode.
● Press the MEDIA
unit button
⇒ Fig. 1 2.
Playback of the media source last played is resumed.
After you switch to Media mode, the available media sources are initially
displayed in the bottom line of the screen ⇒ page 24. After roughly 5 sec-
onds, they are replaced by the additional functions for playback and track
search and the display of the selected media source ⇒ Fig. 15. The selec-
tion depends on the inserted data medium.
If it is not possible to switch to Media mode, no compatible media source is
available (display: NO CD). 4.
5.
6.
The type of media source currently playing is displayed in the centre of the
top line of the screen. The track storage location, corresponding to the play-
ing order ⇒ page 22, and the track playing time appear next to it.
The track currently playing is displayed in the centre line of the screen
⇒ page 25.
Function button: effectSCAN: Scan function ⇒ page 26.MIX: Random play ⇒ page 26.REPEAT: Repeat function ⇒ page 26.INFO: Change type of track information ⇒ page 25.PLAYLIST: For playlist selection ⇒ page 25.SCROLL: To move the track information in the display (continuous text)
⇒ page 25.
Inserting or ejecting a CD
An audio CD is indicated by CD and an audio data CD is indicated by MP3
⇒ page 25.
Inserting a CD
● Hold the CD with the printed side facing up.
● Push the CD into the CD slot ⇒ Fig. 1 4
only to the point where it is
drawn in automatically.
● When the CD is inserted, playback will start automatically.
When a CD is inserted in the internal CD drive, CD-IN is displayed at the top
left of the screen (e.g. ⇒ Fig. 23).