buttons Seat Toledo 2014 SOUND SYSTEM 1.X
[x] Cancel search | Manufacturer: SEAT, Model Year: 2014, Model line: Toledo, Model: Seat Toledo 2014Pages: 37, PDF Size: 0.78 MB
Page 8 of 37
7
Introduction
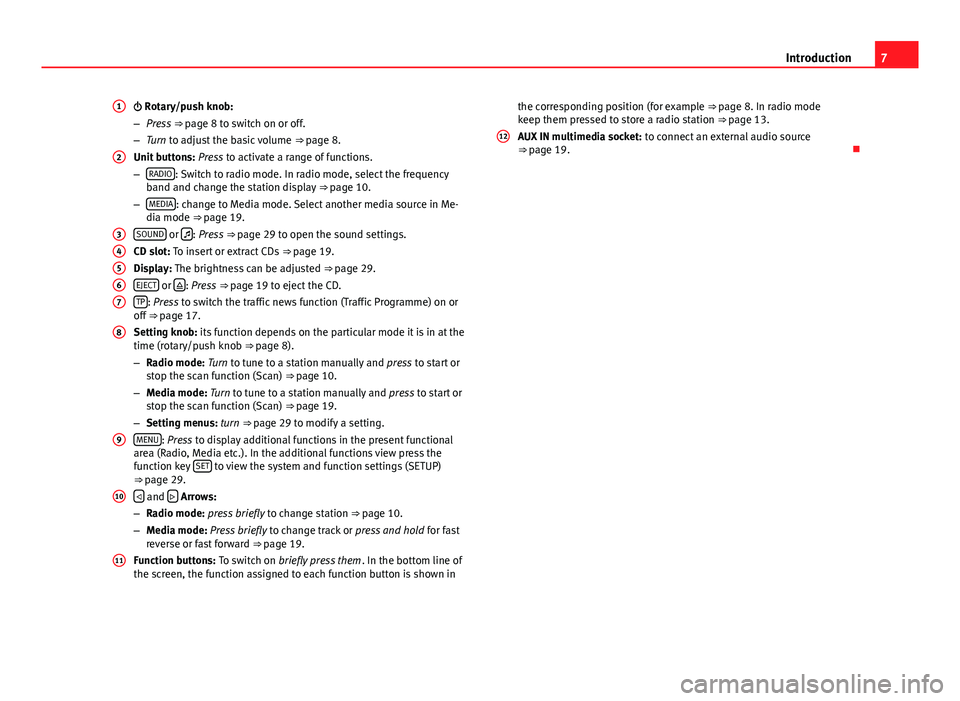
Rotary/push knob:
– Press ⇒ page 8 to switch on or off.
– Turn to adjust the basic volume ⇒ page 8.
Unit buttons: Press to activate a range of functions.
– RADIO
: Switch to radio mode. In radio mode, select the frequency
band and change the station display ⇒ page 10.
– MEDIA
: change to Media mode. Select another media source in Me-
dia mode ⇒ page 19.
SOUND
or : Press ⇒ page 29 to open the sound settings.
CD slot: To insert or extract CDs ⇒ page 19.
Display: The brightness can be adjusted ⇒ page 29.
EJECT
or : Press
⇒ page 19 to eject the CD.
TP: Press to switch the traffic news function (Traffic Programme) on or
off ⇒ page 17.
Setting knob: its function depends on the particular mode it is in at the
time (rotary/push knob ⇒ page 8).
– Radio mode: Turn to tune to a station manually and press to start or
stop the scan function (Scan) ⇒ page 10.
– Media mode: Turn to tune to a station manually and press to start or
stop the scan function (Scan) ⇒ page 19.
– Setting menus: turn ⇒ page 29 to modify a setting.
MENU
: Press to display additional functions in the present functional
area (Radio, Media etc.). In the additional functions view press the
function key SET
to view the system and function settings (SETUP)
⇒ page 29.
and Arrows:
– Radio mode: press briefly to change station ⇒ page 10.
– Media mode: Press briefly to change track or press and hold for fast
reverse or fast forward ⇒ page 19.
Function buttons: To switch on briefly press them . In the bottom line of
the screen, the function assigned to each function button is shown in
1
2
34567
8
9
10
11
the corresponding position (for example ⇒ page 8. In radio mode
keep them pressed to store a radio station ⇒ page 13.
AUX IN multimedia socket: to connect an external audio source
⇒ page 19.
12
Page 9 of 37
8Introduction
General information on operating the unit
Introduction
Additional displays
Depending on the vehicle specification, changes to air conditioning set-
tings or information on factory-fitted driver assistance systems may be dis-
played temporarily on the screen. These displays disappear automatically
when they are no longer required.
All displays appear only after a complete restart of the radio system.
Additional information and warnings:
● Safety notes ⇒ page 4
● Unit overview ⇒ page 6
Note
In order to operate the unit you only need to push the button lightly.
Note
Due to legal requirements specific to each country, when certain speeds are
exceeded some functions are no longer available.
Note
Using a mobile telephone inside the vehicle can result in noise in the
speakers.
Note
In some vehicles equipped with a parking distance warning system, the vol-
ume of the audio source is automatically lowered when reverse gear is en-
gaged. Rotary/push knobs, unit and function buttons
Overview
●
Rotary/push knobs.
● Labelled unit buttons (hard keys).
● Function buttons (soft keys).
Rotary/push knobs
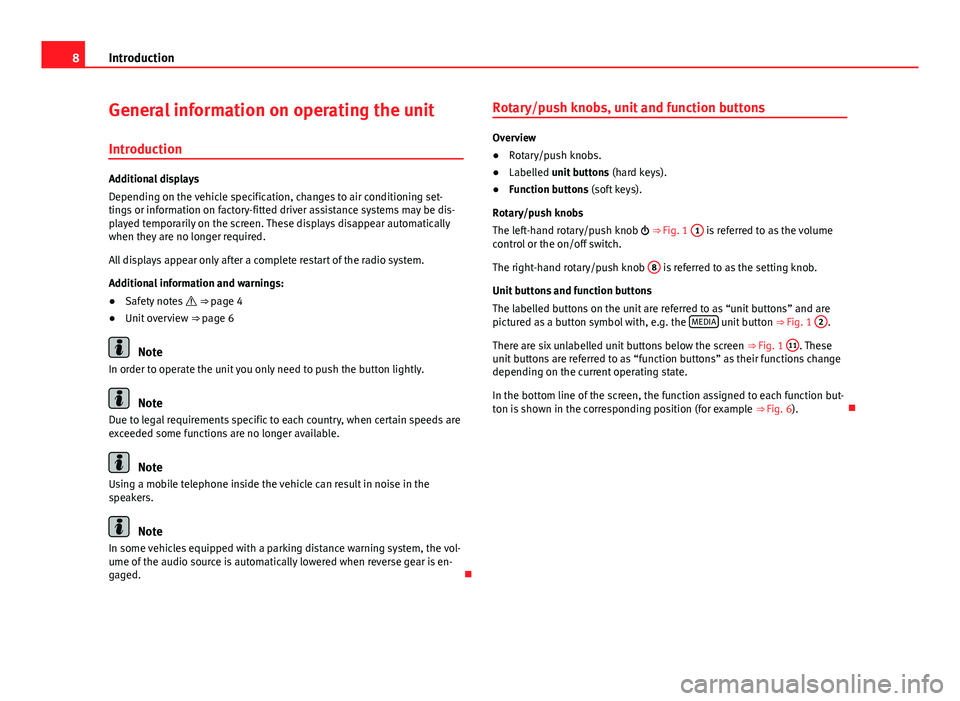
The left-hand rotary/push knob ⇒ Fig. 1 1
is referred to as the volume
control or the on/off switch.
The right-hand rotary/push knob 8
is referred to as the setting knob.
Unit buttons and function buttons
The labelled buttons on the unit are referred to as “unit buttons” and are
pictured as a button symbol with, e.g. the MEDIA
unit button
⇒ Fig. 1 2.
There are six unlabelled unit buttons below the screen ⇒ Fig. 1 11
. These
unit buttons are referred to as “function buttons” as their functions change
depending on the current operating state.
In the bottom line of the screen, the function assigned to each function but-
ton is shown in the corresponding position (for example ⇒ Fig. 6).
Page 11 of 37
10Audio mode
Audio mode
Radio mode Introduction
The various versions of the radio system will be distributed depending on
the country and the unit. In the unit overview the possible variations of the
unit are described ⇒ page 6.
Additional information and warnings:
● Safety notes ⇒ page 4
● Unit overview ⇒ page 6
● Basic information on use ⇒ page 8
● System and function settings (SETUP) ⇒ page 30
Note
Multi-storey car parks, tunnels, high buildings and mountains can impair ra-
dio signals.
Note
Foil or metal-coated stickers attached to the windows may affect reception
on vehicles with a window aerial. RADIO main menu
Fig. 2 RADIO main
menu: Selecting a
memory level and fre-
quency band.
Fig. 3 RADIO main
menu: Station buttons
displayed.
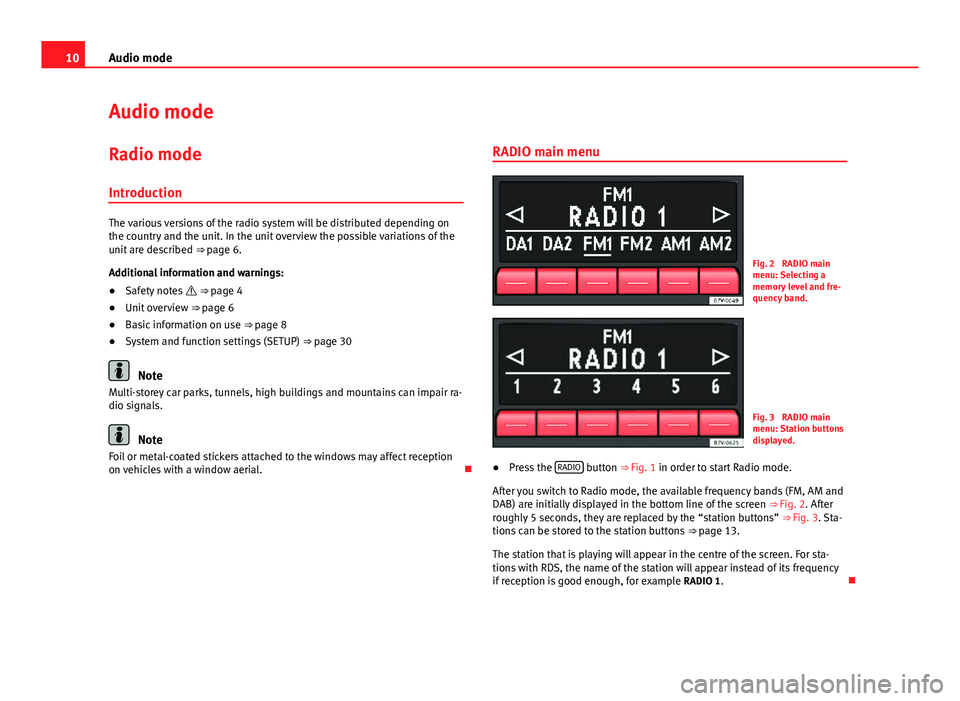
● Press the RADIO
button
⇒ Fig. 1 in order to start Radio mode.
After you switch to Radio mode, the available frequency bands (FM, AM and
DAB) are initially displayed in the bottom line of the screen ⇒ Fig. 2. After
roughly 5 seconds, they are replaced by the “station buttons” ⇒ Fig. 3. Sta-
tions can be stored to the station buttons ⇒ page 13.
The station that is playing will appear in the centre of the screen. For sta-
tions with RDS, the name of the station will appear instead of its frequency
if reception is good enough, for example RADIO 1.
Page 12 of 37
11
Audio mode
RDS and automatic station tracking (only in FM)
RDS is a radio data service which makes it possible to receive additional
services such as the display of station names, automatic station tracking
(AF) and the TP function (Traffic Program ⇒ page 17).
With automatic station tracking, when the vehicle is in motion the station
always changes to the frequency with the best reception in that moment. If
the reception is poor, the unit may be muted for a short time as it searches
for alternative frequencies (AF).
RDS does not exist everywhere nor is it available for all stations.
Depending on the country and the unit, it is possible that the RDS and the
alternative frequencies (AF) are deactivated ⇒ page 30.
Changing frequency band
The currently selected frequency band (FM or AM) is indicated above the
station display.
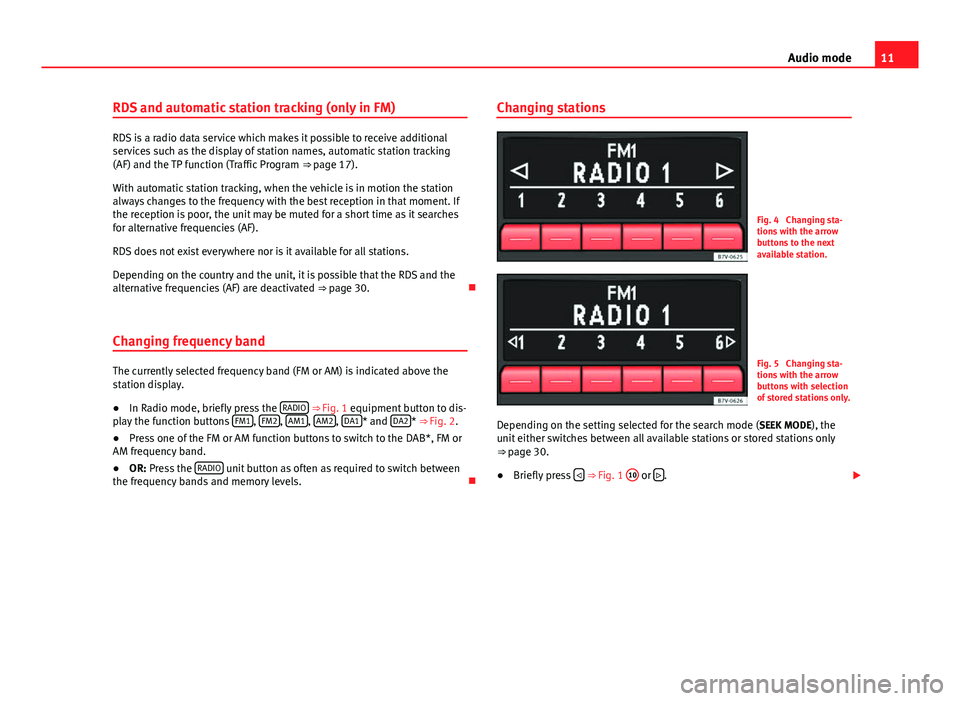
● In Radio mode, briefly press the RADIO
⇒ Fig. 1 equipment button to dis-
play the function buttons FM1, FM2, AM1, AM2, DA1* and DA2*
⇒ Fig. 2.
● Press one of the FM or AM function buttons to switch to the DAB*, FM or
AM frequency band.
● OR: Press the RADIO
unit button as often as required to switch between
the frequency bands and memory levels. Changing stations
Fig. 4 Changing sta-
tions with the arrow
buttons to the next
available station.
Fig. 5 Changing sta-
tions with the arrow
buttons with selection
of stored stations only.
Depending on the setting selected for the search mode (SEEK MODE), the
unit either switches between all available stations or stored stations only
⇒ page 30.
● Briefly press
⇒ Fig. 1 10 or
.
Page 13 of 37
12Audio mode
StatusEffectRadio mode with ... displayed in
the centre line of the screen
⇒ Fig. 4.Switches to the next available station
on the current frequency band.
Radio mode with ... displayed in
the bottom line of the screen
⇒ Fig. 5.Switches to the next stored station
⇒ page 13.
Radio mode with ... displayed in
the centre line of the screen and TP
indication.Switches to the next available TP traf-
fic news station ⇒ page 17.
Tuning to a station frequency manually in FM and AM mode
● Select the desired frequency band ⇒ page 10.
● Turn the setting knob ⇒ Fig. 1 8
until the desired station frequency
(e.g. 89.9 MHz) is displayed on the screen.
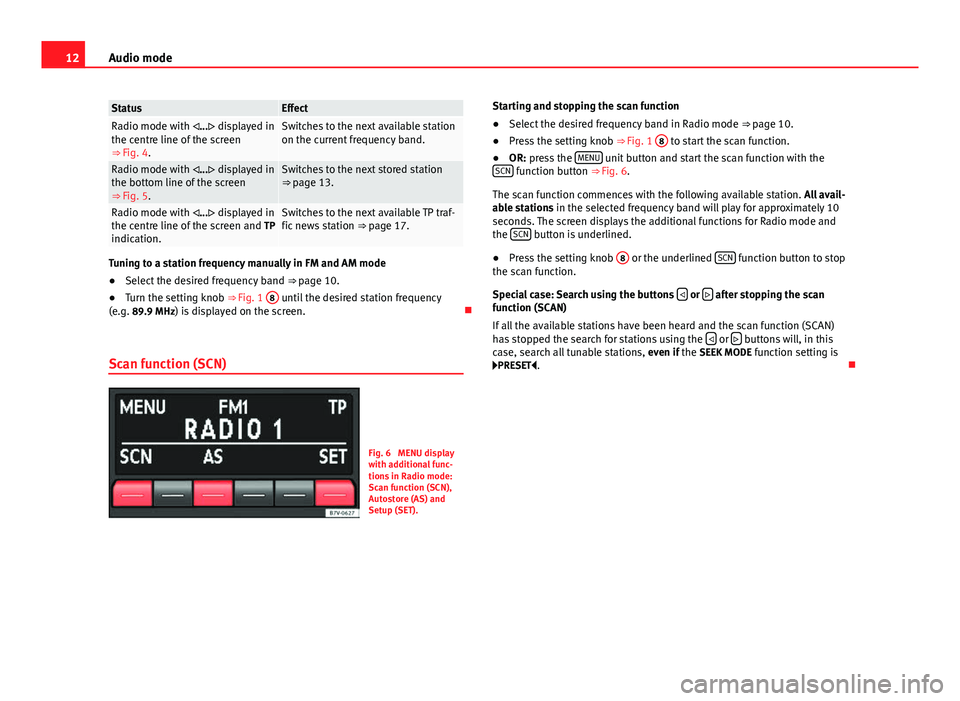
Scan function (SCN)
Fig. 6 MENU display
with additional func-
tions in Radio mode:
Scan function (SCN),
Autostore (AS) and
Setup (SET). Starting and stopping the scan function
●
Select the desired frequency band in Radio mode ⇒ page 10.
● Press the setting knob ⇒ Fig. 1 8
to start the scan function.
● OR: press the MENU unit button and start the scan function with the
SCN function button ⇒ Fig. 6.
The scan function commences with the following available station. All avail-
able stations in the selected frequency band will play for approximately 10
seconds. The screen displays the additional functions for Radio mode and
the SCN
button is underlined.
● Press the setting knob 8
or the underlined SCN function button to stop
the scan function.
Special case: Search using the buttons
or after stopping the scan
function (SCAN)
If all the available stations have been heard and the scan function (SCAN)
has stopped the search for stations using the
or buttons will, in this
case, search all tunable stations, even if the SEEK MODE function setting is
PRESET .
Page 14 of 37
13
Audio mode
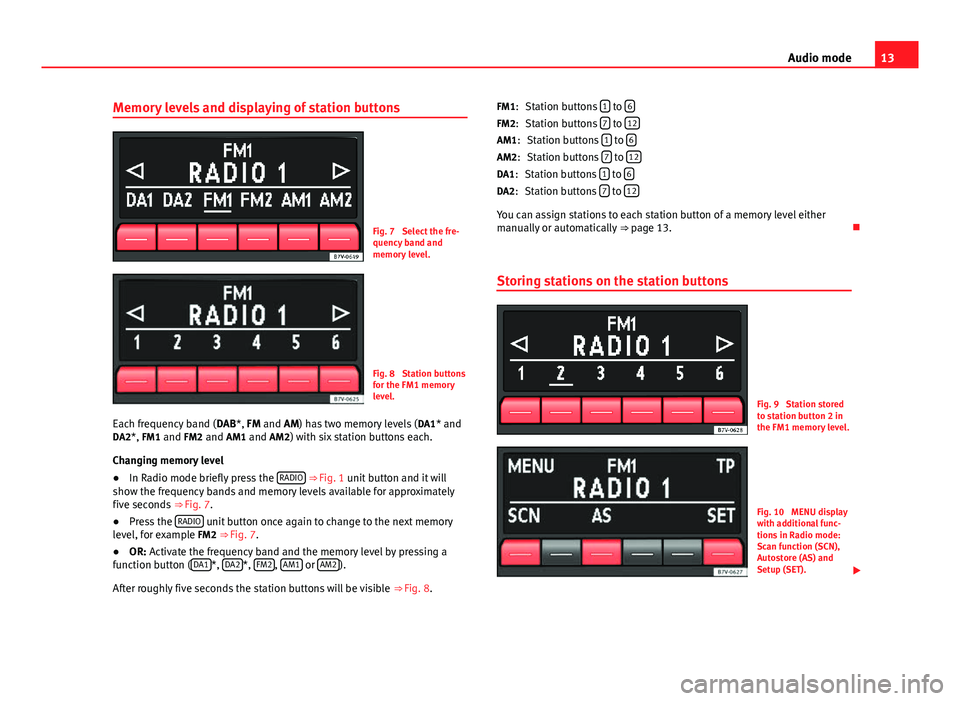
Memory levels and displaying of station buttons
Fig. 7 Select the fre-
quency band and
memory level.
Fig. 8 Station buttons
for the FM1 memory
level.
Each frequency band ( DAB*, FM and AM) has two memory levels ( DA1* and
DA2*, FM1 and FM2 and AM1 and AM2) with six station buttons each.
Changing memory level
● In Radio mode briefly press the RADIO
⇒ Fig. 1 unit button and it will
show the frequency bands and memory levels available for approximately
five seconds ⇒ Fig. 7.
● Press the RADIO
unit button once again to change to the next memory
level, for example FM2 ⇒ Fig. 7.
● OR: Activate the frequency band and the memory level by pressing a
function button ( DA1
*, DA2*, FM2, AM1 or AM2).
After roughly five seconds the station buttons will be visible ⇒ Fig. 8. Station buttons
1
to 6Station buttons 7 to 12Station buttons 1 to 6Station buttons 7 to 12Station buttons 1 to 6Station buttons 7 to 12
You can assign stations to each station button of a memory level either
manually or automatically
⇒ page 13.
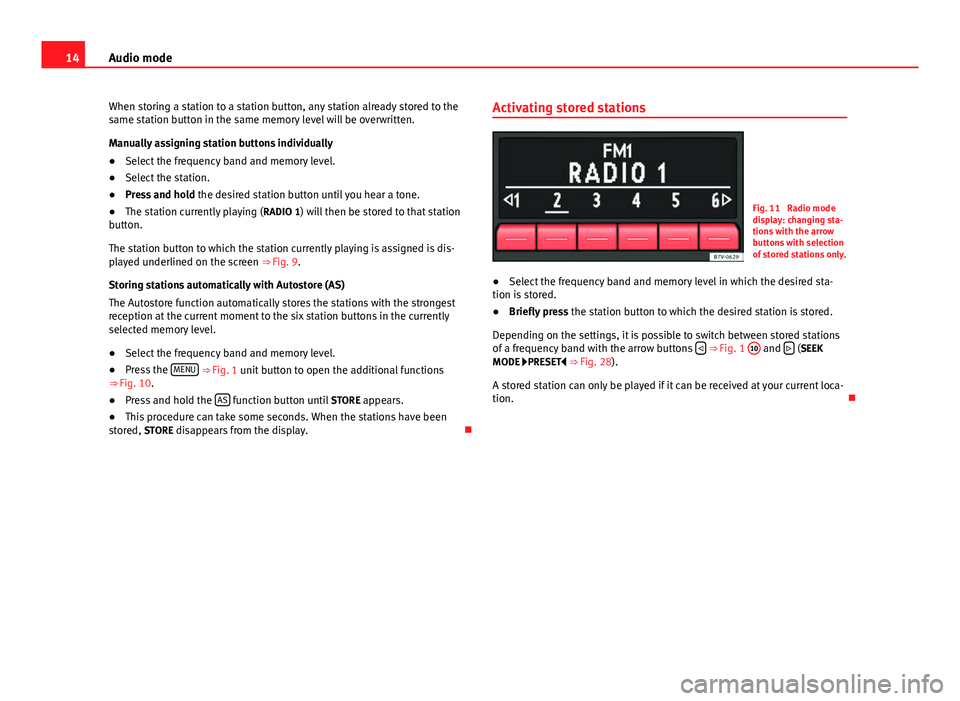
Storing stations on the station buttons
Fig. 9 Station stored
to station button 2 in
the FM1 memory level.
Fig. 10 MENU display
with additional func-
tions in Radio mode:
Scan function (SCN),
Autostore (AS) and
Setup (SET).
FM1:
FM2:
AM1: AM2:
DA1: DA2:
Page 15 of 37
14Audio mode
When storing a station to a station button, any station already stored to the
same station button in the same memory level will be overwritten.
Manually assigning station buttons individually
● Select the frequency band and memory level.
● Select the station.
● Press and hold the desired station button until you hear a tone.
● The station currently playing ( RADIO 1) will then be stored to that station
button.
The station button to which the station currently playing is assigned is dis-
played underlined on the screen ⇒ Fig. 9.
Storing stations automatically with Autostore (AS)
The Autostore function automatically stores the stations with the strongest
reception at the current moment to the six station buttons in the currently
selected memory level.
● Select the frequency band and memory level.
● Press the MENU
⇒ Fig. 1 unit button to open the additional functions
⇒ Fig. 10.
● Press and hold the AS
function button until
STORE appears.
● This procedure can take some seconds. When the stations have been
stored, STORE disappears from the display. Activating stored stations
Fig. 11 Radio mode
display: changing sta-
tions with the arrow
buttons with selection
of stored stations only.
● Select the frequency band and memory level in which the desired sta-
tion is stored.
● Briefly press the station button to which the desired station is stored.
Depending on the settings, it is possible to switch between stored stations
of a frequency band with the arrow buttons
⇒ Fig. 1 10 and
(SEEK
MODE PRESET
⇒ Fig. 28).
A stored station can only be played if it can be received at your current loca-
tion.
Page 17 of 37
16Audio mode
If the reception of the selected DAB station is lost and the station cannot be
found on the FM frequency band, the radio will be muted.
Starting station update (UPDATE)
During the station update, the unit scans the groups of stations currently
available in the location and saves their position to make it easier to switch
among available groups using the arrow buttons
or .
● Press the MENU
⇒ Fig. 1 unit button in Radio mode.
● Press the UPD unit button to update the stations. The top line of the dis-
play will show UPDATE as the channel, whereas the international IDs are
shown in the centre line (e.g. “11B”).
● The station update ends when UPDATE is no longer shown in the top line
of the display.
The radio will be muted during station update. The update can take a few
seconds.
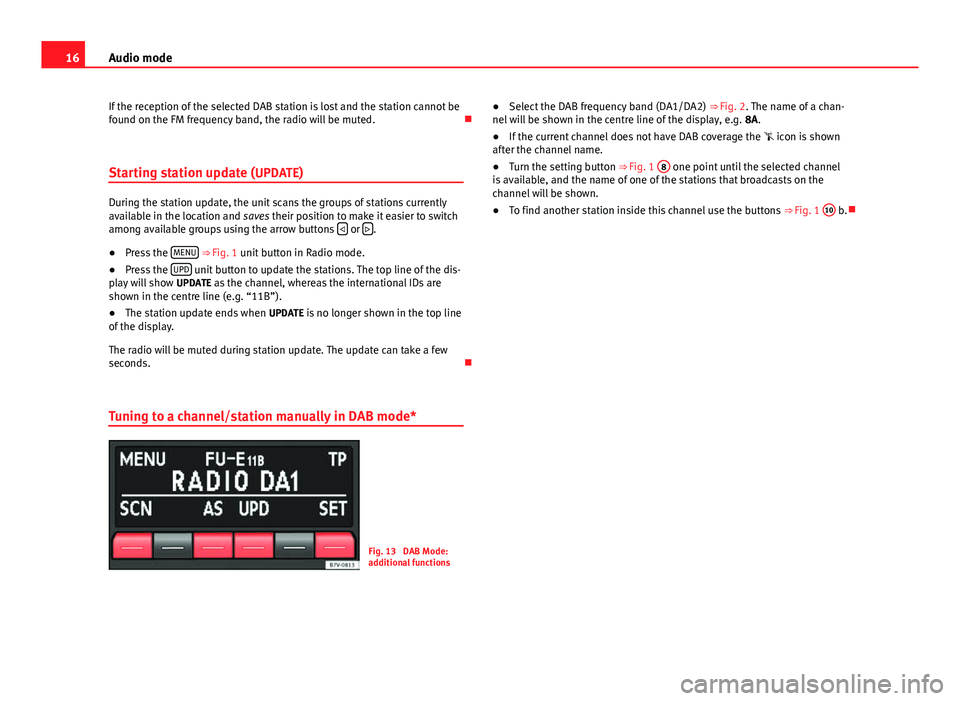
Tuning to a channel/station manually in DAB mode*
Fig. 13 DAB Mode:
additional functions ●
Select the DAB frequency band (DA1/DA2) ⇒ Fig. 2. The name of a chan-
nel will be shown in the centre line of the display, e.g. 8A.
● If the current channel does not have DAB coverage the icon is shown
after the channel name.
● Turn the setting button ⇒ Fig. 1 8
one point until the selected channel
is available, and the name of one of the stations that broadcasts on the
channel will be shown.
● To find another station inside this channel use the buttons ⇒ Fig. 1 10
b.
Page 18 of 37
17
Audio mode
TP (Traffic Program) function
Introduction
The TP function is an RDS radio data service.
While traffic news monitoring is on (display: TP), traffic announcements will
interrupt the current Audio mode.
On the AM frequency band, traffic news monitoring is not possible.
Additional information and warnings:
● Safety notes ⇒ page 4
● Unit overview ⇒ page 6
● Basic information on use ⇒ page 8
● Radio mode ⇒ page 10
Monitoring traffic news stations using the TP function
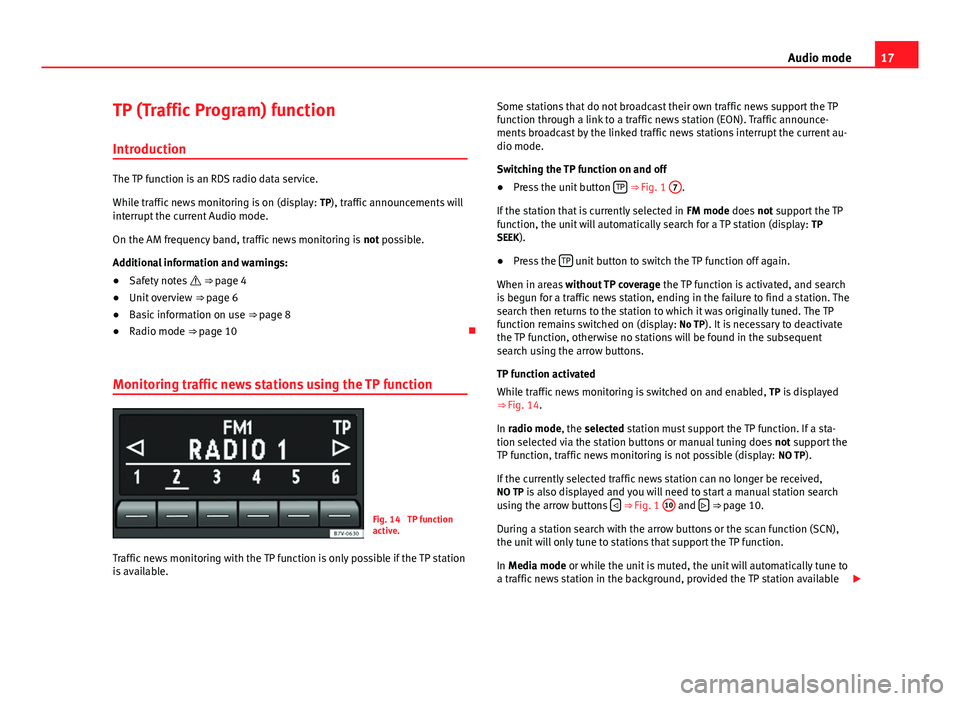
Fig. 14 TP function
active.
Traffic news monitoring with the TP function is only possible if the TP station
is available. Some stations that do not broadcast their own traffic news support the TP
function through a link to a traffic news station (EON). Traffic announce-
ments broadcast by the linked traffic news stations interrupt the current au-
dio mode.
Switching the TP function on and off
● Press the unit button TP
⇒ Fig. 1
7.
If the station that is currently selected in FM mode does not support the TP
function, the unit will automatically search for a TP station (display: TP
SEEK).
● Press the TP
unit button to switch the TP function off again.
When in areas without TP coverage the TP function is activated, and search
is begun for a traffic news station, ending in the failure to find a station. The
search then returns to the station to which it was originally tuned. The TP
function remains switched on (display: No TP). It is necessary to deactivate
the TP function, otherwise no stations will be found in the subsequent
search using the arrow buttons.
TP function activated
While traffic news monitoring is switched on and enabled, TP is displayed
⇒ Fig. 14.
In radio mode, the selected station must support the TP function. If a sta-
tion selected via the station buttons or manual tuning does not support the
TP function, traffic news monitoring is not possible (display: NO TP).
If the currently selected traffic news station can no longer be received,
NO TP is also displayed and you will need to start a manual station search
using the arrow buttons
⇒ Fig. 1 10 and
⇒ page 10.
During a station search with the arrow buttons or the scan function (SCN),
the unit will only tune to stations that support the TP function.
In Media mode or while the unit is muted, the unit will automatically tune to
a traffic news station in the background, provided the TP station available
Page 25 of 37
24Audio mode
Changing track manually
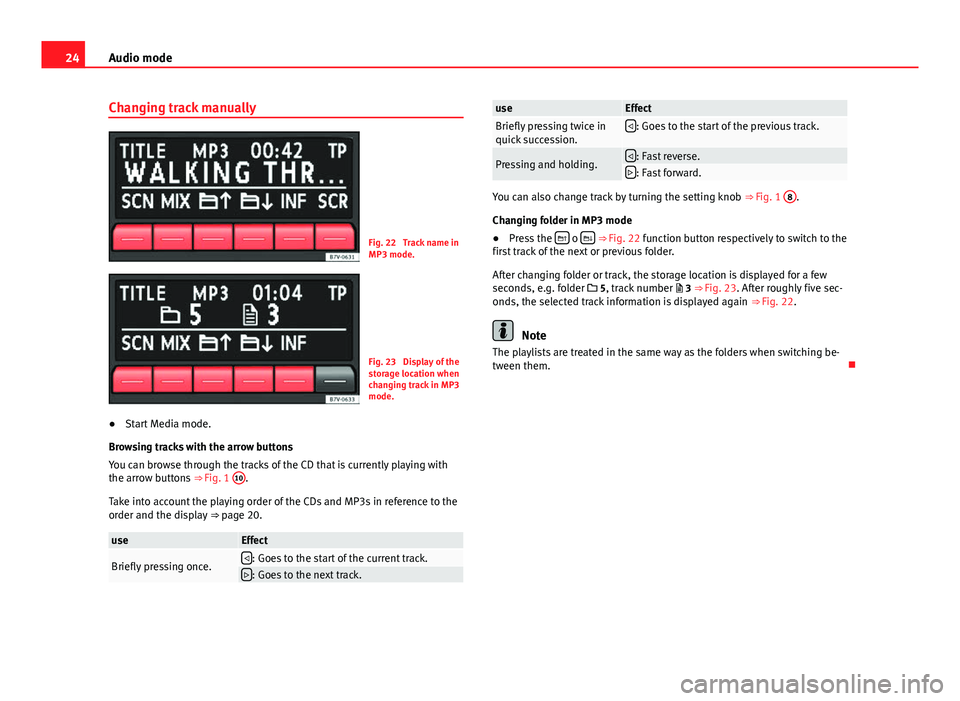
Fig. 22 Track name in
MP3 mode.
Fig. 23 Display of the
storage location when
changing track in MP3
mode.
● Start Media mode.
Browsing tracks with the arrow buttons
You can browse through the tracks of the CD that is currently playing with
the arrow buttons ⇒ Fig. 1 10
.
Take into account the playing order of the CDs and MP3s in reference to the
order and the display ⇒ page 20.
useEffect
Briefly pressing once.: Goes to the start of the current track.: Goes to the next track.
useEffectBriefly pressing twice in
quick succession.: Goes to the start of the previous track.
Pressing and holding.: Fast reverse.: Fast forward.
You can also change track by turning the setting knob ⇒ Fig. 1 8.
Changing folder in MP3 mode
● Press the
o ⇒ Fig. 22 function button respectively to switch to the
first track of the next or previous folder.
After changing folder or track, the storage location is displayed for a few
seconds, e.g. folder 5, track number 3 ⇒ Fig. 23. After roughly five sec-
onds, the selected track information is displayed again ⇒ Fig. 22.
Note
The playlists are treated in the same way as the folders when switching be-
tween them.