engine overheat SKODA CITIGO 2015 1.G Owner's Manual
[x] Cancel search | Manufacturer: SKODA, Model Year: 2015, Model line: CITIGO, Model: SKODA CITIGO 2015 1.GPages: 160, PDF Size: 23.1 MB
Page 37 of 160

At a speed of more than approximately 20 km/h the warning light flashes
and an audible warning sounds at a time.
The warning signal is switched of and the
indicator light is permanently lit if
the driver and front passenger have not fastened their seat belts within the
next 90 seconds.
Alternator
Read and observe
on page 34 first.
illuminates - the battery is not being charged whilst the engine is running.
Seek help from a specialist garage.
CAUTION
If in addition to the symbol the symbol » page 35 illuminates while driv-
ing, stop driving - risk of engine damage! Switch off the engine and seek as-
sistance from a specialist garage.
Engine oil pressure too low
Read and observe
on page 34 first.
lights up or flashes - the engine oil pressure is too low.
An audible signal sounds as a warning.
›
Stop the vehicle, switch off the engine, and check the engine oil level
» page 109 , Checking the oil level .
If the warning light illuminates or flashes, do not drive any further, even if
the oil level is correct! Switch off the engine and seek assistance from a spe-
cialist garage.
CAUTION
■ The oil pressure light is not an oil level indicator! One should therefore
check the oil level at regular intervals, preferably after every refuelling stop.■
If for some reason, it is not possible to top up the engine oil under the cur-
rent circumstances,
do not continue driving! Switch off the engine and seek
assistance from a specialist garage.
Coolant
Read and observe
on page 34 first.
lights up or flashes - the coolant temperature is too high or the coolant lev-
el is too low.
An audible signal sounds as a warning tone.
›
Stop the vehicle, switch off the engine, and allow the engine to cool down.
›
Check the coolant level, if necessary top up the coolant.
If the coolant is within the specified range, the cooling fan may be malfunc-
tioning.
›
Switch off the ignition.
›
Check the fuse for the cooling fan, replace if necessary.
If the coolant level and fan fuse are both OK but the warning light is still
illuminated ,
do not drive any further!
Seek help from a specialist garage.
Automated transmission
Read and observe
on page 34 first.
fault
lights up - there is a fault in the automatic transmission.
An audible signal sounds as a warning tone.
Do not continue to drive! Switch off the engine and seek assistance from a
specialist garage.
Functional impairment
lights up and gear change is not possible - for technical reasons there may
be an impairment of the automatic transmission.
›
Stop the car, turn the ignition off and on again.
If the warning light lights up after you again switch on the ignition, seek as-
sistance from a specialist garage.
Gearbox overheating
and is possibly also
illuminated - the automatic transmission is overheat-
ing.
An audible signal sounds as a warning tone.
35Instruments and control lights
Page 80 of 160

Note■If the vehicle remains outdoors for a long time in minus temperatures or in
direct sunlight, it can take several hours until the internal temperature of the
vehicle battery reaches a suitable temperature for proper operation of the
START STOP system.■
If the driver's seat belt is removed for more than approx. 30 seconds or the
driver's door is opened during stop mode, the engine will have to be started
manually.
■
No automatic engine shut-down takes place when a vehicle with automatic
transmission is moving at low speed (e.g. during a traffic jam) and remains sta-
tionary after pressing the brake pedal lightly. Automatic engine shutdown
takes place if you press the brake pedal down with more force.
■
For vehicles with automatic transmission there is no automatic engine shut-
down when the system detects a manoeuvring action due to a large steering
angle.
Manually deactivating/activating the system
Fig. 91
Button for the START-STOP sys-
tem
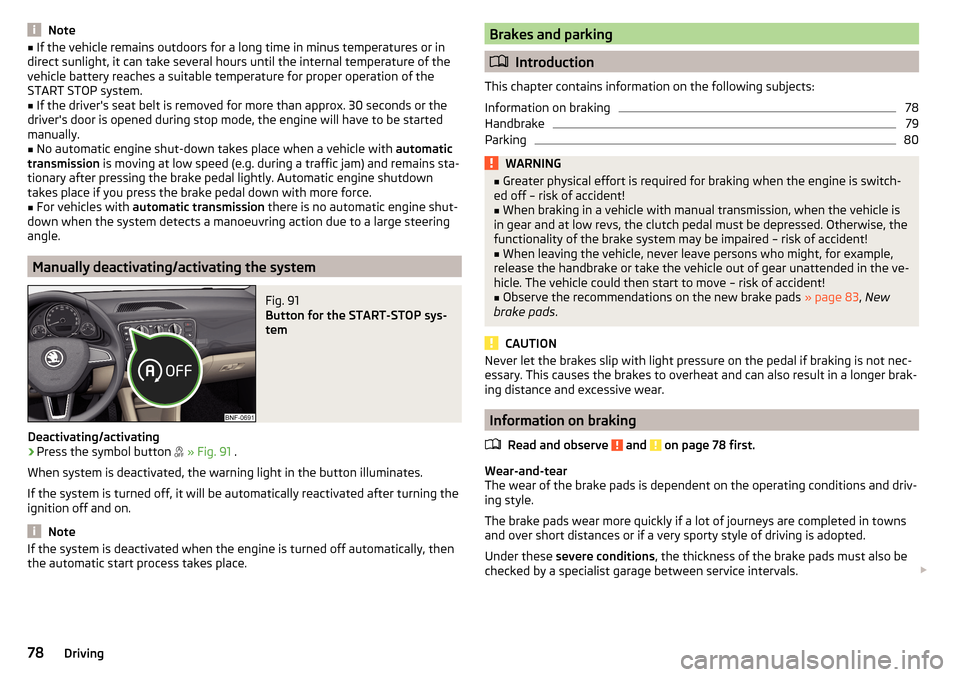
Deactivating/activating
›
Press the symbol button
» Fig. 91 .
When system is deactivated, the warning light in the button illuminates.
If the system is turned off, it will be automatically reactivated after turning the
ignition off and on.
Note
If the system is deactivated when the engine is turned off automatically, then
the automatic start process takes place.Brakes and parking
Introduction
This chapter contains information on the following subjects:
Information on braking
78
Handbrake
79
Parking
80WARNING■ Greater physical effort is required for braking when the engine is switch-
ed off – risk of accident!■
When braking in a vehicle with manual transmission, when the vehicle is
in gear and at low revs, the clutch pedal must be depressed. Otherwise, the
functionality of the brake system may be impaired – risk of accident!
■
When leaving the vehicle, never leave persons who might, for example,
release the handbrake or take the vehicle out of gear unattended in the ve-
hicle. The vehicle could then start to move – risk of accident!
■
Observe the recommendations on the new brake pads » page 83, New
brake pads .
CAUTION
Never let the brakes slip with light pressure on the pedal if braking is not nec-
essary. This causes the brakes to overheat and can also result in a longer brak-
ing distance and excessive wear.
Information on braking
Read and observe
and on page 78 first.
Wear-and-tear
The wear of the brake pads is dependent on the operating conditions and driv-
ing style.
The brake pads wear more quickly if a lot of journeys are completed in towns
and over short distances or if a very sporty style of driving is adopted.
Under these severe conditions , the thickness of the brake pads must also be
checked by a specialist garage between service intervals.
78Driving
Page 82 of 160

WARNINGPlease note that the handbrake must be fully released. A handbrake which
is only partially released can result in the rear brakes overheating. This can
have a negative effect on the operation of the brake system – risk of acci-
dent!
Parking
Read and observe
and on page 78 first.
When stopping and parking, look for a place with a suitable surface » .
Only carry out the activities while parking in the specified order.
›
Bring the vehicle to a stop and depress the brake pedal.
›
Firmly apply the handbrake.
›
For vehicles with automated gearbox shift the lever to position D or R.
›
Switch off the engine.
›
For vehicles with manual transmission select 1st gear or reverse gear (R) .
›
Release the brake pedal.
WARNINGThe parts of the exhaust system can become very hot. Therefore, never
stop the vehicle at places where the underside of your vehicle can come in-
to contact with flammable materials such as dry grass, undergrowth,
leaves, spilled fuel or such like. - Risk of fire and serious injury can occur!
Manual gear changing and pedals
Introduction
This chapter contains information on the following subjects:
Manual gear changing
80
Pedals
80Manual gear changingFig. 93
The shift pattern
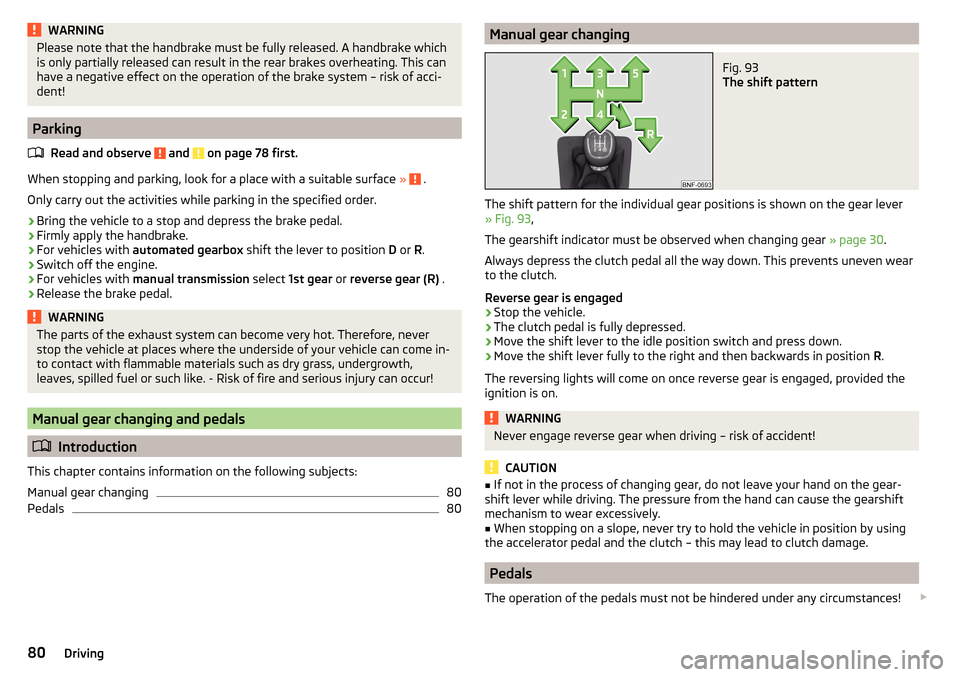
The shift pattern for the individual gear positions is shown on the gear lever » Fig. 93 ,
The gearshift indicator must be observed when changing gear » page 30.
Always depress the clutch pedal all the way down. This prevents uneven wear
to the clutch.
Reverse gear is engaged
›
Stop the vehicle.
›
The clutch pedal is fully depressed.
›
Move the shift lever to the idle position switch and press down.
›
Move the shift lever fully to the right and then backwards in position R.
The reversing lights will come on once reverse gear is engaged, provided the
ignition is on.
WARNINGNever engage reverse gear when driving – risk of accident!
CAUTION
■ If not in the process of changing gear, do not leave your hand on the gear-
shift lever while driving. The pressure from the hand can cause the gearshift
mechanism to wear excessively.■
When stopping on a slope, never try to hold the vehicle in position by using
the accelerator pedal and the clutch – this may lead to clutch damage.
Pedals
The operation of the pedals must not be hindered under any circumstances!
80Driving
Page 113 of 160

CAUTION■ Do not continue if for some reason it is not possible to fill with coolant un-
der the current circumstances! Switch off the engine and seek assistance from
a specialist garage.■
If the expansion tank is empty, do not top up with coolant. The system could
fill with air - risk of engine damage,
stop driving! Switch off the engine and
seek assistance from a specialist garage.
■
The concentration of coolant additive in the coolant must never be under
40%.
■
Over 60% of coolant additive in the coolant reduces the antifreeze protec-
tion and cooling effect.
■
A coolant additive that does not comply with the correct specification can
significantly reduce the corrosion protection of the cooling system.
■
Any faults resulting from corrosion may cause a loss of coolant and can con-
sequently result in major engine damage.
■
Do not fill the coolant above the mark
A
» Fig. 110 on page 111 .
■
If an error occurs, leading to the engine overheating, the help of a professio-
nal garage is to be sought - there is a risk of serious engine damage occurring.
■
Additional headlights and other attached components in front of the air inlet
impair the cooling efficiency of the coolant.
■
Never cover the radiator - there is a risk of the engine overheating.
Checking the coolant level
Fig. 110
Coolant expansion reservoir
Read and observe and on page 110 first.
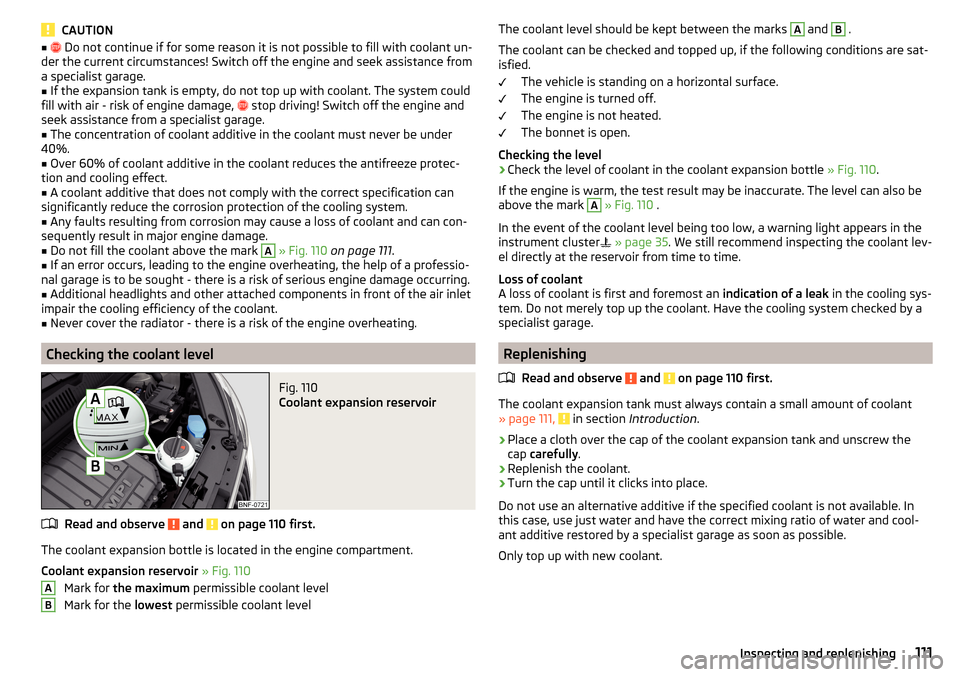
The coolant expansion bottle is located in the engine compartment.
Coolant expansion reservoir » Fig. 110
Mark for the maximum permissible coolant level
Mark for the lowest permissible coolant level
ABThe coolant level should be kept between the marks A and B .
The coolant can be checked and topped up, if the following conditions are sat-
isfied.
The vehicle is standing on a horizontal surface.
The engine is turned off.
The engine is not heated.
The bonnet is open.
Checking the level›
Check the level of coolant in the coolant expansion bottle » Fig. 110.
If the engine is warm, the test result may be inaccurate. The level can also be
above the mark
A
» Fig. 110 .
In the event of the coolant level being too low, a warning light appears in the
instrument cluster
» page 35 . We still recommend inspecting the coolant lev-
el directly at the reservoir from time to time.
Loss of coolant
A loss of coolant is first and foremost an indication of a leak in the cooling sys-
tem. Do not merely top up the coolant. Have the cooling system checked by a
specialist garage.
Replenishing
Read and observe
and on page 110 first.
The coolant expansion tank must always contain a small amount of coolant» page 111, in section Introduction .
›
Place a cloth over the cap of the coolant expansion tank and unscrew the
cap carefully .
›
Replenish the coolant.
›
Turn the cap until it clicks into place.
Do not use an alternative additive if the specified coolant is not available. In
this case, use just water and have the correct mixing ratio of water and cool-
ant additive restored by a specialist garage as soon as possible.
Only top up with new coolant.
111Inspecting and replenishing