low beam SKODA FABIA 2005 1.G / 6Y Owner's Manual
[x] Cancel search | Manufacturer: SKODA, Model Year: 2005, Model line: FABIA, Model: SKODA FABIA 2005 1.G / 6YPages: 260
Page 29 of 260

Instruments and Indicator/Warning Lights
28
Warning lights
An overview
The warning lights indicate certain functions or faults.
Fig. 16 Instrument cluster with warning lights
Turn signal lights (to the left)⇒ page 29
Turn signal lights (to the right)⇒page 29
Main beam⇒page 30
Low beam⇒page 30
Rear fog light⇒page 30
Dynamo⇒page 30
Fog lights*⇒page 30
Power steering*⇒page 30
sqc.1.book Seite 28 Mittwoch, 13. April 2005 1:09 13
Page 31 of 260
Instruments and Indicator/Warning Lights
30
The indicator light flashes at twice its normal rate if a turn signal light fails.
This does not apply when towing a trailer.
Switching off the hazard warning light system is switched on will cause all
of the turn signal lights as well as both indicator lights to flash.
Further information about the turn signal system ⇒page 58.
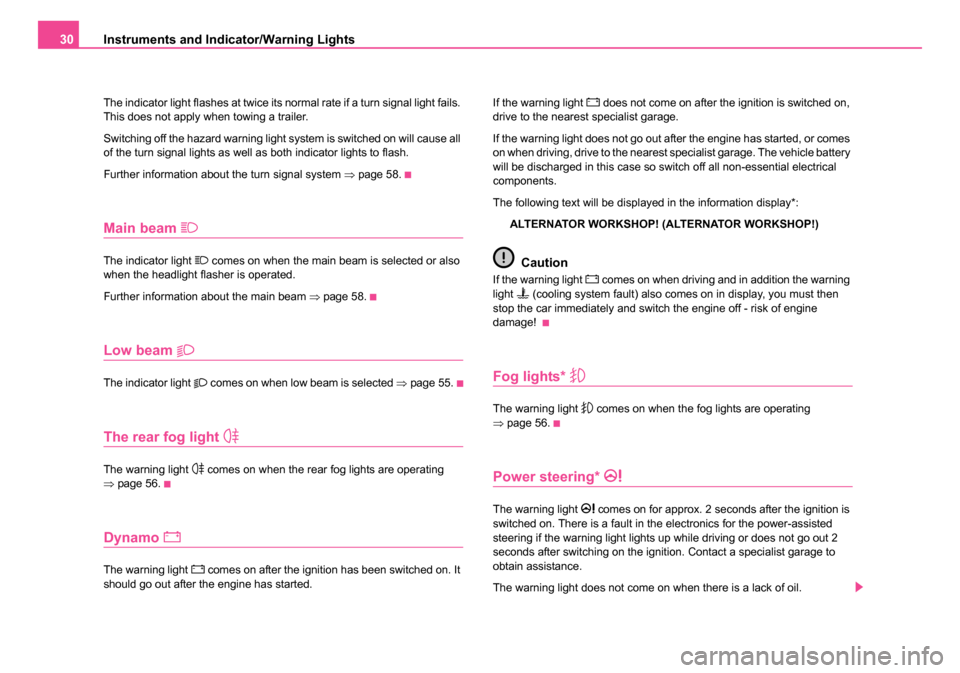
Main beam
The indicator light comes on when the main beam is selected or also
when the headlight flasher is operated.
Further information about the main beam ⇒page 58.
Low beam
The indicator light comes on when low beam is selected ⇒page 55.
The rear fog light
The warning light comes on when the rear fog lights are operating
⇒ page 56.
Dynamo
The warning light comes on after the ignition has been switched on. It
should go out after the engine has started. If the warning light
does not come on after the ignition is switched on,
drive to the nearest specialist garage.
If the warning light does not go out after the engine has started, or comes
on when driving, drive to the nearest specialist garage. The vehicle battery
will be discharged in this case so switch off all non-essential electrical
components.
The following text will be displayed in the information display*:
ALTERNATOR WORKSHOP! (ALTERNATOR WORKSHOP!)
Caution
If the warning light comes on when driving and in addition the warning
light (cooling system fault) also comes on in display, you must then
stop the car immediately and switch the engine off - risk of engine
damage!
Fog lights*
The warning light comes on when the fog lights are operating
⇒ page 56.
Power steering*
The warning light comes on for approx. 2 seconds after the ignition is
switched on. There is a fault in the electronics for the power-assisted
steering if the warning light lights up while driving or does not go out 2
seconds after switching on the ignition. Contact a specialist garage to
obtain assistance.
The warning light does not come on when there is a lack of oil.
sqc.1.book Seite 30 Mittwoch, 13. April 2005 1:09 13
Page 34 of 260
Instruments and Indicator/Warning Lights33
Using the systemSafetyDriving TipsGeneral MaintenanceBreakdown assist-
anceTechnical DataFabia Praktik
Stop the vehicle and switch the engine off
if the warning light does not
go off after the engine has started or flashes while driving. Check the oil
level and top up with oil as necessary ⇒ page 194.
3 peeps sound as an additional warning signal.
Do not continue your journey if for some reason it is not possible under
the conditions prevailing to top up with oil. Keep the engine switched off
and obtain professional assistance from a specialist garage, otherwise it
could lead to severe engine damage.
Do not drive any further if the warning light flashes even if the oil is at
the correct level. Do not run the engine not at idling speed either. Contact
the nearest specialist garage to obtain professional assistance.
The following text will be displayed in the information display*:
STOP! OIL PRESS. STOP MOTOR! SERVICE MANUAL (STOP! OIL
PRESSURE STOP ENGINE! OWNER'S MANUAL)
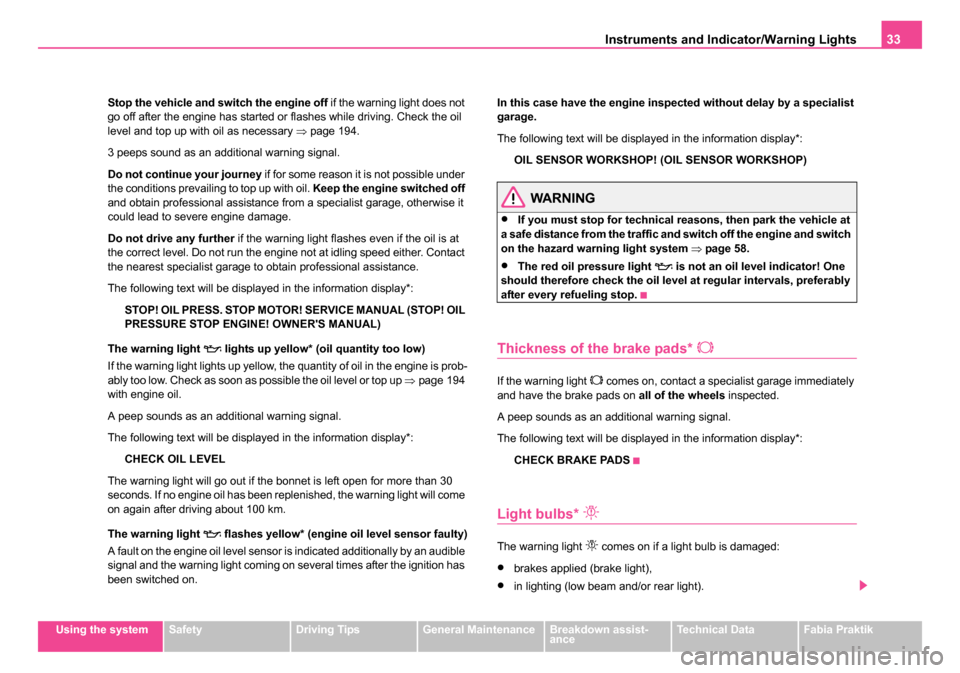
The warning light
lights up yellow* (oil quantity too low)
If the warning light lights up yellow, the quantity of oil in the engine is prob-
ably too low. Check as soon as possible the oil level or top up ⇒page 194
with engine oil.
A peep sounds as an additional warning signal.
The following text will be displayed in the information display*:
CHECK OIL LEVEL
The warning light will go out if the bonnet is left open for more than 30
seconds. If no engine oil has been replenished, the warning light will come
on again after driving about 100 km.
The warning light
flashes yellow* (engine oil level sensor faulty)
A fault on the engine oil level sensor is indicated additionally by an audible
signal and the warning light coming on several times after the ignition has
been switched on. In this case have the engine inspected without delay by a specialist
garage.
The following text will be displayed in the information display*:
OIL SENSOR WORKSHOP! (OIL SENSOR WORKSHOP)
WARNING
•If you must stop for technical reasons, then park the vehicle at
a safe distance from the traffic and switch off the engine and switch
on the hazard warning light system ⇒page 58.
•The red oil pressure light is not an oil le vel indicator! One
should therefore check the oil level at regular intervals, preferably
after every refueling stop.
Thickness of the brake pads*
If the warning light comes on, contact a specialist garage immediately
and have the brake pads on all of the wheels inspected.
A peep sounds as an additional warning signal.
The following text will be displayed in the information display*: CHECK BRAKE PADS
Light bulbs*
The warning light comes on if a light bulb is damaged:
•brakes applied (brake light),
•in lighting (low beam and/or rear light).
sqc.1.book Seite 33 Mittwoch, 13. April 2005 1:09 13
Page 56 of 260
Lights and Visibility55
Using the systemSafetyDriving TipsGeneral MaintenanceBreakdown assist-
anceTechnical DataFabia Praktik
Lights and Visibility
Lights
Switching lights on and off
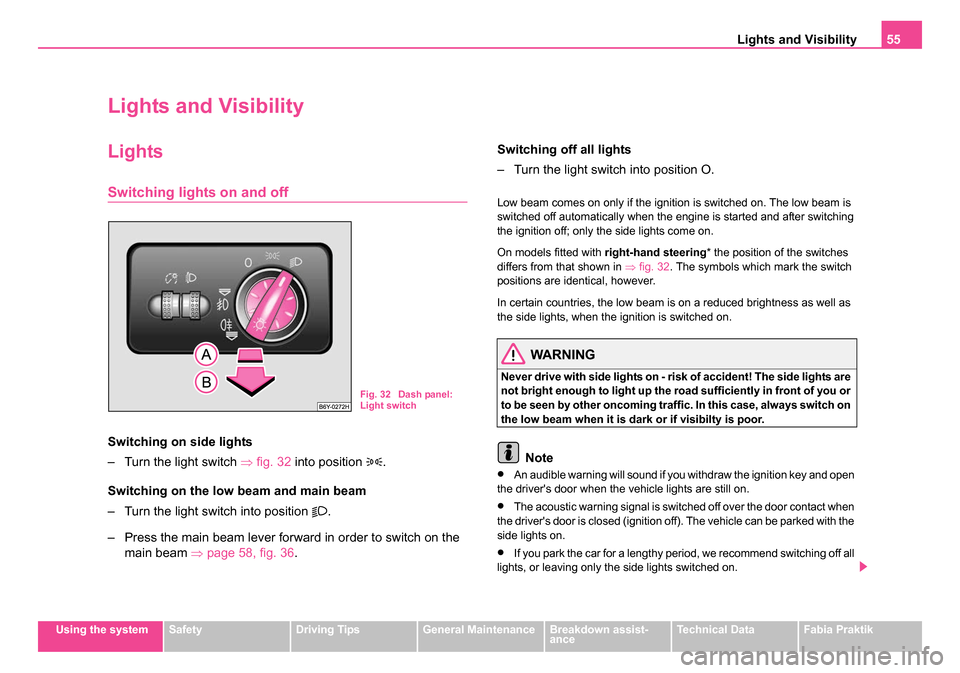
Switching on side lights
– Turn the light switch ⇒fig. 32 into position
.
Switching on the low beam and main beam
– Turn the light switch into position
.
– Press the main beam lever forward in order to switch on the main beam ⇒ page 58, fig. 36 . Switching off all lights
– Turn the light switch into position O.
Low beam comes on only if the ignition is switched on. The low beam is
switched off automatically when the engine is started and after switching
the ignition off; only the side lights come on.
On models fitted with
right-hand steering* the position of the switches
differs from that shown in ⇒fig. 32 . The symbols which mark the switch
positions are identical, however.
In certain countries, the low beam is on a reduced brightness as well as
the side lights, when the ignition is switched on.
WARNING
Never drive with side lights on - risk of accident! The side lights are
not bright enough to light up the road sufficiently in front of you or
to be seen by other oncoming traffic. In this case, always switch on
the low beam when it is dark or if visibilty is poor.
Note
•An audible warning will sound if you withdraw the ignition key and open
the driver's door when the vehicle lights are still on.
•The acoustic warning signal is switched off over the door contact when
the driver's door is closed (ignition off). The vehicle can be parked with the
side lights on.
•If you park the car for a lengthy period, we recommend switching off all
lights, or leaving only the side lights switched on.
Fig. 32 Dash panel:
Light switch
sqc.1.book Seite 55 Mittwoch, 13. April 2005 1:09 13
Page 58 of 260

Lights and Visibility57
Using the systemSafetyDriving TipsGeneral MaintenanceBreakdown assist-
anceTechnical DataFabia Praktik
Instrument lighting*
You can adjust the brightness of the instrument lighting.
Switch on the light.
– Turn the control dial ⇒fig. 33 to the desired intensity of the
instrument lighting.
Headlight range adjustment
Once the low beam is switched on you can then adapt the
range of the headlights to the load of the vehicle.
– Turn the control dial ⇒fig. 34 until you have adjusted the low
beam so that oncoming traffic is not dazzled.
Settings
The positions correspond approximately to the following vehicle loads:
Front seats occupied, luggage compartment empty.
All seats occupied, luggage compartment empty.
All seats occupied, luggage compartment laden.
Driver seat occupied, luggage compartment laden.
Caution
Set the headlight beam adjustment in such a way as to avoid dazzling
oncoming traffic.
Fig. 33 Dash panel:
Instrument lighting
Fig. 34 Dash panel:
Lights and Visibility
A-
A1
A2
A3
sqc.1.book Seite 57 Mittwoch, 13. April 2005 1:09 13
Page 59 of 260

Lights and Visibility
58
Note
Headlights fitted with Xenon bulbs* adapt automatically to the load and
driving state of the vehicle (e.g. accelerating, braking) when the ignition is
switched on and when driving.
Switch for hazard warning lights
– Press switch ⇒ fig. 35 to switch the hazard warning light
system on or off.
All the turn signal lights on the vehicle flash at the same time when the
hazard warning light system is switched on. The indicator light for the turn
signals and the indicator light in the switch also flash at the same time. You
can also switch on the hazard warning light system if the ignition is
switched off. Please comply with any legal requirements when using the hazard
warning light system.
Note
Switch on the hazard warning light system if, for example:
•you encounter traffic congestion,
•your vehicle breaks down or an emergency situation occurs.
Turn signal and main beam lever
The parking lights and headlight flasher are also switched
on and off using the turn signal and main beam lever.
The turn signal and main beam lever perform the following func-
tions:
Fig. 35 Dash panel:
Switch for hazard
warning lights
Fig. 36 Turn signal and
main beam lever
sqc.1.book Seite 58 Mittwoch, 13. April 2005 1:09 13
Page 60 of 260
Lights and Visibility59
Using the systemSafetyDriving TipsGeneral MaintenanceBreakdown assist-
anceTechnical DataFabia Praktik
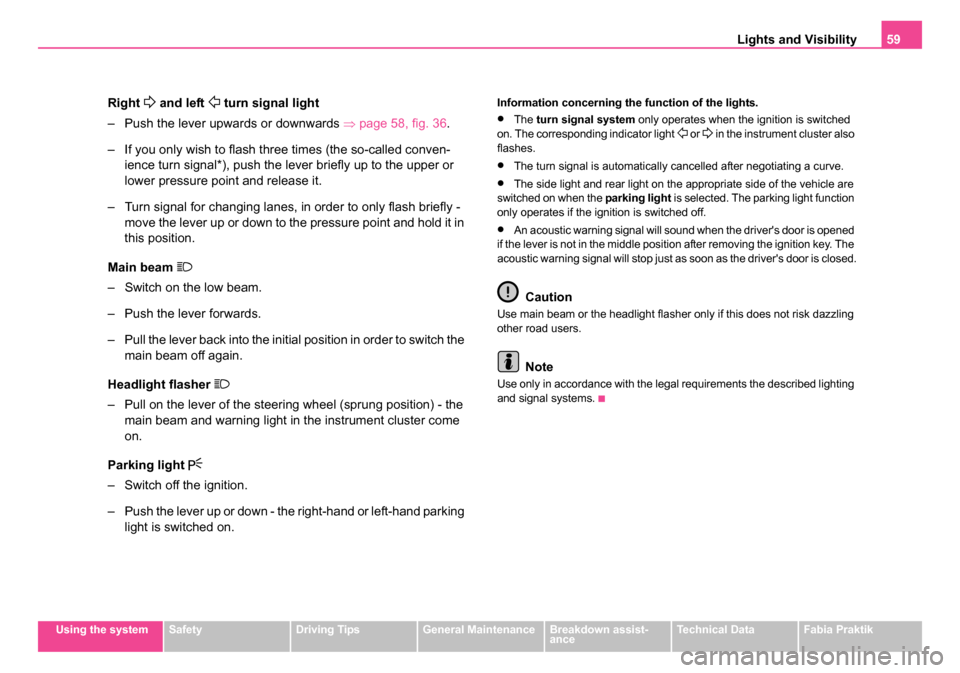
Right and left turn signal light
– Push the lever upwards or downwards ⇒page 58, fig. 36 .
– If you only wish to flash three times (the so-called conven- ience turn signal*), push the lever briefly up to the upper or
lower pressure point and release it.
– Turn signal for changing lanes, in order to only flash briefly - move the lever up or down to the pressure point and hold it in
this position.
Main beam
– Switch on the low beam.
– Push the lever forwards.
– Pull the lever back into the initial position in order to switch the main beam off again.
Headlight flasher
– Pull on the lever of the steering wheel (sprung position) - the main beam and warning light in the instrument cluster come
on.
Parking light
– Switch off the ignition.
– Push the lever up or down - the right-hand or left-hand parking light is switched on.
Information concerning the function of the lights.
•The turn signal system only operates when the ignition is switched
on. The corresponding indicator light or in the instrument cluster also
flashes.
•The turn signal is automatically cancelled after negotiating a curve.
•The side light and rear light on the appropriate side of the vehicle are
switched on when the parking light is selected. The parking light function
only operates if the ignition is switched off.
•An acoustic warning signal will sound when the driver's door is opened
if the lever is not in the middle position after removing the ignition key. The
acoustic warning signal will stop just as soon as the driver's door is closed.
Caution
Use main beam or the headlight flasher only if this does not risk dazzling
other road users.
Note
Use only in accordance with the legal requirements the described lighting
and signal systems.
sqc.1.book Seite 59 Mittwoch, 13. April 2005 1:09 13
Page 65 of 260

Lights and Visibility
64
Switching windscreen wipers off
– Move the lever back into its home position .
The windscreen wipers and the windscreen washer system only operate
if the ignition is switched on.
The rear window will be wiped again if the front window wipers are on
when reverse gear is selected.
The windscreen washer nozzles are heated* when the ignition is switched
on.
Top up with wash liquid ⇒page 206.
WARNING
•Properly maintained windscreen wiper blades are essential for
clear visibility and safe driving ⇒page 64, “Replacing wiper blades
for the windscreen wipers”.
•Do not use the windscreen washer system at low temperatures,
without heating the windscreen beforehand. Otherwise the window
cleaner could freeze on the windscreen and restrict the view to the
front.
Caution
In frosty weather, please first of all check whether the windscreen wiper
blades are not frozen to the windscreen before switching them on.
Switching on windscreen wipers when the blades are frozen to the wind-
screen may result in damage both to the blades and the motor of the wind-
screen wipers!
Headlight cleaning system*
The headlights are being cleaned after the windscreen wiper has wiped
for the fifth time, the low beam or main beam are switched on and the
windscreen wiper lever was held in the position ⇒page 63, fig. 42 for
about 1 second.
You should remove stubborn dirt (such as insect residues) from the head-
light lenses at regular intervals, for example when refuelling. Please refer
to the following guidelines ⇒page 181, “The headlight lenses”.
You should remove any snow from the fixtures of the washer nozzles and
clear ice in winter with a de-icing spray in order to ensure proper operation
of the cleaning system.
Replacing wiper blades fo r the windscreen wipers
A0
A5
Fig. 43 Wiper blades
for the windscreen
sqc.1.book Seite 64 Mittwoch, 13. April 2005 1:09 13
Page 104 of 260

Starting-off and Driving103
Using the systemSafetyDriving TipsGeneral MaintenanceBreakdown assist-
anceTechnical DataFabia Praktik
the steering wheel firmly in the 12 o'clock position or in another
way (e.g. in the middle of the steering wheel or at the inner steering
wheel edge). In such cases, injuries to the arms, the hands and the
head can occur when the driver airbag is deployed.
Ignition lock
Petrol engines
- ignition switched off, engine off
- ignition switched on
- start engine
Diesel engines - fuel supply interrupted, ignition switched off, engine off - heating glow plugs on, ignition switched on
•You should not switch on any major electrical components during the
heating period otherwise the vehicle battery will be drained unnecessarily.
- start engine
Applies to all models:
Position
To lock the steering , with the ignition key withdrawn, turn the steering
wheel until the steering locking pin is heard to engage. You should always
lock the steering as a general rule if you leave your vehicle. This acts as
a deterrent against possible theft of your vehicle ⇒.
Position
Move the steering wheel back and forward a little if the ignition key cannot,
or cannot easily be turned into this position, in order to release the
steering lock.
Position
The engine is started in this position. At the same time switched on low
beam or main beam or other electrical components with major power
consumption are briefly switched off. The ignition key moves back into
position when one releases the key.
The ignition key must be turned back into position each time before
starting the engine again. The starter repeat lock in the ignition lock
prevents the starter being engaged when the engine is running and thus
getting damaged.
Ignition key withdrawal lock (automatic gearbox)
You can only withdraw the ignition key after switching off the ignition if the
selector lever is in position P.WARNING (continued)
Fig. 91 Ignition lock
positions
A1
A2
A3
A1
A2
A3
A1
A2
A3
A2
A1
sqc.1.book Seite 103 Mittwoch, 13. April 2005 1:09 13
Page 172 of 260

Driving and the Environment171
Using the systemSafetyDriving TipsGeneral MaintenanceBreakdown assist-
anceTechnical DataFabia Praktik
Motoring abroad
General
Other circumstances may exist abroad.
It is also possible, in certain countries, that the Škoda dealership network
is limited or has not been established yet. This is the reason why obtaining
certain spare parts may be somewhat complicated and specialist garage
personnel may only be able to make limited repairs. Škoda Auto in the
Czech Republic and relevant importers are happy to provide information
about technical aspects of the vehicle, required maintenance work and
possibilities for getting repairs done.
Unleaded petrol
A vehicle fitted with a petrol engine must always be refuelled with
unleaded petrol ⇒page 165. The automobile associations can provide
you with information regarding the locations of filling stations which offer
unleaded petrol.
Headlights
The low beam of your headlights is set asymmetrically. It illuminates the
side of the road on which you are driving to a greater extent. If you drive
abroad on the other side of the road, you will dazzle oncoming traffic.
It is necessary in order to avoid dazzling oncoming traffic to stick a sticker
over a certain part of the headlights.
Windscreen wiper stickers are available at Škoda dealers. Headlights with Xenon lamps are designed for driving in countries with
traffic on the right or on the left. Have this done always at a Škoda dealer.
Note
You can obtain further information regarding masking over or converting
the headlights from your Škoda dealer.
Avoiding damage to your vehicle
When driving on poor roads and lanes or when driving over kerbstones,
steep ramps etc., you must pay particular attention to ensuring that any
low-slung parts of the vehicle, such as spoiler and exhaust, do not touch
the ground and get damaged.
This particularly applies to models with a lowered suspension (sport
suspension) and also when your vehicle is fully laden.
sqc.1.book Seite 171 Mittwoch, 13. April 2005 1:09 13