turn signal SKODA FABIA 2015 3.G / NJ Owner's Manual
[x] Cancel search | Manufacturer: SKODA, Model Year: 2015, Model line: FABIA, Model: SKODA FABIA 2015 3.G / NJPages: 220, PDF Size: 32.46 MB
Page 10 of 220
Safety
Passive Safety
General information
Introduction
This chapter contains information on the following subjects:
Before every journey
8
Driving safety
8
In this section of the instructions you will find important information, tips and
notes on the subject of passive safety.
We have combined everything here which you should be familiar with, for ex-
ample, regarding seat belts, airbags, safety of children and anything similar.
You will find further information on safety, which concerns you and those trav-
elling with you, in the following chapters of this Owner's Manual.
The complete on-board literature should therefore always be in the vehicle.
This particularly applies, if you rent out or sell the vehicle.
Before every journey
For your own safety and the safety of the people travelling with you, please
pay attention to the following points before setting off.
▶ Ensure that the lighting and the turn signal system are functioning properly.
▶ Make sure that the function of the wiper and the condition of the wiper
blades are free of any defects.
▶ Ensure that all of the windows offer good visibility to the outside.
▶ Adjust the rear-view mirror so that vision to the rear is guaranteed.
▶ Ensure that the mirrors are not covered.
▶ Check the tyre inflation pressure.
▶ Check the engine oil, brake fluid and coolant levels.
▶ Secure all items of luggage.
▶ Do not exceed the permissible axle loads and permissible gross weight of the
vehicle – risk of accident.
▶ Close all doors and the engine compartment and luggage compartment lid.
▶ Ensure that no objects can obstruct the pedals.
▶
Protect children in suitable child seats with correctly fastened seat belts
» page 20 , Transporting children safely .
▶ Adopt the correct seated position » page 8, Correct and safe seated posi-
tion . Tell your passengers to assume the correct seated position.
Driving safety
The driver is fully responsible for himself and passengers, especially children. If
your driving safety is affected, you place yourself and oncoming traffic at risk.
The following guidelines must therefore be observed. ▶ Do not become distracted from concentrating on the traffic situation, (e.g. by
your passengers or mobile phone calls).
▶ Never drive when your driving ability is impaired, (e.g. due to medication, al-
cohol or drugs).
▶ Keep to the traffic regulations and the permissible speed limit.
▶ Always adjust the driving speed to the road, traffic and weather conditions.
▶ Take regular breaks on long journeys (at least every two hours).
The following list contains instructions for the Passenger which, if not ob-
served, may cause serious injuries or death. ▶ Do not lean against the dash panel.
▶ Do not put your feet on the dash panel.
The following list contains instructions for all Passengers which, if not ob-
served, may cause serious injuries or death. ▶ Do not sit only on the front edge of the seat.
▶ Do not sit facing to the side.
▶ Do not lean out of the window.
▶ Do not put your limbs out of the window.
▶ Do not put your feet on the seat upholstery.
Correct and safe seated position
Introduction
This chapter contains information on the following subjects:
Correct seat position of the driver
9
Adjusting the steering wheel position
9
Correct seated position of the front passenger
10
Correct seated position of the rear seat passengers
10
8Safety
Page 28 of 220
Operation
Cockpit
OverviewElectric windows
57
Door opening lever
53
Electric exterior mirror adjustment
68
Air outlet vents
98
Parking ticket holder
74
Operating lever:
▶ Turn signal light, headlight and parking light, headlight
flasher
61
▶ Speed regulating system
119
▶Speed limiter
120
Steering wheel:
▶ With horn
▶ With driver’s front airbag
15
▶With buttons for the operation of the information system
39
▶With buttons for the Infotainment Control » Infotainment
Manual , chapter Device Operation
Instrument cluster
27
Operating lever:
▶ Windscreen wiper and wash system
66
▶Information system
39
Depending on equipment fitted:
▶ Storage compartment
75
▶Infotainment » User manual for Infotainment
Air outlets in the central part of the dash panel
98
Bar with keys depending on the equipment fitted: ▶ Left seat heating
71
▶
Rear window heater
65
▶
Central locking system
52
▶
Hazard warning light system button
63
▶
Warning light for the front seat passenger
airbag
19
▶ Right seat heating
71
Interior rear-view mirror
6812345678910111213Memory card slot (in the front passenger storage compartment)
» User manual Infotainment
Front passenger airbag15
Storage compartment on the front passenger side
80
Key switch for switching off the front passenger airbag (in front
passenger storage compartment)
19
Air outlet vents
98
Power window in the front passenger door
58
Door opening lever
53
Bar with keys depending on the equipment fitted:
▶ START STOP
104
▶
Stability Control (ESC deactivation / activation of the ASR)
115
▶
Parking aid
116
▶
Tyre Press. Loss Indicator
126
Light switch
60
Bonnet release lever
151
Regulator for headlamp beam adjustment for the headlights
60
Lever for adjusting the steering wheel
9
Ignition lock
101
Fuse box
181
Pedals
109
Cup holder:
76
▶
with ashtray
76
▶with multimedia support
78
Coin and credit card holder
75
Handbrake lever
107
Depending on equipment fitted:
▶ Gearshift lever (manual gearbox)
108
▶Selector lever (automatic gearbox)
109
Storage compartment
75
USB / AUX input » Infotainment Manual , chapter USB/AUX In-
puts
14151617181920212223242526272829303132333426Operation
Page 33 of 220
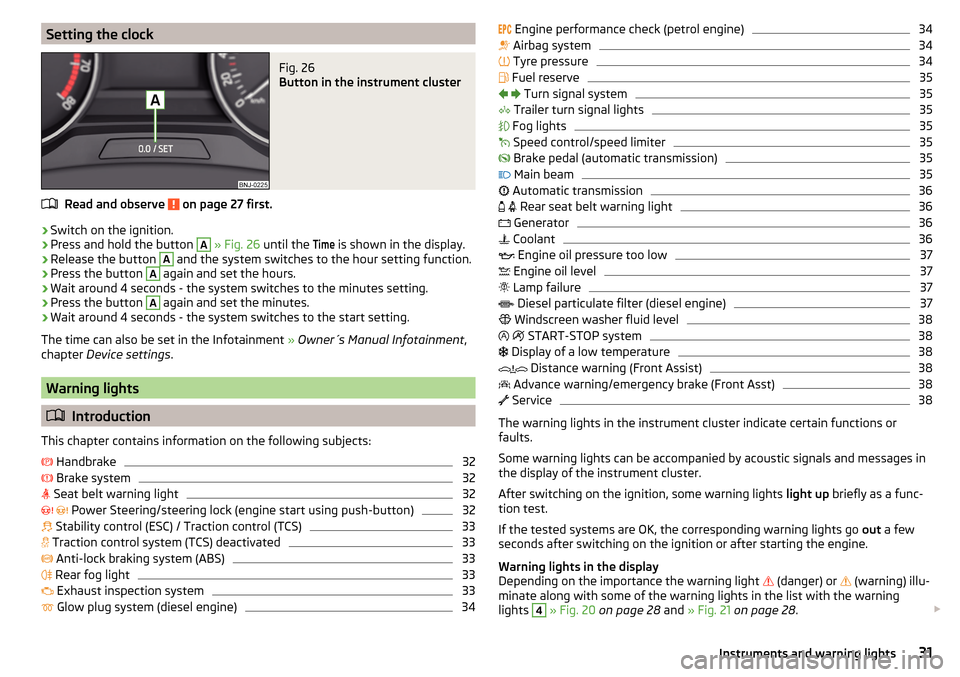
Setting the clockFig. 26
Button in the instrument cluster
Read and observe on page 27 first.
›
Switch on the ignition.
›
Press and hold the button
A
» Fig. 26 until the
Time
is shown in the display.
›
Release the button
A
and the system switches to the hour setting function.
›
Press the button
A
again and set the hours.
›
Wait around 4 seconds - the system switches to the minutes setting.
›
Press the button
A
again and set the minutes.
›
Wait around 4 seconds - the system switches to the start setting.
The time can also be set in the Infotainment » Owner´s Manual Infotainment ,
chapter Device settings .
Warning lights
Introduction
This chapter contains information on the following subjects:
Handbrake
32
Brake system
32
Seat belt warning light
32
Power Steering/steering lock (engine start using push-button)
32
Stability control (ESC) / Traction control (TCS)
33
Traction control system (TCS) deactivated
33
Anti-lock braking system (ABS)
33
Rear fog light
33
Exhaust inspection system
33
Glow plug system (diesel engine)
34
Engine performance check (petrol engine)34 Airbag system34
Tyre pressure
34
Fuel reserve
35
Turn signal system
35
Trailer turn signal lights
35
Fog lights
35
Speed control/speed limiter
35
Brake pedal (automatic transmission)
35
Main beam
35
Automatic transmission
36
Rear seat belt warning light
36
Generator
36
Coolant
36
Engine oil pressure too low
37
Engine oil level
37
Lamp failure
37
Diesel particulate filter (diesel engine)
37
Windscreen washer fluid level
38
START-STOP system
38
Display of a low temperature
38
Distance warning (Front Assist)
38
Advance warning/emergency brake (Front Asst)
38
Service
38
The warning lights in the instrument cluster indicate certain functions or
faults.
Some warning lights can be accompanied by acoustic signals and messages in
the display of the instrument cluster.
After switching on the ignition, some warning lights light up briefly as a func-
tion test.
If the tested systems are OK, the corresponding warning lights go out a few
seconds after switching on the ignition or after starting the engine.
Warning lights in the display
Depending on the importance the warning light (danger) or
(warning) illu-
minate along with some of the warning lights in the list with the warning
lights
4
» Fig. 20 on page 28 and » Fig. 21 on page 28 .
31Instruments and warning lights
Page 36 of 220
Seek help from a specialist garage.
Glow plug system (diesel engine)Read and observe
on page 32 first.
flashes - there is a fault in the engine management system. The system
makes possible operation emergency mode - there may be a noticeable reduc-
tion in engine performance.
There is a fault in the glow plug system if the warning light
does not come
on or illuminates continuously.
Seek help from a specialist garage.
Engine performance check (petrol engine)
Read and observe
on page 32 first.
illuminates - there is a fault in the engine management system. The system
makes possible operation emergency mode - there may be a noticeable reduc-
tion in engine performance.
Seek help from a specialist garage.
Airbag system
Read and observe
on page 32 first.
System fault
illuminates - there is a fault in the airbag system.
Error: airbagAIRBAG ERROR
Seek help from a specialist garage.
The front passenger airbag has been disabled with the key switch
illuminates for around 4 seconds after the ignition has been switched on.
under the letters
in the middle of the dash panel illumi-
nates after switching on the ignition » page 19.
One of the airbags or a belt tensioner has been disabled by the diagnostic
tool
illuminates for approximately 4 seconds after the ignition is switched on
and then flashes again for approximately 12 seconds.
Airbag/ belt tensioner deactivated.AIRBAG/ BELT TENSIONER OFFWARNINGIf a fault in the airbag system occurs, there is a risk of the system not being
triggered in the event of an accident! Therefore, this must be checked im-
mediately by a specialized garage.
Tyre pressure
Read and observe
on page 32 first.
Change of tyre pressure values
illuminates - there was a pressure change in one of the tyres.
An audible signal sounds as a warning.
›
Immediately reduce speed and avoid sudden steering and braking manoeu-
vres.
›
Stop the vehicle, turn the ignition off and check the tyres and their inflation
pressure » page 161 .
›
Correct the tyre pressure, if necessary or replace the affected wheel
» page 168 or use the repair kit » page 171.
›
Store the tyre pressure values in the system » page 126.
System fault
flashes for approximately 1 minute and remains lit - there may be a fault in
the tyre pressure monitoring system.
›
Stop the vehicle, turn the ignition off and start the engine again.
If the warning light flashes again after the engine has started, there is a
system error.
Seek help from a specialist garage.
Disconnecting the vehicle battery
If the vehicle's battery has been disconnected and reconnected, the indicator
light comes on after switching on the ignition.
The warning light should go out after driving a short distance.
If, after a short drive, the indicator light does not go out, there is a system er-
ror.
Seek help from a specialist garage.
34Operation
Page 37 of 220
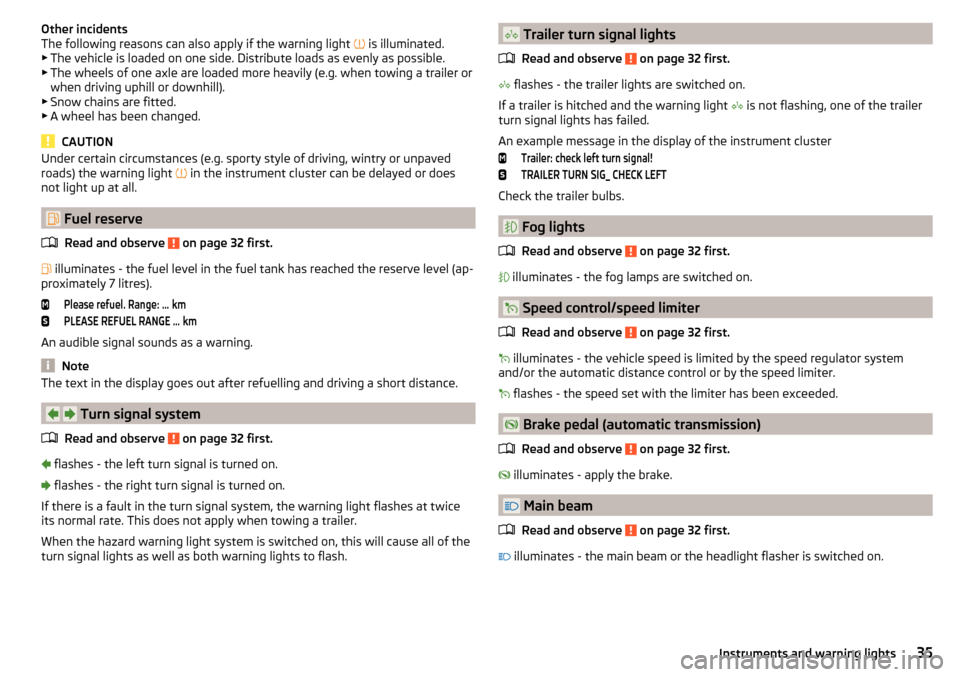
Other incidents
The following reasons can also apply if the warning light is illuminated.
▶ The vehicle is loaded on one side. Distribute loads as evenly as possible.
▶ The wheels of one axle are loaded more heavily (e.g. when towing a trailer or
when driving uphill or downhill).
▶ Snow chains are fitted.
▶ A wheel has been changed.
CAUTION
Under certain circumstances (e.g. sporty style of driving, wintry or unpaved
roads) the warning light in the instrument cluster can be delayed or does
not light up at all.
Fuel reserve
Read and observe
on page 32 first.
illuminates - the fuel level in the fuel tank has reached the reserve level (ap-
proximately 7 litres).
Please refuel. Range: ...
kmPLEASE REFUEL RANGE …
km
An audible signal sounds as a warning.
Note
The text in the display goes out after refuelling and driving a short distance.
Turn signal system
Read and observe
on page 32 first.
flashes - the left turn signal is turned on.
flashes - the right turn signal is turned on.
If there is a fault in the turn signal system, the warning light flashes at twice
its normal rate. This does not apply when towing a trailer.
When the hazard warning light system is switched on, this will cause all of the
turn signal lights as well as both warning lights to flash.
Trailer turn signal lights
Read and observe
on page 32 first.
flashes - the trailer lights are switched on.
If a trailer is hitched and the warning light
is not flashing, one of the trailer
turn signal lights has failed.
An example message in the display of the instrument cluster
Trailer: check left turn signal!TRAILER TURN SIG_ CHECK LEFT
Check the trailer bulbs.
Fog lights
Read and observe
on page 32 first.
illuminates - the fog lamps are switched on.
Speed control/speed limiter
Read and observe
on page 32 first.
illuminates - the vehicle speed is limited by the speed regulator system
and/or the automatic distance control or by the speed limiter.
flashes - the speed set with the limiter has been exceeded.
Brake pedal (automatic transmission)
Read and observe
on page 32 first.
illuminates - apply the brake.
Main beam
Read and observe
on page 32 first.
illuminates - the main beam or the headlight flasher is switched on.
35Instruments and warning lights
Page 47 of 220
Menu itemTelephone
Read and observe on page 42 first.
Select menu item
Telephone›
Select and confirm
Telephone
in the main menu.
›
Turn the dial
G
» Fig. 31 on page 43 .
The system displays a call list.
If the call list includes no entries, the following message appears
No entries avail-able.
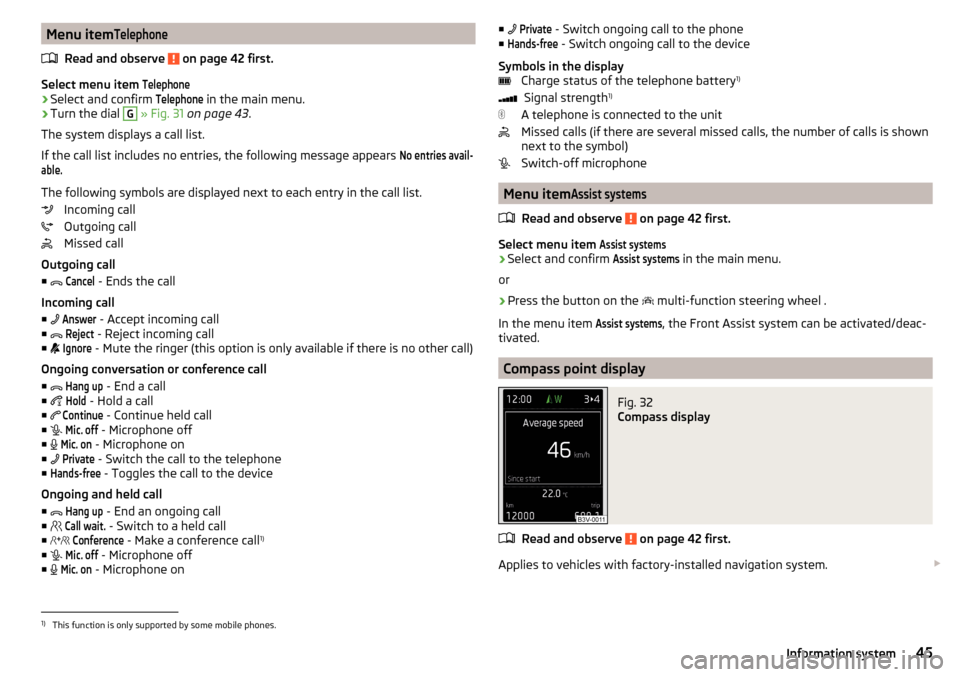
The following symbols are displayed next to each entry in the call list. Incoming call
Outgoing call
Missed call
Outgoing call
■
Cancel
- Ends the call
Incoming call
■
Answer
- Accept incoming call
■
Reject
- Reject incoming call
■
Ignore
- Mute the ringer (this option is only available if there is no other call)
Ongoing conversation or conference call
■
Hang up
- End a call
■
Hold
- Hold a call
■
Continue
- Continue held call
■
Mic. off
- Microphone off
■
Mic. on
- Microphone on
■
Private
- Switch the call to the telephone
■
Hands-free
- Toggles the call to the device
Ongoing and held call ■
Hang up
- End an ongoing call
■
Call wait.
- Switch to a held call
■
Conference
- Make a conference call 1)
■
Mic. off
- Microphone off
■
Mic. on
- Microphone on
■
Private - Switch ongoing call to the phone
■Hands-free
- Switch ongoing call to the device
Symbols in the display Charge status of the telephone battery 1)
Signal strength 1)
A telephone is connected to the unit
Missed calls (if there are several missed calls, the number of calls is shown
next to the symbol)
Switch-off microphone
Menu item
Assist systems
Read and observe on page 42 first.
Select menu item
Assist systems›
Select and confirm
Assist systems
in the main menu.
or
›
Press the button on the multi-function steering wheel .
In the menu item
Assist systems
, the Front Assist system can be activated/deac-
tivated.
Compass point display
Fig. 32
Compass display
Read and observe on page 42 first.
Applies to vehicles with factory-installed navigation system.
1)
This function is only supported by some mobile phones.
45Information system
Page 51 of 220
›Restart SmartGate by tapping on the “Reboot” 1)
interface.
PIN code change for the Wi-Fi Direct connection›
Open the SmartGate web interface.
›
In the menu item “Wi-Fi Direct PIN:” Enter the new PIN code (6 digits).
›
Confirm the PIN code change by tapping on the “Save” interface.
›
Restart SmartGate by tapping on the “Reboot” 1 )
interface.
Note
If you have forgotten your password for the connection to SmartGate,
SmartGate must be reset to factory settings in a specialised workshop.Unlocking and opening
Unlocking and locking
Introduction
This chapter contains information on the following subjects:
Locking/unlocking using the key via the lock cylinder
50
Unlocking/locking with the remote control key
50
Unlocking / locking - KESSY
51
Locking/unlocking the vehicle with the central locking button
52
SafeLock
52
Individual settings
52
Opening/closing the door
53
Child safety lock
53
Malfunctions
54
Your car is equipped with a central locking system.
The central locking system allows you to lock and unlock all doors, the fuel fill-
er flap and boot lid at the same time. The functions of the central locking sys-
tem can be individually adjusted » page 52.
After unlocking, depending on vehicle equipment and setting, the following
is valid for the central locking.
▶ The turn signal lights flash twice as confirmation that the vehicle has been
unlocked.
▶ A double audible signal sounds additionally on vehicles which are fitted with
the anti-theft alarm system.
▶ The doors, the boot lid and the fuel filler flap are unlocked.
▶ The interior lamp illuminates.
▶ The SafeLock system is switched off.
▶ The warning icon in the driver door stops flashing.
▶ The anti-theft alarm system is deactivated.
1)
If the “Reboot” interface is not displayed, you must manually restore the web browser display.
49Unlocking and opening
Page 52 of 220
After locking, depending on vehicle equipment and setting, the following is
valid for the central locking. ▶ The turn signal lights flash once as confirmation that the vehicle has been
locked.
▶ An audible signal sounds additionally on vehicles which are fitted with the
anti-theft alarm system.
▶ The doors, the boot lid and the fuel filler flap are locked.
▶ The interior lamp goes out.
▶ The SafeLock system is switched on.
▶ The warning light in the driver door begins flashing.
▶ The anti-theft alarm system is activated.
If the doors or the boot lid remain open after the vehicle doors have been
locked, the turn signal lights do not flash until they have been closed.
Protection against unwanted vehicle unlocking
If you unlock the vehicle and do not open a door or the boot lid within the next
45 seconds, the vehicle will lock again automatically and the SafeLock system
or anti-theft alarm system will be switched on.WARNING■ Never leave the key in the vehicle when you exit the vehicle. Unauthor-
ized persons, such as children, for example, could lock the car, turn on the
ignition or start the engine - danger of injury and accidents!■
When leaving the vehicle, never leave people who are not completely in-
dependent, such as children, unattended in the vehicle. These individuals
might not be able to leave the vehicle on their own or to help themselves.
At very high or very low temperatures can be fatal!
CAUTION
■ Each key contains electronic components; therefore it must be protected
against moisture and severe shocks.■
Keep the groove of the keys absolutely clean. Impurities (textile fibres, dust,
etc.) impair the function of the locking cylinder and ignition lock.
■
If the driver's door has been opened, the vehicle cannot be locked.
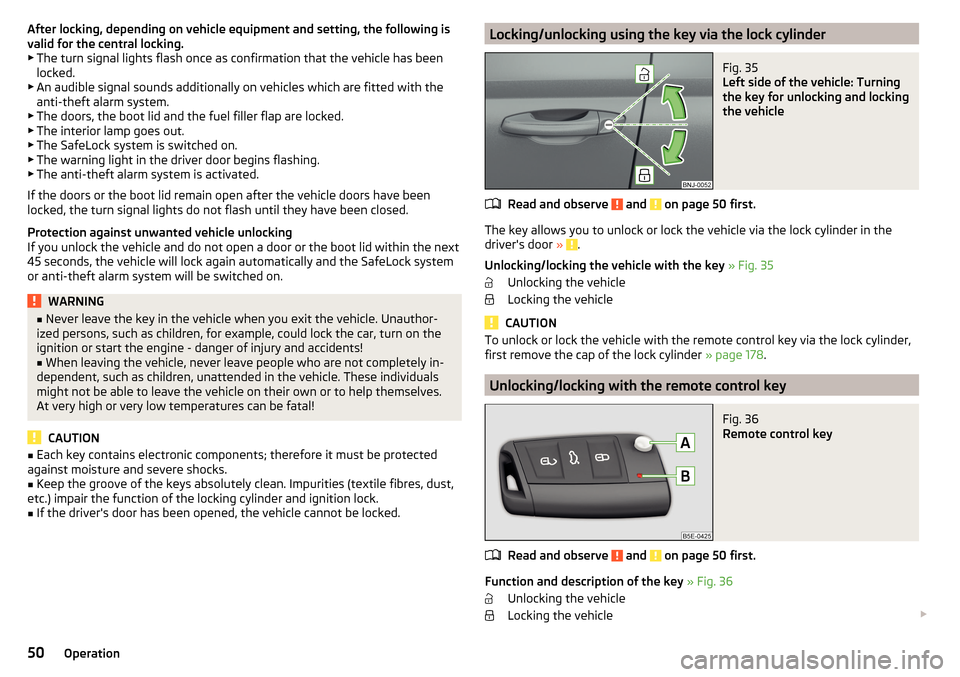
Locking/unlocking using the key via the lock cylinderFig. 35
Left side of the vehicle: Turning
the key for unlocking and locking
the vehicle
Read and observe and on page 50 first.
The key allows you to unlock or lock the vehicle via the lock cylinder in the
driver's door » .
Unlocking/locking the vehicle with the key » Fig. 35
Unlocking the vehicle
Locking the vehicle
CAUTION
To unlock or lock the vehicle with the remote control key via the lock cylinder,
first remove the cap of the lock cylinder » page 178.
Unlocking/locking with the remote control key
Fig. 36
Remote control key
Read and observe and on page 50 first.
Function and description of the key » Fig. 36
Unlocking the vehicle
Locking the vehicle
50Operation
Page 53 of 220
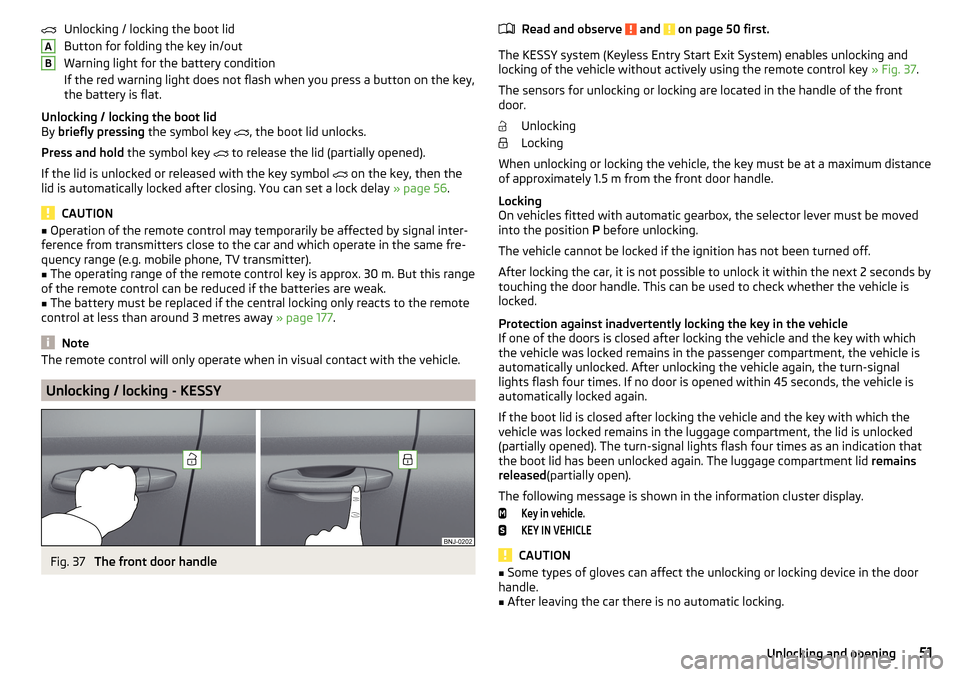
Unlocking / locking the boot lid
Button for folding the key in/out
Warning light for the battery condition
If the red warning light does not flash when you press a button on the key,
the battery is flat.
Unlocking / locking the boot lid
By briefly pressing the symbol key
, the boot lid unlocks.
Press and hold the symbol key
to release the lid (partially opened).
If the lid is unlocked or released with the key symbol
on the key, then the
lid is automatically locked after closing. You can set a lock delay » page 56.
CAUTION
■
Operation of the remote control may temporarily be affected by signal inter-
ference from transmitters close to the car and which operate in the same fre-
quency range (e.g. mobile phone, TV transmitter).■
The operating range of the remote control key is approx. 30 m. But this range
of the remote control can be reduced if the batteries are weak.
■
The battery must be replaced if the central locking only reacts to the remote
control at less than around 3 metres away » page 177.
Note
The remote control will only operate when in visual contact with the vehicle.
Unlocking / locking - KESSY
Fig. 37
The front door handle
ABRead and observe and on page 50 first.
The KESSY system (Keyless Entry Start Exit System) enables unlocking and
locking of the vehicle without actively using the remote control key » Fig. 37.
The sensors for unlocking or locking are located in the handle of the front
door.
Unlocking
Locking
When unlocking or locking the vehicle, the key must be at a maximum distance
of approximately 1.5 m from the front door handle.
Locking
On vehicles fitted with automatic gearbox, the selector lever must be moved into the position P before unlocking.
The vehicle cannot be locked if the ignition has not been turned off.
After locking the car, it is not possible to unlock it within the next 2 seconds by touching the door handle. This can be used to check whether the vehicle is
locked.
Protection against inadvertently locking the key in the vehicle
If one of the doors is closed after locking the vehicle and the key with which
the vehicle was locked remains in the passenger compartment, the vehicle is
automatically unlocked. After unlocking the vehicle again, the turn-signal
lights flash four times. If no door is opened within 45 seconds, the vehicle is
automatically locked again.
If the boot lid is closed after locking the vehicle and the key with which the
vehicle was locked remains in the luggage compartment, the lid is unlocked
(partially opened). The turn-signal lights flash four times as an indication that
the boot lid has been unlocked again. The luggage compartment lid remains
released (partially open).
The following message is shown in the information cluster display.
Key in vehicle.KEY IN VEHICLE
CAUTION
■ Some types of gloves can affect the unlocking or locking device in the door
handle.■
After leaving the car there is no automatic locking.
51Unlocking and opening
Page 56 of 220
You can switch the child safety lock on and off using the vehicle key.
MalfunctionsRead and observe
and on page 50 first.
Fault with the central locking
If the warning icon in the driver's door initially flashes quickly for around 2 sec-
onds, and then lights up for 30 seconds without interruption before flashing
again slowly, you will need to seek the assistance of a specialist garage.
If the central locking system has failed, only the driver's door can be
locked/unlocked using the key. The other doors and the boot lid can be man-
ually locked or unlocked.
▶ Lock/unlock the driver's door » page 178.
▶ Locking door » page 178.
▶ Unlocking the boot lid » page 179.
Failure of the KESSY system
If the following message is shown in the instrument cluster display, seek help
from a specialist company.
Keyless access system faulty.KEYLESS ACCESS SYSTEM FAULTY
Key battery flat
If the key battery voltage is too low, the following message appears in the in-
strument cluster display.
Change the key battery!KEY BATTERY PLEASE CHANGE
Replace the battery » page 177.
Anti-theft alarm system
Introduction
This chapter contains information on the following subjects:
Interior monitor and towing protection
55
The anti-theft alarm system (hereinafter referred to as alarm system) increa-
ses protection against theft and break-in attempts into the vehicle.
The alarm system is activated automatically approximately 30 seconds after
the vehicle is locked. This is automatically disabled after release.
The alarm system triggers audible and visual signals if an attempt is made to
break into the vehicle (hereafter referred to as alarm).
Triggering the alarm
The alarm is triggered when the following unauthorized actions are carried out
on the locked vehicle. ▶ Opening the bonnet.
▶ Opening the boot lid.
▶ Opening the doors.
▶ Manipulation of the ignition lock.
▶ Towing the vehicle.
▶ Movement in the vehicle.
▶ Sudden and significant voltage failure of the electrical system.
▶ Uncoupling the trailer.
If the driver's door of a vehicle is unlocked and opened by the lock cylinder,
then the alarm is triggered.
Switching off the alarm
The alarm is turned off by pressing the button on the key or switching on
the ignition.
CAUTION
Before leaving the vehicle, check that the doors and windows are closed in or-
der to ensure that the alarm system is fully operational.
Note
The alarm system has its own power source. The working life of the power
source is 5 years.54Operation