start stop button SKODA FABIA 2016 3.G / NJ Amundsen Bolero Infotainment System Navigation Manual
[x] Cancel search | Manufacturer: SKODA, Model Year: 2016, Model line: FABIA, Model: SKODA FABIA 2016 3.G / NJPages: 76, PDF Size: 9.64 MB
Page 17 of 76

voice commands
Requirements for optimum voice command recognition
▶ Speak with a normal tone of voice without intonation and excessive pauses.
▶ Avoid bad pronunciation.
▶ Close the doors, windows and sliding roof, in order to avoid disturbing envi-
ronmental influences on the function of the voice commands.
▶ You are recommended to speak louder at higher speeds, so that the sound of
your voice is not drowned out by the increased ambient noise.
▶ During voice control, limit additional noise in the vehicle, e.g. passengers
talking at the same time.
Voice commands can be used anytime during voice control.Voice commandFunction“ Back ”Return to the previous menu“Help ”reproducing and displaying possible voice com-
mands
Voice commands that can be used while browsing the list entries.
Voice commandFunction“ Next page ”
Browse menu / list / directory
“Previous page ”“First page ”“Last page ”
Correction of a voice command input
A voice command can be corrected, modified or re-entered by pressing the
button
or the icon key
Actuated on the multifunction steering wheel.
However, this is only possible as long as the symbol appears on the screen.
You do not have to wait until the voice command is recognized by the device.
Stop/restore voice command input
Stop
This allows you more time for the voice command input.
The process for voice command input can by turning the dial stopped.
When stopping, the symbol changes from
.
Restore
The procedure for voice command input can be restarted in one of the follow-
ing ways.
▶ By tapping on the function interface
.
▶ By pressing the button
on the device.
▶ By pressing the icon key
on the multifunction steering wheel.
Device settings
Configuration wizard
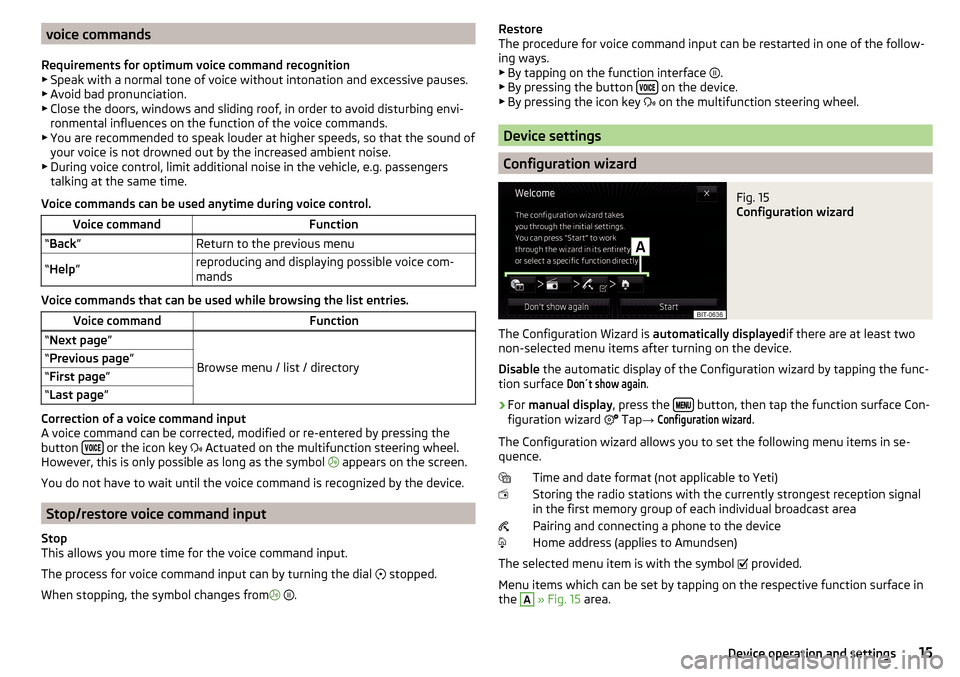
Fig. 15
Configuration wizard
The Configuration Wizard is automatically displayedif there are at least two
non-selected menu items after turning on the device.
Disable the automatic display of the Configuration wizard by tapping the func-
tion surface
Don´t show again
.
›
For manual display , press the button, then tap the function surface Con-
figuration wizard Tap
→
Configuration wizard
.
The Configuration wizard allows you to set the following menu items in se-
quence.
Time and date format (not applicable to Yeti)
Storing the radio stations with the currently strongest reception signal in the first memory group of each individual broadcast area
Pairing and connecting a phone to the device
Home address (applies to Amundsen)
The selected menu item is with the symbol provided.
Menu items which can be set by tapping on the respective function surface in
the
A
» Fig. 15 area.
15Device operation and settings
Page 60 of 76

Store route
▶ In the area A, tap the functional surface
Save
.
▶ Save the edited route as a new route or replace the existing saved route.
Stop route guidance ▶ In the area A
, tap the functional surface
stop
.
Route management
›
In the Navigation main menu, tap on the functional surface
Tap
→
routes
.
New route ▶ Tap the function surface
New route
.
Insert a route destination in one of the following ways.
▶ Tap on The functional surface
Name destination
and enter a new destination.
▶ or: Tap on the function key
destinations
and select a destination from the list
of saved destinations.
▶ To save the created route, tap the functional surface
Save
.
▶ Tap the functional surface
Start
to start route guidance.
Route management
▶ Choose the desired saved route, and then select one of the following menu
items.
Clear saved route
- Edit route
- Calculate route and start route guidance
Traffic reports
List of traffic reports
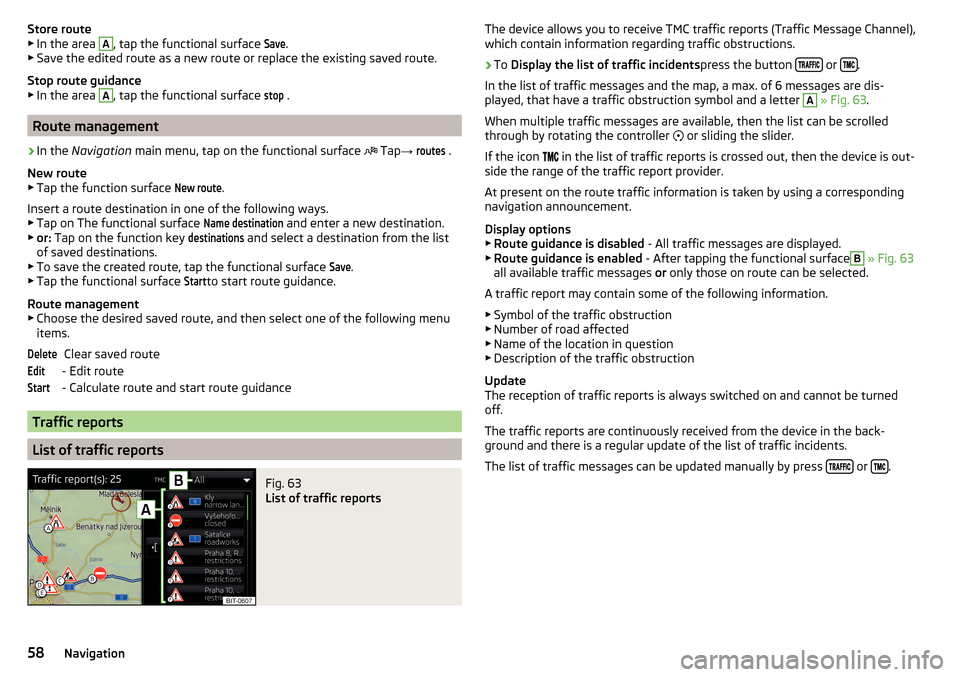
Fig. 63
List of traffic reports
DeleteEditStartThe device allows you to receive TMC traffic reports (Traffic Message Channel),
which contain information regarding traffic obstructions.›
To Display the list of traffic incidents press the button or .
In the list of traffic messages and the map, a max. of 6 messages are dis-
played, that have a traffic obstruction symbol and a letter
A
» Fig. 63 .
When multiple traffic messages are available, then the list can be scrolled
through by rotating the controller
or sliding the slider.
If the icon
in the list of traffic reports is crossed out, then the device is out-
side the range of the traffic report provider.
At present on the route traffic information is taken by using a corresponding
navigation announcement.
Display options ▶ Route guidance is disabled - All traffic messages are displayed.
▶ Route guidance is enabled - After tapping the functional surface
B
» Fig. 63
all available traffic messages or only those on route can be selected.
A traffic report may contain some of the following information. ▶ Symbol of the traffic obstruction
▶ Number of road affected
▶ Name of the location in question
▶ Description of the traffic obstruction
Update
The reception of traffic reports is always switched on and cannot be turned
off.
The traffic reports are continuously received from the device in the back-
ground and there is a regular update of the list of traffic incidents.
The list of traffic messages can be updated manually by press
or .
58Navigation
Page 65 of 76

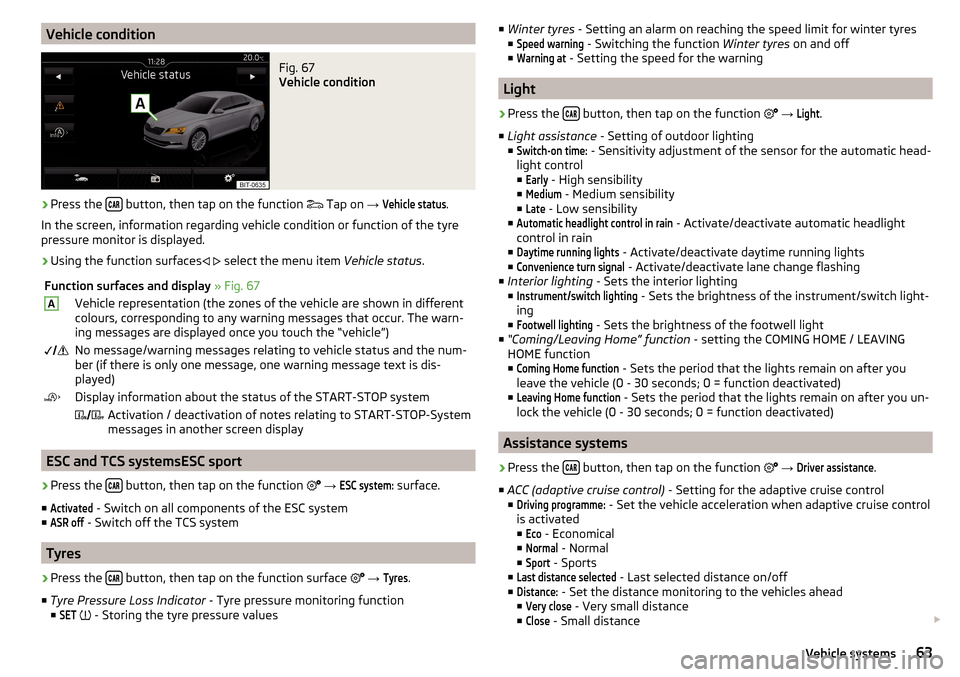
Vehicle conditionFig. 67
Vehicle condition
›
Press the button, then tap on the function
Tap on
→
Vehicle status
.
In the screen, information regarding vehicle condition or function of the tyre
pressure monitor is displayed.
›
Using the function surfaces
select the menu item
Vehicle status.
Function surfaces and display » Fig. 67AVehicle representation (the zones of the vehicle are shown in different
colours, corresponding to any warning messages that occur. The warn-
ing messages are displayed once you touch the “vehicle”) No message/warning messages relating to vehicle status and the num-
ber (if there is only one message, one warning message text is dis-
played)Display information about the status of the START-STOP system Activation / deactivation of notes relating to START-STOP-System
messages in another screen display
ESC and TCS systemsESC sport
›
Press the button, then tap on the function
→
ESC system:
surface.
■
Activated
- Switch on all components of the ESC system
■
ASR off
- Switch off the TCS system
Tyres
›
Press the button, then tap on the function surface
→
Tyres
.
■ Tyre Pressure Loss Indicator - Tyre pressure monitoring function
■
SET
- Storing the tyre pressure values
■
Winter tyres - Setting an alarm on reaching the speed limit for winter tyres
■Speed warning
- Switching the function Winter tyres on and off
■
Warning at
- Setting the speed for the warning
Light
›
Press the button, then tap on the function
→
Light
.
■ Light assistance - Setting of outdoor lighting
■
Switch-on time:
- Sensitivity adjustment of the sensor for the automatic head-
light control ■
Early
- High sensibility
■
Medium
- Medium sensibility
■
Late
- Low sensibility
■
Automatic headlight control in rain
- Activate/deactivate automatic headlight
control in rain
■
Daytime running lights
- Activate/deactivate daytime running lights
■
Convenience turn signal
- Activate/deactivate lane change flashing
■ Interior lighting - Sets the interior lighting
■
Instrument/switch lighting
- Sets the brightness of the instrument/switch light-
ing
■
Footwell lighting
- Sets the brightness of the footwell light
■ “Coming/Leaving Home” function - setting the COMING HOME / LEAVING
HOME function
■
Coming Home function
- Sets the period that the lights remain on after you
leave the vehicle (0 - 30 seconds; 0 = function deactivated)
■
Leaving Home function
- Sets the period that the lights remain on after you un-
lock the vehicle (0 - 30 seconds; 0 = function deactivated)
Assistance systems
›
Press the button, then tap on the function
→
Driver assistance
.
■ ACC (adaptive cruise control) - Setting for the adaptive cruise control
■
Driving programme:
- Set the vehicle acceleration when adaptive cruise control
is activated
■
Eco
- Economical
■
Normal
- Normal
■
Sport
- Sports
■
Last distance selected
- Last selected distance on/off
■
Distance:
- Set the distance monitoring to the vehicles ahead
■
Very close
- Very small distance
■
Close
- Small distance
63Vehicle systems