audio SKODA FABIA 2016 3.G / NJ Columbus Amundsen Bolero Infotainment System Navigation Manual
[x] Cancel search | Manufacturer: SKODA, Model Year: 2016, Model line: FABIA, Model: SKODA FABIA 2016 3.G / NJPages: 100, PDF Size: 12.8 MB
Page 4 of 100
Table of Contents
Important information about this Owner's
Manual3
Explanations and further information
4
Abbreviations
Introductory information
Important notes
6
Device overview
7
Device operation and settings
Device operation
12
Voice control
14
Device settings
16
Radio
Operation
21
Settings
23
Media
Operation
24
Audio sources
26
Pictures
Image viewer
31
Video DVD
Video player
32
TV tuner
TV function
34Media Command
Using the system36
Phone
Introductory information
39
Pair and connect
42
Use the SIM card in the external module
45
rSAP
46
Telephone functions
46
Text messages (SMS)
50
Hotspot (WLAN) and data connection
Hotspot (WLAN)
52
data connection
53
SmartLink
Introductory information
54
Android Auto ™
55
Apple CarPlay ™
56
MirrorLink®
56
Navigation
Introductory information
59
Search for destination and enter
60
Import my destinations
64
Map
65
Route guidance
68
Route
70
Waypoint mode
72Traffic reports74
Settings
76
Vehicle systems
CAR - vehicle setting
78
Adjustment of the heating and cooling system
82
Index
2Table of Contents
Page 7 of 100
AbbreviationsAbbreviationDefinition2Dplanar map display3Dspatial map displayA2DPa Bluetooth®
profile for the one-sided audio data transmis-
sionACCAdaptive cruise controlAFAlternative frequencies for the current radio stationAMIdentification of the radio-frequency rangeTCSTraction Control of the drive wheelsaviCompressed video formatAVRCPa Bluetooth ®
profile for the operation associated with the
transmission of audio data multimedia functionsBTBluetooth ®
- wireless communication for reception and
transmission of voice and data informationCNGcompressed natural gasDABDigital radio receptionDRMa system for monitoring or restricting the use of digital me-
dia contentDTMFa dialling tone during a telephone communicationESCElectronic Stability ControlFMIdentification of the radio-frequency rangeHFPa Bluetooth ®
profile for communication between a mobile
telephone and the InfotainmentGPSSatellite system for determining the positionGPTmethod for the division of the areas in the data devices (to
be used for mass storage resources)GSMGlobal system for mobile communicationsID3 tagan additional feature of a music file, which allows for the dis-
play of artist, title, album name, etc.mp3compressed audio formatmp4Compressed video formatMSCa communication protocol for a USB deviceAbbreviationDefinitionMTPa communication protocol for a data devicePI codea program identification of the radio station, which allows a
group sort of radio stationsPINpersonal identification numberQiStandard for wireless charging of external devicesRDSa system for the transmission of additional information for
FM radio receptionrSAPA Bluetooth ®
profile for the communication between a mo-
bile telephone and Infotainment in the mode for distance
transmission of SIM dataMessagesa service for short text messagesTMCTraffic reports, which may affect the navigationTPIdentification of a traffic information stationUPnPNetwork protocol for establishing a wireless connection of
an external device with the deviceVINVehicle identification numberwavAudio formatWLANWireless Local Area NetworkWPSEstablishing a secure connection of the device to an availa-
ble hotspot (WLAN)wmacompressed audio formatwmvCompressed video format5Abbreviations
Page 8 of 100
Introductory information
Important notes
Introduction to the subject
WARNING■Concentrate fully at all times on your driving! As the driver you are fully
responsible for the operation of your vehicle.■
Only use the device in such a way that you have control of the vehicle in
every traffic situation (e.g. Do not write text messages while driving, do not
couple or connect the telephone, do not work with the contact list, do not
enter any destinations, do not connect WLAN or SmartLink etc.)- Otherwise
there is a risk of an accident!
WARNING■ Adjust the volume to ensure that acoustic signals from outside the vehi-
cle, e.g. sirens from emerging vehicles instructing you to give way to, such
as the police, ambulance and fire brigade, can be heard at all times.■
High volumes can cause hearing damage.
WARNING■ Never leave a communication device, e.g. mobile phone, audio sources, in
the deployment area of an airbag, on a seat, on the dashboard or any an-
other area, from which it can be thrown during a sudden braking manoeu-
vre, an accident or a collision - There is a risk of injury!■
Never connect or disconnect an external device while driving - There is a
risk of accident!
■
Always route the connection cable of the external device such that is
does not restrict you when driving.
CAUTION
In some countries, some unit features can no longer be selected when the ve-
hicle is running faster than a certain speed. This is not a malfunction, but com-
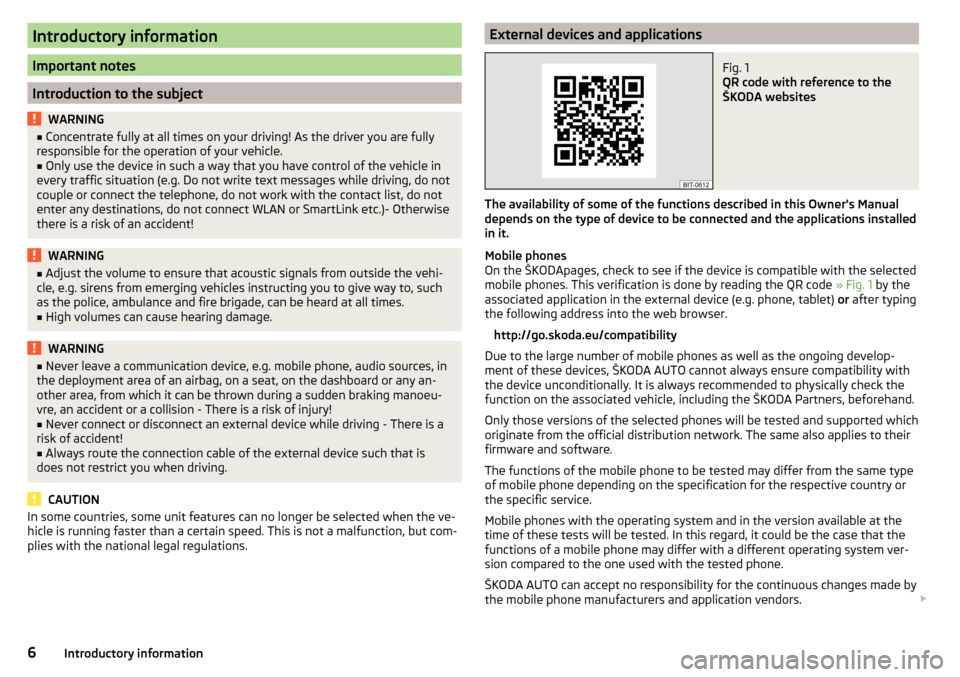
plies with the national legal regulations.External devices and applicationsFig. 1
QR code with reference to the
ŠKODA websites
The availability of some of the functions described in this Owner's Manual
depends on the type of device to be connected and the applications installed
in it.
Mobile phones
On the ŠKODApages, check to see if the device is compatible with the selected
mobile phones. This verification is done by reading the QR code » Fig. 1 by the
associated application in the external device (e.g. phone, tablet) or after typing
the following address into the web browser.
http://go.skoda.eu/compatibility
Due to the large number of mobile phones as well as the ongoing develop-
ment of these devices, ŠKODA AUTO cannot always ensure compatibility with
the device unconditionally. It is always recommended to physically check the
function on the associated vehicle, including the ŠKODA Partners, beforehand.
Only those versions of the selected phones will be tested and supported which
originate from the official distribution network. The same also applies to their
firmware and software.
The functions of the mobile phone to be tested may differ from the same type
of mobile phone depending on the specification for the respective country or
the specific service.
Mobile phones with the operating system and in the version available at the
time of these tests will be tested. In this regard, it could be the case that the
functions of a mobile phone may differ with a different operating system ver-
sion compared to the one used with the tested phone.
ŠKODA AUTO can accept no responsibility for the continuous changes made by
the mobile phone manufacturers and application vendors.
6Introductory information
Page 14 of 100
Adjusting the volume
Every change in volume is displayed on the screen.›
To increase the volume , turn the controller clockwise.
›
To
reduce volume , turn the controller anticlockwise.
›
To
mute , turn the controller to the left to 0.
›
or:
Press The button (applies to Bolero in the Yeti model).
The following symbol appears in the display when the sound is muted:
.
If, at the time of muting, sound is played from the source in the media menu,
then the playback is interrupted (pause) 1)
.
CAUTION
■ High volumes can cause sound resonance in the vehicle.■When changing or connecting an audio source, this may cause sudden
changes in volume. Reduce the volume before changing or connecting an au-
dio source.Device operation and settings
Device operation
Operating principles
Fig. 14
Screen area / screen display
Fig. 15
Using the menus
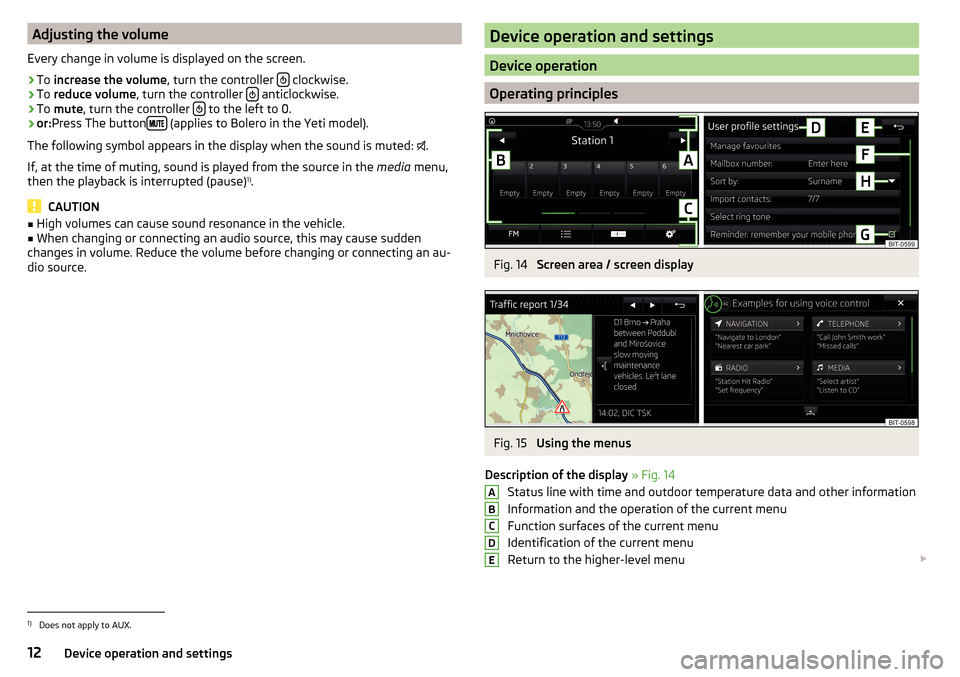
Description of the display » Fig. 14
Status line with time and outdoor temperature data and other information
Information and the operation of the current menu
Function surfaces of the current menu
Identification of the current menu
Return to the higher-level menu
ABCDE1)
Does not apply to AUX.
12Device operation and settings
Page 19 of 100
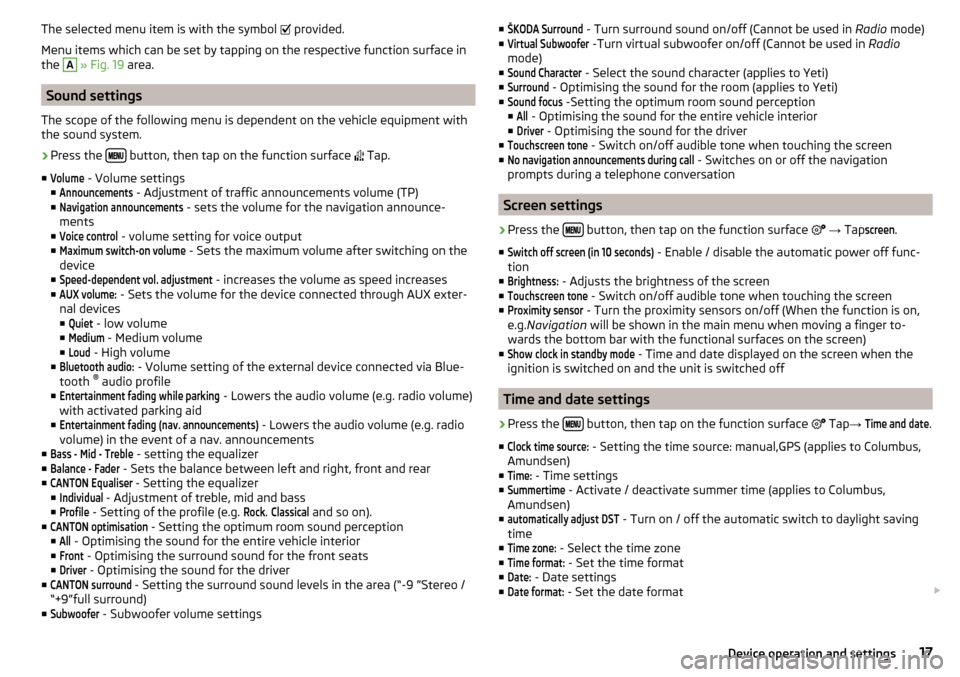
The selected menu item is with the symbol provided.
Menu items which can be set by tapping on the respective function surface in
the A
» Fig. 19 area.
Sound settings
The scope of the following menu is dependent on the vehicle equipment with the sound system.
›
Press the button, then tap on the function surface
Tap.
■
Volume
- Volume settings
■
Announcements
- Adjustment of traffic announcements volume (TP)
■
Navigation announcements
- sets the volume for the navigation announce-
ments
■
Voice control
- volume setting for voice output
■
Maximum switch-on volume
- Sets the maximum volume after switching on the
device
■
Speed-dependent vol. adjustment
- increases the volume as speed increases
■
AUX volume:
- Sets the volume for the device connected through AUX exter-
nal devices
■
Quiet
- low volume
■
Medium
- Medium volume
■
Loud
- High volume
■
Bluetooth audio:
- Volume setting of the external device connected via Blue-
tooth ®
audio profile
■
Entertainment fading while parking
- Lowers the audio volume (e.g. radio volume)
with activated parking aid
■
Entertainment fading (nav. announcements)
- Lowers the audio volume (e.g. radio
volume) in the event of a nav. announcements
■
Bass - Mid - Treble
- setting the equalizer
■
Balance - Fader
- Sets the balance between left and right, front and rear
■
CANTON Equaliser
- Setting the equalizer
■
Individual
- Adjustment of treble, mid and bass
■
Profile
- Setting of the profile (e.g.
Rock
.
Classical
and so on).
■
CANTON optimisation
- Setting the optimum room sound perception
■
All
- Optimising the sound for the entire vehicle interior
■
Front
- Optimising the surround sound for the front seats
■
Driver
- Optimising the sound for the driver
■
CANTON surround
- Setting the surround sound levels in the area (“-9 ”Stereo /
“+9”full surround)
■
Subwoofer
- Subwoofer volume settings
■ŠKODA Surround - Turn surround sound on/off (Cannot be used in Radio mode)
■Virtual Subwoofer
-Turn virtual subwoofer on/off (Cannot be used in Radio
mode)
■
Sound Character
- Select the sound character (applies to Yeti)
■
Surround
- Optimising the sound for the room (applies to Yeti)
■
Sound focus
-Setting the optimum room sound perception
■
All
- Optimising the sound for the entire vehicle interior
■
Driver
- Optimising the sound for the driver
■
Touchscreen tone
- Switch on/off audible tone when touching the screen
■
No navigation announcements during call
- Switches on or off the navigation
prompts during a telephone conversation
Screen settings
›
Press the button, then tap on the function surface
→ Tap
screen
.
■
Switch off screen (in 10 seconds)
- Enable / disable the automatic power off func-
tion
■
Brightness:
- Adjusts the brightness of the screen
■
Touchscreen tone
- Switch on/off audible tone when touching the screen
■
Proximity sensor
- Turn the proximity sensors on/off (When the function is on,
e.g. Navigation will be shown in the main menu when moving a finger to-
wards the bottom bar with the functional surfaces on the screen)
■
Show clock in standby mode
- Time and date displayed on the screen when the
ignition is switched on and the unit is switched off
Time and date settings
›
Press the button, then tap on the function surface
Tap
→
Time and date
.
■
Clock time source:
- Setting the time source: manual,GPS (applies to Columbus,
Amundsen)
■
Time:
- Time settings
■
Summertime
- Activate / deactivate summer time (applies to Columbus,
Amundsen)
■
automatically adjust DST
- Turn on / off the automatic switch to daylight saving
time
■
Time zone:
- Select the time zone
■
Time format:
- Set the time format
■
Date:
- Date settings
■
Date format:
- Set the date format
17Device operation and settings
Page 21 of 100
Bluetooth®
Settings›
Press the button, then tap on the function surface
→ Tap
Bluetooth
.
■
Bluetooth
- Switch on/off Bluetooth ®
function
■
Visibility:
- switch on/off the visibility of the Bluetooth ®
device for other exter-
nal devices
■
Name:
- Changing the name of the Bluetooth ®
unit
■
Paired devices
- display the list of paired Bluetooth ®
devices
■
Find devices
- searches for available devices
■
Bluetooth audio (A2DP/AVRCP)
- Turn on/off the ability to connect an audio device
(e.g. MP3 player, tablet etc.)
Settings
›
Press the button, then tap on the function surface
→ Tap
network
.
■
Network settings
- Setting of the data connection according to the associated
telephone service provider (APN settings)
■
Access point name: ...
- Setting of the access point name
■
User name: …
- Setting of user name
■
Password: ...
- Password setting
■
Authentication
- Setting for the type of verification
■
Normal
- Without verification
■
Safe
- Verification required
■
Reset Access Point (APN)
- Delete the parameters for the network setting
■
Save
- Store the parameters for the network setting
■
Network provider: ...
- Selection of the data service provider (the menu item is
visible when the data services are active in the SIM card inserted in the ex-
ternal module)
■
Data roaming
- Enable / disable the use of data roaming connection
■
Current connection details
- Display of information on data downloaded (by press-
ing the function key
Reset
the data information is deleted)
■
Data connection:
- Data service settings for the SIM card inserted in the external
module
■
Off
- Data services are turned off
■
Inquire
- Data services are actively seeking confirmation
■
On
- Data services are turned on
Wireless settings
Applies to Columbus, Amundsen (not applicable to Yeti).›
Press the button, then tap on the function surface
Tap →
WLAN
.
■
WLAN
- List of available hotspots of external devices
■
WLAN
- Turn on / off the device wireless
■
WPS Quick Connect (WPS button)
- Establishing a secure connection to the hot-
spot of the external device via WPS (applies to Amundsen)
■
Manual settings
- Setting the parameters for search and connection to the
hotspot of the external device ■
Network name
- Enter the Hotspot name
■
Network key
- Setting the access password
■
Security level:
- Adjustment of the coverage
■
WPA2
- WPA2 security
■
WPA
- WPA security
■
No security level
- No coverage (without required entry of the access pass-
word)
■
Connect
- Connection establishment
■
Search
- Search / Restore the list of available hotspots
■
Mobile hotspot
- Setting device hotspots (in the functional surface the symbol
is displayed with the number of connected external devices)
■
Mobile hotspot
- Turn on / off device hotspots
■
WPS Quick Connect (WPS button)
- Establishing a secure connection to the de-
vice via WPS hotspot (applies to Amundsen)
■
Hotspot settings
- Setting the parameters for the connection to the device
hotspot
■
Security level:
- Setting the connection coverage
■
WPA2
- WPA2 security
■
WPA
- WPA security
■
No security level
- No coverage (without required entry of the access pass-
word)
■
Network key
- Entering the access password
■
SSID: ...
- Name of the device hotspot
■
Do not send network name (SSID)
-Switch WLAN hotspot security on/off
■
Storage
- Storage of the device hotspot parameters
System information
›
Press the button, then tap on the function surface
Tap
→
system infor-mation
.
19Device operation and settings
Page 26 of 100
Automatic change from DAB to FM
With bad DAB reception the device tries to find an FM transmitter.
The station name is followed by (
) while the station is being received on the
FM band. The (
) marker disappears when the relevant DAB station can be re-
ceived again.
If a DAB station is also not available in the FM band due to poor reception, the
device will be switched to mute.
L-band
For the DAB radio reception in different countries, different broadcasting rang-
es are used. In some countries the DAB radio reception is only possible in the
so called L-band.
If no L-band DAB radio reception is possible in the country then we recom-
mend turning off the L-band. The channel scan is therefore faster.Media
Operation
Main menu
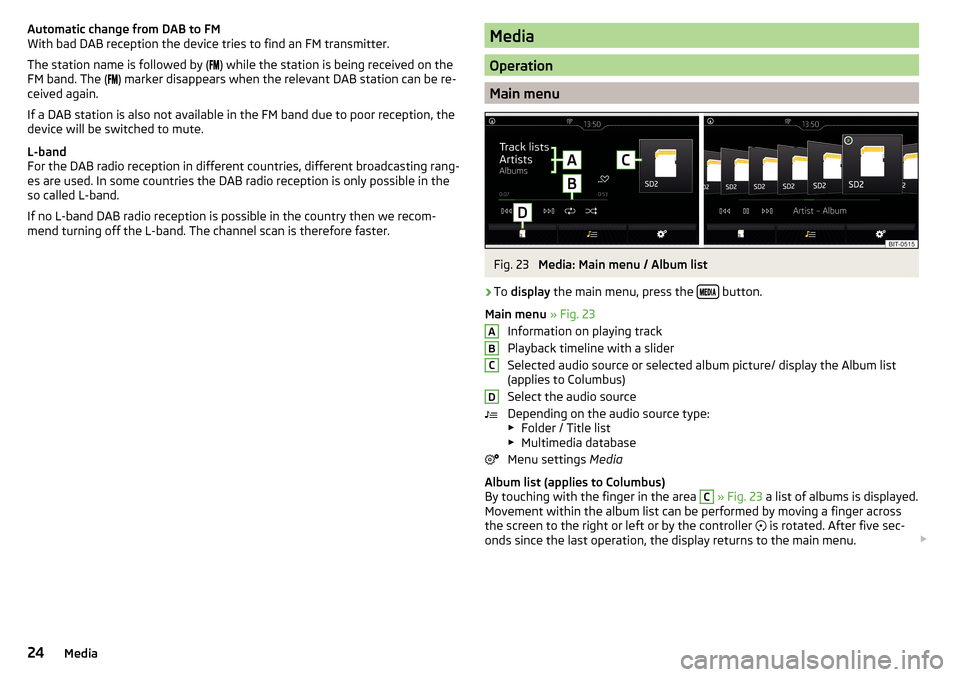
Fig. 23
Media: Main menu / Album list
›
To display the main menu, press the button.
Main menu » Fig. 23
Information on playing track
Playback timeline with a slider
Selected audio source or selected album picture/ display the Album list
(applies to Columbus)
Select the audio source
Depending on the audio source type:
▶ Folder / Title list
▶ Multimedia database
Menu settings Media
Album list (applies to Columbus)
By touching with the finger in the area
C
» Fig. 23 a list of albums is displayed.
Movement within the album list can be performed by moving a finger across
the screen to the right or left or by the controller is rotated. After five sec-
onds since the last operation, the display returns to the main menu.
ABCD24Media
Page 27 of 100
Note■Information concerning the given title appears on the screen, if they are stor-
ed as so-called ID3 Tags on the audio source. If no ID3 tag is available, only the
title name is displayed.■
The remaining playback time indicated does not correspond to the actual re-
maining playback time for titles with variable bit rates (VBR).
Select audio source
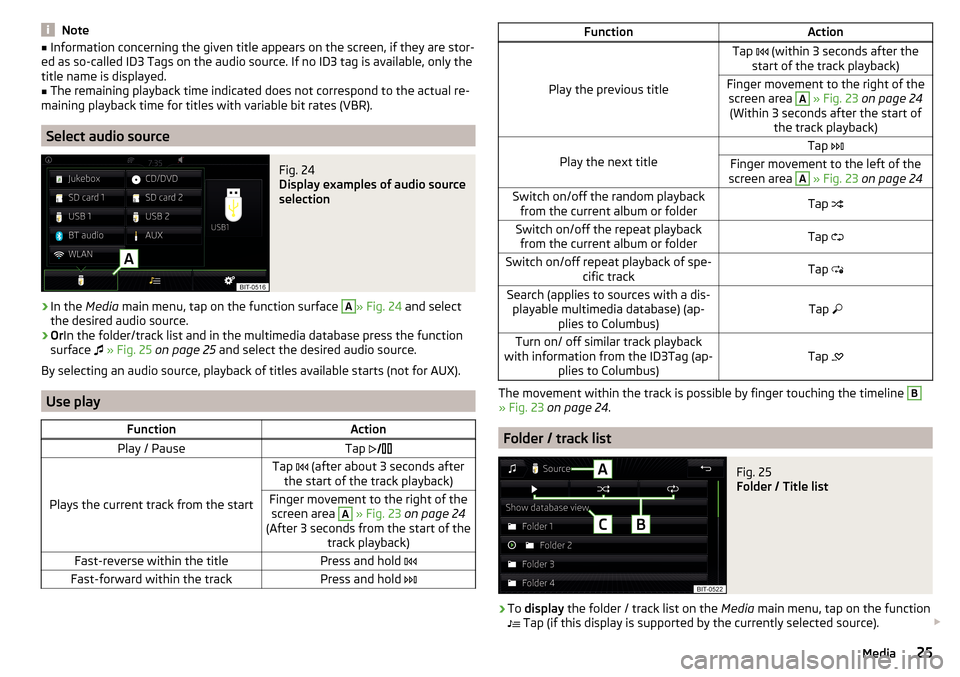
Fig. 24
Display examples of audio source
selection
›
In the Media main menu, tap on the function surface
A
» Fig. 24 and select
the desired audio source.
›
Or In the folder/track list and in the multimedia database press the function
surface
» Fig. 25 on page 25 and select the desired audio source.
By selecting an audio source, playback of titles available starts (not for AUX).
Use play
FunctionActionPlay / PauseTap
Plays the current track from the start
Tap (after about 3 seconds after
the start of the track playback)Finger movement to the right of the screen area A
» Fig. 23 on page 24
(After 3 seconds from the start of the track playback)Fast-reverse within the titlePress and hold Fast-forward within the trackPress and hold FunctionAction
Play the previous title
Tap (within 3 seconds after the
start of the track playback)Finger movement to the right of the screen area A
» Fig. 23 on page 24
(Within 3 seconds after the start of the track playback)Play the next title
Tap Finger movement to the left of the
screen area A
» Fig. 23 on page 24Switch on/off the random playback
from the current album or folderTap Switch on/off the repeat playback
from the current album or folderTap Switch on/off repeat playback of spe-
cific trackTap Search (applies to sources with a dis-
playable multimedia database) (ap- plies to Columbus)Tap Turn on/ off similar track playback
with information from the ID3Tag (ap- plies to Columbus)Tap
The movement within the track is possible by finger touching the timeline
B
» Fig. 23
on page 24 .
Folder / track list
Fig. 25
Folder / Title list
›
To display the folder / track list on the Media main menu, tap on the function
Tap (if this display is supported by the currently selected source).
25Media
Page 28 of 100
›to
playback select a title.
Folder/Title list » Fig. 25
Selected audio source / audio source folder (movement within the folder is
carried out by pressing the function surface for the folder)
Options folder/track playback
Display of multimedia database (available only for the display of the main
folder of the source)
Select the audio source
Folder
Playlist Currently playing title / track playback stopped
The title cannot be played (tapping on the function surface shows the
cause).
Note
■ In the list, the first 1000 entries (titles, directories etc.) are displayed with the
oldest creation date.■
The scanning speed of the folder / track list depends on the connection
speed and volume of data.
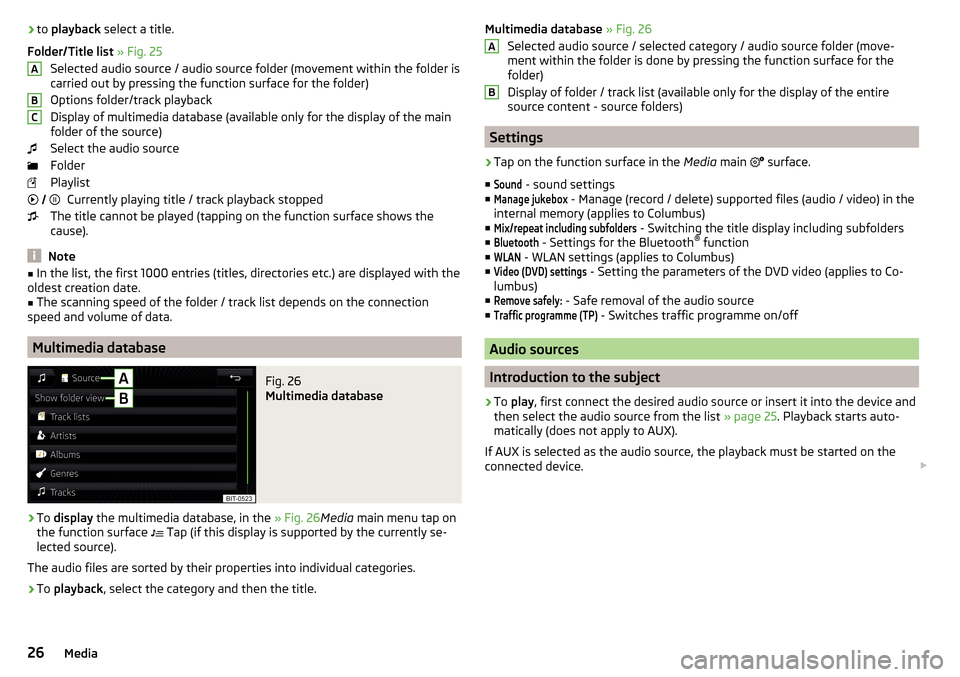
Multimedia database
Fig. 26
Multimedia database
›
To display the multimedia database, in the » Fig. 26Media main menu tap on
the function surface
Tap (if this display is supported by the currently se-
lected source).
The audio files are sorted by their properties into individual categories.
›
To playback , select the category and then the title.
ABC Multimedia database » Fig. 26
Selected audio source / selected category / audio source folder (move-
ment within the folder is done by pressing the function surface for the
folder)
Display of folder / track list (available only for the display of the entire
source content - source folders)
Settings
›
Tap on the function surface in the Media main
surface.
■
Sound
- sound settings
■
Manage jukebox
- Manage (record / delete) supported files (audio / video) in the
internal memory (applies to Columbus)
■
Mix/repeat including subfolders
- Switching the title display including subfolders
■
Bluetooth
- Settings for the Bluetooth ®
function
■
WLAN
- WLAN settings (applies to Columbus)
■
Video (DVD) settings
- Setting the parameters of the DVD video (applies to Co-
lumbus)
■
Remove safely:
- Safe removal of the audio source
■
Traffic programme (TP)
- Switches traffic programme on/off
Audio sources
Introduction to the subject
›
To play , first connect the desired audio source or insert it into the device and
then select the audio source from the list » page 25. Playback starts auto-
matically (does not apply to AUX).
If AUX is selected as the audio source, the playback must be started on the
connected device.
AB26Media
Page 29 of 100
CAUTION■Do not save any important data or that which has not been backed up on the
connected audio sources. ŠKODA assumes no responsibility for lost or dam-
aged files or connected audio sources.■
When changing or connecting an audio source, this may cause sudden
changes in volume. Reduce the volume before changing or connecting an au-
dio source.
■
When connecting an external audio source, the external source information
messages can be displayed. These messages must be observed and if neces-
sary confirmed (e.g. enabling data transfer etc).
Note
The national copyright laws that apply in your country must be observed.
Jukebox
Applies to Columbus.
In the Jukebox (in the unit's internal memory), supported audio / video files can
be imported from the connected audio sources.
Import files
›
Tap on the function
Tap →
Manage jukebox
→
Import
.
›
Select the desired source.
›
Select the desired folders or files.
›
Tap on the function
surface.
Delete files
›
Tap on the function
Tap →
Manage jukebox
→
Delete
.
›
Select the desired folder or files in the selected category.
›
Tap on the function
Tap →
Delete
.
Show level of the device memory
›
Tap on the function
Tap
Manage jukebox
.
It displays information about the occupied and free space on the device mem-
ory and the number of files that can not be imported.
Note
■ Files that have already been copied are recognized and cannot be copied
again (shown in grey).■
It is not possible to copy files while simultaneously playing back audio or vid-
eo files in the CD/DVD drive.
CD / DVD
Applies to Columbus.Fig. 27
CD/DVD case
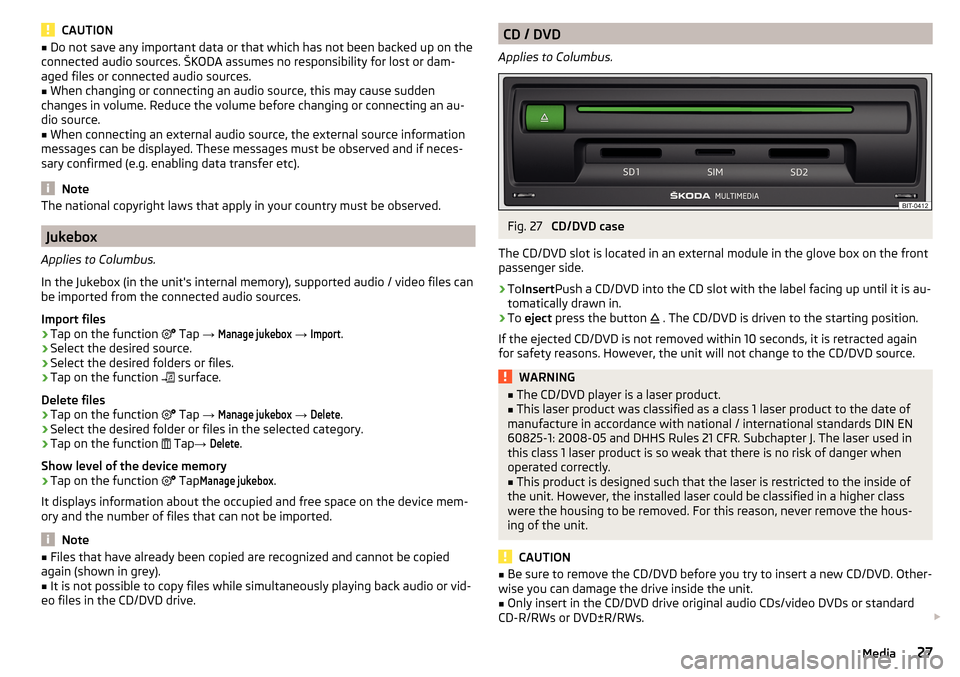
The CD/DVD slot is located in an external module in the glove box on the front
passenger side.
›
To Insert Push a CD/DVD into the CD slot with the label facing up until it is au-
tomatically drawn in.
›
To eject press the button
. The CD/DVD is driven to the starting position.
If the ejected CD/DVD is not removed within 10 seconds, it is retracted again
for safety reasons. However, the unit will not change to the CD/DVD source.
WARNING■ The CD/DVD player is a laser product.■This laser product was classified as a class 1 laser product to the date of
manufacture in accordance with national / international standards DIN EN 60825-1: 2008-05 and DHHS Rules 21 CFR. Subchapter J. The laser used in
this class 1 laser product is so weak that there is no risk of danger when
operated correctly.■
This product is designed such that the laser is restricted to the inside of
the unit. However, the installed laser could be classified in a higher class
were the housing to be removed. For this reason, never remove the hous-
ing of the unit.
CAUTION
■ Be sure to remove the CD/DVD before you try to insert a new CD/DVD. Other-
wise you can damage the drive inside the unit.■
Only insert in the CD/DVD drive original audio CDs/video DVDs or standard
CD-R/RWs or DVD±R/RWs.
27Media