language SKODA OCTAVIA 2011 2.G / (1Z) Amundsen Infotainment Navigation System Manual
[x] Cancel search | Manufacturer: SKODA, Model Year: 2011, Model line: OCTAVIA, Model: SKODA OCTAVIA 2011 2.G / (1Z)Pages: 31, PDF Size: 0.81 MB
Page 8 of 31

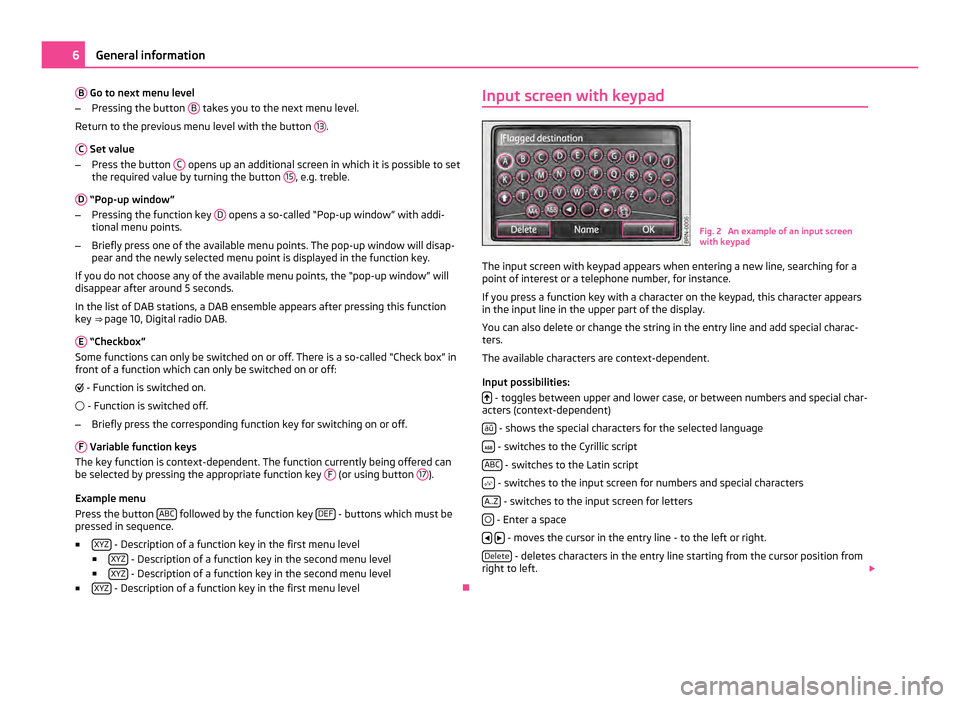
B
Go to next menu level
– Pressing the button B takes you to the next menu level.
Return to the previous menu level with the button 13 .
C Set value
– Press the button C opens up an additional screen in which it is possible to set
the required value by turning the button 15 , e.g. treble.
D “Pop-up window”
– Pressing the function key D opens a so-called “Pop-up window” with addi-
tional menu points.
– Briefly press one of the available menu points. The pop-up window will disap-
pear and the newly selected menu point is displayed in the function key.
If you do not choose any of the available menu points, the
“pop-up window” will
disappear after around 5 seconds.
In the list of DAB stations, a DAB ensemble appears after pressing this function
key ⇒ page 10, Digital radio DAB.
E “Checkbox”
Some functions can only be switched on or off. There is a so-called
“Check box” in
front of a function which can only be switched on or off:
- Function is switched on.
- Function is switched off.
– Briefly press the corresponding function key for switching on or off.
F Variable function keys
The key function is context-dependent. The function currently being offered can
be selected by pressing the appropriate function key F (or using button
17 ).
Example menu
Press the button ABC followed by the function key
DEF - buttons which must be
pressed in sequence.
■ XYZ - Description of a function key in the first menu level
■ XYZ - Description of a function key in the second menu level
■ XYZ - Description of a function key in the second menu level
■ XYZ - Description of a function key in the first menu level
ÐInput screen with keypad
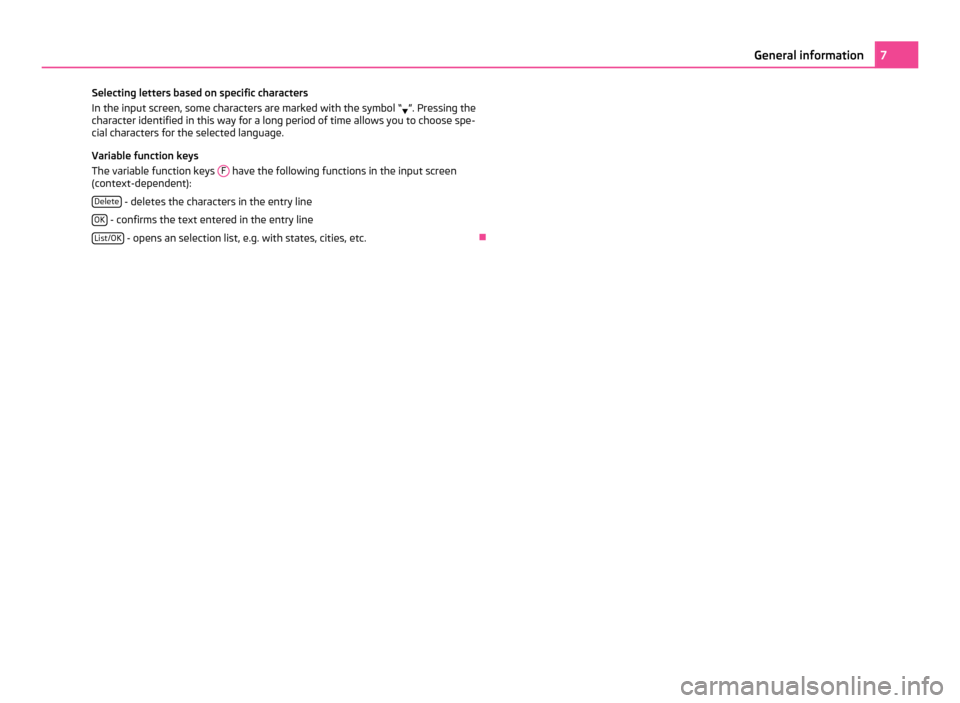
Fig. 2 An example of an input screen
with keypad
The input screen with keypad appears when entering a new line, searching for a
point of interest or a telephone number, for instance.
If you press a function key with a character on the keypad, this character appears
in the input line in the upper part of the display.
You can also delete or change the string in the entry line and add special charac-
ters.
The available characters are context-dependent.
Input possibilities: - toggles between upper and lower case, or between numbers and special char-
acters (context-dependent)
áü - shows the special characters for the selected language
- switches to the Cyrillic script
ABC - switches to the Latin script
- switches to the input screen for numbers and special characters
A..Z - switches to the input screen for letters
- Enter a space
- moves the cursor in the entry line - to the left or right.
Delete - deletes characters in the entry line starting from the cursor position from
right to left. 6
General information
Page 9 of 31

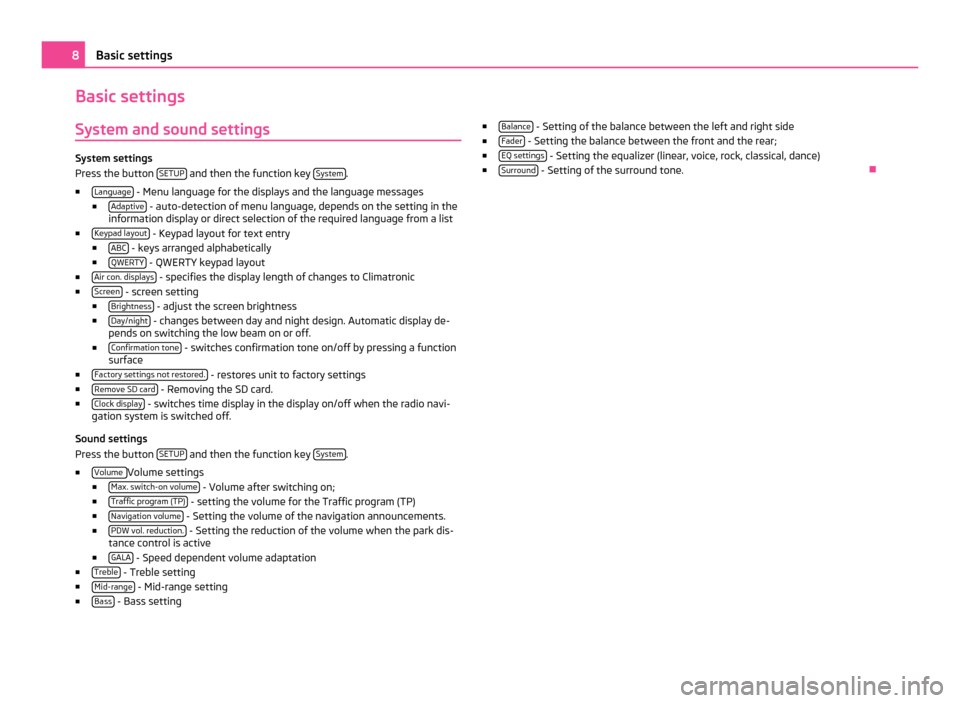
Selecting letters based on specific characters
In the input screen, some characters are marked with the symbol
“ ”. Pressing the
character identified in this way for a long period of time allows you to choose spe-
cial characters for the selected language.
Variable function keys
The variable function keys F have the following functions in the input screen
(context-dependent):
Delete - deletes the characters in the entry line
OK - confirms the text entered in the entry line
List/OK - opens an selection list, e.g. with states, cities, etc.
Ð 7
General information
Page 10 of 31

Basic settings
System and sound settings System settings
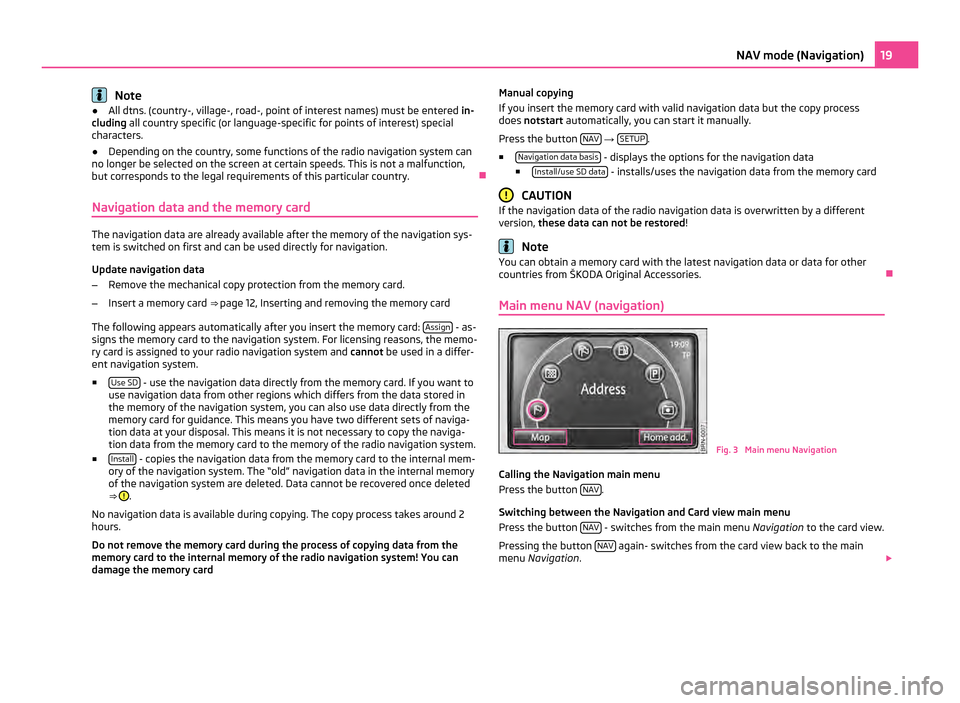
Press the button
SETUP and then the function key
System .
■ Language - Menu language for the displays and the language messages
■ Adaptive - auto-detection of menu language, depends on the setting in the
information display or direct selection of the required language from a list
■ Keypad layout - Keypad layout for text entry
■ ABC - keys arranged alphabetically
■ QWERTY - QWERTY keypad layout
■ Air con. displays - specifies the display length of changes to Climatronic
■ Screen - screen setting
■ Brightness - adjust the screen brightness
■ Day/night - changes between day and night design. Automatic display de-
pends on switching the low beam on or off.
■ Confirmation tone - switches confirmation tone on/off by pressing a function
surface
■ Factory settings not restored. - restores unit to factory settings
■ Remove SD card - Removing the SD card.
■ Clock display - switches time display in the display on/off when the radio navi-
gation system is switched off.
Sound settings
Press the button SETUP and then the function key
System .
■ Volume Volume settings
■ Max. switch-on volume - Volume after switching on;
■ Traffic program (TP) - setting the volume for the Traffic program (TP)
■ Navigation volume - Setting the volume of the navigation announcements.
■ PDW vol. reduction. - Setting the reduction of the volume when the park dis-
tance control is active
■ GALA - Speed dependent volume adaptation
■ Treble - Treble setting
■ Mid-range - Mid-range setting
■ Bass - Bass setting ■
Balance - Setting of the balance between the left and right side
■ Fader - Setting the balance between the front and the rear;
■ EQ settings - Setting the equalizer (linear, voice, rock, classical, dance)
■ Surround - Setting of the surround tone.
Ð8
Basic settings
Page 21 of 31

Note
● All dtns. (country-, village-, road-, point of interest names) must be entered in-
cluding all country specific (or language-specific for points of interest) special
characters.
● Depending on the country, some functions of the radio navigation system can
no longer be selected on the screen at certain speeds. This is not a malfunction,
but corresponds to the legal requirements of this particular country. Ð
Navigation data and the memory card The navigation data are already available after the memory of the navigation sys-
tem is switched on first and can be used directly for navigation.
Update navigation data
– Remove the mechanical copy protection from the memory card.
– Insert a memory card ⇒ page 12, Inserting and removing the memory card
The following appears automatically after you insert the memory card: Assign - as-
signs the memory card to the navigation system. For licensing reasons, the memo-
ry card is assigned to your radio navigation system and cannot be used in a differ-
ent navigation system.
■ Use SD - use the navigation data directly from the memory card. If you want to
use navigation data from other regions which differs from the data stored in
the memory of the navigation system, you can also use data directly from the
memory card for guidance. This means you have two different sets of naviga-
tion data at your disposal. This means it is not necessary to copy the naviga-
tion data from the memory card to the memory of the radio navigation system.
■ Install - copies the navigation data from the memory card to the internal mem-
ory of the navigation system. The
“old” navigation data in the internal memory
of the navigation system are deleted. Data cannot be recovered once deleted
⇒ .
No navigation data is available during copying. The copy process takes around 2
hours.
Do not remove the memory card during the process of copying data from the
memory card to the internal memory of the radio navigation system! You can
damage the memory card Manual copying
If you insert the memory card with valid navigation data but the copy process
does not
start automatically, you can start it manually.
Press the button NAV →
SETUP .
■ Navigation data basis - displays the options for the navigation data
■ Install/use SD data - installs/uses the navigation data from the memory card
CAUTION
If the navigation data of the radio navigation data is overwritten by a different
version, these data can not be restored ! Note
You can obtain a memory card with the latest navigation data or data for other
countries from
ŠKODA Original Accessories. Ð
Main menu NAV (navigation) Fig. 3 Main menu Navigation
Calling the Navigation main menu
Press the button NAV .
Switching between the Navigation and Card view main menu
Press the button NAV - switches from the main menu
Navigation to the card view.
Pressing the button NAV again- switches from the card view back to the main
menu Navigation . 19
NAV mode (Navigation)