oil level SKODA OCTAVIA 2013 3.G / (5E) Owner's Manual
[x] Cancel search | Manufacturer: SKODA, Model Year: 2013, Model line: OCTAVIA, Model: SKODA OCTAVIA 2013 3.G / (5E)Pages: 287, PDF Size: 18.55 MB
Page 24 of 287
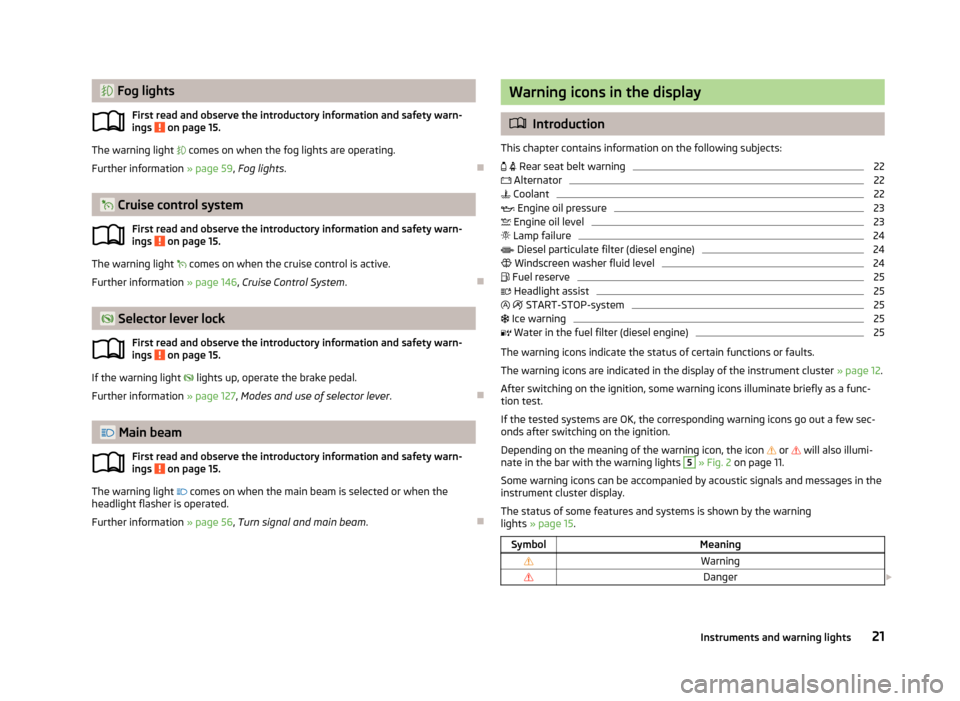
Fog lightsFirst read and observe the introductory information and safety warn-
ings
on page 15.
The warning light comes on when the fog lights are operating.
Further information » page 59, Fog lights .
Cruise control system
First read and observe the introductory information and safety warn-
ings
on page 15.
The warning light
comes on when the cruise control is active.
Further information » page 146, Cruise Control System .
Selector lever lock
First read and observe the introductory information and safety warn-
ings
on page 15.
If the warning light
lights up, operate the brake pedal.
Further information » page 127, Modes and use of selector lever .
Main beam
First read and observe the introductory information and safety warn-ings
on page 15.
The warning light
comes on when the main beam is selected or when the
headlight flasher is operated.
Further information » page 56, Turn signal and main beam .
Warning icons in the display
Introduction
This chapter contains information on the following subjects:
Rear seat belt warning
22
Alternator
22
Coolant
22
Engine oil pressure
23
Engine oil level
23
Lamp failure
24
Diesel particulate filter (diesel engine)
24
Windscreen washer fluid level
24
Fuel reserve
25
Headlight assist
25
START-STOP-system
25
Ice warning
25
Water in the fuel filter (diesel engine)
25
The warning icons indicate the status of certain functions or faults.
The warning icons are indicated in the display of the instrument cluster » page 12.
After switching on the ignition, some warning icons illuminate briefly as a func- tion test.
If the tested systems are OK, the corresponding warning icons go out a few sec-
onds after switching on the ignition.
Depending on the meaning of the warning icon, the icon
or
will also illumi-
nate in the bar with the warning lights
5
» Fig. 2 on page 11.
Some warning icons can be accompanied by acoustic signals and messages in the
instrument cluster display.
The status of some features and systems is shown by the warning
lights » page 15 .
SymbolMeaningWarningDanger 21Instruments and warning lights
Page 26 of 287
WARNING■If you have to stop for technical reasons, then park the vehicle at a safe dis-
tance from the traffic, switch off the engine and switch on the hazard warning lights » page 61 . The warning triangle must be set up at the prescribed dis-
tance - observe the national legal provisions when doing so.■
Carefully open the coolant expansion bottle. If the engine is hot, the cooling
system is pressurized – risk of scalding! It is therefore best to allow the engine
to cool down before removing the cap.
■
Do not touch the radiator fan. The radiator fan may switch itself on auto-
matically even if the ignition is off.
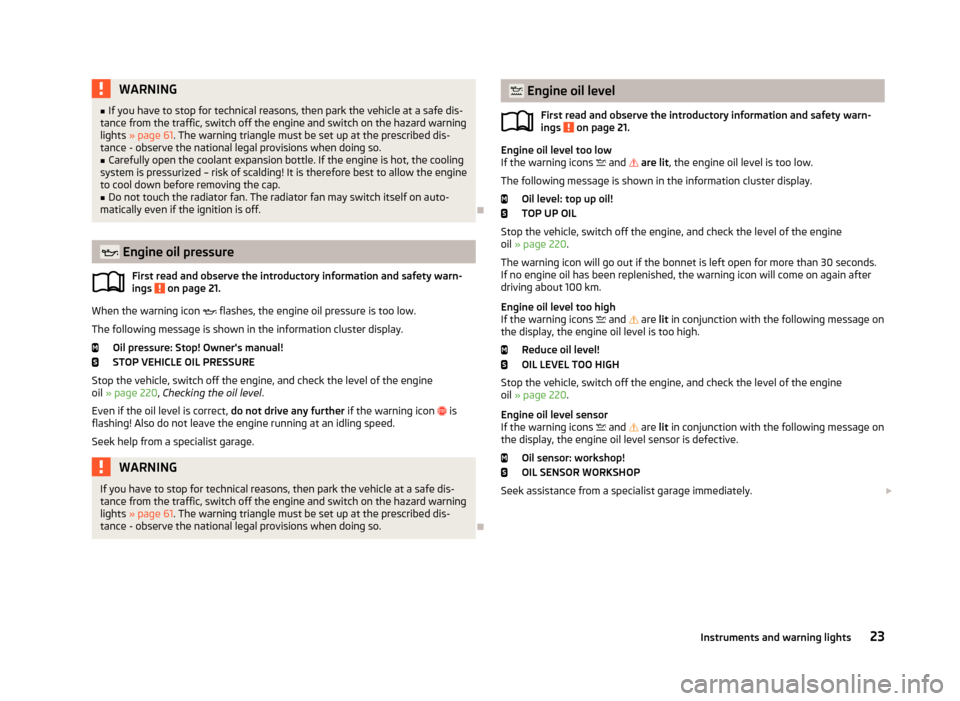
Engine oil pressure
First read and observe the introductory information and safety warn-
ings
on page 21.
When the warning icon
flashes, the engine oil pressure is too low.
The following message is shown in the information cluster display. Oil pressure: Stop! Owner's manual!
STOP VEHICLE OIL PRESSURE
Stop the vehicle, switch off the engine, and check the level of the engine
oil » page 220 , Checking the oil level .
Even if the oil level is correct, do not drive any further if the warning icon
is
flashing! Also do not leave the engine running at an idling speed.
Seek help from a specialist garage.
WARNINGIf you have to stop for technical reasons, then park the vehicle at a safe dis-
tance from the traffic, switch off the engine and switch on the hazard warning
lights » page 61 . The warning triangle must be set up at the prescribed dis-
tance - observe the national legal provisions when doing so.
Engine oil level
First read and observe the introductory information and safety warn-
ings
on page 21.
Engine oil level too low
If the warning icons and are lit , the engine oil level is too low.
The following message is shown in the information cluster display. Oil level: top up oil!
TOP UP OIL
Stop the vehicle, switch off the engine, and check the level of the engine
oil » page 220 .
The warning icon will go out if the bonnet is left open for more than 30 seconds.
If no engine oil has been replenished, the warning icon will come on again after
driving about 100 km.
Engine oil level too high
If the warning icons
and
are lit in conjunction with the following message on
the display, the engine oil level is too high.
Reduce oil level!
OIL LEVEL TOO HIGH
Stop the vehicle, switch off the engine, and check the level of the engine
oil » page 220 .
Engine oil level sensor
If the warning icons
and
are lit in conjunction with the following message on
the display, the engine oil level sensor is defective.
Oil sensor: workshop!
OIL SENSOR WORKSHOP
Seek assistance from a specialist garage immediately.
23Instruments and warning lights
Page 27 of 287
WARNING■Do not continue your journey if for some reason it is not possible to top up
the engine oil ! Switch off the engine and seek assistance from a specialist
garage.■
If you have to stop for technical reasons, then park the vehicle at a safe dis-
tance from the traffic, switch off the engine and switch on the hazard warning
lights » page 61 . The warning triangle must be set up at the prescribed dis-
tance - observe the national legal provisions when doing so.
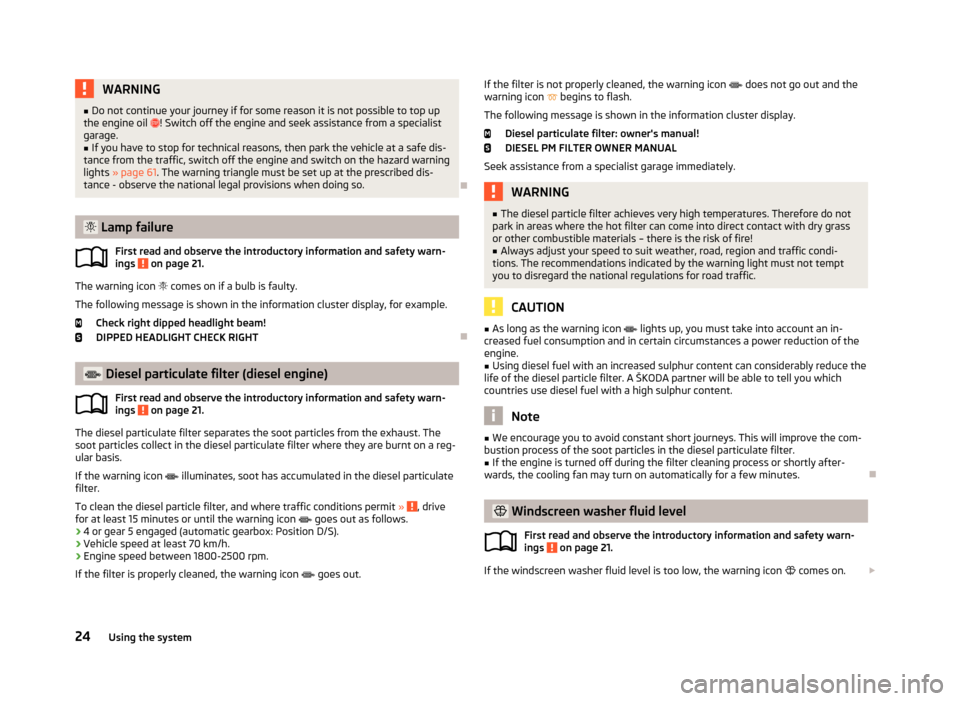
Lamp failure
First read and observe the introductory information and safety warn-
ings
on page 21.
The warning icon
comes on if a bulb is faulty.
The following message is shown in the information cluster display, for example. Check right dipped headlight beam!
DIPPED HEADLIGHT CHECK RIGHT
Diesel particulate filter (diesel engine)
First read and observe the introductory information and safety warn-ings
on page 21.
The diesel particulate filter separates the soot particles from the exhaust. The
soot particles collect in the diesel particulate filter where they are burnt on a reg-
ular basis.
If the warning icon
illuminates, soot has accumulated in the diesel particulate
filter.
To clean the diesel particle filter, and where traffic conditions permit »
, drive
for at least 15 minutes or until the warning icon
goes out as follows.
› 4 or gear 5 engaged (automatic gearbox: Position D/S).
› Vehicle speed at least 70 km/h.
› Engine speed between 1800-2500 rpm.
If the filter is properly cleaned, the warning icon
goes out.
If the filter is not properly cleaned, the warning icon does not go out and the
warning icon begins to flash.
The following message is shown in the information cluster display. Diesel particulate filter: owner's manual!DIESEL PM FILTER OWNER MANUAL
Seek assistance from a specialist garage immediately.WARNING■ The diesel particle filter achieves very high temperatures. Therefore do not
park in areas where the hot filter can come into direct contact with dry grass
or other combustible materials – there is the risk of fire!■
Always adjust your speed to suit weather, road, region and traffic condi-
tions. The recommendations indicated by the warning light must not tempt
you to disregard the national regulations for road traffic.
CAUTION
■ As long as the warning icon lights up, you must take into account an in-
creased fuel consumption and in certain circumstances a power reduction of the
engine.■
Using diesel fuel with an increased sulphur content can considerably reduce the
life of the diesel particle filter. A ŠKODA partner will be able to tell you which
countries use diesel fuel with a high sulphur content.
Note
■ We encourage you to avoid constant short journeys. This will improve the com-
bustion process of the soot particles in the diesel particulate filter.■
If the engine is turned off during the filter cleaning process or shortly after-
wards, the cooling fan may turn on automatically for a few minutes.
Windscreen washer fluid level
First read and observe the introductory information and safety warn-ings
on page 21.
If the windscreen washer fluid level is too low, the warning icon comes on.
24Using the system
Page 33 of 287
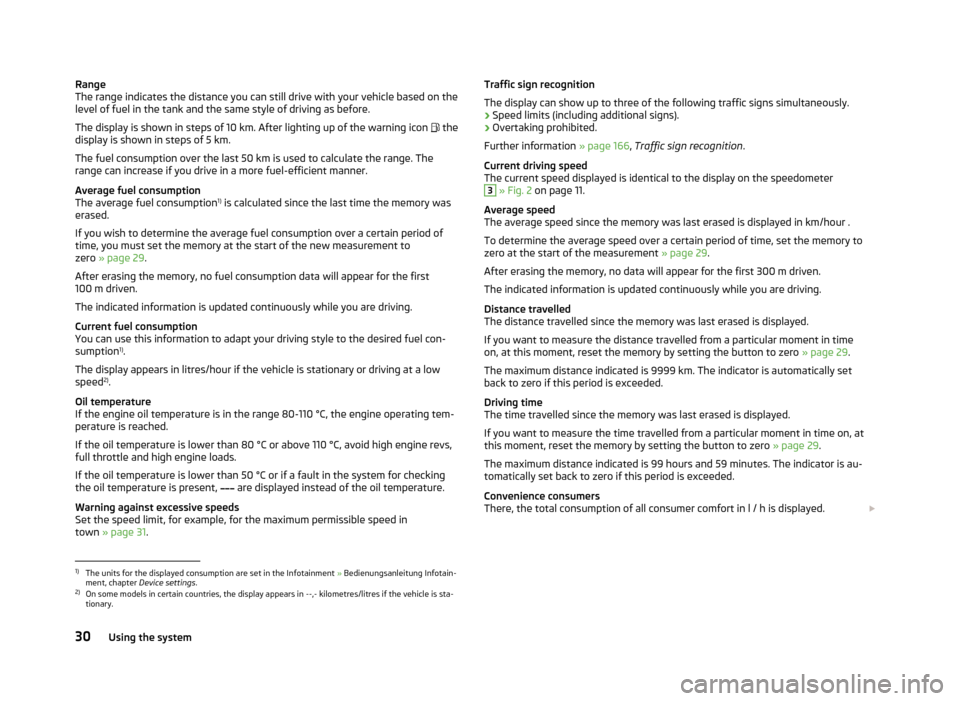
Range
The range indicates the distance you can still drive with your vehicle based on the
level of fuel in the tank and the same style of driving as before.
The display is shown in steps of 10 km. After lighting up of the warning icon the
display is shown in steps of 5 km.
The fuel consumption over the last 50 km is used to calculate the range. The
range can increase if you drive in a more fuel-efficient manner.
Average fuel consumption
The average fuel consumption 1)
is calculated since the last time the memory was
erased.
If you wish to determine the average fuel consumption over a certain period of
time, you must set the memory at the start of the new measurement to zero » page 29 .
After erasing the memory, no fuel consumption data will appear for the first
100 m driven.
The indicated information is updated continuously while you are driving.
Current fuel consumption
You can use this information to adapt your driving style to the desired fuel con-
sumption 1)
.
The display appears in litres/hour if the vehicle is stationary or driving at a low
speed 2)
.
Oil temperature
If the engine oil temperature is in the range 80-110 °C, the engine operating tem-
perature is reached.
If the oil temperature is lower than 80 °C or above 110 °C, avoid high engine revs,
full throttle and high engine loads.
If the oil temperature is lower than 50 °C or if a fault in the system for checking the oil temperature is present,
are displayed instead of the oil temperature.
Warning against excessive speeds
Set the speed limit, for example, for the maximum permissible speed in
town » page 31 .Traffic sign recognition
The display can show up to three of the following traffic signs simultaneously.
› Speed limits (including additional signs).
› Overtaking prohibited.
Further information » page 166, Traffic sign recognition .
Current driving speed
The current speed displayed is identical to the display on the speedometer3
» Fig. 2 on page 11.
Average speed
The average speed since the memory was last erased is displayed in km/hour .
To determine the average speed over a certain period of time, set the memory to
zero at the start of the measurement » page 29.
After erasing the memory, no data will appear for the first 300 m driven. The indicated information is updated continuously while you are driving.
Distance travelled
The distance travelled since the memory was last erased is displayed.
If you want to measure the distance travelled from a particular moment in time on, at this moment, reset the memory by setting the button to zero » page 29.
The maximum distance indicated is 9999 km. The indicator is automatically set
back to zero if this period is exceeded.
Driving time
The time travelled since the memory was last erased is displayed.
If you want to measure the time travelled from a particular moment in time on, at this moment, reset the memory by setting the button to zero » page 29.
The maximum distance indicated is 99 hours and 59 minutes. The indicator is au- tomatically set back to zero if this period is exceeded.
Convenience consumers
There, the total consumption of all consumer comfort in l / h is displayed.
1)
The units for the displayed consumption are set in the Infotainment
» Bedienungsanleitung Infotain-
ment, chapter Device settings .
2)
On some models in certain countries, the display appears in --,- kilometres/litres if the vehicle is sta-
tionary.
30Using the system
Page 137 of 287
Avoiding unnecessary ballastFirst read and observe the introductory information and safety warn-
ings
on page 131.
Transporting ballast costs fuel.
Each kilogramme of weight increases the fuel consumption. Therefore, we rec-
ommend to carry no unnecessary weight.
It is particularly in town traffic, when one is accelerating quite often, that the ve-
hicle weight will have a significant effect upon the fuel consumption. A rule of
thumb here is that an increase in weight of 100 kilograms will cause an increase
in fuel consumption of about 1 litre/100 kilometres.
At a speed of 100 - 120 km/h, a vehicle fitted with a roof rack cross member with-
out a load will use about 10 % more fuel than normal due to the increased aero-
dynamic drag.
Regular maintenance
First read and observe the introductory information and safety warn-
ings
on page 131.
A poorly tuned engine uses an unnecessarily high amount of fuel.
By having your vehicle regularly maintained by a specialist garage, you create the conditions needed for economical driving. The maintenance state of your vehicle has a positive effect on traffic safety and value retention.
A poorly tuned engine can result in a fuel consumption which is 10 % higher thannormal!
Check the oil at regular intervals, e.g. when filling up. Oil consumption is depend-
ent to a considerable extent on the load and speed of the engine. Oil consump-
tion could be as high as 0.5 litres/1000 km depending on your style of driving.
It is quite normal that a new engine has a higher oil consumption at first, and rea- ches its lowest level only after a certain running in time. The oil consumption of anew vehicle can therefore only be correctly assessed after driving about 5000 km.
For the sake of the environment■ Additional improvements to the fuel economy can be made by using synthetic
high-lubricity oils.■
Regularly check the ground under the vehicle. Have your vehicle inspected by a
specialist garage if you find any stains caused by oil or other fluids on the ground.
Note
We recommend that your vehicle be serviced on a regular basis by a ŠKODA serv- ice partner.
Saving electrical energy
First read and observe the introductory information and safety warn-ings
on page 131.
When the engine is running, the alternator generates and supplies electrical pow- er. If more electrical components of the electrical system are switched on, more
fuel is needed to operate the alternator. We therefore recommend switching off
electrical components if these are no longer required.
Environmental compatibility
First read and observe the introductory information and safety warn-ings
on page 131.
Environmental protection has played a major role in the design, selection of mate-
rials, and manufacture of your new ŠKODA. Particular emphasis has been placed
on the following points.
Design measures › Joints designed to be easily detached.
› Simplified disassembly due to the modular structure system.
› Improved purity of different classes of materials.
› Identification of all plastic parts in accordance with VDA Recommendation 260.
› Reduced fuel consumption and exhaust emission CO
2.
› Minimum fuel leakage during accidents.
› Reduced noise.
134Driving
Page 138 of 287

Choice of materials› Extensive use of recyclable material.
› Air conditioning filled with CFC-free refrigerant.
› No cadmium.
› No asbestos.
› Reduction in the “vaporisation” of plastics.
Manufacture › Solvent-free cavity protection.
› Solvent-free protection of the vehicle for transportation from the production
plant to the customer.
› The use of solvent-free adhesives.
› No CFCs used in the production process.
› Without use of mercury.
› Use of water-soluble paints.
Trade-in and recycling of old cars
ŠKODA meets the requirements of the brand and its products with regard to pro-
tecting the environment and the preserving resources. All new ŠKODA vehicles
can be utilized up to 95 % and always 1)
be returned.
In a lot of countries sufficient trade-in networks have been created, where you
can trade-in your vehicle. After you trade-in your vehicle, you will receive a confir-
mation stating the recycling in accordance with environmental regulations.
Note
You can find more detailed information about the trade-in and recycling of old
cars from a specialist garage.
Avoiding damage to your vehicle
Introduction
This chapter contains information on the following subjects:
General information
135
Driving through water on streets
135
General information
First read and observe the introductory information given on page 135.
Pay attention to low-slung parts of the vehicle, such as the spoiler and exhaust,particularly in the following situations.
› When driving on poorly maintained roads and lanes.
› When driving over kerb stones.
› When driving on steep ramps, etc.
Particular attention is necessary for vehicle with a sport suspension and when then vehicle is fully laden.
Driving through water on streets
Fig. 126
Driving through water
First read and observe the introductory information given on page 135.
The following must be observed to avoid damage to the vehicle when driving
through bodies of water (e.g. flooded roads).
›
Determine the depth of the water when driving through bodies of water.
The water level must not reach above the bar on the lower beam » Fig. 126.
›
Do not drive any faster than at a walking speed.
At a higher speed, a water wave can form in front of the vehicle which can cause water to penetrate into the air induction system of the engine or into other parts of the vehicle.
1)
Subject to fulfilment of the national legal requirements.
135Starting-off and Driving
Page 222 of 287
CAUTION■Under no circumstances must radiator antifreeze or other additives be added to
the windscreen washer fluid.■
If the vehicle is fitted with a headlight cleaning system, only cleaning products
which do not attack the polycarbonate coating of the headlights must be added
to the windscreen washer fluid.
■
Do not remove the filter from the windscreen washer fluid reservoir when re-
plenishing it with liquid otherwise the liquid transportation system can be conta-
minated, which can cause the windscreen washer system to malfunction.
Engine oil
Introduction
This chapter contains information on the following subjects:
Specifications and capacity
219
Checking the oil level
220
Replenishing
221
Changing
221
The engine has been factory-filled with a high-grade oil that can be use through-
out the year - except in extreme climate zones.
The engine oils are undergoing continuous further development. Thus the infor-
mation stated in this Owner's Manual is only correct at the time of publication.
ŠKODA Service Partners are informed about the latest changes by the manufac-
turer. We therefore recommend that the oil change be completed by a ŠKODA
Service Partner.
The specifications (VW standards) stated in the following can be indicated sepa-
rately or together with other specifications on the bottle.
The oil capacities include oil filter change. Check the oil level when filling; do not
over fill. The oil level must be between the markings » page 220.
WARNING■
The engine compartment of your car is a hazardous area. The following
warning instructions must be followed at all times when working in the en-
gine compartment » page 215.■
Do not continue your journey if for some reason it is not possible to top
up the engine oil! Switch off the engine and seek assistance from a specialist
garage.
■
If the oil level is above level
A
» Fig. 184 on page 220, do not cointinue to
drive! Switch off the engine and seek assistance from a specialist garage.
CAUTION
Do not pour any additives into the engine oil – risk of serious damage to the en-
gine parts!
Note
■ Before a long drive we recommend that you purchase and carry with you engine
oil which complies with the specification for your vehicle.■
We recommend that you use oils from ŠKODA Original Accessories.
■
If your skin has come into contact with oil, it must be washed thoroughly.
Specifications and capacity
First read and observe the introductory information and safety warn-
ings
on page 219.
Specifications and capacity (in l) for vehicles with flexible service intervals
Petrol enginesSpecificationFilling level1.2 l/63, 77 kW TSI
VW 504 00
4.01.4 litres/103 kW TSI1.8 ltr./132 kW TSI5.22.0 ltr./162 kW TSI5.7Diesel enginesSpecificationFilling level1.6 l/66, 77, 81 kW TDIVW 507 00 a)4.62.0 l/110, 135 kW TDI CRa)
Engine oil VW 505 01 can optionally be used in diesel engines without a
DPF.
219Inspecting and replenishing
Page 223 of 287
Specifications and capacity (in l) for vehicles with fixed service intervalsPetrol enginesSpecificationFilling level1.2 l/63, 77 kW TSI
VW 502 00
4.01.4 litres/103 kW TSI1.8 ltr./132 kW TSI5.22.0 ltr./162 kW TSI5.7Diesel enginesSpecificationFilling level1.6 l/66, 77, 81 kW TDIVW 507 00a)4.62.0 l/105, 110, 135 kW TDIa)
Engine oil VW 505 01 can optionally be used in diesel engines without a
DPF.
CAUTION
■
If the above engine oils are not available, a different engine oil can be used in
an emergency. To prevent damage to the engine, a max. 0.5 l only of the follow-
ing engine oils may be used until the next oil change: ■ For petrol engine models: ACEA A3/ACEA B4 or API SN/API SM;
■ For diesel engine models: ACEA C3 or API CJ-4.
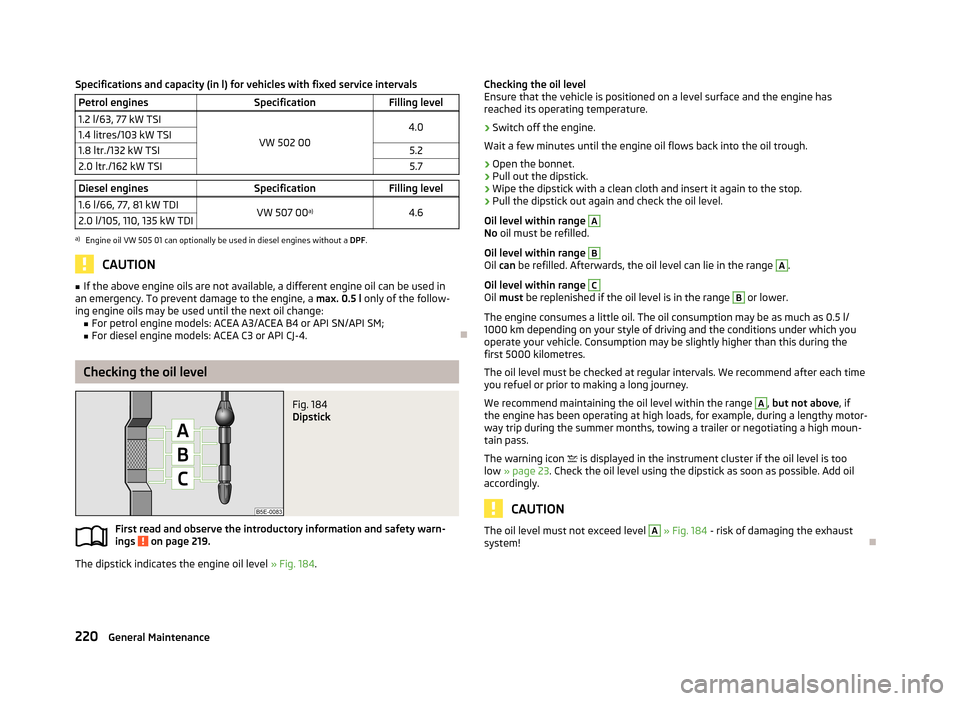
Checking the oil level
Fig. 184
Dipstick
First read and observe the introductory information and safety warn-
ings on page 219.
The dipstick indicates the engine oil level » Fig. 184.
Checking the oil level
Ensure that the vehicle is positioned on a level surface and the engine has
reached its operating temperature.›
Switch off the engine.
Wait a few minutes until the engine oil flows back into the oil trough.
›
Open the bonnet.
›
Pull out the dipstick.
›
Wipe the dipstick with a clean cloth and insert it again to the stop.
›
Pull the dipstick out again and check the oil level.
Oil level within range
A
No oil must be refilled.
Oil level within range
B
Oil can be refilled. Afterwards, the oil level can lie in the range
A
.
Oil level within range
C
Oil must be replenished if the oil level is in the range
B
or lower.
The engine consumes a little oil. The oil consumption may be as much as 0.5 l/
1000 km depending on your style of driving and the conditions under which you
operate your vehicle. Consumption may be slightly higher than this during the
first 5000 kilometres.
The oil level must be checked at regular intervals. We recommend after each time
you refuel or prior to making a long journey.
We recommend maintaining the oil level within the range
A
, but not above , if
the engine has been operating at high loads, for example, during a lengthy motor-
way trip during the summer months, towing a trailer or negotiating a high moun-
tain pass.
The warning icon
is displayed in the instrument cluster if the oil level is too
low » page 23 . Check the oil level using the dipstick as soon as possible. Add oil
accordingly.
CAUTION
The oil level must not exceed level A » Fig. 184 - risk of damaging the exhaust
system!
220General Maintenance
Page 224 of 287
ReplenishingFirst read and observe the introductory information and safety warn-
ings
on page 219.
›
Check the oil level » page 220.
›
Unscrew the cap of the engine oil filler opening » Fig. 182 on page 218.
›
Replenish the oil in portions of 0.5 litres in accordance with the correct specifi-
cations » page 219 .
›
Check the oil level » page 220.
›
Carefully screw on the oil filler opening cap and push the dipstick in fully.
Changing
First read and observe the introductory information and safety warn-ings
on page 219.
The engine oil must be changed according to prescribed service inter-vals » page 198 or according to the service interval display » page 33.
Coolant
Introduction
This chapter contains information on the following subjects:
Capacity
222
Checking the coolant level
222
Replenishing
222
The coolant consists of water with a concentration of coolant additive. This mix-
ture guarantees antifreeze protection, protects the cooling/heater system
against corrosion and prevents the formation of scale.
Vehicles exported to countries with a mild climate are already factory-filled with
a coolant which offers antifreeze protection down to about -25 ℃. In these coun-
tries the concentration of coolant additive should be at least 40 %.
Vehicles exported to countries with a cold climate are already factory-filled with a
coolant which offers antifreeze protection down to about -35 °C. In these coun-
tries the concentration of coolant additive should be at least 50 %.
If a higher concentration of antifreeze is required for climatic reasons, the amount
of coolant additive can only be increased up to a maximum of 60 % (antifreeze
protection down to approx. -40 °C).
When refilling, only use antifreeze with the name specified on the coolant expan-
sion tank » Fig. 185 on page 222.WARNING■
The engine compartment of your car is a hazardous area. While working in
the engine compartment, be sure to observe the following warn- ings » page 215 .■
Do not continue your journey, if for some reason it is not possible to top
up the coolant under the prevailing conditions! Switch off the engine and seek
assistance from a specialist garage.
CAUTION
■ The amount of coolant additive in the coolant must never be allowed to be less
than 40 %.■
Over 60 % of coolant additive in the coolant reduces the antifreeze protection
and coolant effectiveness.
■
A coolant additive that does not comply with the correct specifications can sig-
nificantly reduce the corrosion protection.
■
Any faults resulting from corrosion may cause a loss of coolant and can conse-
quently result in major engine damage!
■
Do not fill the coolant above the mark
A
» Fig. 185 on page 222.
■
If a fault causes the engine to overheat, we recommend visiting a specialist ga-
rage, as otherwise serious engine damage may occur.
221Inspecting and replenishing
Page 226 of 287
Do not use an alternative additive if the specified coolant is not available in anemergency. In this case, use just water and have the correct mixing ratio of waterand coolant additive restored by a specialist garage as soon as possible.
Brake fluid
Introduction
This chapter contains information on the following subjects:
Checking the brake fluid level
223
Changing
223WARNING■ The engine compartment of your car is a hazardous area. The following
warning instructions must be followed at all times when working in the en-
gine compartment » page 215.■
If the fluid level has dropped below the MIN marking » Fig. 186 on page 223,
do not continue your journey - risk of accident! Seek help from a specialist
garage.
■
Do not use used brake fluid - the function of the brake system may be im-
paired – risk of accident!
CAUTION
Brake fluid damages the paintwork of the vehicle.
Note
The brake fluid is changed as part of a prescribed inspection services.
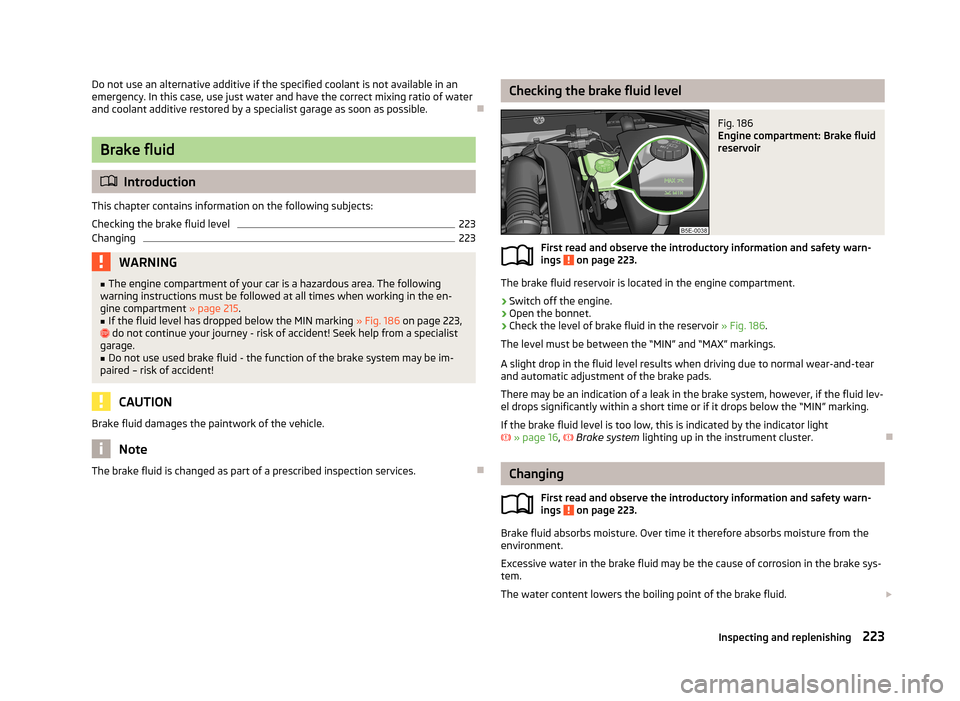
Checking the brake fluid levelFig. 186
Engine compartment: Brake fluid
reservoir
First read and observe the introductory information and safety warn-
ings on page 223.
The brake fluid reservoir is located in the engine compartment.
›
Switch off the engine.
›
Open the bonnet.
›
Check the level of brake fluid in the reservoir » Fig. 186.
The level must be between the “MIN” and “MAX” markings.
A slight drop in the fluid level results when driving due to normal wear-and-tear and automatic adjustment of the brake pads.
There may be an indication of a leak in the brake system, however, if the fluid lev-
el drops significantly within a short time or if it drops below the “MIN” marking.
If the brake fluid level is too low, this is indicated by the indicator light » page 16 ,
Brake system lighting up in the instrument cluster.
Changing
First read and observe the introductory information and safety warn-ings
on page 223.
Brake fluid absorbs moisture. Over time it therefore absorbs moisture from the
environment.
Excessive water in the brake fluid may be the cause of corrosion in the brake sys-
tem.
The water content lowers the boiling point of the brake fluid.
223Inspecting and replenishing