ESP SKODA OCTAVIA 2015 3.G / (5E) Blues Infotinment Syst
[x] Cancel search | Manufacturer: SKODA, Model Year: 2015, Model line: OCTAVIA, Model: SKODA OCTAVIA 2015 3.G / (5E)Pages: 31, PDF Size: 1.51 MB
Page 5 of 31
Important information about this manual
This Owner's Manual describes all possible device functions without identify-
ing them as special equipment, model variants or market-dependent equip-
ment. Consequently, the device on this vehicle does not need to contain all of
the functions described in this Owner's Manual.
The availability of some features described in this manual depends on the
type of external devices (for example, music player, etc.).
The Images in these Operating Instructions are for illustrative purposes only.
The illustrations can differ in minor details from your vehicle; they are only in-
tended to provide general information.
ŠKODA AUTO a.s. pursues a policy of constant product and model develop-
ment. Changes in terms of supply scope are possible at any time with regard to
design, equipment and technology. The information listed in these Operating
Instructions corresponds to the information available at the time of going to
press.
It is therefore not possible for legal claims to be made based on the technical
data, illustrations and information contained in these Operating Instructions.3Important information about this manual
Page 8 of 31
Introductory information
Important notes
Introduction
This chapter contains information on the following subjects:
Warning statement
6
Component protection
6WARNING■ Concentrate fully at all times on your driving! As the driver you are fully
responsible for the operation of your vehicle.■
Only use the device in a way that ensures that you are in full control of
your vehicle in every traffic situation - there is a risk of accident!
■
Adjust the volume to ensure that acoustic signals from outside the vehi-
cle, e.g. sirens from emerging vehicles instructing you to give way to, such
as the police, ambulance and fire brigade, can be heard at all times.
■
High volumes can cause hearing damage.
Warning statement
Read and observe
on page 6 first.
FCC § 15.19 Labelling requirements
This device complies with part 15 of the FCC Rules and Industry Canada
license-exempt RSS standard(s). Operation is subject to the following two
conditions:
(1) This device may not cause harmful interference, and
(2) This device must accept any interference received, including interference that may cause undesired operation.
FCC § 15.21 Information to user
Changes or modifications not expressly approved by the party responsible for
compliance could void the user’s authority to operate the equipment.
INDUSTRY CANADA Statements
Le présent appareil est conforme aux CNR d'Industrie Canada applicables aux
appareils radio exempts de licence. L'exploitation est autorisée aux deux
conditions suivantes : (1) l'appareil ne doit pas produire de brouillage, et (2)
l'utilisateur de l'appareil doit accepter tout brouillage radioélectrique subi,
même si le brouillage est susceptible d'en compromettre le fonctionnement.
Component protection
Read and observe
on page 6 first.
Some electronic control units are equipped with protection components, which
serve as protective mechanisms, for example, in cases of theft of the ECUs.
When component protection is activated, the following message appears on
the device display screen: Component theft protection - Restricted function.
Switch on ignition.
If the component protection does not activate by switching on the ignition,
please contact a ŠKODA specialist garage.
Equipment overview
Introduction
This chapter contains information on the following subjects:
Description of the device
7
Switching the device on/off
7
Adjusting the volume
7
This chapter covers the device, the switching on and off and volume control of
the device.
6Introductory information
Page 14 of 31
›press the
RADIO button
→ press menu button 2 » Fig. 1 on page 7 .
The station search is influenced by selecting the PTY filter function » page 9
and by switching the TP function on or off.
Search options
■ TP - Switches traffic programme reception on/off » page 13
■ Manual - Manual station search
■ Scan - Successive play of all available stations in the current frequency band
or the current station buttons for five seconds each
■ OK - Stops auto-play function at the current radio station
■ Skip - Selects another radio station
■ Auto store - Automatic station search
Manual station search
Pressing the Manual button starts a manual station search.
The manual station search is initiated by turning the menu button 2
» Fig. 1
on page 7 or using the buttons .
Pressing the OK button ends the manual station search at the currently tuned
radio station.
Automatic station search
Pressing the Auto store button starts an automatic station search.
Auto store... is displayed on the device display screen when searching and
storing.
At the end of the automatic station search, the five radio stations with the
strongest signal are stored in the memory group for the current frequency
band.
If radio stations have already been stored under the preset buttons, then the
station keys will be overwritten with newly located stations after the automat-
ic station search.
Storing stations
Set the desired radio station and press and hold the corresponding button
3
» Fig. 1 on page 7 until a beep is heard. The station is stored in the device
memory and its name appears above the corresponding button
3
.
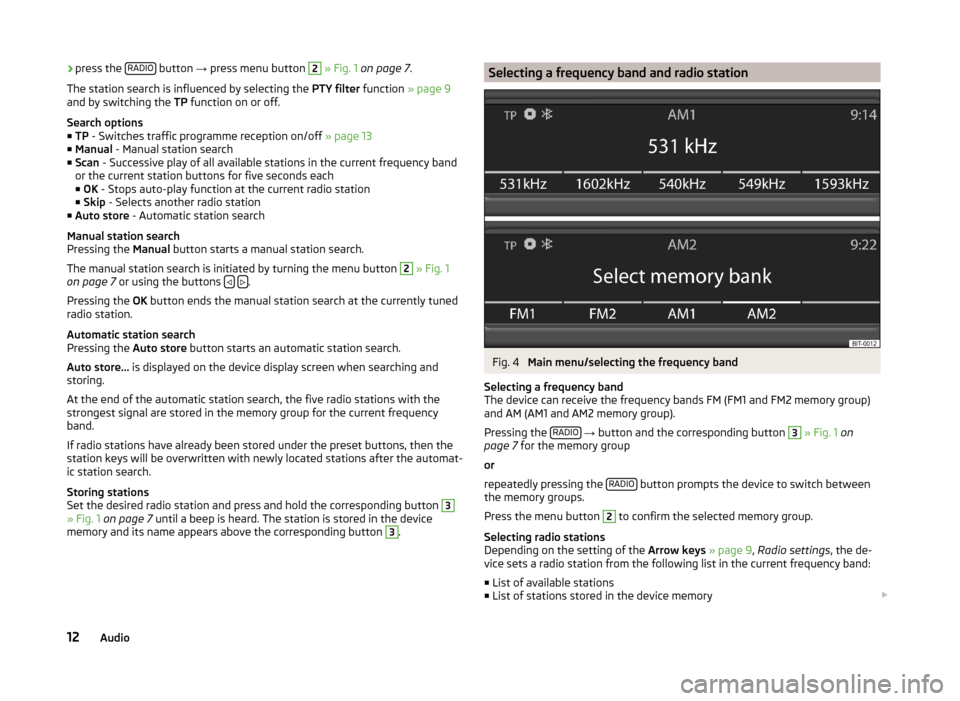
Selecting a frequency band and radio stationFig. 4
Main menu/selecting the frequency band
Selecting a frequency band
The device can receive the frequency bands FM (FM1 and FM2 memory group)
and AM (AM1 and AM2 memory group).
Pressing the RADIO
→ button and the corresponding button
3
» Fig. 1 on
page 7 for the memory group
or
repeatedly pressing the RADIO
button prompts the device to switch between
the memory groups.
Press the menu button
2
to confirm the selected memory group.
Selecting radio stations
Depending on the setting of the Arrow keys » page 9 , Radio settings , the de-
vice sets a radio station from the following list in the current frequency band:
■ List of available stations
■ List of stations stored in the device memory
12Audio
Page 16 of 31
CAUTIONDo not store any important data on the connected sources. ŠKODA assumes
no responsibility for lost or damaged files or connected audio sources.
Select audio source
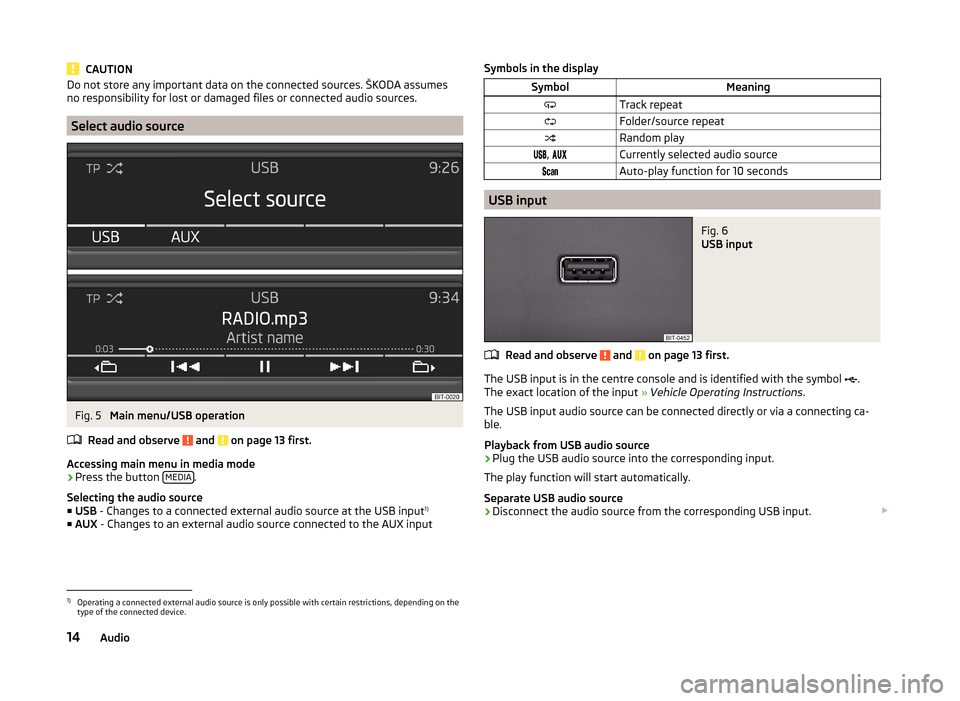
Fig. 5
Main menu/USB operation
Read and observe
and on page 13 first.
Accessing main menu in media mode
›
Press the button MEDIA.
Selecting the audio source ■ USB - Changes to a connected external audio source at the USB input 1)
■ AUX - Changes to an external audio source connected to the AUX input
Symbols in the displaySymbolMeaningTrack repeatFolder/source repeatRandom play, Currently selected audio sourceAuto-play function for 10 seconds
USB input
Fig. 6
USB input
Read and observe and on page 13 first.
The USB input is in the centre console and is identified with the symbol
.
The exact location of the input » Vehicle Operating Instructions .
The USB input audio source can be connected directly or via a connecting ca-
ble.
Playback from USB audio source
›
Plug the USB audio source into the corresponding input.
The play function will start automatically.
Separate USB audio source
›
Disconnect the audio source from the corresponding USB input.
1)
Operating a connected external audio source is only possible with certain restrictions, depending on the
type of the connected device.
14Audio
Page 17 of 31
Charge USB audio source
With the device on after connecting the USB audio source, the charging proc-
ess is automatically started (applies for audio sources where charging via the
USB connector is possible).
Some connected audio sources may not be recognised and cannot be charged.
CAUTION
USB extension cords, or reducers may impair the function of the connected au-
dio source.
Note
We recommend that you use extension cords from ŠKODA Original Accesso-
ries.
AUX - input
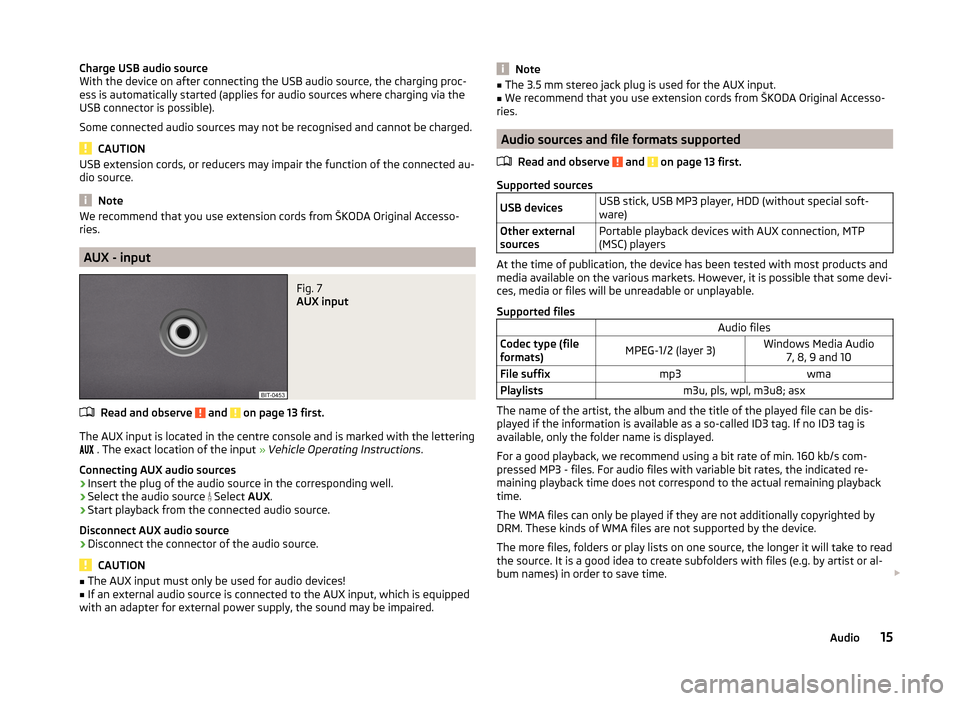
Fig. 7
AUX input
Read and observe and on page 13 first.
The AUX input is located in the centre console and is marked with the lettering
. The exact location of the input » Vehicle Operating Instructions .
Connecting AUX audio sources
›
Insert the plug of the audio source in the corresponding well.
›
Select the audio source
Select AUX.
›
Start playback from the connected audio source.
Disconnect AUX audio source
›
Disconnect the connector of the audio source.
CAUTION
■ The AUX input must only be used for audio devices!■If an external audio source is connected to the AUX input, which is equipped
with an adapter for external power supply, the sound may be impaired.Note■ The 3.5 mm stereo jack plug is used for the AUX input.■We recommend that you use extension cords from ŠKODA Original Accesso-
ries.
Audio sources and file formats supported
Read and observe
and on page 13 first.
Supported sources
USB devicesUSB stick, USB MP3 player, HDD (without special soft-
ware)Other external
sourcesPortable playback devices with AUX connection, MTP
(MSC) players
At the time of publication, the device has been tested with most products and
media available on the various markets. However, it is possible that some devi-
ces, media or files will be unreadable or unplayable.
Supported files
Audio filesCodec type (file
formats)MPEG-1/2 (layer 3)Windows Media Audio 7, 8, 9 and 10File suffixmp3wmaPlaylistsm3u, pls, wpl, m3u8; asx
The name of the artist, the album and the title of the played file can be dis-
played if the information is available as a so-called ID3 tag. If no ID3 tag is
available, only the folder name is displayed.
For a good playback, we recommend using a bit rate of min. 160 kb/s com-
pressed MP3 - files. For audio files with variable bit rates, the indicated re-
maining playback time does not correspond to the actual remaining playback
time.
The WMA files can only be played if they are not additionally copyrighted by
DRM. These kinds of WMA files are not supported by the device.
The more files, folders or play lists on one source, the longer it will take to read the source. It is a good idea to create subfolders with files (e.g. by artist or al-
bum names) in order to save time.
15Audio
Page 18 of 31
Source properties
Specifications for USB
sourcesUSB 1.x and 2.x or higher with USB 2.x support
(data transfer speed then corresponds to the maxi-
mum speed of USB 2.x)
Max. speed of 480 Mb/sFile system for the USB
sourceFAT16, VFAT, FAT32
File properties
Bit ratemax. 320 kb/sSampling ratemax. 48 kHz
Operation
Read and observe
and on page 13 first.
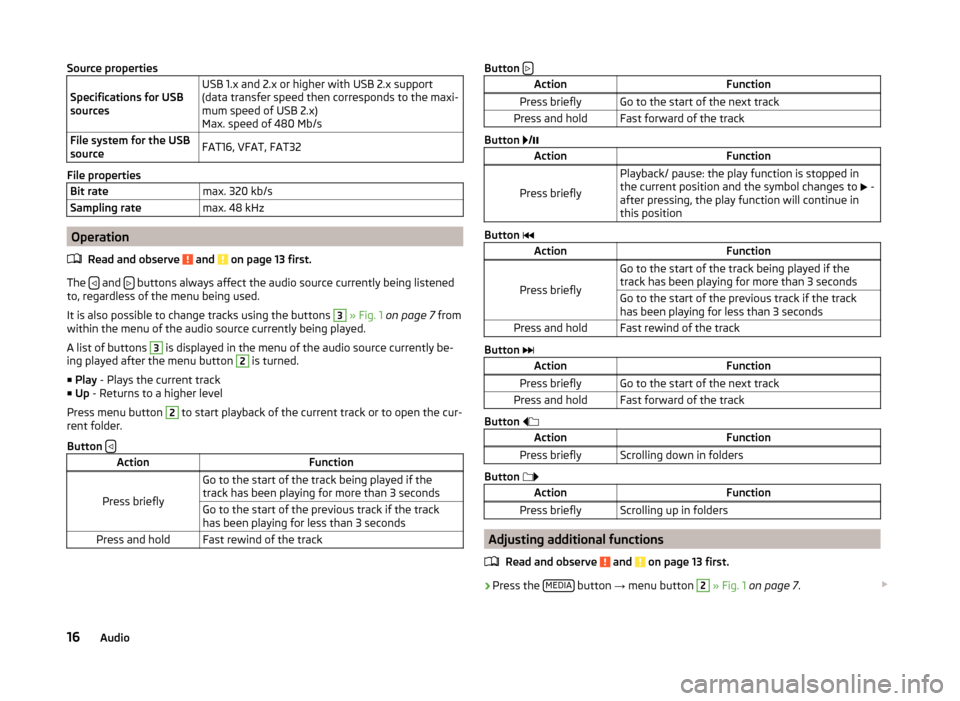
The and buttons always affect the audio source currently being listened
to, regardless of the menu being used.
It is also possible to change tracks using the buttons
3
» Fig. 1 on page 7 from
within the menu of the audio source currently being played.
A list of buttons
3
is displayed in the menu of the audio source currently be-
ing played after the menu button
2
is turned.
■ Play - Plays the current track
■ Up - Returns to a higher level
Press menu button
2
to start playback of the current track or to open the cur-
rent folder.
Button
ActionFunction
Press briefly
Go to the start of the track being played if the
track has been playing for more than 3 secondsGo to the start of the previous track if the track
has been playing for less than 3 secondsPress and holdFast rewind of the trackButton ActionFunctionPress brieflyGo to the start of the next trackPress and holdFast forward of the track
Button
/
ActionFunction
Press briefly
Playback/ pause: the play function is stopped in
the current position and the symbol changes to
-
after pressing, the play function will continue in
this position
Button
ActionFunction
Press briefly
Go to the start of the track being played if the
track has been playing for more than 3 secondsGo to the start of the previous track if the track
has been playing for less than 3 secondsPress and holdFast rewind of the track
Button
ActionFunctionPress brieflyGo to the start of the next trackPress and holdFast forward of the track
Button
ActionFunctionPress brieflyScrolling down in folders
Button
ActionFunctionPress brieflyScrolling up in folders
Adjusting additional functions
Read and observe
and on page 13 first.
›Press the
MEDIA button
→ menu button
2
» Fig. 1 on page 7 .
16Audio