maintenance reset SKODA OCTAVIA TOUR 2010 1.G / (1U) Columbus Navigation System Manual
[x] Cancel search | Manufacturer: SKODA, Model Year: 2010, Model line: OCTAVIA TOUR, Model: SKODA OCTAVIA TOUR 2010 1.G / (1U)Pages: 207, PDF Size: 12.63 MB
Page 20 of 207

Instruments and warning lights19
Using the system
Safety
Driving Tips
General Maintenance
Breakdown assistance
Technical Data
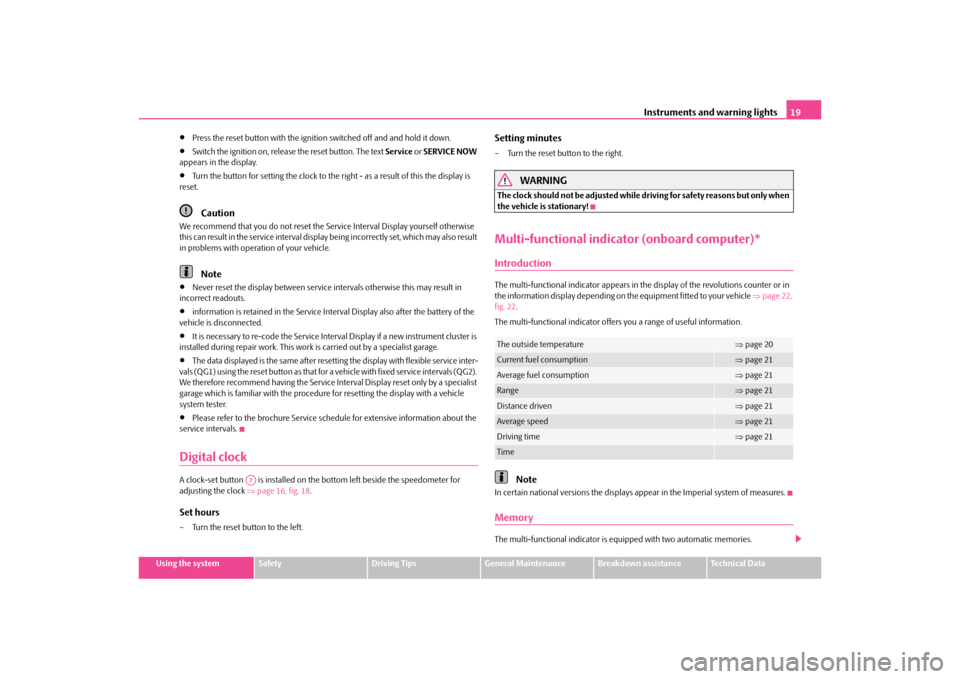
Press the reset button with the ignition switched off and and hold it down.
Switch the ignition on, release the reset button. The text Service or SERVICE NOW
appears in the display.
Turn the button for setting the clock to the right - as a result of this the display is
reset.Caution
We recommend that you do not reset the Se rvice Interval Display yourself otherwise
this can result in the service interval display being incorrectly set, which may also result
in problems with operation of your vehicle.
Note
Never reset the display between service intervals otherwise this may result in
incorrect readouts.
information is retained in the Service Interval Display also after the battery of the
vehicle is disconnected.
It is necessary to re-code the Service Interval Display if a new instrument cluster is
installed during repair work. This work is carried out by a specialist garage.
The data displayed is the same after resetting the display with flexible service inter-
vals (QG1) using the reset button as that for a vehicle with fixed service intervals (QG2).
We therefore recommend having the Service In terval Display reset only by a specialist
garage which is familiar with the procedure for resetting the display with a vehicle
system tester.
Please refer to the brochure Service schedule for extensive information about the
service intervals.
Digital clockA clock-set button is installed on the bottom left beside the speedometer for
adjusting the clock page 16, fig. 18.Set hours– Turn the reset button to the left.
Setting minutes– Turn the reset button to the right.
WARNING
The clock should not be adjusted while driving for safety reasons but only when
the vehicle is stationary!Multi-functional indica tor (onboard computer)*IntroductionThe multi-functional indicator appears in th e display of the revolutions counter or in
the information display depending on th e equipment fitted to your vehicle page 22,
fig. 22 .
The multi-functional indicator offers you a range of useful information.
Note
In certain national versions the displays a ppear in the Imperial system of measures.MemoryThe multi-functional indicator is equipped with two automatic memories.
A7
The outside temperature
page 20
Current fuel consumption
page 21
Average fuel consumption
page 21
Range
page 21
Distance driven
page 21
Average speed
page 21
Driving time
page 21
Time
s2rc.book Page 19 Thursd ay, April 22, 2010 10:58 AM
Page 22 of 207

Instruments and warning lights21
Using the system
Safety
Driving Tips
General Maintenance
Breakdown assistance
Technical Data
slightly higher than the actual outside te
mperature because of heat radiated by the
engine.
If the outside temperature drops below +4°C, a snow flake symbol (warning signal for
ice on the road) appears behind the temperature indicator and a warning signal
sounds.
WARNING
Do not only rely upon the information given on the outside temperature
display that there is no ice on the road. Please note that black ice may also be
present on the road surface even at temperatures around +4°C - warning, drive
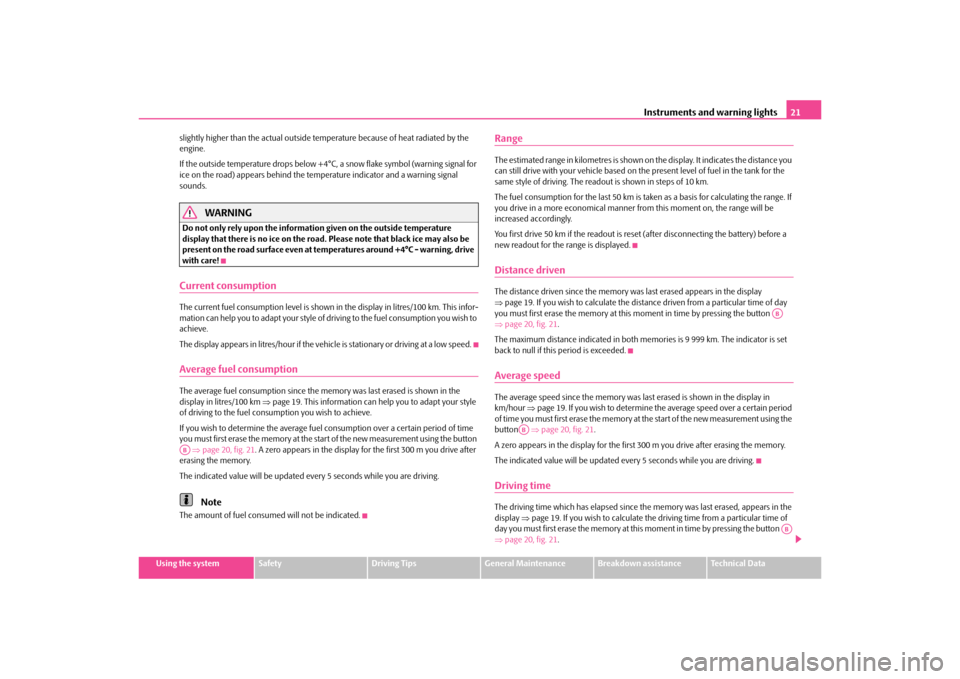
with care!Current consumptionThe current fuel consumption level is shown in the display in litres/100 km. This infor-
mation can help you to adapt your style of driving to the fuel consumption you wish to
achieve.
The display appears in litres/hour if the vehicle is stationary or driving at a low speed.Average fuel consumptionThe average fuel consumption since the memory was last erased is shown in the
display in litres/100 km page 19. This information can he lp you to adapt your style
of driving to the fuel consumption you wish to achieve.
If you wish to determine the average fuel consumption over a cert ain period of time
you must first erase the memory at the start of the new measurement using the button
page 20, fig. 21 . A zero appears in the display for the first 300 m you drive after
erasing the memory.
The indicated value will be updated every 5 seconds while you are driving.
Note
The amount of fuel consum ed will not be indicated.
RangeThe estimated range in kilometres is shown on the display. It indicates the distance you
can still drive with your vehicle based on th e present level of fuel in the tank for the
same style of driving. The readout is shown in steps of 10 km.
The fuel consumption for the last 50 km is ta ken as a basis for calculating the range. If
you drive in a more economical manner from this moment on, the range will be
increased accordingly.
You first drive 50 km if the readout is reset (after disconnecting the battery) before a
new readout for the range is displayed.Distance drivenThe distance driven since the memory was last erased appears in the display
page 19. If you wish to calcul ate the distance driven from a particular time of day
you must first erase the memory at this moment in time by pressing the button
page 20, fig. 21 .
The maximum distance indicated in both memories is 9 999 km. The indicator is set
back to null if this period is exceeded.Average speedThe average speed since the memory was last erased is shown in the display in
km/hour page 19. If you wish to determine the average speed over a certain period
of time you must first erase the memory at the start of the new measurement using the
button page 20, fig. 21 .
A zero appears in the display for the first 300 m you drive after erasing the memory.
The indicated value will be updated every 5 seconds while you are driving.Driving timeThe driving time which has elapsed since the memory was last erased, appears in the
display page 19. If you wish to calculate the dr iving time from a particular time of
day you must first erase the memory at this moment in time by pressing the button
page 20, fig. 21 .
AB
AB
AB
AB
s2rc.book Page 21 Thursd ay, April 22, 2010 10:58 AM