reset SKODA SUPERB 2007 1.G / (B5/3U) Owner's Manual
[x] Cancel search | Manufacturer: SKODA, Model Year: 2007, Model line: SUPERB, Model: SKODA SUPERB 2007 1.G / (B5/3U)Pages: 259, PDF Size: 14.71 MB
Page 14 of 259
Instruments and Indicator/Warning Lights13
Using the systemSafetyDriving TipsGeneral MaintenanceBreakdown assistanceTechnical Data
Caution
Never run the fuel tank completely empty! An irregular fuel supply can result in
poor ignition or misfiring. Unburnt fuel may get into the exhaust system and
damage the catalytic converter.
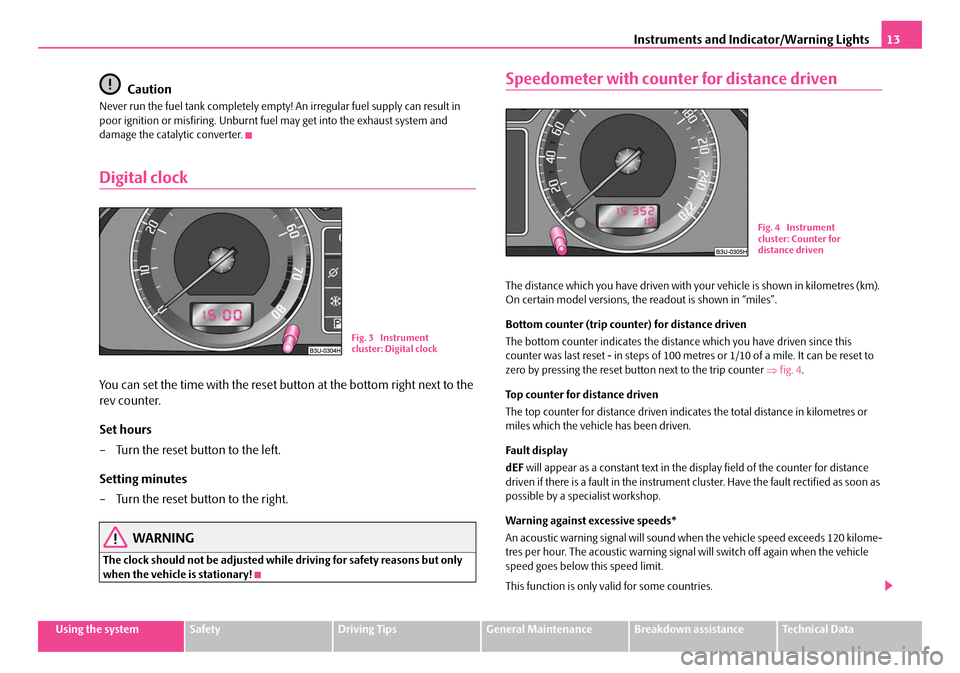
Digital clock
You can set the time with the reset button at the bottom right next to the
rev counter.
Set hours
– Turn the reset button to the left.
Setting minutes
– Turn the reset button to the right.
WARNING
The clock should not be adjusted while driving for safety reasons but only
when the vehicle is stationary!
Speedometer with counter for distance driven
The distance which you have driven with yo ur vehicle is shown in kilometres (km).
On certain model versions, the readout is shown in “miles”.
Bottom counter (trip counter) for distance driven
The bottom counter indicates the distance which you have driven since this
counter was last reset - in steps of 100 metr es or 1/10 of a mile. It can be reset to
zero by pressing the reset button next to the trip counter ⇒fig. 4 .
Top counter for distance driven
The top counter for distance driven indica tes the total distance in kilometres or
miles which the vehicle has been driven.
Fau lt dis pla y
dEF will appear as a constant text in the display field of the counter for distance
driven if there is a fault in the instrument cluster. Have the fault rectified as soon as
possible by a specialist workshop.
Warning against excessive speeds*
An acoustic warning signal will sound when the vehicle speed exceeds 120 kilome-
tres per hour. The acoustic warning signal will switch off again when the vehicle
speed goes below this speed limit.
This function is only valid for some countries.
Fig. 3 Instrument
cluster: Digital clock
Fig. 4 Instrument
cluster: Counter for
distance driven
NKO B5 20.book Page 13 Friday, March 2, 2007 1:46 PM
Page 15 of 259
Instruments and Indicator/Warning Lights
14
WARNING
Never seek to adjust the trip counter for distance driven while driving for
safety reasons!
Service Interval Display
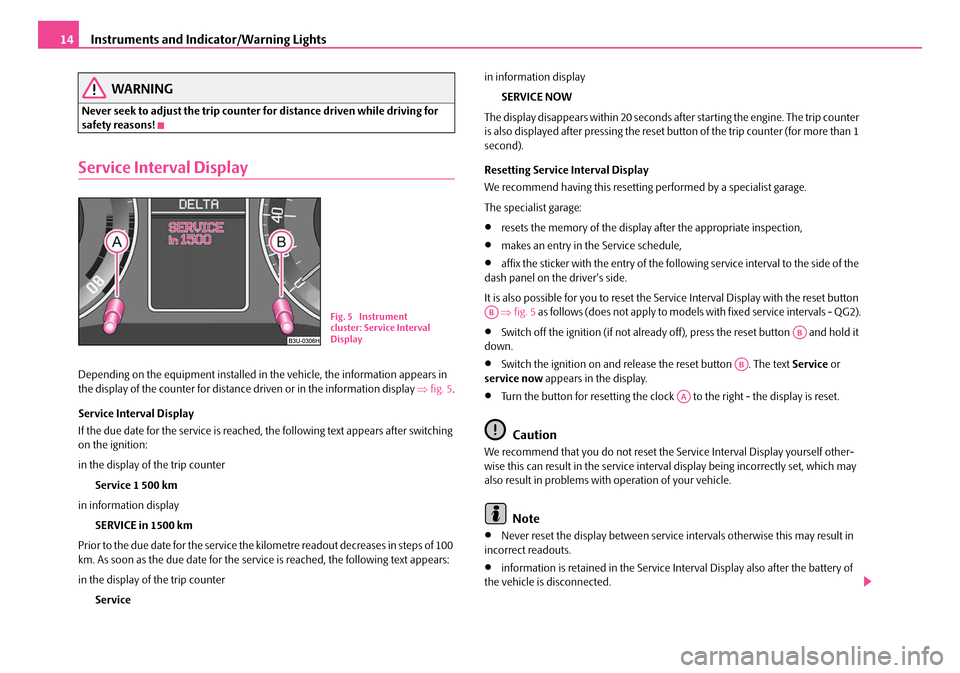
Depending on the equipment installed in the vehicle, the information appears in
the display of the counter for distance driven or in the information display ⇒fig. 5 .
Service Interval Display
If the due date for the service is reached, the following text appears after switching
on the ignition:
in the display of the trip counter Service 1 500 km
in information display SERVICE in 1500 km
Prior to the due date for the service the kilometre readout decreases in steps of 100
km. As soon as the due date for the service is reached, the following text appears:
in the display of the trip counter Service in information display
SERVICE NOW
The display disappears within 20 seconds after starting the engine. The trip counter
is also displayed after pressing the reset bu tton of the trip counter (for more than 1
second).
Resetting Service Interval Display
We recommend having this resetting performed by a specialist garage.
The specialist garage:
•resets the memory of the display after the appropriate inspection,
•makes an entry in the Service schedule,
•affix the sticker with the entry of the following service interval to the side of the
dash panel on the driver's side.
It is also possible for you to reset the Se rvice Interval Display with the reset button
⇒ fig. 5 as follows (does not apply to models with fixed service intervals - QG2).
•Switch off the ignition (if not already of f), press the reset button and hold it
down.
•Switch the ignition on and release the reset button . The text Service or
service now appears in the display.
•Turn the button for resetting the clock to the right - the display is reset.
Caution
We recommend that you do not reset the Service Interval Display yourself other-
wise this can result in the service interval display being incorrectly set, which may
also result in problems with operation of your vehicle.
Note
•Never reset the display between service intervals otherwise this may result in
incorrect readouts.
•information is retained in the Service Interval Display also after the battery of
the vehicle is disconnected.
Fig. 5 Instrument
cluster: Service Interval
DisplayAB
AB
AB
AA
NKO B5 20.book Page 14 Friday, March 2, 2007 1:46 PM
Page 16 of 259
Instruments and Indicator/Warning Lights15
Using the systemSafetyDriving TipsGeneral MaintenanceBreakdown assistanceTechnical Data
•it is necessary to re-code the Service Interval Display if a new instrument cluster
is installed during repair work. This work is carried out by a specialist garage.
•After resetting the display with flexible service intervals (QG1) using the reset
button , the data displayed are the same as for a car with fixed service intervals
(QG2). We therefore recommend having the Service Interval Display reset only by a
Škoda Service Partner who is familiar with the procedure for resetting the display
with a vehicle system tester.
•Please refer to the brochure Service sc hedule for extensive information about
the service intervals.
Multi-functional indicator (onboard computer)
Introduction
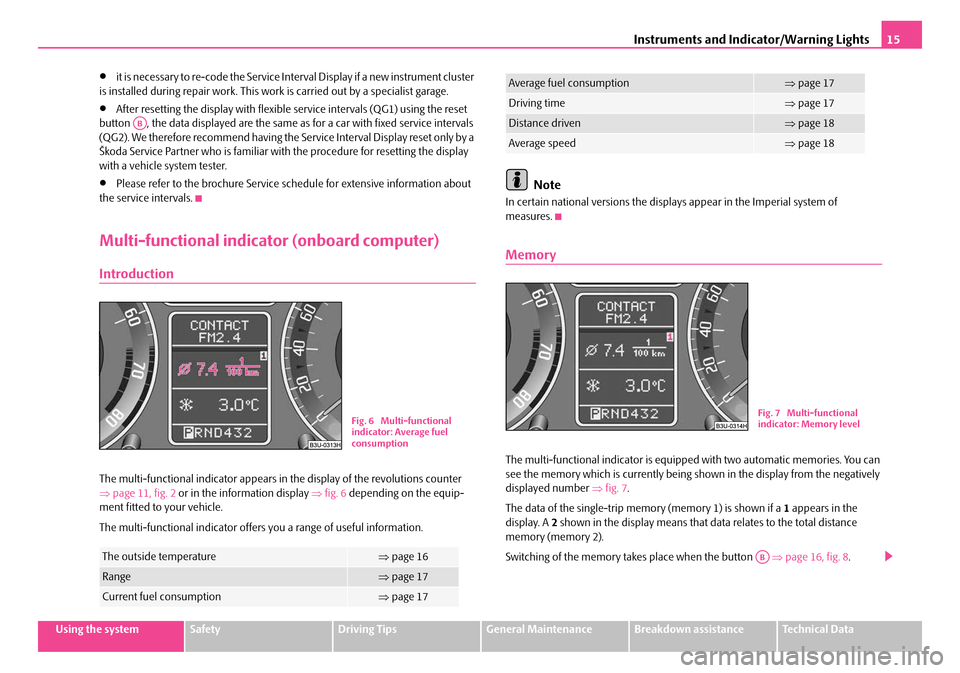
The multi-functional indicator appears in the display of the revolutions counter
⇒ page 11, fig. 2 or in the information display ⇒fig. 6 depending on the equip-
ment fitted to your vehicle.
The multi-functional indicator offers you a range of useful information.
Note
In certain national versions the displays appear in the Imperial system of
measures.
Memory
The multi-functional indicator is equippe d with two automatic memories. You can
see the memory which is currently being shown in the display from the negatively
displayed number ⇒fig. 7 .
The data of the single-trip memo ry (memory 1) is shown if a 1 appears in the
display. A 2 shown in the display means that da ta relates to the total distance
memory (memory 2).
Switching of the memory takes place when the button ⇒page 16, fig. 8 .
The outside temperature⇒page 16
Range⇒page 17
Current fuel consumption⇒page 17
AB
Fig. 6 Multi-functional
indicator: Average fuel
consumption
Average fuel consumption⇒page 17
Driving time⇒page 17
Distance driven⇒page 18
Average speed⇒page 18
Fig. 7 Multi-functional
indicator: Memory level
AB
NKO B5 20.book Page 15 Friday, March 2, 2007 1:46 PM
Page 18 of 259
Instruments and Indicator/Warning Lights17
Using the systemSafetyDriving TipsGeneral MaintenanceBreakdown assistanceTechnical Data
be slightly higher than the actual outside temperature because of heat radiated by
the engine.
The outside temperature indicator will appear with a snowflake symbol (warning
signal for ice on the road) and a warning
signal sounds* when the outside temper-
ature lies between +5°C and -5°C.
WARNING
Do not only rely upon the information given on the outside temperature
display that there is no ice on the road. Please note that black ice may also be
present on the road surface even at temperatures around +5°C - warning,
drive with care!
Note
The outside temperature is not indicating when showing navigation data (guidance
to the destination). It must be called up over the menu (valid for vehicles which
have a navigation and information display).
Range
The estimated range in kilometres is shown on the display. It indicates the distance
you can still drive with your vehicle based on the present level of fuel in the tank for
the same style of driving. The readout is shown in steps of 5 km.
The fuel consumption for the last 50 km is taken as a basis for calculating the range.
If you drive in a more economical manner from this moment on, the range will be
increased accordingly.
You first drive 50 km if the readout is reset (after disconnecting the battery) before
a new readout for the range is displayed.
Fuel - present consumption
The current fuel consumption level is shown in the display in litres/100 km. This
information can help you to adapt your styl e of driving to the fuel consumption you
wish to achieve.
The display appears in litres/hour if the vehicle is stationary or driving at a low
speed.
Average fuel consumption
The average fuel consumption since the me mory was last erased is shown in the
display in litres/100 km ⇒page 15. This information can help you to adapt your
style of driving to the fuel co nsumption you wish to achieve.
If you wish to determine the average fuel consumption over a cert ain period of time
you must first erase the memory at the start of the new measurement using the
button ⇒page 16, fig. 8 . A zero appears in the display for the first 300 m you
drive after erasing the memory.
The indicated value will be updated every 30 metres while you are driving.
Note
The amount of fuel consum ed will not be indicated.
Driving time
The driving time which has elapsed since the memory was last erased, appears in
the display ⇒page 15. If you wish to calculate th e driving time from a particular
time of day you must first erase the memory at this moment in time by pressing the
button ⇒page 16, fig. 8 .
The maximum time indicated in both switch positions is 99 hours and 59 minutes.
The indicator is set back to nu ll if this period is exceeded.
AB
AB
NKO B5 20.book Page 17 Friday, March 2, 2007 1:46 PM
Page 62 of 259
Seats and Stowage61
Using the systemSafetyDriving TipsGeneral MaintenanceBreakdown assistanceTechnical Data
•The backrests must not be angled too far back when driving otherwise
this will affect proper operation of the seat belts and of the airbag system -
risk of injury!
Note
If the movement of the seat is inadvertentl y interrupted during an adjustment, once
again press the switch in the appropriate direction and continue with the adjust-
ment of the seat to the end.
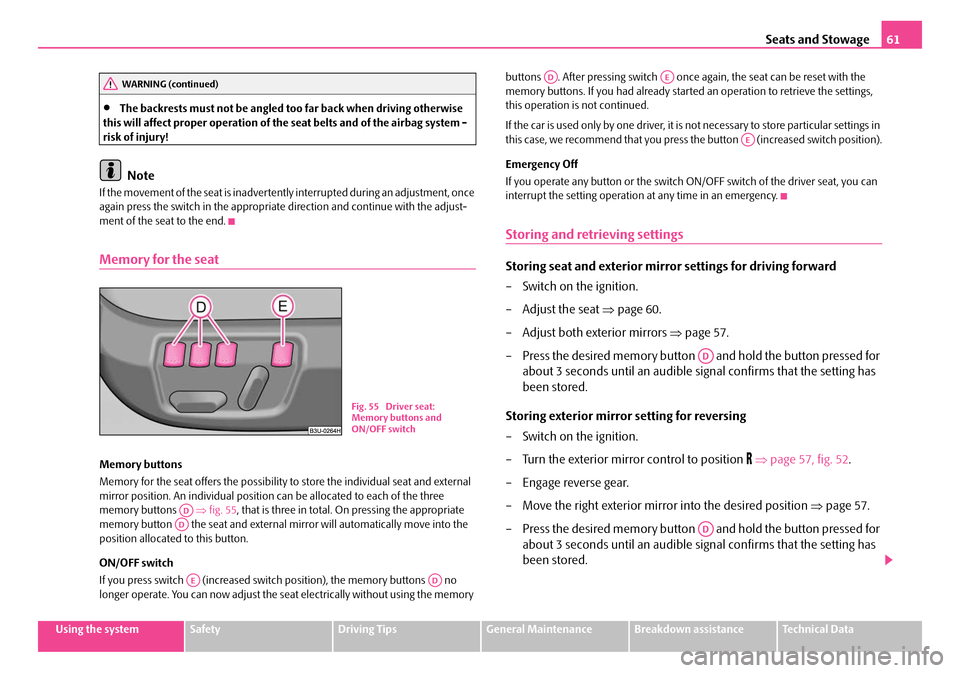
Memory for the seat
Memory buttons
Memory for the seat offers the possibility to store the individual seat and external
mirror position. An individual position can be allocated to each of the three
memory buttons ⇒fig. 55 , that is three in total. On pressing the appropriate
memory button the seat and external mi rror will automatically move into the
position allocated to this button.
ON/OFF switch
If you press switch (increased switch position), the memory buttons no
longer operate. You can now adjust the seat electrically without using the memory buttons . After pressing switch once
again, the seat can be reset with the
memory buttons. If you had al ready started an operation to retrieve the settings,
this operation is not continued.
If the car is used only by one driver, it is not necessary to store particular settings in
this case, we recommend that you press the button (increased switch position).
Emergency Off
If you operate any button or the switch ON /OFF switch of the driver seat, you can
interrupt the setting operation at any time in an emergency.
Storing and retrieving settings
Storing seat and exterior mirror settings for driving forward
– Switch on the ignition.
– Adjust the seat ⇒page 60.
– Adjust both exterior mirrors ⇒page 57.
– Press the desired memory button and hold the button pressed for about 3 seconds until an audible signal confirms that the setting has
been stored.
Storing exterior mirror setting for reversing
– Switch on the ignition.
– Turn the exterior mirror control to position
⇒ page 57, fig. 52 .
– Engage reverse gear.
– Move the right exterior mirror into the desired position ⇒page 57.
– Press the desired memory button and hold the button pressed for about 3 seconds until an audible signal confirms that the setting has
been stored.
WARNING (continued)
Fig. 55 Driver seat:
Memory buttons and
ON/OFF switch
ADAD
AEAD
ADAE
AE
AD
AD
NKO B5 20.book Page 61 Friday, March 2, 2007 1:46 PM