ad blue SKODA SUPERB 2013 2.G / (B6/3T) Amundsen Navigation System Manual
[x] Cancel search | Manufacturer: SKODA, Model Year: 2013, Model line: SUPERB, Model: SKODA SUPERB 2013 2.G / (B6/3T)Pages: 30, PDF Size: 2.46 MB
Page 3 of 30
Table of Contents
General information
Operating instructions
2
Important information
2
Basic settings
System and sound settings
7
RADIO mode
Main menu RADIO
8
Settings in RADIO mode
8
Digital radio reception DAB
9
Traffic Program TP
9
MEDIA mode
Main menu MEDIA
10
Settings in MEDIA mode
10
Playback options
10
Introductory information about the CD mode
11
SD memory card
11
External sources
12
Requirements for media sources and audio files
13PHONE mode
Pairing mobile phone or Bluetooth ®
device with
device14
Main menu TELEPHONE
14
Telephone calls and functions during a call
15
Settings in PHONE mode
16
NAV mode (Navigation)
Introductory information
17
Navigation data and the SD memory card
17
Main menu Navigation
18
Settings in the (NAV) Navigation mode
19
Destinations
19
Route guidance
21
TMC mode
Displaying TMC traffic reports
23
TP traffic program and TMC traffic reports
settings
23
Display of optical park assist
Display of visual parking system (OPS)
24
Rearview camera display
24
Index
1Table of Contents
Page 12 of 30
MEDIA mode
Main menu MEDIA
Press the button MEDIA
.
Selectable audio sources in the menu MEDIA
CD - Changes to an inserted CD
CD 1-6 - changes over to a connected external CD changer
SD card - changes over to an inserted SD memory card
AUX
, MDI or
changes over to a connected external audio source. Operating an
externally connected audio source via the device is possible with certain restric-
tions, depending primarily on the type of the connected device.
Buttons for operating current audio sources
Press
- to start current track
Briefly press twice
- to start the previous track
Press and hold
- “back to start” - fast rewind
Press
- to start next track
Press and hold
-fast forward
Setting the time or track display
Press the button
- to switch between the display of playback time or track title
or track info.
Settings in MEDIA mode
Press the button MEDIA
→ SETUP.
Function keys in the menu Settings – Media
■ Traffic program (TP)
- switches traffic programme on/off
■ Scan/mix/repeat inc. - switches the track playback function on/off in the “Scan”,
“Mix” and “Repeat” modes, including sub-directories » page 10 , Playback op-
tions
■ AUX volume1)
- Input volume for an external audio source at the multimedia sock-
et AUX
■ MDI volume
1)
- Input volume for iPod™ or iPhone™ units at the multimedia socket
MDI or an external audio source AUX at the multimedia socket MDI
■ Bluetooth settings
- Settings for the Bluetooth ®
- function » page 16, Settings in
PHONE mode
■ Activate AUX 2 input
– Activates the external audio source AUX via the input
MDI » page 12 , AUX and MDI input
■ BT volume
1)
- Input volume for an external Bluetooth audio source ®
Playback options
Open selection menu for the available audio sources
Press the button MEDIA
and select one of the available audio sources.
■ Select
- Display the title list for the audio source currently being played. The cur-
rently played track is shown as highlighted.
■ Up
- opens the higher-level folder (press again to switch up to the root direc-
tory)
■ Play
- Plays the selected track
Playback modes
Press the button MEDIA
→ Extras – additional functions will be displayed.
■ Scan
- plays all tracks of the current audio source for 10 seconds each
■ in “Scan” mode Scan - return to normal playback
■ Mix folder - all tracks in the current folder are played in random order
■ in the “Mix folder” mode Mix folder - return to normal playback
■ Mix all - all tracks in the current audio source are played in random order
■ in the “Mix all” mode Mix all - return to normal playback
■ Repeat track - repeats the track currently being played
■ In “Repeat track” mode Repeat trk. - returns to normal playback
■ Repeat folder - all tracks in the current folder are repeated
■ in “Repeat folder” mode Repeat
- returns to the normal playback
1)
Used to adjust the playback volume with the other audio sources.
10MEDIA mode
Page 14 of 30
SD memory card empty or data not readable
If an SD memory card is inserted and no data or no legible data has been stored
on the card, the unit will not be switched to the SD memory card mode after the
loading procedure.
External sources
AUX and MDI input
AUX input
Press the button MEDIA
→ AUX.
The input for an external audio source AUX is located on the front of the unit
14
.
External audio sources connected to the AUX input cannot be operated from the
device. Only the volume can be controlled from the device.
Use the standard 3.5 mm jack plug for the AUX input. If the external audio source
does not have this jack plug, you must use an adapter .
MDI input
Press the button MEDIA
→ MDI.
Audio files in MP3, WMA, OGG Vorbis and AAC format from external data carriers
connected to the MDI input can be played via the device » page 13, Require-
ments for media sources and audio files .
External audio sources connected to the MDI input can be controlled from the de-
vice.
A different audio source can be selected on the device at any time. As long as the
external audio source is not switched off, it remains always active in the back-
ground.
See the owner's manual of the specific manufacturer for operating the external
audio source.
To connect external audio sources via the MDI input, a special adapter is to be used.
iPod
If an iPod is connected to the MDI input, a menu opens in which you can select
the folders of the iPod (playlists, artists, albums, titles, etc.).
Connecting an external audio source via Bluetooth ®
In Bluetooth audio mode, audio files can be played from an external audio source
(e.g. a mobile phone) connected via Bluetooth ®
.
To activate this function, the external audio source must be paired with the de- vice » page 14 , Pairing mobile phone or Bluetooth ®
device with device .
Adjust the play function volume of the external audio source
The play volume of the external audio source can be adjusted via the volume con- trol on the device 1
» Fig. 1 on page 4.
Depending on the connected audio source, the output volume on the external au-
dio source can be changed.
You can also change the input sensitivity of the external audio source, in order to
adapt the play volume of the external audio source to that of the other audio
sources or to avoid distortions » page 10, Settings in MEDIA mode .
Conditions for a successful connection
› Only USB devices with the specification 2.0 can be connected.
› The version of the file allocation table FAT (File Allocation Table) of the connec-
ted device must be FAT16 (< 2 GB) or FAT32 (> 2 GB).
› In order to replay from a unit with a hard disk (HDD) which includes a large data
volume, it can lead to a time delay when reading in the overview of the music
data.
› In order to replay from a unit, which includes a complicated folder structure, it
can lead to a time delay when scanning the audio files.
› The folder structure in the connected unit must not exceed a depth of 8 levels.
One folder must not contain more than 1000°data.
› A USB extension cable or USB distributor (HUB) must not be used to connect
the unit.
WARNING■ Never place external sources on the dashboard. These could be thrown into
the passenger compartment during sudden driving manoeuvres, injuring the
occupants.■
Never place external sources close to the airbags. These could be thrown in-
to the passenger compartment when the airbags are deployed, injuring the
occupants.
12MEDIA mode
Page 15 of 30
WARNING (Continued)■Never hold external sources in your hand or on your knees while driving.
These could be thrown into the passenger compartment during sudden driv-
ing manoeuvres, injuring the occupants.■
Always route the connection cable of the external source so that it does not
restrict you when driving.
CAUTION
The AUX input must only be used for audio sources!Note■ See the owner's manual of the specific manufacturer for instructions on operat-
ing the external source.■
The external audio source, connected via AUX, can only be used if no other unit
is connected via MDI at the same time.
■
If an external audio source, which is equipped with an adapter for external pow-
er supply, is connected via AUX-IN, the audio signal may be interrupted. This de-
pends on the quality of the adapter which is used.
Requirements for media sources and audio files
Media sourcePlayback prerequisites Audio-CDs (max. 80 min) with a diameter of 12 cm.CD digital audio specification CD-ROM, CD-R, CD-RW with a diameter of 12 cm up to a max. of 700 MB (Mega-
bytes) in the file system ISO 9660 Level 1 and 2, Joliet or UDF 1.02, 1.5, 2.01, 2.5
SD and MMC memory cards 32 mm x 24 mm x 2.1 mm or 1.4 mm with the FAT12,
FAT16 and FAT32 file system up to a max. 2 GB (Gigabytes) and SDHC memory cards
up to a max. of 32 GB.– MP3 files (.mp3) with bit rates of 48 to 320 kbps or a variable bit rate. – WMA files (.wma) up to 9.2 or to 10.0 mono/stereo without copy protection.– Audio files in the OGG-Vorbis and MPEG4 AAC formats.
– Playlists in the PLS, B4S, ASX and WPL formats. – File names and paths no longer than 256 characters.– Folder structures with a maximum of eight levels.
– Max. 256 folders and max. 512 files on audio data CDs .
– Max. 2,048 folders and max. 15,000 files, max. 6,000 files per folder, on SD mem- ory cards. Playing audio files via Bluetooth ®
a)
.– The mobile phone/external audio source must support the A2DP-Bluetooth ®
pro-
file.AUX External audio sourceAudio output via 3.5 mm jack is possible.MDI external data mediaCompatible with MEDIA-IN interfacea)
Bluetooth ®
is a registered trademark of Bluetooth SIG, Inc.
13MEDIA mode
Page 16 of 30
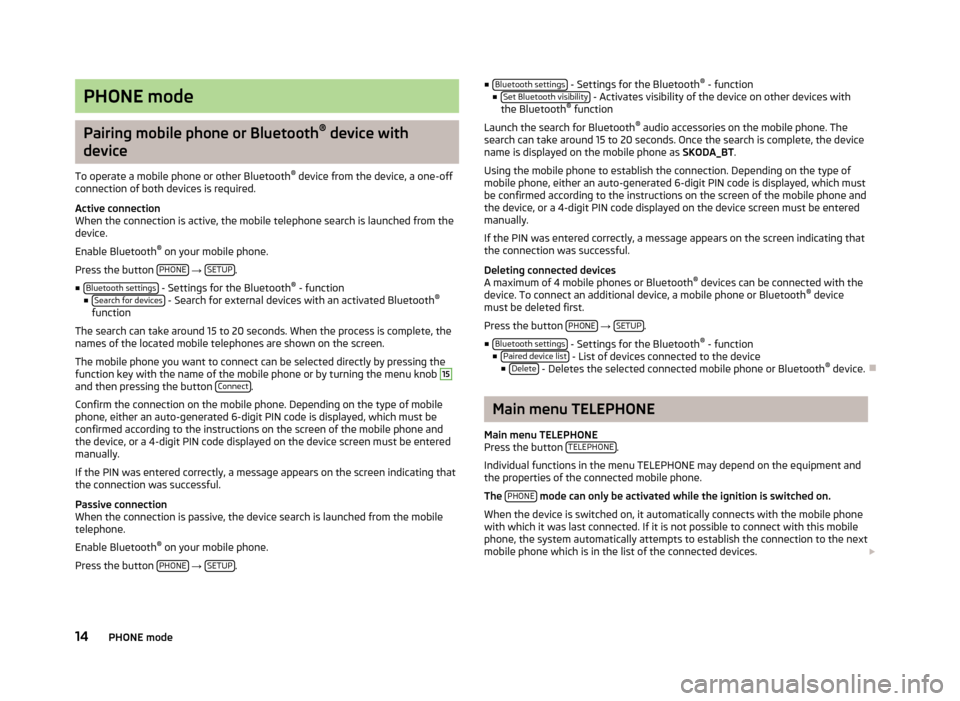
PHONE mode
Pairing mobile phone or Bluetooth®
device with
device
To operate a mobile phone or other Bluetooth ®
device from the device, a one-off
connection of both devices is required.
Active connection
When the connection is active, the mobile telephone search is launched from the
device.
Enable Bluetooth ®
on your mobile phone.
Press the button PHONE
→ SETUP.
■ Bluetooth settings
- Settings for the Bluetooth ®
- function
■ Search for devices - Search for external devices with an activated Bluetooth ®
function
The search can take around 15 to 20 seconds. When the process is complete, the
names of the located mobile telephones are shown on the screen.
The mobile phone you want to connect can be selected directly by pressing the
function key with the name of the mobile phone or by turning the menu knob
15
and then pressing the button Connect.
Confirm the connection on the mobile phone. Depending on the type of mobile
phone, either an auto-generated 6-digit PIN code is displayed, which must be
confirmed according to the instructions on the screen of the mobile phone and
the device, or a 4-digit PIN code displayed on the device screen must be entered
manually.
If the PIN was entered correctly, a message appears on the screen indicating that the connection was successful.
Passive connection
When the connection is passive, the device search is launched from the mobile
telephone.
Enable Bluetooth ®
on your mobile phone.
Press the button PHONE
→ SETUP.
■
Bluetooth settings - Settings for the Bluetooth ®
- function
■ Set Bluetooth visibility - Activates visibility of the device on other devices with
the Bluetooth ®
function
Launch the search for Bluetooth ®
audio accessories on the mobile phone. The
search can take around 15 to 20 seconds. Once the search is complete, the device name is displayed on the mobile phone as SKODA_BT.
Using the mobile phone to establish the connection. Depending on the type of mobile phone, either an auto-generated 6-digit PIN code is displayed, which must
be confirmed according to the instructions on the screen of the mobile phone and
the device, or a 4-digit PIN code displayed on the device screen must be entered
manually.
If the PIN was entered correctly, a message appears on the screen indicating that
the connection was successful.
Deleting connected devices
A maximum of 4 mobile phones or Bluetooth ®
devices can be connected with the
device. To connect an additional device, a mobile phone or Bluetooth ®
device
must be deleted first.
Press the button PHONE
→ SETUP.
■ Bluetooth settings
- Settings for the Bluetooth ®
- function
■ Paired device list - List of devices connected to the device
■ Delete - Deletes the selected connected mobile phone or Bluetooth ®
device.
Main menu TELEPHONE
Main menu TELEPHONE
Press the button TELEPHONE
.
Individual functions in the menu TELEPHONE may depend on the equipment and the properties of the connected mobile phone.
The PHONE
mode can only be activated while the ignition is switched on.
When the device is switched on, it automatically connects with the mobile phone with which it was last connected. If it is not possible to connect with this mobile
phone, the system automatically attempts to establish the connection to the next
mobile phone which is in the list of the connected devices.
14PHONE mode
Page 18 of 30
If a DTMF key tone has to be entered during a conversation, open the keypadfield by pressing the function key Extras
→ Enter numbers and follow the instruc-
tions (for example: “For a private conversation with one of our co-workers, please
press 3
”).
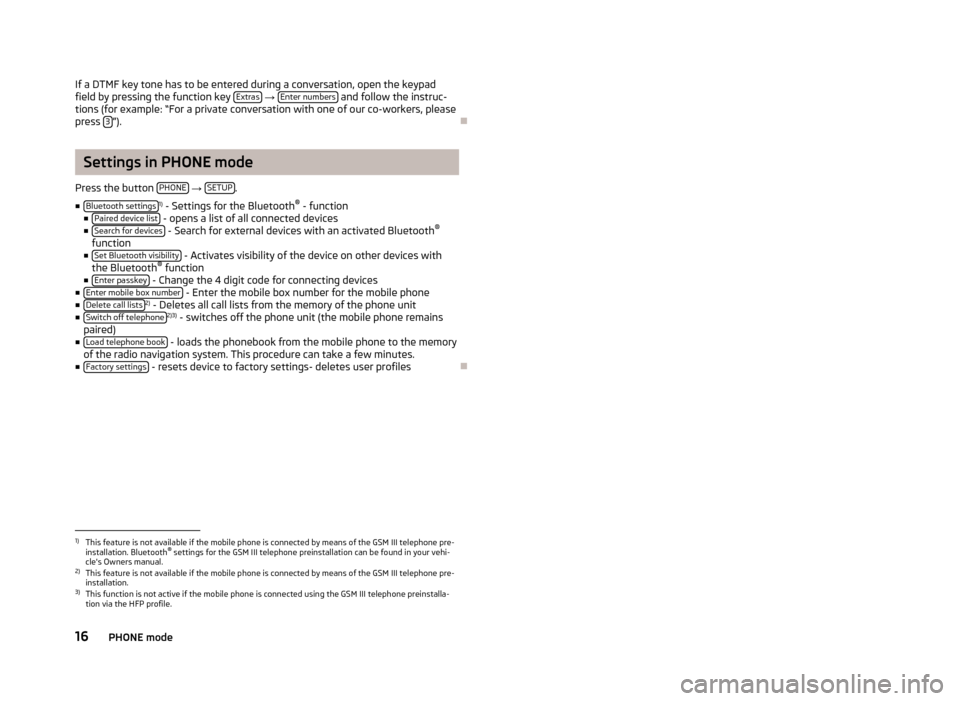
Settings in PHONE mode
Press the button PHONE
→ SETUP.
■ Bluetooth settings
1)
- Settings for the Bluetooth ®
- function
■ Paired device list
- opens a list of all connected devices
■ Search for devices - Search for external devices with an activated Bluetooth ®
function
■ Set Bluetooth visibility
- Activates visibility of the device on other devices with
the Bluetooth ®
function
■ Enter passkey
- Change the 4 digit code for connecting devices
■ Enter mobile box number - Enter the mobile box number for the mobile phone
■ Delete call lists2)
- Deletes all call lists from the memory of the phone unit
■ Switch off telephone2)3)
- switches off the phone unit (the mobile phone remains
paired)
■ Load telephone book
- loads the phonebook from the mobile phone to the memory
of the radio navigation system. This procedure can take a few minutes.
■ Factory settings
- resets device to factory settings- deletes user profiles
1)
This feature is not available if the mobile phone is connected by means of the GSM III telephone pre-
installation. Bluetooth ®
settings for the GSM III telephone preinstallation can be found in your vehi-
cle's Owners manual.
2)
This feature is not available if the mobile phone is connected by means of the GSM III telephone pre-
installation.
3)
This function is not active if the mobile phone is connected using the GSM III telephone preinstalla-
tion via the HFP profile.
16PHONE mode
Page 27 of 30
Index
A
Anti-theft protection
2
AUX12
C
Car park
20
CD Insert
11
Removal11
CD mode CD not legible
11
D
DAB
9
Destination Enter
19
Flagged destination20
Point of interest20
Route guidance21
Save19
Display Cleaning
2
DTMF15
DTMF key tones15
Dynamic route guidance22
E
Equipment overview
4
External input AUX
12
MDI12
External sources12
G
General information
2
I
Input screen with keypad
5
iPod12
M
Main menu MEDIA
10
Navigation18
RADIO8
TELEPHONE14
MDI12
Media Main menu
10
Pairing Bluetooth device14
Playback options10
Requirements for audio files13
Requirements for media sources13
Settings10
Mobile phone Enter the phone number
15
Functions during a telephone call15
Phonebook15
Settings16
Telephone call15
Mode MEDIA
10
NAVIGATION17
PHONE14
RADIO8
TMC23
N
Navigation Displaying stretches of the journey
22
Enter and save destinations19
Main menu18
Manually blocking a stretch of the route21
Navigation of the SD memory card17
Orientation in the map21
Settings19
Starting route guidance21
Stopping route guidance21
Update the navigation data17
O
Operation SETUP
7
P
Petrol station
20
PHONE mode Main menu
14
R
Radio DAB
9
Deletes the stored stations8
Main menu8
Save station8
Select frequency band8
Settings8
RDS8
S
Safety information
2
Screen2
Operation5
25Index
Page 28 of 30
SD card11
SD memory card11
Navigation of the SD memory card17
Update the navigation data17
Settings Basic system settings
7
Media10
Mobile phone16
Navigation19
Radio8
Sound7
System7
TMC traffic reports23
TP traffic information23
Volume4
Switching the device off4
Switching the device on4
T
Telephone Main menu
14
Pairing telephone using Bluetooth14
TMC Dynamic route guidance
22
Text traffic reports23
TP Display
9
Traffic Program9
Traffic Program9
V
Volume - Setting
4
26Index