driving mode SKODA SUPERB 2016 3.G / (B8/3V) Owner's Manual
[x] Cancel search | Manufacturer: SKODA, Model Year: 2016, Model line: SUPERB, Model: SKODA SUPERB 2016 3.G / (B8/3V)Pages: 336, PDF Size: 53.89 MB
Page 5 of 336
Radio142Operation142
Media
146
Operation
146
Audio sources
149
Images
153
Image viewer
153
Video DVD
155
Video player
155
TV tuner
156
TV function
156
Media Command
158
Operation
158
Telephone
160
Introductory information
160
Pair and connect
163
Use the SIM card in the external module
166
rSAP
167
Telephone functions
168
Text messages (SMS)
172
Hotspot (WLAN) and data connection
174
Hotspot (WLAN)
174
Data connection
175
SmartLink
176
Introductory information
176
Android Auto
177
Apple CarPlay
178
MirrorLink®
178
Navigation
180
Introductory information
180
Search for destination and enter
182
Import my destinations
186
Map
187
Route guidance
190Route192Waypoint mode194
Traffic reports
196
vehicle systems
198
CAR - Vehicle settings
198
Driving
Starting-off and Driving
199
Starting and stopping the engine
199
START-STOPsystem
201
Brakes and Parking
203
Manual gear changing and pedals
205
Automatic transmission
206
Running in the engine and economical
driving
209
Avoiding damage to your vehicle
211
Assist systems
212
General information
212
Braking and stabilisation systems
212
Parking aid (ParkPilot)
215
Rear traffic alert and wizard for “Blind
spot”Monitoring
218
Reversing camera
221
Park Assist
225
Cruise Control System
229
Speed limiter
231
Adaptive Cruise Control (ACC)
233
Front Assist
237
Select the driving mode (Driving Mode
Selection)
240
Proactive occupant protection (Crew Protect
Assist)
242
Lane Departure Warning (Lane Assist)
243
Traffic jam assistant
245
Assistant for emergencies
246
Traffic sign recognition
246Fatigue detection248Tyre pressure monitoring249
Towing device and trailer
250
Hitch
250
Using hitch
252
General Maintenance
Care and maintenance
256
Service work, adjustments and technical
alterations
256
Service intervals
258
Cleaning and care
260
Inspecting and replenishing
264
Fuel
264
AdBlue ®
and its refilling
267
Engine compartment
268
Engine oil
270
Coolant
271
Brake fluid
273
Vehicle battery
273
Wheels
276
Wheels and tyres
276
Operating in winter conditions
278
Do-it-yourself
Emergency equipment and self-help
280
Emergency equipment
280
Changing a wheel
282
Puncture repair kit
285
Jump-starting
287
Towing the vehicle
288
Remote control and removable light -
replacing the battery/batteries
2903Table of Contents
Page 38 of 336
▶You can drive on, exercising appropriate caution. Seek assistance from a spe-
cialist garage immediately.
Stabilisation control (ESC) / Traction control (TCS)
Read and observe
on page 34 first.
flashes – the ESC or TCS is currently active.
lights up – there is an ESC or TCS fault.
▶ You can drive on, exercising appropriate caution. Seek assistance from a spe-
cialist garage immediately.
If the warning light comes on after starting the engine, the TCS may be
switched off for technical reasons. ▶ Switch the ignition off and on again.
If the warning light does not illuminate after you switch the engine back on,
the TCS is fully functional again.
Disconnecting the vehicle battery
If the vehicle's battery has been disconnected and reconnected, the indicator
light comes on after switching on the ignition.
The warning light should go out after driving a short distance.
If, after a short drive, the indicator light does not go out, there is a system er- ror.
▶ You can drive on, exercising appropriate caution. Seek assistance from a spe-
cialist garage immediately.
For more information on the ESC system » page 213 or TCS system
» page 214 .
Traction control (TCS) disabled
Read and observe
on page 34 first.
illuminates – the TCS system is disabled.
Anti-lock braking system (ABS)
Read and observe
on page 34 first.
lights up – there is an ABS fault.
The vehicle will only be braked by the normal brake system without the ABS.
▶ You can drive on, exercising appropriate caution. Seek assistance from a spe-
cialist garage immediately.WARNING■ If warning light illuminates simultaneously with warning light
» page 35 , Brake system , stop driving! Seek help from a specialist ga-
rage.■
A fault to the ABS system or the braking system can increase the vehi-
cle's braking distance – risk of accident!
Rear fog light
Read and observe
on page 34 first.
lights up – the rear fog light is switched on.
Emission control system
Read and observe
on page 34 first.
lights up – there is a fault in the emission control system. The system
makes it possible to drive on in emergency mode - there may be a noticeable
reduction in engine performance.
▶ You can drive on, exercising appropriate caution. Seek assistance from a spe-
cialist garage immediately.
Preheating unit (diesel)
Read and observe
on page 34 first.
flashes – there is a fault in the engine management system. The system
makes possible operation emergency mode - there may be a noticeable reduc-
tion in engine performance.
There is a fault in the glow plug system if the warning light does not come
on or illuminates continuously.
▶ You can drive on, exercising appropriate caution. Seek assistance from a spe-
cialist garage immediately.
36Using the system
Page 39 of 336
EPC warning light (petrol)Read and observe
on page 34 first.
lights up – there is a fault in the engine management system. The system
makes it possible to drive on in emergency mode - there may be a noticeable
reduction in engine performance.
▶ You can drive on, exercising appropriate caution. Seek assistance from a spe-
cialist garage immediately.
Safety systems
Read and observe
on page 34 first.
System fault
lights up - there is a fault in the airbag system.
Error: AirbagAIRBAG ERROR
▶
Seek help from a specialist garage.
The front passenger airbag has been disabled with the key switch
illuminates for around 4 seconds after the ignition has been switched on.
One of the airbags or a belt tensioner has been disabled by the diagnostic
tool
illuminates for around 4 seconds after the ignition is switched on and then
flashes for approximately 12 seconds.
Airbag/ belt tensioner deactivated.AIRBAG/ BELT TENSIONER OFF
ProActive passenger protection
illuminates and the following message is shown in the information cluster
display.
Proactive passenger protection unavailable.PROACTIVE PASSENGER PROTECTION UNAVAILABLE
or
Proactive passenger protection: function restricted.LIMITED PROACTIVE PASSENGER PROTECT
The seat belt for the driver and front passenger needs to be replaced.
▶ Seek help from a specialist garage.WARNINGWhen a fault in the airbag system occurs, there is a risk of the system not
being triggered in the event of an accident. Therefore, this must be
checked immediately by a specialized garage.
Tyre pressure
Read and observe
on page 34 first.
Change of tyre pressure values
lights up - there was a pressure change in one of the tyres.
An audible signal sounds as a warning. ▶ Immediately reduce speed and avoid sudden steering and braking manoeu-
vres.
▶ Stop the vehicle, turn the ignition off and check the tyres and their inflation
pressures » page 277 .
▶ Correct the tyre pressure if necessary or replace the affected wheel
» page 282 or use the repair kit » page 285.
▶ Save the tyre pressure values in the system » page 249.
System fault
flashes for approximately 1 minute and remains lit – there may be a fault in
the tyre pressure monitoring system.
▶ Stop the vehicle, turn the ignition off and start the engine again.
If the warning light flashes after starting the engine again, there is a system
error.
▶ You can drive on, exercising appropriate caution. Seek assistance from a spe-
cialist garage immediately.
Disconnecting the vehicle battery
If the vehicle's battery has been disconnected and reconnected, the indicator
light comes on after switching on the ignition.
The warning light should go out after driving a short distance.
If, after a short drive, the indicator light does not go out, there is a system er-
ror.
▶ You can drive on, exercising appropriate caution. Seek assistance from a spe-
cialist garage immediately.
37Instruments and warning lights
Page 41 of 336
Auto Hold functionRead and observe
on page 34 first.
illuminates - the Auto Hold function is activated.
For more information about the Auto-Hold Function » page 204.
Main beam
Read and observe
on page 34 first.
lights up – the main beam or the headlight flasher is switched on.
Automatic gearbox
Read and observe
on page 34 first.
Gearbox overheated
The warning light is only shown in the MAXI DOTdisplay.
Illumi-
nates
Gearbox overheated. You can drive on.GEARBOX OVERHEATED
Transmission overheated. You can drive on, exercising appropriate caution.
Illumi-
nates
Gearbox overheated. Stop! Log book!STOP VEHICLE GEARBOX OVERHEAT
▶
Do not drive the vehicle! Stop the vehicle and turn off the engine.
You can continue your journey as soon as the warning light disappears.
▶ If the warning light does not go off,
stop driving! Seek help from a special-
ist garage.
Transmission problem
The warning light is only shown in the MAXI DOTdisplay.
Illumi-
nates
Gearbox faulty. Stop the vehicle safely!GEARBOX FAULTY WORKSHOP Illumi-
nates
Gearbox in emergency mode. No reverse gear.GEARBOX ERROR REV_ GEAR NOT AVAIL Illumi-
nates
Error: gearbox. Speed is limited.GEARBOX ERROR▶ You can drive on, exercising appropriate caution. Seek assistance from a spe-
cialist garage immediately.
Rear seat belt warning light
Read and observe
on page 34 first.
lights up – a rear seat belt is not fastened.
lights up – a rear seat belt is fastened.
When the seat belt is fastened/unfastened, the particular light lights up briefly
and indicates the current belt status!
Generator
Read and observe
on page 34 first.
lights up – the battery is not being charged whilst the engine is running.
CAUTION
If in addition to the light
the light lights up while driving, stop driving -
There is a risk of engine damage! Switch off the engine and seek assistance
from a specialist garage.
Coolant
Read and observe
on page 34 first.
Coolant level too low
Illumi-
nates
ENGINE COOLANT PLEASE CHECK Log book!ENGINE COOLANT PLEASE CHECK
▶ Stop the vehicle, switch off the engine and let it cool.
▶ Check the coolant level » page 272.
If the coolant level is within the specified range and the warning light lights
up again, then there may be a malfunction of the cooling fan.
▶ Switch off the ignition.
▶ Check the fuse for the radiator fan, replace if necessary.
If the coolant level and fan fuse are both OK but the warning light lights up
again,
stop driving!
▶ Seek help from a specialist garage.
39Instruments and warning lights
Page 46 of 336
Setting the clockFig. 23
Button in the instrument cluster
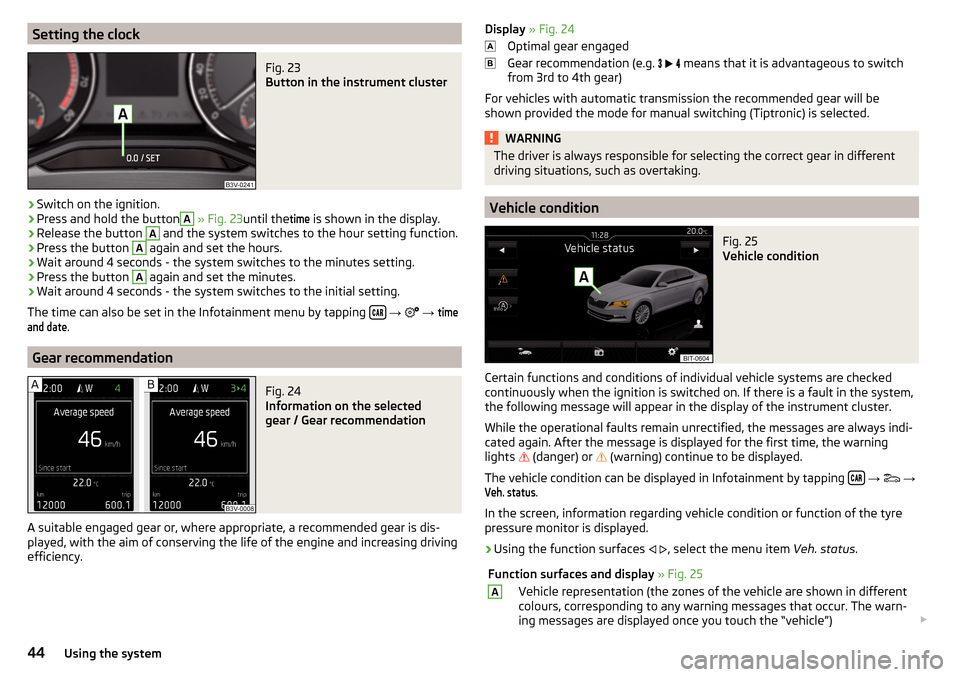
›
Switch on the ignition.
›
Press and hold the button
A
» Fig. 23 until the
time
is shown in the display.
›
Release the button
A
and the system switches to the hour setting function.
›
Press the button
A
again and set the hours.
›
Wait around 4 seconds - the system switches to the minutes setting.
›
Press the button
A
again and set the minutes.
›
Wait around 4 seconds - the system switches to the initial setting.
The time can also be set in the Infotainment menu by tapping
→
→
timeand date
.
Gear recommendation
Fig. 24
Information on the selected
gear / Gear recommendation
A suitable engaged gear or, where appropriate, a recommended gear is dis-
played, with the aim of conserving the life of the engine and increasing driving
efficiency.
Display » Fig. 24
Optimal gear engaged
Gear recommendation (e.g.
means that it is advantageous to switch
from 3rd to 4th gear)
For vehicles with automatic transmission the recommended gear will be
shown provided the mode for manual switching (Tiptronic) is selected.WARNINGThe driver is always responsible for selecting the correct gear in different
driving situations, such as overtaking.
Vehicle condition
Fig. 25
Vehicle condition
Certain functions and conditions of individual vehicle systems are checked
continuously when the ignition is switched on. If there is a fault in the system,
the following message will appear in the display of the instrument cluster.
While the operational faults remain unrectified, the messages are always indi-
cated again. After the message is displayed for the first time, the warning
lights
(danger) or
(warning) continue to be displayed.
The vehicle condition can be displayed in Infotainment by tapping
→
→
Veh. status
.
In the screen, information regarding vehicle condition or function of the tyre
pressure monitor is displayed.
›
Using the function surfaces
, select the menu item Veh. status.
Function surfaces and display » Fig. 25AVehicle representation (the zones of the vehicle are shown in different
colours, corresponding to any warning messages that occur. The warn-
ing messages are displayed once you touch the “vehicle”) 44Using the system
Page 48 of 336
Driving data (Multifunction display)
Introduction
This chapter contains information on the following subjects:
Information overview
46
Display Infotainment
46
Warning when exceeding the set speed
47
Memory
47
The driving data display is only possible with the ignition switched on. After
the ignition is switched on, the function that was last selected before switch-
ing off the ignition is displayed.
If vehicles with MAXI DOTdisplay do not show the driving data after switching
on the ignition, select the menu item
Driving data
in the main menu and confirm
» page 48 .
The units and the display of some information can be set in Infotainment by
tapping
→
→
units
.
Note
The setting of the information display is stored in the active user account per-
sonalisation » page 49.
Information overview
Overview of driving data (depending on the vehicle equipment).
Range - drive distance in km which can be covered with the existing tank ca-
pacity and with the same driving style. If you drive more efficiently this value
can increase.
AdBlue ®
range - drive distance in km which can be covered with the existing
AdBlue ®
tank capacity and with the same driving style. If you drive more effi-
ciently this value can increase.
Average fuel consumption - is calculated continuously since the last time the
memory was deleted. After erasing the memory, no data will appear for the
first 100 m driven.
Current fuel consumption - when the vehicle is stationary or slowly moving,
the fuel consumption is displayed in l/h (--,- km/l appears on models for some
countries).
Oil temperature - if the temperature is lower than 50 °C or if there is a fault in
the system for checking the oil temperature, the symbols are displayed.
Warning when the preset speed is exceeded - allows the setting of a speed
limit where, if exceeded, an acoustic warning signal and a warning message
appears on the display of the instrument cluster.
Dynamic Road Sign Display - traffic signs display » page 246, Traffic sign rec-
ognition .
Current speed - digital speedometer.
Average speed - is calculated continuously since the last time the memory
was deleted. After erasing the memory, no data will appear for the first 300 m
driven.
Driving route - distance driven since the last time the memory was deleted.
Driving time - driving time since the last time the memory was deleted.
Conv. consumers - information about the total consumption of the comfort
consumers in l/h and a list of three consumers (e.g. air conditioning etc.), which
have the largest share of fuel consumption.
There is an option to show/hide the presentation of the multi-function display
menu items in the instrument cluster display and to reset driving data in Info-
tainment by tapping
→
→
Instrument cluster
.
Display Infotainment
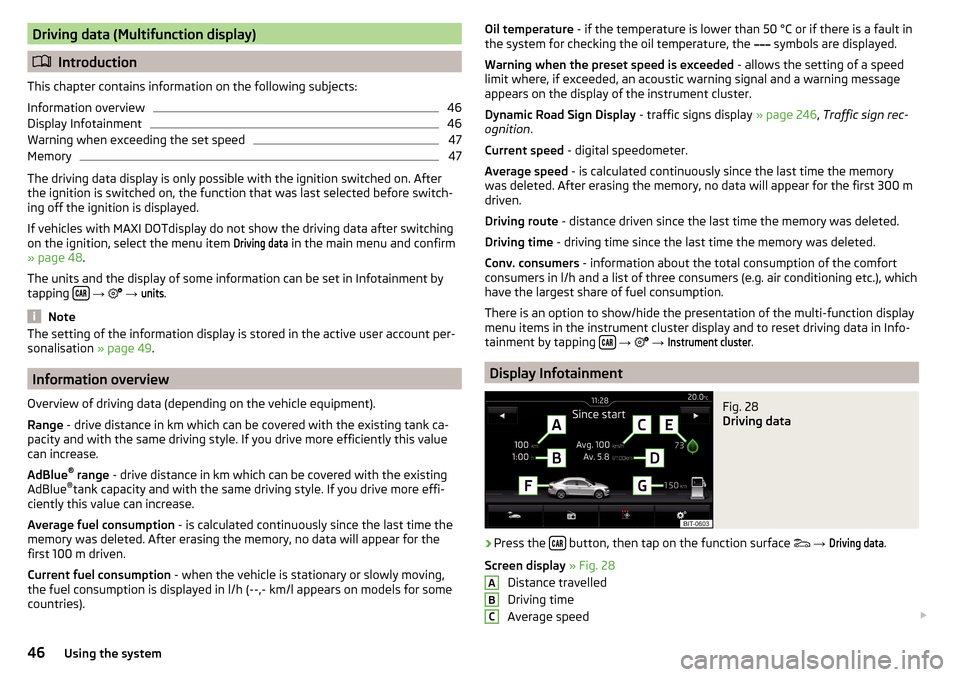
Fig. 28
Driving data
›
Press the button, then tap on the function surface
→
Driving data
.
Screen display » Fig. 28
Distance travelled
Driving time
Average speed
ABC46Using the system
Page 49 of 336
Average fuel consumption
Transit point rating (DriveGreen
Function)
Range (if the estimated range is less than 300 km, the vehicle starts to ap-
proach the symbol
)
Approximate range
Use the function surfaces
to select one of the following presets.
▶ Since start - Driving data for the individual trip
▶ Long-term - Long-term driving data
▶ Since refuel - Data since refuelling
Warning when exceeding the set speed
The system offers the possibility to set a speed limit beyond which an acoustic
warning signal will sound and the following warning message appears in the
display of the instrument cluster.
Adjust the speed limit while the vehicle is stationary
›
Select the menu item
Warning at
at ( ) or
(
) and confirm.
›
Set the desired speed limit is 5 km/h steps.
›
Confirm the set value, or wait several seconds; your settings will be saved
automatically.
Adjusting the speed limit while the vehicle is moving
›
Select the menu item
Warning at
at ( ) or
(
) and confirm.
›
Drive at the desired speed.
›
Confirm the current speed as the speed limit.
The set speed limit can be manually adjusted later if needed.
Reset the speed limit
›
Select the menu item
Warning at
at ( ) or
(
) and confirm.
›
By confirming the stored value, the speed limit is reset.
The speed limit set mode is stored even after the ignition is switched off and
on. After a gap between driving exceeding 2 hours, the pre-set speed limit is
deactivated.
DEFGMemoryFig. 29
Memory display: MAXI DOT dis-
play (
) / Segment display (
)
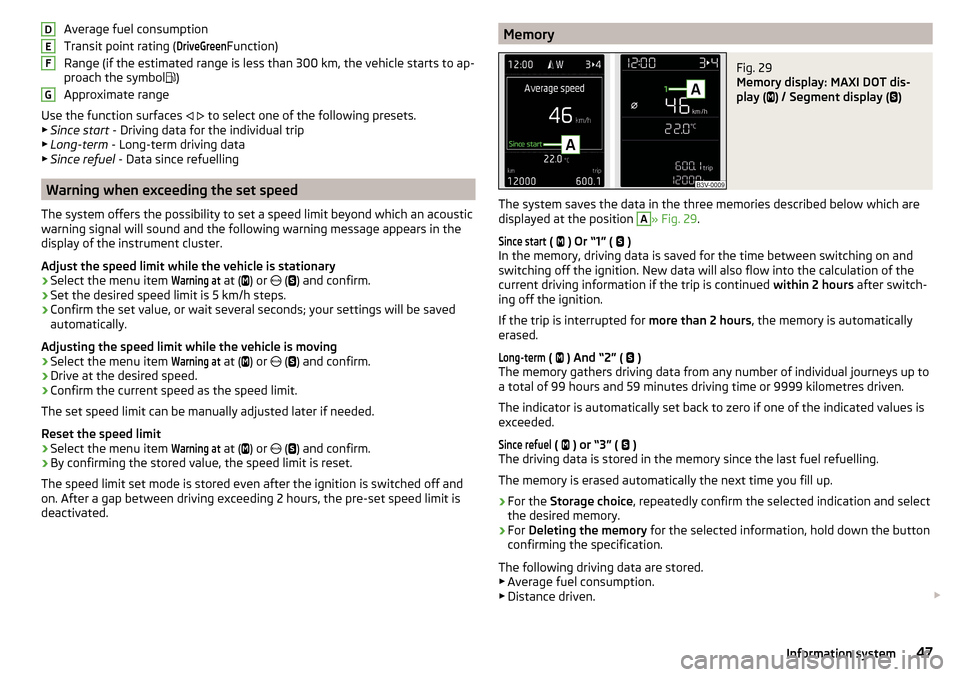
The system saves the data in the three memories described below which are
displayed at the position
A
» Fig. 29 .
Since start
(
) Or “1” (
)
In the memory, driving data is saved for the time between switching on and
switching off the ignition. New data will also flow into the calculation of the
current driving information if the trip is continued within 2 hours after switch-
ing off the ignition.
If the trip is interrupted for more than 2 hours, the memory is automatically
erased.
Long-term
( ) And “2” (
)
The memory gathers driving data from any number of individual journeys up to
a total of 99 hours and 59 minutes driving time or 9999 kilometres driven.
The indicator is automatically set back to zero if one of the indicated values is
exceeded.
Since refuel
( ) or “3” (
)
The driving data is stored in the memory since the last fuel refuelling.
The memory is erased automatically the next time you fill up.
›
For the Storage choice , repeatedly confirm the selected indication and select
the desired memory.
›
For Deleting the memory for the selected information, hold down the button
confirming the specification.
The following driving data are stored. ▶ Average fuel consumption.
▶ Distance driven.
47Information system
Page 52 of 336
FunctionFig. 31
Switching to a different user account
Read and observe on page 49 first.
After unlocking the vehicle and opening the driver's door, all the personalised
functions are adjusted according to the user account that is assigned to the
key which was used to unlock the vehicle.
Any change to the set personalised functions is automatically stored in the ac- tive user account.
As part of the personalisation, three default user accounts as well as a
guest
account are provided.
Switch to a different user account
You can switch to a different user account in the instrument cluster display
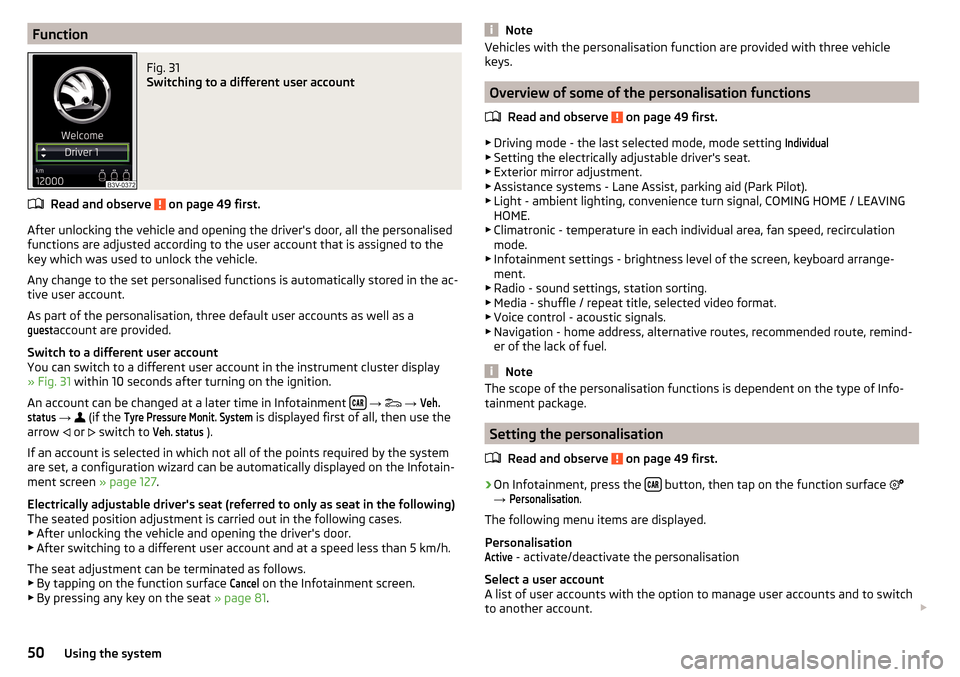
» Fig. 31 within 10 seconds after turning on the ignition.
An account can be changed at a later time in Infotainment
→
→
Veh.status
→
(if the
Tyre Pressure Monit. System
is displayed first of all, then use the
arrow or
switch to
Veh. status
).
If an account is selected in which not all of the points required by the system
are set, a configuration wizard can be automatically displayed on the Infotain-
ment screen » page 127.
Electrically adjustable driver's seat (referred to only as seat in the following)
The seated position adjustment is carried out in the following cases. ▶ After unlocking the vehicle and opening the driver's door.
▶ After switching to a different user account and at a speed less than 5 km/h.
The seat adjustment can be terminated as follows.
▶ By tapping on the function surface
Cancel
on the Infotainment screen.
▶ By pressing any key on the seat » page 81.
NoteVehicles with the personalisation function are provided with three vehicle
keys.
Overview of some of the personalisation functions
Read and observe
on page 49 first.
▶Driving mode - the last selected mode, mode setting
Individual
▶Setting the electrically adjustable driver's seat.
▶ Exterior mirror adjustment.
▶ Assistance systems - Lane Assist, parking aid (Park Pilot).
▶ Light - ambient lighting, convenience turn signal, COMING HOME / LEAVING
HOME.
▶ Climatronic - temperature in each individual area, fan speed, recirculation
mode.
▶ Infotainment settings - brightness level of the screen, keyboard arrange-
ment.
▶ Radio - sound settings, station sorting.
▶ Media - shuffle / repeat title, selected video format.
▶ Voice control - acoustic signals.
▶ Navigation - home address, alternative routes, recommended route, remind-
er of the lack of fuel.
Note
The scope of the personalisation functions is dependent on the type of Info-
tainment package.
Setting the personalisation
Read and observe
on page 49 first.
›
On Infotainment, press the button, then tap on the function surface
→
Personalisation
.
The following menu items are displayed.
Personalisation
Active
- activate/deactivate the personalisation
Select a user account
A list of user accounts with the option to manage user accounts and to switch
to another account.
50Using the system
Page 71 of 336
CAUTIONPoorer visibility is evaluated by a sensor mounted below the windscreen in the
holder of the rear-view mirror. Do not cover the sensor - the system can be af-
fected.
Note
The setting (activate/deactivate) of the automatic driving light control during
rain is stored (depending on the Infotainment type) in the active user account
personalisation » page 49.
Xenon headlight
Read and observe
on page 66 first.
The Xenon headlights (hereinafter referred to as just system) use the drivingdata to automatically ensure the for the best possible light cone in front of the
vehicle.
The system will automatically operate in the following modes: urban, extra-ur-
ban, motorway, rain, fog, adjusting the lighting direction of the headlights for
road illumination on bends.
The system works as long as the light switch is in position
.
WARNINGIf there is a system malfunction the headlights are automatically lowered
to the emergency position, which prevents a possible dazzling of oncoming
traffic. This reduces the cone of light in front of the vehicle. Seek help from
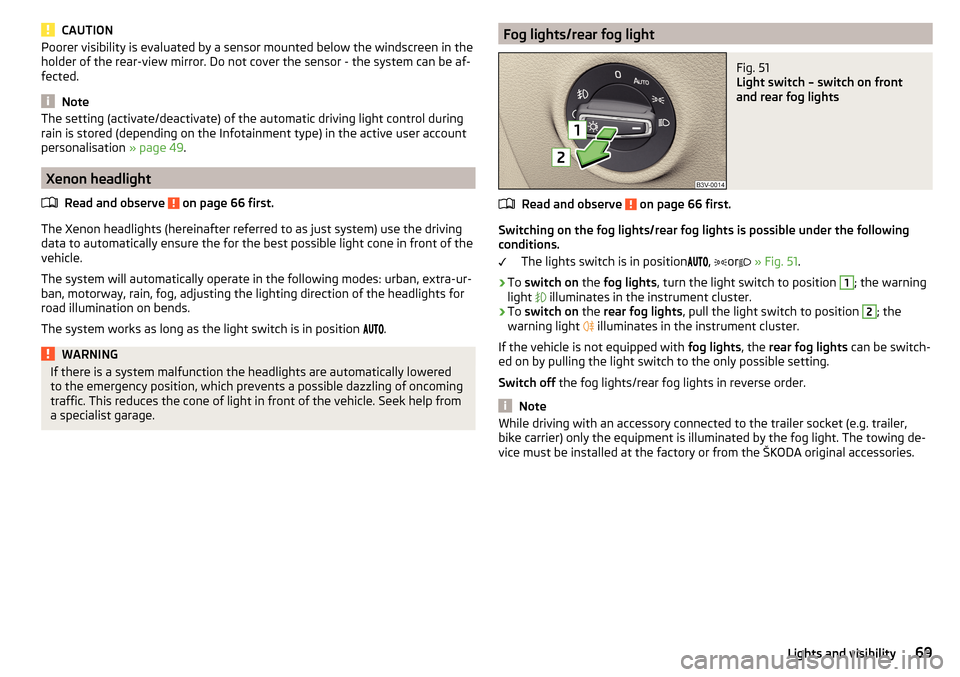
a specialist garage.Fog lights/rear fog lightFig. 51
Light switch – switch on front
and rear fog lights
Read and observe on page 66 first.
Switching on the fog lights/rear fog lights is possible under the following
conditions.
The lights switch is in position ,
or
» Fig. 51 .
›
To switch on the fog lights , turn the light switch to position
1
; the warning
light illuminates in the instrument cluster.
›
To
switch on the rear fog lights , pull the light switch to position
2
; the
warning light illuminates in the instrument cluster.
If the vehicle is not equipped with fog lights, the rear fog lights can be switch-
ed on by pulling the light switch to the only possible setting.
Switch off the fog lights/rear fog lights in reverse order.
Note
While driving with an accessory connected to the trailer socket (e.g. trailer,
bike carrier) only the equipment is illuminated by the fog light. The towing de-
vice must be installed at the factory or from the ŠKODA original accessories.69Lights and visibility
Page 73 of 336
›Press the control lever all the way into position
or until it stops » Fig. 49
on page 68 .
The parking lights on the respective side of the vehicle are turned on.
Switching on the side light on both sides ›
Switch on the ignition and turn the light switch to position
» page 67 , the
parking lights are turned on.
›
Switch off the ignition and lock the car.
After removing the ignition key and opening the driver's door, an audible warn-
ing sounds. After a few seconds, or after closing the driver's door, the acoustic
warning signal stops.
CAUTION
■ Turning on the parking light means the battery is heavily loaded.■The parking lights may switch off automatically due to a low battery charge.
If the two-sided parking lights are switched on when the ignition is off, the
parking lights will not switch on automatically.
Entry space lighting
Read and observe
on page 66 first.
The lighting is positioned on the lower edge of the exterior mirror and illumi-nates the entry area of the front door.
The lighting switches on after unlocking or opening the vehicle door (depend-
ing on the lighting conditions).
The lighting switches off after around 30 seconds after closing the front door
or switching on the ignition.
Driving abroad
Read and observe
on page 66 first.
When driving in countries with opposing traffic system (traffic on the
left/right), your headlights may dazzle oncoming traffic. Therefore, it is neces-
sary to have the headlights adapted by a specialist garage.
You can set the xenon headlights yourself by activating Travel mode Infotain-
ment menu
→
→
Light
. In this mode, no automatic beam adjustment is
made ahead of the vehicle.
Headlight Assist (Light Assist / Dynamic Light Assist)
Introduction
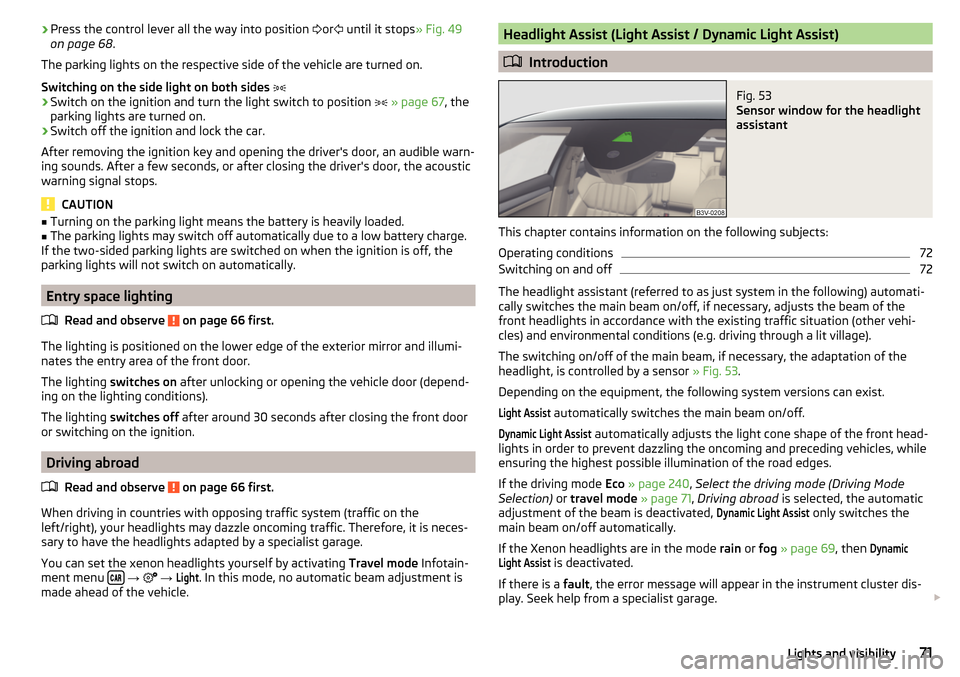
Fig. 53
Sensor window for the headlight
assistant
This chapter contains information on the following subjects:
Operating conditions
72
Switching on and off
72
The headlight assistant (referred to as just system in the following) automati-
cally switches the main beam on/off, if necessary, adjusts the beam of the
front headlights in accordance with the existing traffic situation (other vehi-
cles) and environmental conditions (e.g. driving through a lit village).
The switching on/off of the main beam, if necessary, the adaptation of the
headlight, is controlled by a sensor » Fig. 53.
Depending on the equipment, the following system versions can exist.
Light Assist
automatically switches the main beam on/off.
Dynamic Light Assist
automatically adjusts the light cone shape of the front head-
lights in order to prevent dazzling the oncoming and preceding vehicles, while
ensuring the highest possible illumination of the road edges.
If the driving mode Eco » page 240 , Select the driving mode (Driving Mode
Selection) or travel mode » page 71 , Driving abroad is selected, the automatic
adjustment of the beam is deactivated,
Dynamic Light Assist
only switches the
main beam on/off automatically.
If the Xenon headlights are in the mode rain or fog » page 69 , then
DynamicLight Assist
is deactivated.
If there is a fault, the error message will appear in the instrument cluster dis-
play. Seek help from a specialist garage.
71Lights and visibility