engine coolant SKODA YETI 2013 1.G / 5L User Guide
[x] Cancel search | Manufacturer: SKODA, Model Year: 2013, Model line: YETI, Model: SKODA YETI 2013 1.G / 5LPages: 266, PDF Size: 26.71 MB
Page 207 of 266
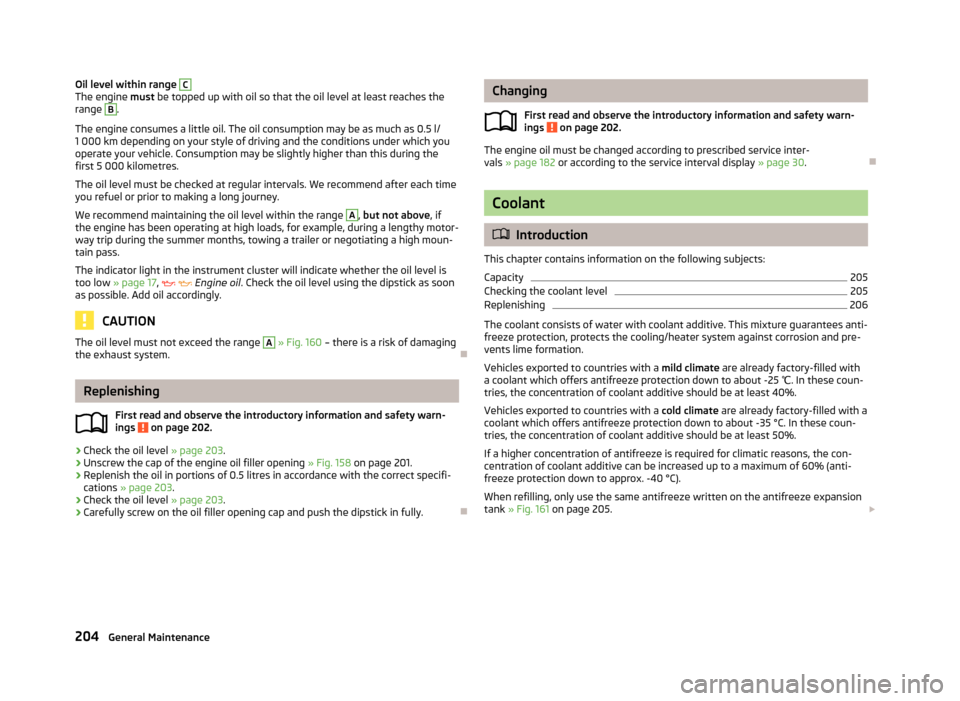
Oil level within range CThe engine must be topped up with oil so that the oil level at least reaches the
range B
.
The engine consumes a little oil. The oil consumption may be as much as 0.5 l/
1 000 km depending on your style of driving and the conditions under which you operate your vehicle. Consumption may be slightly higher than this during thefirst 5 000 kilometres.
The oil level must be checked at regular intervals. We recommend after each time
you refuel or prior to making a long journey.
We recommend maintaining the oil level within the range
A
, but not above , if
the engine has been operating at high loads, for example, during a lengthy motor-
way trip during the summer months, towing a trailer or negotiating a high moun- tain pass.
The indicator light in the instrument cluster will indicate whether the oil level is
too low » page 17 ,
Engine oil . Check the oil level using the dipstick as soon
as possible. Add oil accordingly.
CAUTION
The oil level must not exceed the range A » Fig. 160 – there is a risk of damaging
the exhaust system.
Replenishing
First read and observe the introductory information and safety warn-
ings
on page 202.
›
Check the oil level » page 203.
›
Unscrew the cap of the engine oil filler opening » Fig. 158
on page 201.
›
Replenish the oil in portions of 0.5 litres in accordance with the correct specifi-
cations » page 203 .
›
Check the oil level » page 203.
›
Carefully screw on the oil filler opening cap and push the dipstick in fully.
Changing
First read and observe the introductory information and safety warn-ings
on page 202.
The engine oil must be changed according to prescribed service inter-vals » page 182 or according to the service interval display » page 30.
Coolant
Introduction
This chapter contains information on the following subjects:
Capacity
205
Checking the coolant level
205
Replenishing
206
The coolant consists of water with coolant additive. This mixture guarantees anti- freeze protection, protects the cooling/heater system against corrosion and pre-
vents lime formation.
Vehicles exported to countries with a mild climate are already factory-filled with
a coolant which offers antifreeze protection down to about -25 ℃. In these coun-
tries, the concentration of coolant additive should be at least 40%.
Vehicles exported to countries with a cold climate are already factory-filled with a
coolant which offers antifreeze protection down to about -35 °C. In these coun-
tries, the concentration of coolant additive should be at least 50%.
If a higher concentration of antifreeze is required for climatic reasons, the con-centration of coolant additive can be increased up to a maximum of 60% (anti-
freeze protection down to approx. -40 °C).
When refilling, only use the same antifreeze written on the antifreeze expansion tank » Fig. 161 on page 205.
204General Maintenance
Page 208 of 266
WARNING■The engine compartment of your car is a hazardous area. The following
warning instructions must be followed at all times when working in the en-
gine compartment » page 199.■
Do not continue your journey if for some reason it is not possible to fill
with coolant under the current circumstances. Switch off the engine and seek
assistance from a specialist garage.
CAUTION
■ The concentration of coolant additive in the coolant must never be under 40%.■Over 60% of coolant additive in the coolant reduces the antifreeze protection
and cooling effect.■
A coolant additive that does not comply with the correct specifications can sig-
nificantly reduce the corrosion protection.
■
Any faults resulting from corrosion may cause a loss of coolant and can conse-
quently result in major engine damage!
■
Do not fill the coolant above the mark
A
» Fig. 161 on page 205.
■
If a fault causes the engine to overheat, we recommend visiting a specialist ga-
rage, as otherwise serious engine damage may occur.
Capacity
First read and observe the introductory information and safety warn-
ings
on page 204.
Coolant capacity (in litres) 1)
Petrol enginesFilling level1.2 ltr/77 kW TSI7.71.4 ltr/90 kW TSI7.71.8 l/112, 118 kW TSI8.6Diesel enginesFilling level1.6 ltr/77 kW TDI CR8.42.0 l/81, 103, 125 kW TDI CR8.4
Checking the coolant levelFig. 161
Engine compartment: Coolant
expansion reservoir
First read and observe the introductory information and safety warn-
ings on page 204.
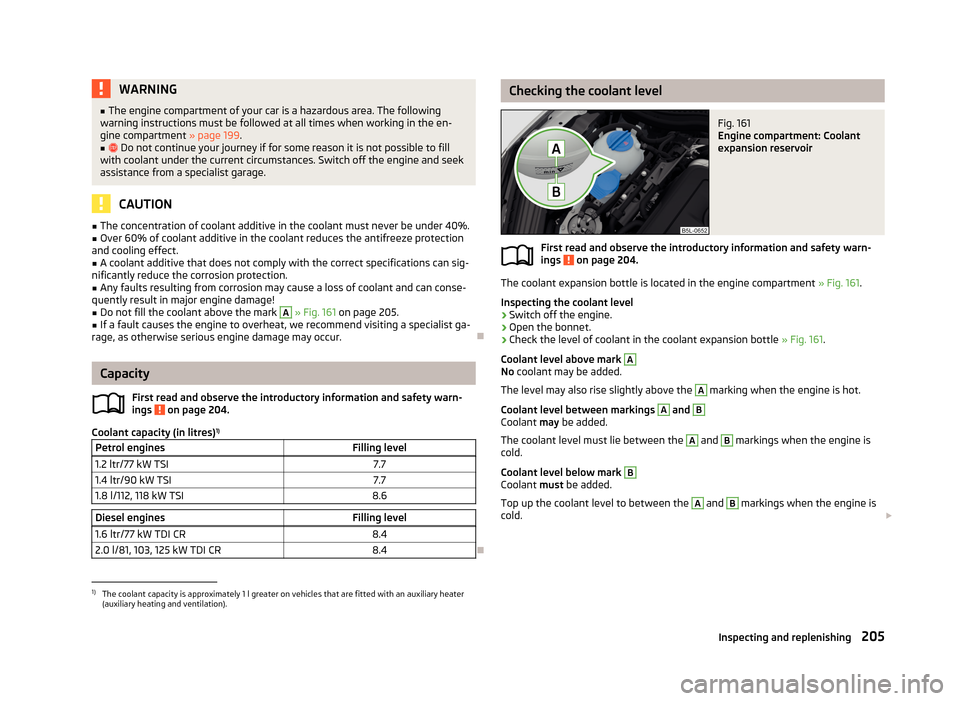
The coolant expansion bottle is located in the engine compartment » Fig. 161.
Inspecting the coolant level
›
Switch off the engine.
›
Open the bonnet.
›
Check the level of coolant in the coolant expansion bottle » Fig. 161.
Coolant level above mark
A
No coolant may be added.
The level may also rise slightly above the
A
marking when the engine is hot.
Coolant level between markings
A
and
B
Coolant may be added.
The coolant level must lie between the
A
and
B
markings when the engine is
cold.
Coolant level below mark
B
Coolant must be added.
Top up the coolant level to between the
A
and
B
markings when the engine is
cold.
1)
The coolant capacity is approximately 1 l greater on vehicles that are fitted with an auxiliary heater
(auxiliary heating and ventilation).
205Inspecting and replenishing
Page 209 of 266
If the coolant level in the coolant expansion tank is too low, this is indicated by
the warning light lighting up in the instrument cluster » page 16, Coolant .
We still recommend inspecting the coolant level directly at the reservoir from
time to time.
Loss of coolant
A loss of coolant is first and foremost an indication of a leak in the system. Do
not merely top up the coolant. Have the cooling system checked by a specialist
garage.
Replenishing
First read and observe the introductory information and safety warn-
ings
on page 204.
Only top up with new coolant.
›
Switch off the engine.
›
Allow the engine to cool.
›
Place a cloth over the cap of the coolant expansion tank and unscrew the cap carefully .
›
Replenish the coolant.
›
Turn the cap until it clicks into place.
Do not use an alternative additive if the specified coolant is not available in an emergency. In this case, use just water and have the correct mixing ratio of waterand coolant additive restored by a specialist garage as soon as possible.
Brake fluid
Introduction
This chapter contains information on the following subjects:
Checking the brake fluid level
206
Changing
207WARNING■ The engine compartment of your car is a hazardous area. The following
warning instructions must be followed at all times when working in the en-
gine compartment » page 199.■
If the fluid level has dropped below the MIN marking » Fig. 162 on page 206,
do not continue your journey - risk of accident! Seek help from a specialist
garage.
■
Do not use used brake fluid - the function of the brake system may be im-
paired – risk of accident!
CAUTION
Brake fluid damages the paintwork of the vehicle.
Note
■ The brake fluid is changed as part of a compulsory inspection service.■We recommend using oils from the ŠKODA Original Accessories range.
Checking the brake fluid level
Fig. 162
Engine compartment: Brake fluid
reservoir
First read and observe the introductory information and safety warn-
ings on page 206.
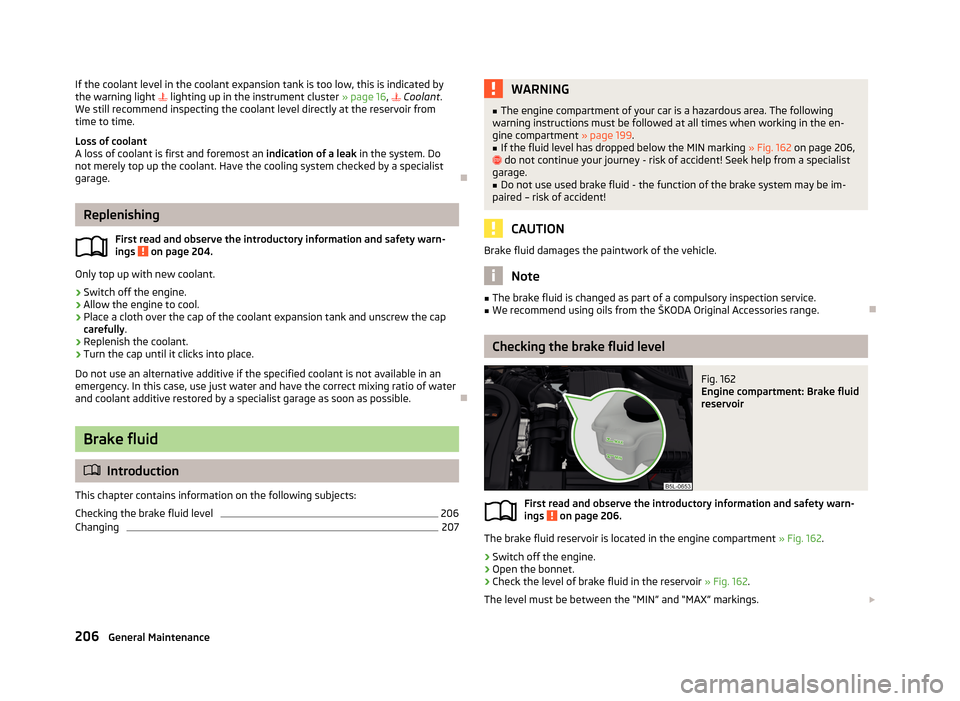
The brake fluid reservoir is located in the engine compartment » Fig. 162.
›
Switch off the engine.
›
Open the bonnet.
›
Check the level of brake fluid in the reservoir » Fig. 162.
The level must be between the “MIN” and “MAX” markings.
206General Maintenance
Page 241 of 266
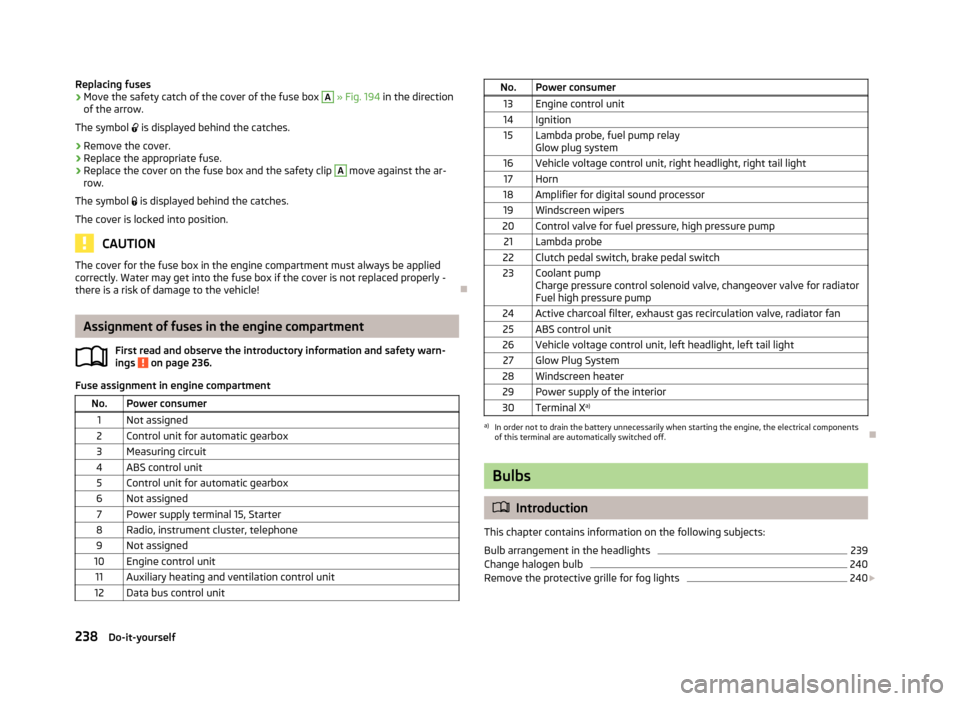
Replacing fuses›Move the safety catch of the cover of the fuse box A » Fig. 194 in the direction
of the arrow.
The symbol is displayed behind the catches.›
Remove the cover.
›
Replace the appropriate fuse.
›
Replace the cover on the fuse box and the safety clip
A
move against the ar-
row.
The symbol is displayed behind the catches.
The cover is locked into position.
CAUTION
The cover for the fuse box in the engine compartment must always be applied
correctly. Water may get into the fuse box if the cover is not replaced properly -
there is a risk of damage to the vehicle!
Assignment of fuses in the engine compartment
First read and observe the introductory information and safety warn-ings
on page 236.
Fuse assignment in engine compartment
No.Power consumer1Not assigned2Control unit for automatic gearbox3Measuring circuit4ABS control unit5Control unit for automatic gearbox6Not assigned7Power supply terminal 15, Starter8Radio, instrument cluster, telephone9Not assigned10Engine control unit11Auxiliary heating and ventilation control unit12Data bus control unitNo.Power consumer13Engine control unit14Ignition15Lambda probe, fuel pump relay
Glow plug system16Vehicle voltage control unit, right headlight, right tail light17Horn18Amplifier for digital sound processor19Windscreen wipers20Control valve for fuel pressure, high pressure pump21Lambda probe22Clutch pedal switch, brake pedal switch23Coolant pump
Charge pressure control solenoid valve, changeover valve for radiator
Fuel high pressure pump24Active charcoal filter, exhaust gas recirculation valve, radiator fan25ABS control unit26Vehicle voltage control unit, left headlight, left tail light27Glow Plug System28Windscreen heater29Power supply of the interior30Terminal X a)a)
In order not to drain the battery unnecessarily when starting the engine, the electrical components
of this terminal are automatically switched off.
Bulbs
Introduction
This chapter contains information on the following subjects:
Bulb arrangement in the headlights
239
Change halogen bulb
240
Remove the protective grille for fog lights
240
238Do-it-yourself
Page 255 of 266
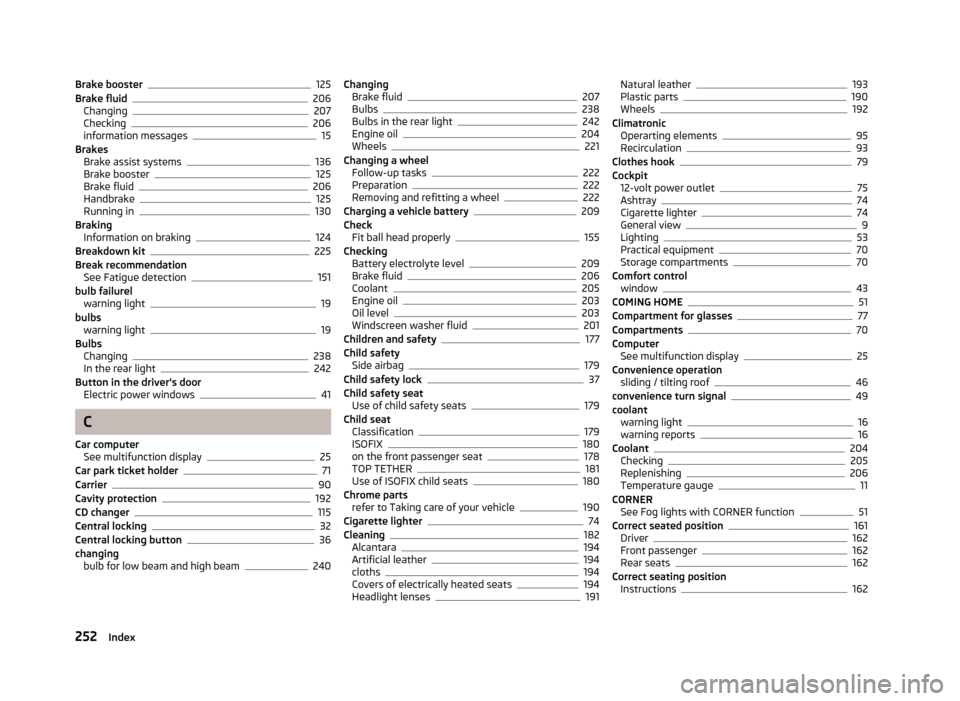
Brake booster125
Brake fluid206
Changing207
Checking206
information messages15
Brakes Brake assist systems
136
Brake booster125
Brake fluid206
Handbrake125
Running in130
Braking Information on braking
124
Breakdown kit225
Break recommendation See Fatigue detection
151
bulb failurel warning light
19
bulbs warning light
19
Bulbs Changing
238
In the rear light242
Button in the driver's door Electric power windows
41
C
Car computer See multifunction display
25
Car park ticket holder71
Carrier90
Cavity protection192
CD changer115
Central locking32
Central locking button36
changing bulb for low beam and high beam
240
ChangingBrake fluid207
Bulbs238
Bulbs in the rear light242
Engine oil204
Wheels221
Changing a wheel Follow-up tasks
222
Preparation222
Removing and refitting a wheel222
Charging a vehicle battery209
Check Fit ball head properly
155
Checking Battery electrolyte level
209
Brake fluid206
Coolant205
Engine oil203
Oil level203
Windscreen washer fluid201
Children and safety177
Child safety Side airbag
179
Child safety lock37
Child safety seat Use of child safety seats
179
Child seat Classification
179
ISOFIX180
on the front passenger seat178
TOP TETHER181
Use of ISOFIX child seats180
Chrome parts refer to Taking care of your vehicle
190
Cigarette lighter74
Cleaning182
Alcantara194
Artificial leather194
cloths194
Covers of electrically heated seats194
Headlight lenses191
Natural leather193
Plastic parts190
Wheels192
Climatronic Operarting elements
95
Recirculation93
Clothes hook79
Cockpit 12-volt power outlet
75
Ashtray74
Cigarette lighter74
General view9
Lighting53
Practical equipment70
Storage compartments70
Comfort control window
43
COMING HOME51
Compartment for glasses77
Compartments70
Computer See multifunction display
25
Convenience operation sliding / tilting roof
46
convenience turn signal49
coolant warning light
16
warning reports16
Coolant204
Checking205
Replenishing206
Temperature gauge11
CORNER See Fog lights with CORNER function
51
Correct seated position161
Driver162
Front passenger162
Rear seats162
Correct seating position Instructions
162
252Index
Page 256 of 266
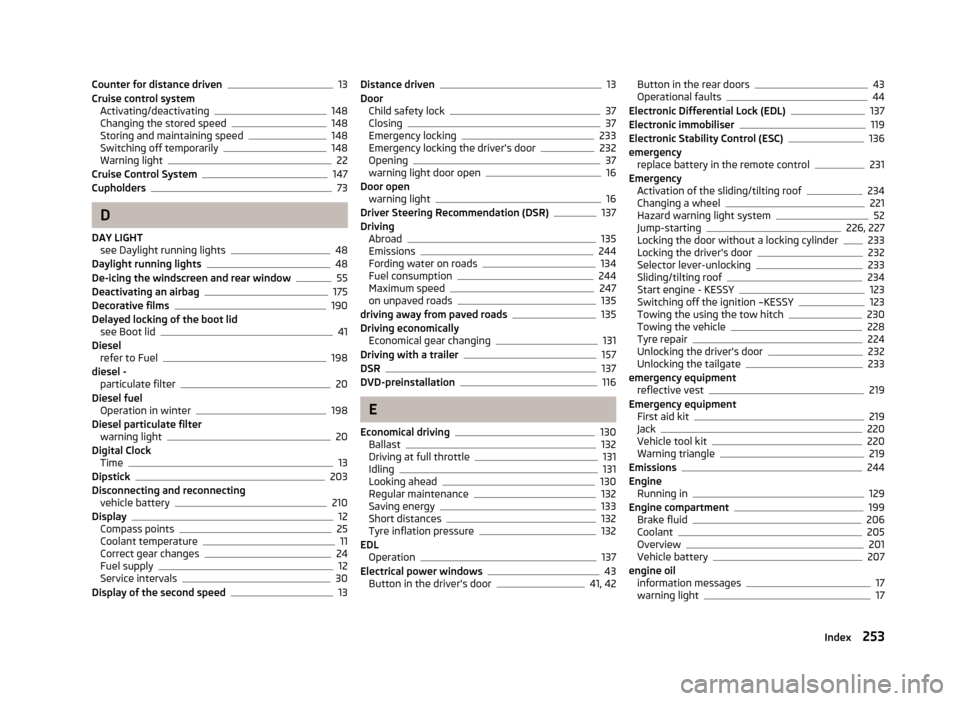
Counter for distance driven13
Cruise control system Activating/deactivating
148
Changing the stored speed148
Storing and maintaining speed148
Switching off temporarily148
Warning light22
Cruise Control System147
Cupholders73
D
DAY LIGHT see Daylight running lights
48
Daylight running lights48
De-icing the windscreen and rear window55
Deactivating an airbag175
Decorative films190
Delayed locking of the boot lid see Boot lid
41
Diesel refer to Fuel
198
diesel - particulate filter
20
Diesel fuel Operation in winter
198
Diesel particulate filter warning light
20
Digital Clock Time
13
Dipstick203
Disconnecting and reconnecting vehicle battery
210
Display12
Compass points25
Coolant temperature11
Correct gear changes24
Fuel supply12
Service intervals30
Display of the second speed13
Distance driven13
Door Child safety lock
37
Closing37
Emergency locking233
Emergency locking the driver's door232
Opening37
warning light door open16
Door open warning light
16
Driver Steering Recommendation (DSR)137
Driving Abroad
135
Emissions244
Fording water on roads134
Fuel consumption244
Maximum speed247
on unpaved roads135
driving away from paved roads135
Driving economically Economical gear changing
131
Driving with a trailer157
DSR137
DVD-preinstallation116
E
Economical driving
130
Ballast132
Driving at full throttle131
Idling131
Looking ahead130
Regular maintenance132
Saving energy133
Short distances132
Tyre inflation pressure132
EDL Operation
137
Electrical power windows43
Button in the driver's door41, 42
Button in the rear doors43
Operational faults44
Electronic Differential Lock (EDL)137
Electronic immobiliser119
Electronic Stability Control (ESC)136
emergency replace battery in the remote control
231
Emergency Activation of the sliding/tilting roof
234
Changing a wheel221
Hazard warning light system52
Jump-starting226, 227
Locking the door without a locking cylinder233
Locking the driver's door232
Selector lever-unlocking233
Sliding/tilting roof234
Start engine - KESSY123
Switching off the ignition –KESSY123
Towing the using the tow hitch230
Towing the vehicle228
Tyre repair224
Unlocking the driver's door232
Unlocking the tailgate233
emergency equipment reflective vest
219
Emergency equipment First aid kit
219
Jack220
Vehicle tool kit220
Warning triangle219
Emissions244
Engine Running in
129
Engine compartment199
Brake fluid206
Coolant205
Overview201
Vehicle battery207
engine oil information messages
17
warning light17
253Index
Page 260 of 266
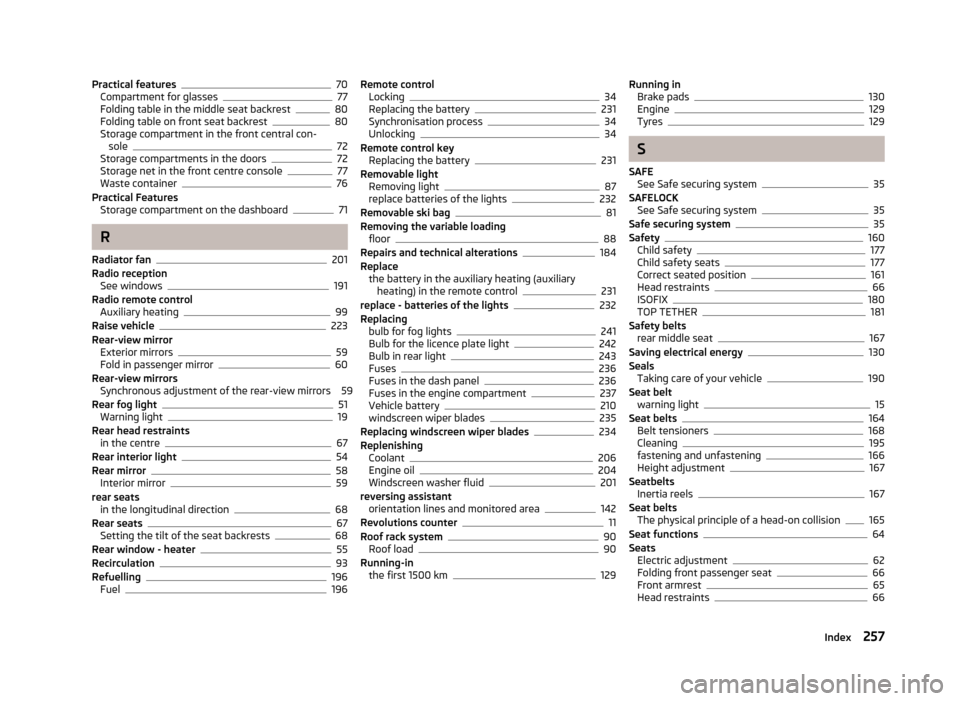
Practical features70
Compartment for glasses77
Folding table in the middle seat backrest80
Folding table on front seat backrest80
Storage compartment in the front central con- sole
72
Storage compartments in the doors72
Storage net in the front centre console77
Waste container76
Practical Features Storage compartment on the dashboard
71
R
Radiator fan
201
Radio reception See windows
191
Radio remote control Auxiliary heating
99
Raise vehicle223
Rear-view mirror Exterior mirrors
59
Fold in passenger mirror60
Rear-view mirrors Synchronous adjustment of the rear-view mirrors 59
Rear fog light
51
Warning light19
Rear head restraints in the centre
67
Rear interior light54
Rear mirror58
Interior mirror59
rear seats in the longitudinal direction
68
Rear seats67
Setting the tilt of the seat backrests68
Rear window - heater55
Recirculation93
Refuelling196
Fuel196
Remote control Locking34
Replacing the battery231
Synchronisation process34
Unlocking34
Remote control key Replacing the battery
231
Removable light Removing light
87
replace batteries of the lights232
Removable ski bag81
Removing the variable loading floor
88
Repairs and technical alterations184
Replace the battery in the auxiliary heating (auxiliary
heating) in the remote control
231
replace - batteries of the lights232
Replacing bulb for fog lights
241
Bulb for the licence plate light242
Bulb in rear light243
Fuses236
Fuses in the dash panel236
Fuses in the engine compartment237
Vehicle battery210
windscreen wiper blades235
Replacing windscreen wiper blades234
Replenishing Coolant
206
Engine oil204
Windscreen washer fluid201
reversing assistant orientation lines and monitored area
142
Revolutions counter11
Roof rack system90
Roof load90
Running-in the first 1500 km
129
Running inBrake pads130
Engine129
Tyres129
S
SAFE See Safe securing system
35
SAFELOCK See Safe securing system
35
Safe securing system35
Safety160
Child safety177
Child safety seats177
Correct seated position161
Head restraints66
ISOFIX180
TOP TETHER181
Safety belts rear middle seat
167
Saving electrical energy130
Seals Taking care of your vehicle
190
Seat belt warning light
15
Seat belts164
Belt tensioners168
Cleaning195
fastening and unfastening166
Height adjustment167
Seatbelts Inertia reels
167
Seat belts The physical principle of a head-on collision
165
Seat functions64
Seats Electric adjustment
62
Folding front passenger seat66
Front armrest65
Head restraints66
257Index