air condition SKODA YETI 2014 1.G / 5L Amundsen Infotainment Navigation System Manual
[x] Cancel search | Manufacturer: SKODA, Model Year: 2014, Model line: YETI, Model: SKODA YETI 2014 1.G / 5LPages: 88, PDF Size: 8.18 MB
Page 44 of 88
›Hands-free telephone (HFP)
- Devices that support the connection via the
HFP profile
› Bluetooth audio (A2DP)
- Devices that support the connection via the au-
dio profile
The audio Bluetooth ®
profile A2DP or AVRCP can be disabled or enabled by
pressing the function key
→ Bluetooth → Bluetooth audio (A2DP/AVRCP) .
Connect
Press in the menu Telephone function key
→ Bluetooth → Paired devices .
A list of paired devices is displayed.
By pressing the function key with the name of the connected device a menu
opens with the supported profiles.
By pressing the gray profile icon on the menu with supported profiles a device
connects to the unit via the selected profile.
The connection process via the profile selection is influenced by the number
and the type of connected telephones. The procedure is the same as connect-
ing to the telephone » page 46.
Disconnecting the connection
Press in the menu Telephone function key
→ Bluetooth → Paired devices .
A list of paired devices is displayed.
By pressing the green symbol (HFP) or the white symbol
(A2DP) the mes-
sage … Disconnect the profile - are you sure? is displayed in the device screen
and a menu with the following function keys appears.
› Disconnect
- Disconnect connection
› Cancel
- Cancel the disconnection
Settings
Read and observe
and on page 38 first.
›
Press the button
→
.
■
Hands-free - Enabling and disabling hands-free system (during a call, the call
is switched to the telephone)
■ Select telephone - Search for available telephones/list of paired telephones/
select telephone ■ Find telephone - Search for available telephones » page 46
■ Bluetooth - Bluetooth ®
settings » page 21
■ User profile - User profile settings
■ Manage favourites - Assign function keys to allow speed dialling of con-
tacts; you can also add and delete quick contacts here
■ Mailbox number: Enter here - Enter the telephone number of the mailbox
■ Prefix: - Switch on/off the option to assign a prefix to a telephone number.
Once this function is activated, the function key for adding a prefix to a tel-
ephone number will be displayed with the symbol in some menus. to be
shown.
■ Enter here - prefix for a telephone number (if the function Prefix: is on)
■ Sort by: - Sort the order of the telephone book 1)
■ Surname - Sort by contact name
■ Name - Sort by contact first name
■ Import contacts - Start the update of the telephone book; the number of
imported contacts and number of contacts stored in the telephone is dis-
played 2)
■ Delete other user profiles - Delete up to three previous user profiles (con-
tacts, order of calls, call lists, speed dial buttons assigned to contacts)
■ Select ring tone - Selection the ring tone is available if the connected main
or additional telephone does not support the in-band ringing function 3)
■ Reminder: Remember your mobile - Switch on/off the reminder for a con-
nected telephone; the reminder is output when the ignition is switched off
and the ignition key is removed (or the ignition is turned off and the driver's
door is opened in the case of vehicles with a start button)
■ Show pictures for contacts - Switch on/off the display of the image as-
signed to the contact 1)
Problems with telephone functions
Read and observe
and on page 38 first.
For correct functioning of the menu Telephone the following basic conditions
for coupling are required » page 43.
1)
This function is only supported by some telephones.
2)
Some telephones do not support downloading of contacts from the SIM card.
3)
The in-band ringing function makes it possible to use the ring tone of your telephone as the ring tone.
41Communication
Page 45 of 88
If there are problems with the availability of the mobile network or with the
Bluetooth ®
function, one of the following messages may appear on the device
display screen.MessageMeaningNetw. search…The telephone scans for available
wireless networks.
No network
The telephone has no connection to a
wireless network, if necessary, it does
not support sending information to
the network state.
Rejected by network.
The telephone service provider has
rejected the connection (e.g. not
enough mobile telephone credit, SIM
card blocked, roaming not available).To use the Bluetooth function,
please switch the ignition on.Switch on the ignition » page 43,
conditions for coupling .Please switch on Bluetooth.Switch on the Bluetooth ®
function on
the device.Please connect a mobile telephone.Connect the telephone with the de-
vice » page 42 , Pair .Telephone not available.There is a problem with the Tele-
phone , contact a specialist workshop.Telephone is currently not available.
Unknown No.
The telephone did not provide any in-
formation regarding the telephone
service provider. Connect the mobile
telephone again, if necessary, remove
the key for a few minutes a)
.a)
On vehicles with a starter button, switch off the ignition and open the driver's door.
Pair
Introduction
This chapter contains information on the following subjects:
conditions for coupling
43
Coupling - no telephone connected
43
Coupling - connected telephone
43
Coupling - two telephones connected
44
Coupling - more options of the telephone search
44
Connect telephone to the device
44
Pairing confirmation
45
Delete the telephone from the list of paired devices
45
First and foremost, pay attention to the safety instructions » page 7 , Impor-
tant notes .
During the coupling and connecting process the device can demand the confir-
mation by the Bluetooth ®
profile (e.g., release contact import, release the MAP
profile or the Bluetooth connection ®
player and similar.) The telephone display
should be monitored to acknowledge any possible request.
If the telephone to be paired has several SIM cards, then the primary SIM card
of the telephone is paired with your device.
The coupling procedure is different depending on the number of telephones
associated with the device.
WARNINGThe device may require confirmation of certain features in the telephone
when pairing. Therefore do not carry out the pairing process while driving -
there is danger of accidents! 42Familiarization with the unit
Page 46 of 88
Note■During the pairing process the option in the telephone to remember the
password for the next automatic connection can be selected 1)
.■
During the pairing process, some telephones require a confirmation regard-
ing the connection of Bluetooth ®
Profile A2DP and AVRCP.
■
The maximum number of paired phones is 20. Coupling a new telephone af-
ter reaching the maximum number causes the telephone that has not been
coupled for the longest time to be automatically replaced.
conditions for coupling
Read and observe
on page 42 first.
To connect a telephone with the device, the two devices must be paired.
Prerequisites for successful pairing. The ignition is switched on.
The Bluetooth ®
function of the device » page 21 and the telephone is
switched on.
The visibility of the device » page 21 and the telephone is switched on.
The visibility of the telephone is switched on.
The telephone is within range of the Bluetooth ®
signal of the device.
The telephone is supported by the device.
The pairing can be initiated from the device or from the telephone.
Note
Available updates for Bluetooth ®
devices as well as information about the tel-
ephone support can be obtained from the ŠKODA website www.infotain-
ment.skoda-auto.com .
Coupling - no telephone connected
Read and observe
on page 42 first.
›
Press the button.
In the device screen the message Please search for and connect a mobile tel-
ephone. appears and a menu with the following function keys.
›Find telephone
- search for available telephones with activated Bluetooth ®
function and visibility›
- Opening of the settings menu » page 41, Settings
After pressing the function key Find telephone the search for available devices
starts. After about 30 seconds a list of found devices appears, which is upda-
ted up to 1 minute after the start of the search appears.
›
If you do not want to wait for the display of the list press the function key
Results .
›
Select the telephone you want from the list of available telephones.
›
Confirm the coupling » page 45.
After pairing confirmation the telephone is connected to the device as the
main telephone » page 40.
Coupling - connected telephone
Read and observe
on page 42 first.
›
In the menu Telephone press the function key
B
» Fig. 22 on page 39 with
the name of the main telephone.
›
In the list of paired telephones press the function key Find telephone .
A search for available devices starts. After about 30 seconds a list of found de-
vices appears, which is updated up to 1 minute after the start of the search ap-
pears.
›
If you do not want to wait for the display of the list press the function key
Results .
›
Select the telephone you want from the list of available devices.
In the device screen the message Choose whether you would like to replace
the main telephone … or whether you would like to add … as an additional
telephone. along with the following menu.
›
Cancel - Cancel the coupling
›
Replace - Coupling and replacement of the main telephone
›
Add - Coupling as an additional telephone
›
Confirm the coupling » page 45.
After pairing confirmation the telephone connects to the device.
1)
This function is only supported by some telephones.
43Communication
Page 49 of 88
Check that the conditions for a successful pairing and the connection of the
telephone to the device is possible » page 43, conditions for coupling .
Connection - no telephone connected
After pressing the button
the message
Please search for and connect a
mobile telephone. appears in the device screen and a menu with the following
function keys.
›
Find telephone - Search for available devices
›
- Opening of the settings menu » page 41, Settings
After pressing the function key Find telephone the search for available devices
starts. After about 30 seconds a list of found devices appears, which is upda-
ted up to 1 minute after the start of the search appears.
›
The function key Results is to be pressed if you do not want to wait for the
display of the list.
›
Select a previously paired telephone from the list of available telephones.
The selected telephone connects to the device as the main tele-
phone » page 40 .
Connection - a connected telephone
›
In the Telephone menu press the button
B
» Fig. 22 on page 39 with the
name of the main telephone.
›
Select the telephone you want from the list of paired telephones or if the de-
sired telephone from the list does not exist, press the function key Find tele-
phone . Then select the desired telephone from the list of found devices.
In the device screen the message Choose whether you would like to replace
the main telephone … or whether you would like to add … as an additional
telephone. appears along with the following menu.
›
Cancel - Cancel the connection
›
Replace - Connection and replacement of the main telephone
›
Add - Connection as an additional phone
The telephone connects to the device.
Connection - two telephones connected
›
In the Telephone menu press the button
B
» Fig. 22 on page 39 with the
name of the main telephone.
› Select the telephone you want from the list of paired telephones or if the de-
sired telephone from the list does not exist, press the function key Find tele-
phone . Then select the desired telephone from the list of found devices.
In the device screen the message Unable to connect …. Choose whether you
would like to replace the main telephone … or the additional telephone …. to
appear with the following menu.›
Cancel - Cancel the connection
›
Main tel. - Connection and replacement of the main telephone
›
Addition. tel. - Connection and replacement of the additional telephone
If you have a telephone, which is connected to the device via the Bluetooth
audio ®
profile A2DP or AVRCP, which you want to replace, then the following
message appears in the device screen: 2 devices are already connected.
Please disconnect at least one of these devices first in order to connect: ….
To establish the connection, the audio Bluetooth ®
profile A2DP or AVRCP is to
be separated » page 40 or the second telephone which is not connected to
the audio profile, is to be selected and replaced.
›
The connection process must be repeated by selecting the telephone from
the list of found devices.
The telephone connects to the device.
Connection - more options the telephone search
The telephone can be selected from among the available paired telephones as
follows.
›
Press the function key
→ Bluetooth → Select telephone and select the
desired phone.
›
Press the function key
→ Bluetooth → Find devices → Results press and
select the telephone and a Bluetooth ®
- Select a connection pro-
file » page 40 .
›
Press the function key
→ Bluetooth → Paired devices and select the tel-
ephone and a Bluetooth ®
- connection profile » page 40.
After the desired telephone and the Bluetooth ®
Has been searched out and
selected profile, must be chosen depending on the number of connected tele-
phones, if the telephone has to be connected as a main or additional phone.
46Familiarization with the unit
Page 57 of 88
MirrorLink ™
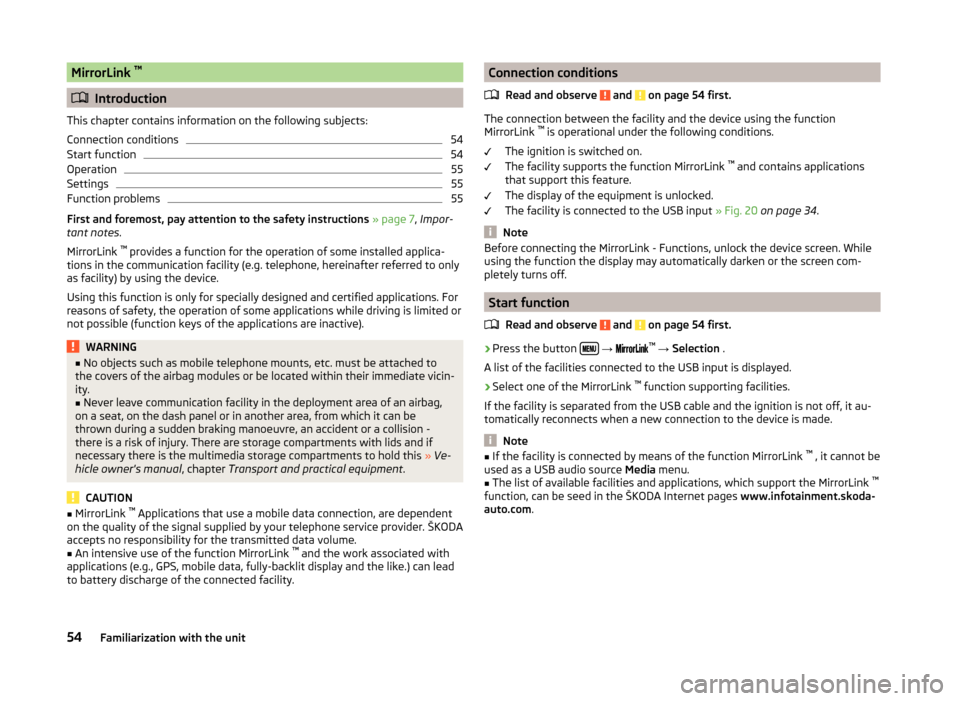
Introduction
This chapter contains information on the following subjects:
Connection conditions
54
Start function
54
Operation
55
Settings
55
Function problems
55
First and foremost, pay attention to the safety instructions » page 7 , Impor-
tant notes .
MirrorLink ™
provides a function for the operation of some installed applica-
tions in the communication facility (e.g. telephone, hereinafter referred to only
as facility) by using the device.
Using this function is only for specially designed and certified applications. For
reasons of safety, the operation of some applications while driving is limited or
not possible (function keys of the applications are inactive).
WARNING■ No objects such as mobile telephone mounts, etc. must be attached to
the covers of the airbag modules or be located within their immediate vicin-
ity.■
Never leave communication facility in the deployment area of an airbag,
on a seat, on the dash panel or in another area, from which it can be
thrown during a sudden braking manoeuvre, an accident or a collision -
there is a risk of injury. There are storage compartments with lids and if
necessary there is the multimedia storage compartments to hold this » Ve-
hicle owner's manual , chapter Transport and practical equipment .
CAUTION
■
MirrorLink ™
Applications that use a mobile data connection, are dependent
on the quality of the signal supplied by your telephone service provider. ŠKODA
accepts no responsibility for the transmitted data volume.■
An intensive use of the function MirrorLink ™
and the work associated with
applications (e.g., GPS, mobile data, fully-backlit display and the like.) can lead
to battery discharge of the connected facility.
Connection conditions
Read and observe
and on page 54 first.
The connection between the facility and the device using the function
MirrorLink ™
is operational under the following conditions.
The ignition is switched on.
The facility supports the function MirrorLink ™
and contains applications
that support this feature.
The display of the equipment is unlocked.
The facility is connected to the USB input » Fig. 20 on page 34 .
Note
Before connecting the MirrorLink - Functions, unlock the device screen. While
using the function the display may automatically darken or the screen com-
pletely turns off.
Start function
Read and observe
and on page 54 first.
›
Press the button
→
™
→ Selection .
A list of the facilities connected to the USB input is displayed.
›
Select one of the MirrorLink ™
function supporting facilities.
If the facility is separated from the USB cable and the ignition is not off, it au- tomatically reconnects when a new connection to the device is made.
Note
■ If the facility is connected by means of the function MirrorLink ™
, it cannot be
used as a USB audio source Media menu.■
The list of available facilities and applications, which support the MirrorLink ™
function, can be seed in the ŠKODA Internet pages www.infotainment.skoda-
auto.com .
54Familiarization with the unit
Page 80 of 88
Index
A
Abort route guidance
71
Additional keyboard languages21
Additional telephone40
Alphanumeric with keyboard11
AM23
Anti-theft protection7
Audio Media
29
Radio23
Audio source31
Automatic turning off of the device8
AUX34
B
Bluetooth Settings
21
Switch on/off21
Update22
Visibility21
Bluetooth - profile40
Bluetooth Player33
Breakdown service47
C
Call list Call list
50
Communication38
Component protection7
Conditions for coupling43
Conference call51
Connect device connected to a telephone
46
connected to two telephones46
more options of the telephone search46
no telephone connected46
Control lever15
Coupled device connected to a telephone
43
connected to two telephones44
more options of the telephone search44
Couple device no telephone connected
43
Couple telephone Telephone to the device
44
Custom destination67
D
DAB
23
Additional information24
Radio text and pictures presentation24
Settings27
Data transmission of mobile devices21
Delete the telephone from the list of paired de- vices
45
Demo mode62
Description of the device7
Destination Custom destination
67
Favourite75
Flagged destination66
GPS coordinates65
Home address67
Image with GPS67
Input options63
List of saved destinations66
Map point65
POI67
Storage75
Street address64
Destination details75
Destination management74
Destination details75
Favourite75
Stopover74
Storage75
Device connect to the telephone45
Disconnection47
Pair with your telephone42
Device language20
Device menu Radio
23
Device menus Device Settings
20
Media29
MirrorLink54
Navigation57
Pictures36
Sound19
Telephone38
Device operation Control lever
15
Device screen10
MAXI DOT display11
Multi-function steering wheel12
Multifunction steering wheel13, 14
device screen keyboard
11
Device screen20
Area10
important information8
Maintenance8
Operation10
Dial telephone number47
Digital radio reception27
DTMF50
Dynamic route switch on / off
73
E
Extra window on / off
60
F
Factory settings
21
77Index
Page 83 of 88
R
Radio
23
DAB settings27
FM - settings27
Frequency range24
List of available stations24
Main menu23
Multi-function steering wheel12
Operation23
Preface23
Save station25
Search for station25
Select station25
Settings27
Station Logo26
Traffic programme (TP)26
Voice control15
Radio station Logo
26
Save station25
Search for station25
Select station25
Radio station logo26
Route72
Route calculation70
Route info.72
Route list72
Route options61
S
Safe removal of the signal source
21
Satellite details61
Saved destinations66
Save radio station25
Screen see device screen
8
Screen display10
SD memory card33
Select frequency range See main menu23
Select radio station See main menu
23
Select source Images
37
Media32
Settings Additional keyboard languages
21
Bluetooth21
DAB27
Device19, 20
Device language20
Device screen20
FM27
Images37
Keyboard21
Language20
Manage favourites49
Media31
MirrorLink55
Navigation61
Radio27
Restore factory settings21
Software Update22
Sound19
System Information22
Telephone41
User profile49
Voice control21
Volume9
Setup20
SMS52
new52
Operation51
received53
Software Update22
Sound19
Split screen Audio60
Compass60
Manoeuvre60, 71
Menus60
on / off60
Road sign60
Satellite data60
Station See main menu radio
23
Status line10
Navigation62
Telephone39
Stopover73, 74
Street address64
T
telephone conditions for coupling
43
Telephone38
Additional telephone40
Bluetooth - profile40
Breakdown service47
Call list50
Conference call51
Connection - a connected telephone 46
Connection - more options of the telephone search
46
Connection - no telephone connected 46
Connection - two telephones connected 46
Connect telephone to the device44
connect to the device45
Coupling - connected telephone 43
Coupling - more options of the telephone search
44
Coupling - no telephone connected 43
Coupling - two telephones connected 44
Delete the telephone from the list of paired devices
45
Dial telephone number47
80Index