tow SKODA YETI 2014 1.G / 5L Amundsen Infotainment Navigation System Manual
[x] Cancel search | Manufacturer: SKODA, Model Year: 2014, Model line: YETI, Model: SKODA YETI 2014 1.G / 5LPages: 88, PDF Size: 8.18 MB
Page 62 of 88

If no scale change occurs then above the scale function key the symbol with
mediated elevation 1)
appears.
Map Orientation
Read and observe
and on page 57 first.
The 2D map can be oriented to the north or in relation to the direction of trav-
el.
The 3D map is always aligned with respect to the direction of travel.
A change of map orientation is only possible when the map is centred on the
vehicle position (the function key or
is not displayed).
›
Press the function key
- one of the following types of 2D map orientations
is displayed.
Map orientation towards the north
› The map is oriented towards north and the Arrow
A
» Fig. 32
on
page 58 shows the direction of travel.
If the scale of the 2D Map or 3D Map is greater than 10 km (5 miles), then the
map is automatically displayed as 2D and aligned in the direction of north.
Map orientation with respect to the direction
› The map rotates and the direction of travel arrow
A
» Fig. 32
on
page 58 points to the top of the screen.
Map scale
Read and observe
and on page 57 first.
It is possible to change the map scale manually or to turn on the automatic
change of scale.
Symbols of the scale function keys
The map type can be changed by pressing a function key depending on the
context in
G
» Fig. 32 on page 58 .
manual scale is active automatic scale is active
Turn on / off the automatic scale
fast map
manual scale
The manual scale is turned on when the function key G
and the symbol
» Fig. 32 on page 58 is displayed.
Map scale can be change in the following ways.
› Turning the right control
2
» Fig. 1
on page 7 .
› Touching the device screen with two fingers and pulling them apart or clos-
ing them together.
The map is moved by touching the device screen with one finger and moving it
in the desired direction. If the automatic scale is on then it changes to manual
scale. The symbol in the function key changes to .
Turn on the automatic scale
The automatic scale can be turned on by pressing the function key
→
.
The function key is highlighted in green and the function of the automatic
scale is turned on. The symbol in the function key changes to .
The automatic scale will only be active as long as the map is centred on the
vehicle position (the function key or
is not displayed).
If the automatic scale is active, the map scale will change automatically de-
pending on the route travelled (motorway - smaller map scale / town larger
map scale).
Turning off the automatic scale
The automatic scale can be turned off by pressing the function key
→
or by manually changing the map scale. The symbol in the function key
changes to .
Fast map
› Press the function key
or
→
.
The map scale is reduced for a few seconds and then restored.
1)
Display of elevation requires the reception of signals from at least five satellites. Route guidance must
not be running in demo mode.
59Description of the navigation system
Page 66 of 88

■Delete user data - Selection of data to be deleted (by pressing the function
key Delete the list of selected menu item is deleted)
■ Last destinations - Delete the last destinations
■ Dest. memory - Delete the stored destinations
■ Tour memory - Deletes the stored tours
■ My points of interest (Personal POI) - Delete the personal POIs
■ Entered cities - Delete the history of entered towns
■ Home address - Delete the entered home address
■ Flagged destination - Delete the flagged destinationroute guidance
Enter new destination
Introduction
This chapter contains information on the following subjects:
Options of the destination entry
63
Destination input via the address
64
Destination input via the map point / using the GPS coordinates
65
First and foremost, pay attention to the safety instructions » page 7 , Impor-
tant notes .
This chapter discusses the options for entering the destination and the indi-
vidual input types.
Options of the destination entry
Fig. 35
Menu with the destination entry
options
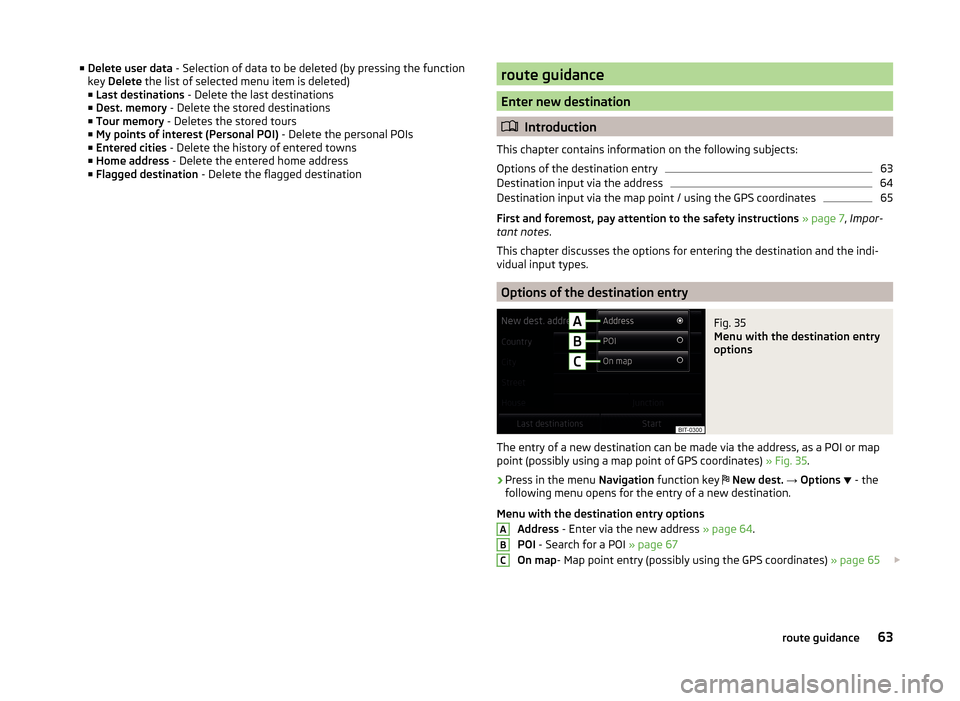
The entry of a new destination can be made via the address, as a POI or map
point (possibly using a map point of GPS coordinates) » Fig. 35.
›
Press in the menu Navigation function key
New dest. → Options
- the
following menu opens for the entry of a new destination.
Menu with the destination entry options Address - Enter via the new address » page 64.
POI - Search for a POI » page 67
On map - Map point entry (possibly using the GPS coordinates) » page 65
ABC63route guidance
Page 67 of 88

More options for calling the destination entry menu
› Press in the menu
Navigation function key Route → New dest. / stopover
→ Options
.
› Press in the menu
Navigation function key
POIs → Other POIs → Options
.
› Press in the menu
Navigation function key
My tours → New dest. → Op-
tions
.
Destination input via the address
Fig. 36
Destination entry by address / house number
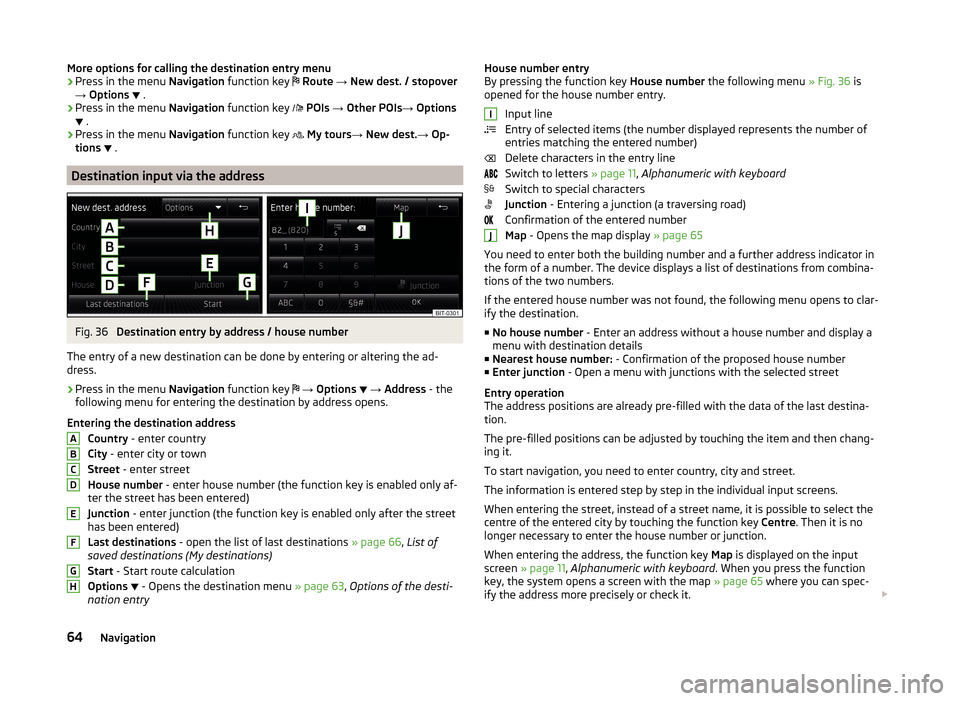
The entry of a new destination can be done by entering or altering the ad-
dress.
›
Press in the menu Navigation function key
→ Options
→ Address - the
following menu for entering the destination by address opens.
Entering the destination address Country - enter country
City - enter city or town
Street - enter street
House number - enter house number (the function key is enabled only af-
ter the street has been entered)
Junction - enter junction (the function key is enabled only after the street
has been entered)
Last destinations - open the list of last destinations » page 66, List of
saved destinations (My destinations)
Start - Start route calculation
Options
- Opens the destination menu
» page 63, Options of the desti-
nation entry
ABCDEFGHHouse number entry
By pressing the function key House number the following menu » Fig. 36 is
opened for the house number entry.
Input line
Entry of selected items (the number displayed represents the number of
entries matching the entered number)
Delete characters in the entry line
Switch to letters » page 11, Alphanumeric with keyboard
Switch to special characters
Junction - Entering a junction (a traversing road)
Confirmation of the entered number
Map - Opens the map display » page 65
You need to enter both the building number and a further address indicator in
the form of a number. The device displays a list of destinations from combina-
tions of the two numbers.
If the entered house number was not found, the following menu opens to clar-
ify the destination.
■ No house number - Enter an address without a house number and display a
menu with destination details
■ Nearest house number: - Confirmation of the proposed house number
■ Enter junction - Open a menu with junctions with the selected street
Entry operation
The address positions are already pre-filled with the data of the last destina-
tion.
The pre-filled positions can be adjusted by touching the item and then chang-
ing it.
To start navigation, you need to enter country, city and street.
The information is entered step by step in the individual input screens.
When entering the street, instead of a street name, it is possible to select the centre of the entered city by touching the function key Centre. Then it is no
longer necessary to enter the house number or junction.
When entering the address, the function key Map is displayed on the input
screen » page 11 , Alphanumeric with keyboard . When you press the function
key, the system opens a screen with the map » page 65 where you can spec-
ify the address more precisely or check it. IJ64Navigation
Page 73 of 88

Companies and public institutionsSym-bolMeaning SymbolMeaningBanks Community centresPlaces of worship CompaniesCemeteries Convention centresPost office Government and adminis-
trationEducational institutions Embassies
Emergencies
Sym- bolMeaning SymbolMeaningChemists Medical servicesHospitals Police
Attractions and leisure
Sym-bolMeaning SymbolMeaningAutostadt GolfCasinos CinemasMuseums MonumentsParks Sports centresRecreational airports Tourist attractionsBoating Performing artsAmusement parks Skiing Other destinations shown on the mapSym- bolMeaning SymbolMeaningHome address FavouriteDestination Stopover destinationCity centre Town centre
Route guidance
Introduction
This chapter contains information on the following subjects:
Route calculation
70
Abort route guidance
71
Graphical driving recommendations
71
Nav. announcements
71
Route
72
First and foremost, pay attention to the safety instructions » page 7 , Impor-
tant notes .
Route calculation
Fig. 41
Calculated route types
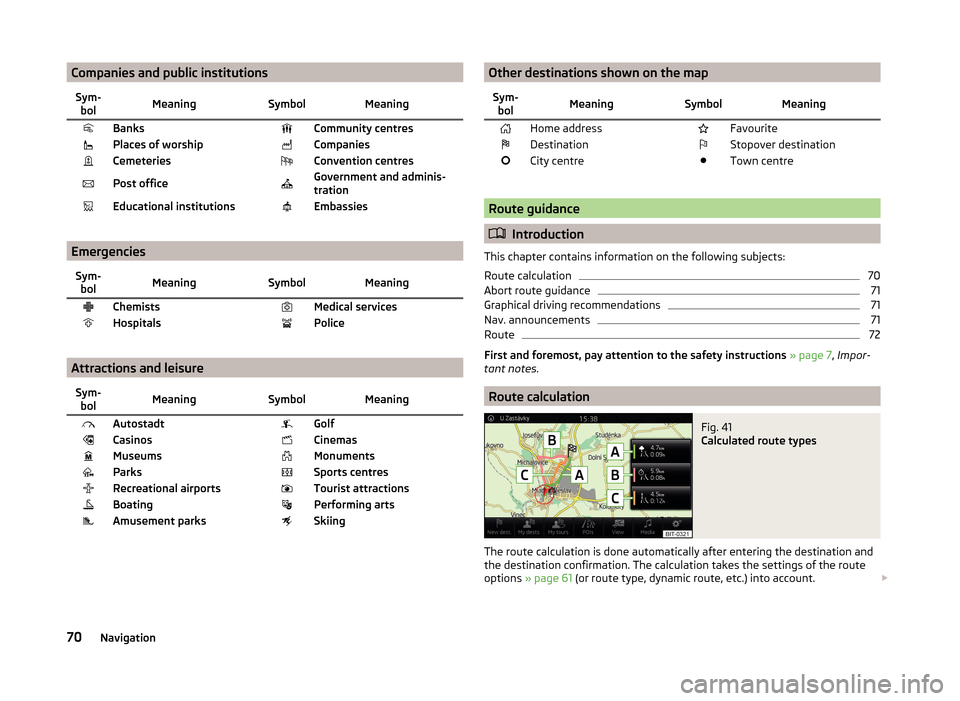
The route calculation is done automatically after entering the destination and
the destination confirmation. The calculation takes the settings of the route
options » page 61 (or route type, dynamic route, etc.) into account.
70Navigation