stop start SMART FORTWO COUPE 2012 Owner's Manual
[x] Cancel search | Manufacturer: SMART, Model Year: 2012, Model line: FORTWO COUPE, Model: SMART FORTWO COUPE 2012Pages: 228, PDF Size: 12.76 MB
Page 173 of 228
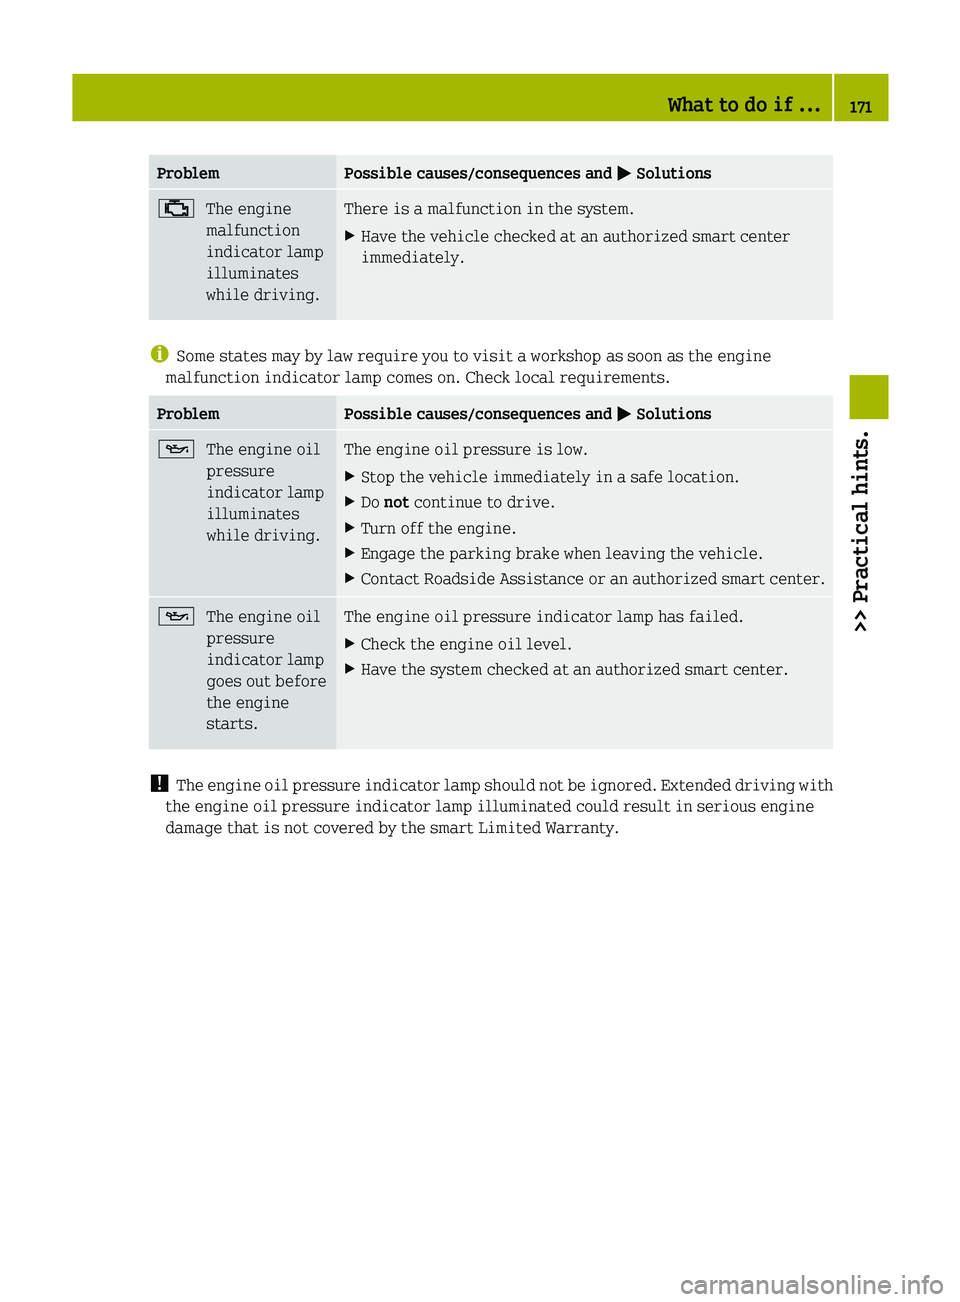
Problem Possible causes/consequences and
M Solutions;
The engine
malfunction
indicator lamp
illuminates
while driving. There is a malfunction in the system.
X
Have the vehicle checked at an authorized smart center
immediately. i
Some states may by law require you to visit a workshop as soon as the engine
malfunction indicator lamp comes on. Check local requirements. Problem Possible causes/consequences and
M Solutions5
The engine oil
pressure
indicator lamp
illuminates
while driving. The engine oil pressure is low.
X
Stop the vehicle immediately in a safe location.
X Do not continue to drive.
X Turn off the engine.
X Engage the parking brake when leaving the vehicle.
X Contact Roadside Assistance or an authorized smart center. 5
The engine oil
pressure
indicator lamp
goes out before
the engine
starts. The engine oil pressure indicator lamp has failed.
X
Check the engine oil level.
X Have the system checked at an authorized smart center. !
The engine oil pressure indicator lamp should not be ignored. Extended driving with
the engine oil pressure indicator lamp illuminated could result in serious engine
damage that is not covered by the smart Limited Warranty. What to do if ...
171
>> Practical hints. Z
Page 174 of 228
Tire Pressure Monitoring System (TPMS)*
Problem Possible causes/consequences and
M Solutionsh
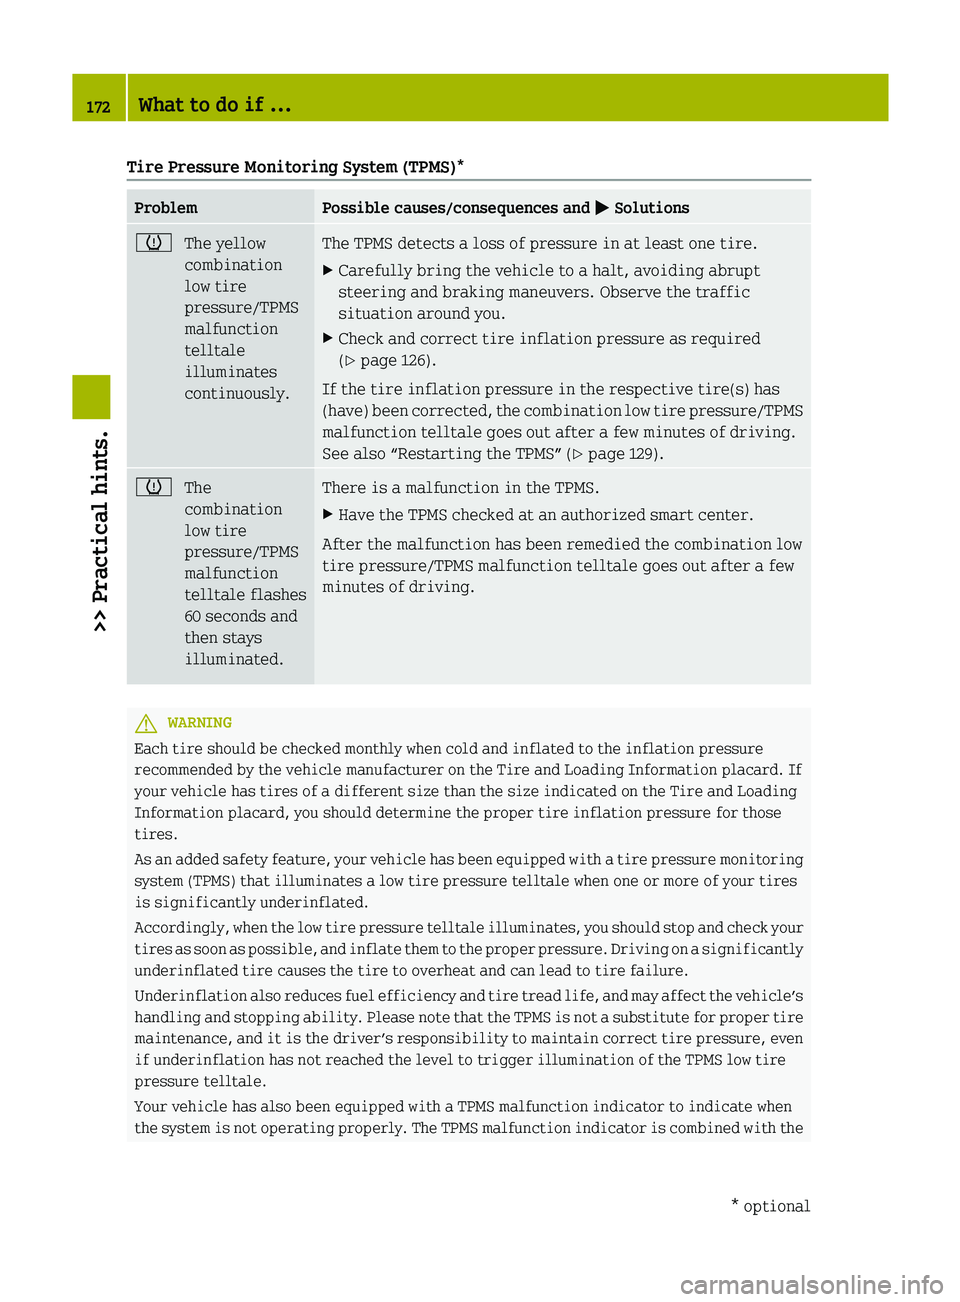
The yellow
combination
low tire
pressure/TPMS
malfunction
telltale
illuminates
continuously. The TPMS detects a loss of pressure in at least one tire.
X
Carefully bring the vehicle to a halt, avoiding abrupt
steering and braking maneuvers. Observe the traffic
situation around you.
X Check and correct tire inflation pressure as required
(Y page 126).
If the tire inflation pressure in the respective tire(s) has
(have) been corrected, the combination low tire pressure/TPMS
malfunction telltale goes out after a few minutes of driving.
See also “Restarting the TPMS” (Y page 129). h
The
combination
low tire
pressure/TPMS
malfunction
telltale flashes
60 seconds and
then stays
illuminated. There is a malfunction in the TPMS.
X
Have the TPMS checked at an authorized smart center.
After the malfunction has been remedied the combination low
tire pressure/TPMS malfunction telltale goes out after a few
minutes of driving. G
WARNING
Each tire should be checked monthly when cold and inflated to the inflation pressure
recommended by the vehicle manufacturer on the Tire and Loading Information placard. If
your vehicle has tires of a different size than the size indicated on the Tire and Loading
Information placard, you should determine the proper tire inflation pressure for those
tires.
As
an added safety feature, your vehicle has been equipped with a tire pressure monitoring
system (TPMS) that illuminates a low tire pressure telltale when one or more of your tires
is significantly underinflated.
Accordingly, when the low tire pressure telltale illuminates, you should stop and check your
tires as soon as possible, and inflate them to the proper pressure. Driving on a significantly
underinflated tire causes the tire to overheat and can lead to tire failure.
Underinflation also reduces fuel efficiency and tire tread life, and may affect the vehicle’s
handling and stopping ability. Please note that the TPMS is not a substitute for proper tire
maintenance, and it is the driver’s responsibility to maintain correct tire pressure, even
if underinflation has not reached the level to trigger illumination of the TPMS low tire
pressure telltale.
Your vehicle has also been equipped with a TPMS malfunction indicator to indicate when
the system is not operating properly. The TPMS malfunction indicator is combined with the 172
What to do if ...
>> Practical hints.
* optional
Page 179 of 228
X
Open the driver’s door.
X Press the central locking switch
(Y page 54).
The indicator lamp on the central
locking
switch comes on, when the starter
switch is in position 1.
The indicator lamp on the central
locking switch flashes, when the starter
switch is in position 0.
X Remove the key from the starter switch,
take it with you, and close all doors.
The vehicle is now locked and the anti-
theft warning system* is armed. Closing the rear soft top
If the rear soft top does not lock properly
after being closed, proceed as follows:
X Stop the vehicle in a safe location.
X Engage the parking brake.
X Make sure the key is in starter switch
position 1.
X Fold up the rear soft top completely.
The rear soft top stops in the unlocked
position.
X Within one minute, press and hold symbol
G on the retractable soft top switch
for 15 seconds twice.
The rear soft top closes the locking
hooks.
X Close the retractable soft top
completely.
X Have the rear soft top checked at an
authorized smart center. Replacing transmitter battery
Notes
The
remote control’s transmitter battery is
almost spent when the turn signals flash
rapidly nine times in a row when locking
the vehicle. i
If you do not replace the transmitter
battery, after about 100 more times you
will no longer be able to lock or unlock
the vehicle using the remote control.
X Replace the transmitter battery.
or
X Have the transmitter battery replaced at
an authorized smart center. G
WARNING
Batteries contain poisonous and corrosive
substances. Therefore keep the batteries
out of reach of children.
If
a battery is swallowed, seek medical help
immediately.
Batteries contain materials that can harm
the environment if disposed of improperly.
Recycling of batteries is the preferred
method of disposal. Many states/provinces
require sellers of batteries to accept old
batteries for recycling. Replacing battery
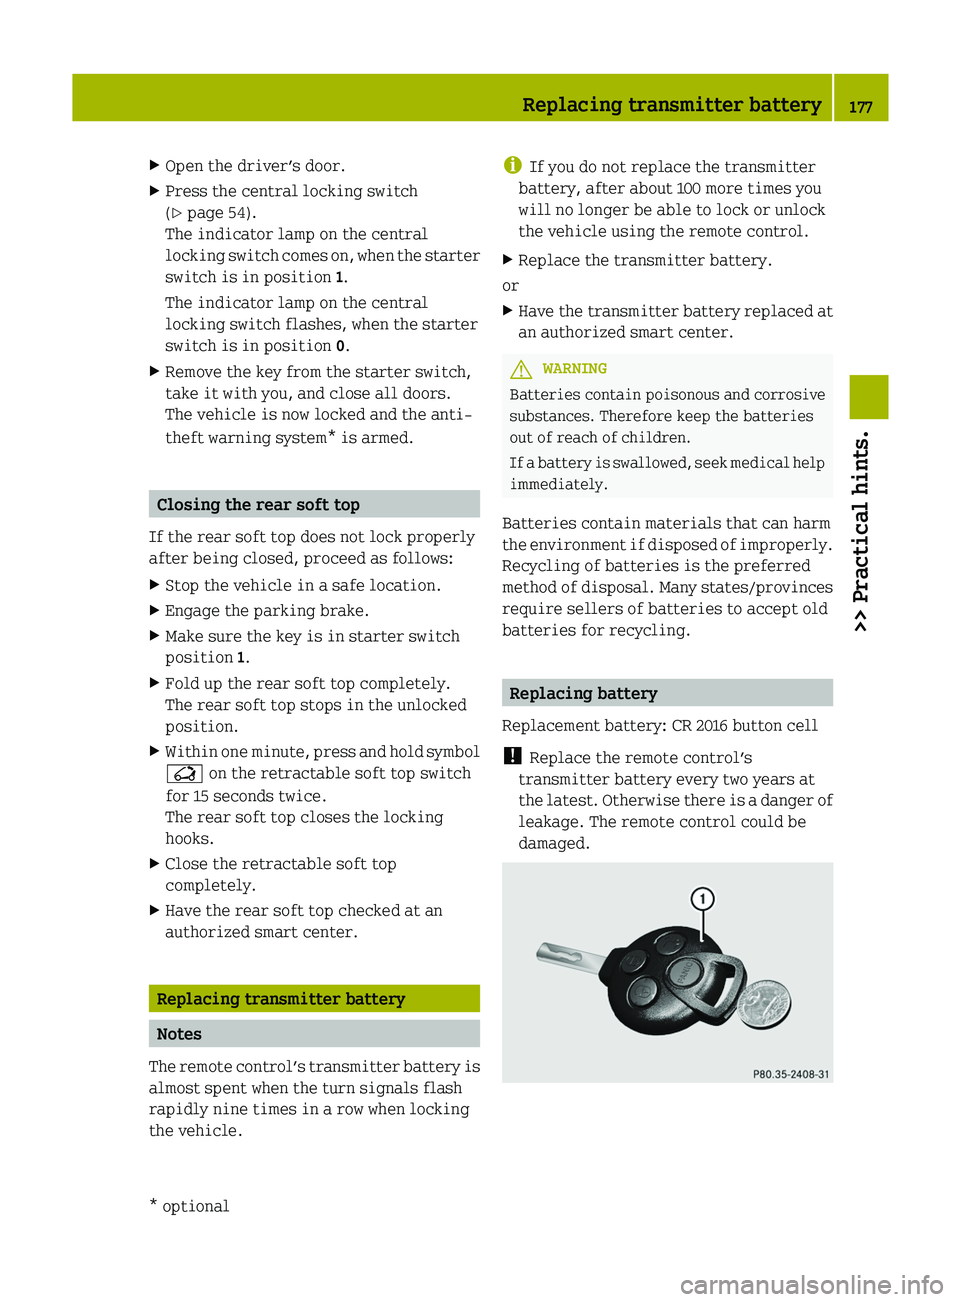
Replacement battery: CR 2016 button cell
! Replace the remote control’s
transmitter battery every two years at
the
latest. Otherwise there is a danger of
leakage. The remote control could be
damaged. Replacing transmitter battery
177
>> Practical hints.
* optional Z
Page 191 of 228
X
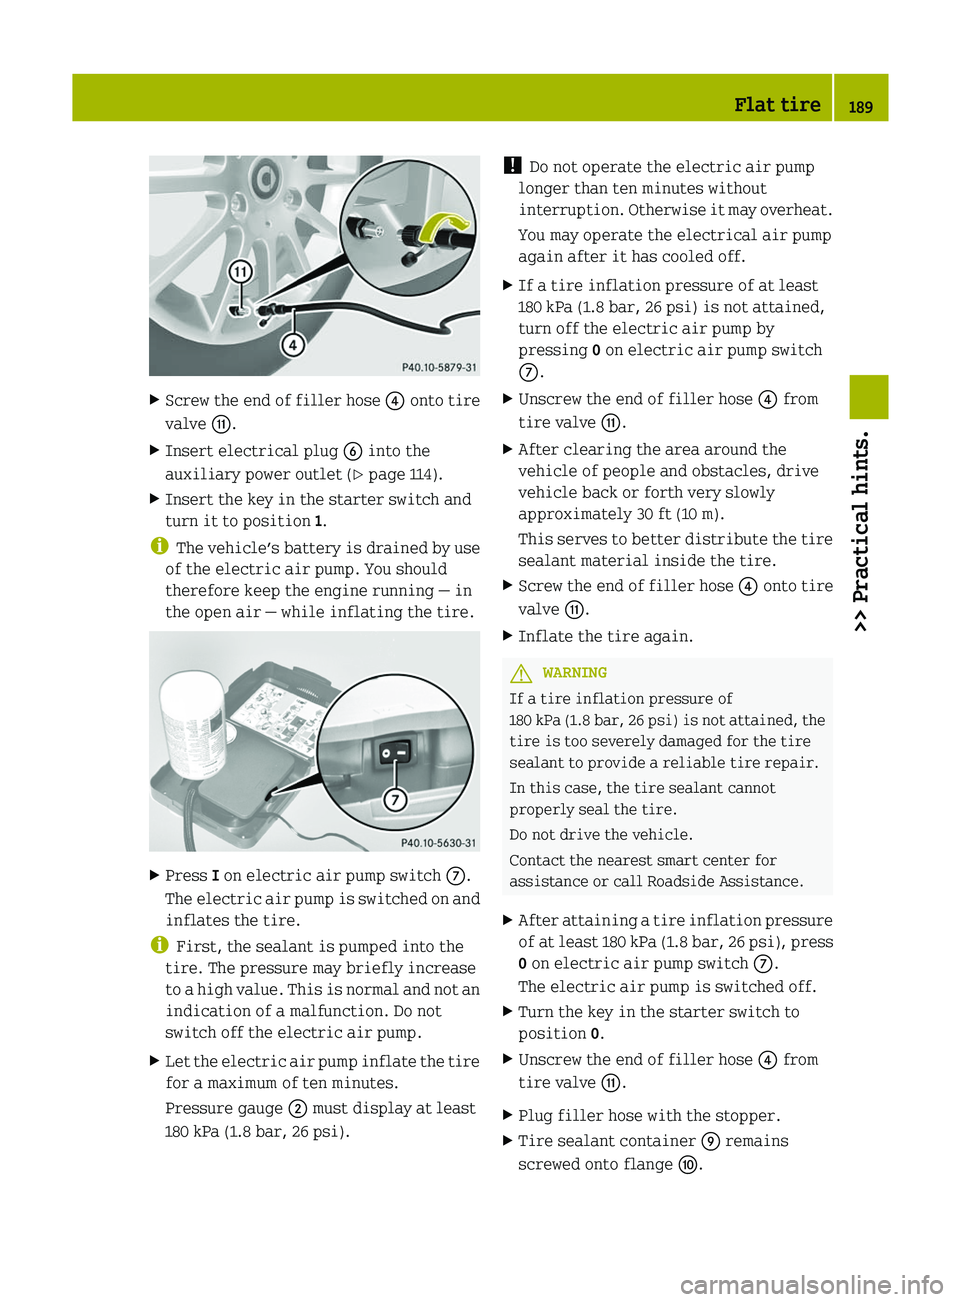
Screw the end of filler hose ? onto tire
valve G.
X Insert electrical plug B into the
auxiliary power outlet
(Y page 114).
X Insert the key in the starter switch and
turn it to position 1.
i The
vehicle’s battery is drained by use
of the electric air pump. You should
therefore keep the engine running — in
the open air — while inflating the tire. X
Press I on electric air pump switch C.
The
electric air pump is switched on and
inflates the tire.
i First, the sealant is pumped into the
tire. The pressure may briefly increase
to
a high value. This is normal and not an
indication of a malfunction. Do not
switch off the electric air pump.
X Let the electric air pump inflate the tire
for a maximum of ten minutes.
Pressure gauge ; must display at least
180 kPa (1.8 bar, 26 psi)
.!
Do not operate the electric air pump
longer than ten minutes without
interruption.
Otherwise it may overheat.
You may operate the electrical air pump
again after it has cooled off.
X If a tire inflation pressure of at least
180 kPa (1.8 bar, 26 psi)
is not attained,
turn off the electric air pump by
pressing 0 on electric air pump switch
C.
X Unscrew the end of filler hose ? from
tire valve G.
X After clearing the area around the
vehicle of people and obstacles, drive
vehicle back or forth very slowly
approximately 30 ft (10 m).
This
serves to better distribute the tire
sealant material inside the tire.
X Screw the end of filler hose ? onto tire
valve G.
X Inflate the tire again. G
WARNING
If a tire inflation pressure of
180
kPa (1.8 bar, 26 psi) is not attained, the
tire is too severely damaged for the tire
sealant to provide a reliable tire repair.
In this case, the tire sealant cannot
properly seal the tire.
Do not drive the vehicle.
Contact the nearest smart center for
assistance or call Roadside Assistance.
X After attaining a tire inflation pressure
of
at least 180 kPa (1.8 bar, 26 psi), press
0 on electric air pump switch C.
The electric air pump is switched off.
X Turn the key in the starter switch to
position 0.
X Unscrew the end of filler hose ? from
tire valve G.
X Plug filler hose with the stopper.
X Tire sealant container E remains
screwed onto flange F. Flat tire
189
>> Practical hints. Z
Page 194 of 228
You may operate the electrical air pump
again after it has cooled off.
X If a tire inflation pressure of at least
200 kpa (2.0 bar, 29 psi)
is not attained,
turn off the electric air pump by
pressing OFF on electric air pump
switch ?.
X Unscrew the end of filler hose ? from
tire valve C.
X After clearing the area around the
vehicle of people and obstacles, drive
vehicle back or forth very slowly
approximately 30 ft (10 m).
This
serves to better distribute the tire
sealant material inside the tire.
X Screw the end of filler hose ? onto tire
valve C.
X Inflate the tire again. G
WARNING
If a tire inflation pressure of
200
kPa (2.0 bar, 29 psi) is not attained, the
tire is too severely damaged for the tire
sealant to provide a reliable tire repair.
In this case, the tire sealant cannot
properly seal the tire.
Do not drive the vehicle.
Contact the nearest smart center for
assistance or call Roadside Assistance.
X After attaining a tire inflation pressure
of
at least 200 kPa (2.0 bar, 29 psi), press
OFF on electric air pump switch ?.
The electric air pump is switched off.
X Turn the key in the starter switch to
position 0.
X Unscrew the end of filler hose ? from
tire valve C.
X Place the tire repair kit securely in the
vehicle.
X Drive off immediately.
The tire sealant will distribute itself
evenly inside the tire. G
WARNING
Do not exceed vehicle speed of 50 mph
(80 km/h). A tire sealant repair is not
designed to operate at higher speeds.
The sticker must be attached on the
instrument cluster where it will be easily
seen by the driver.
Vehicle handling characteristics of a tire
sealant repaired tire may change. Adapt
your driving accordingly.
X After driving for about 1.8 miles (3 km)
or
ten minutes, stop and exit the vehicle
taking all of the appropriate safety
precautions.
X Take the tire repair kit from the vehicle.
X Screw the end of filler hose ? onto tire
valve C. X
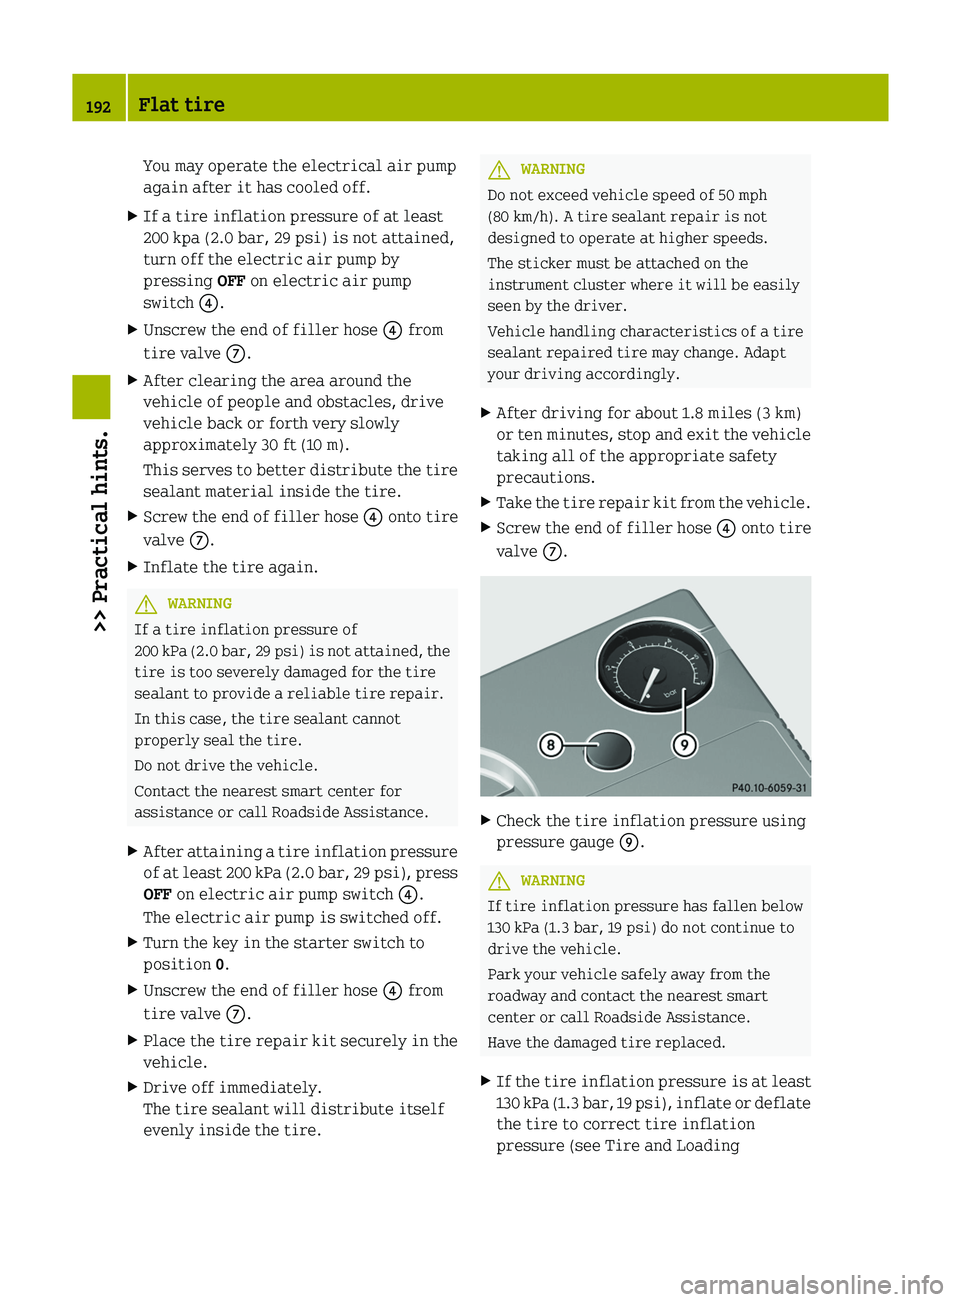
Check the tire inflation pressure using
pressure gauge E. G
WARNING
If tire inflation pressure has fallen below
130 kPa (1.3 bar, 19 psi) do not continue to
drive the vehicle.
Park your vehicle safely away from the
roadway and contact the nearest smart
center or call Roadside Assistance.
Have the damaged tire replaced.
X If the tire inflation pressure is at least
130
kPa (1.3 bar, 19 psi), inflate or deflate
the tire to correct tire inflation
pressure (see Tire and Loading 192
Flat tire
>> Practical hints.
Page 206 of 228
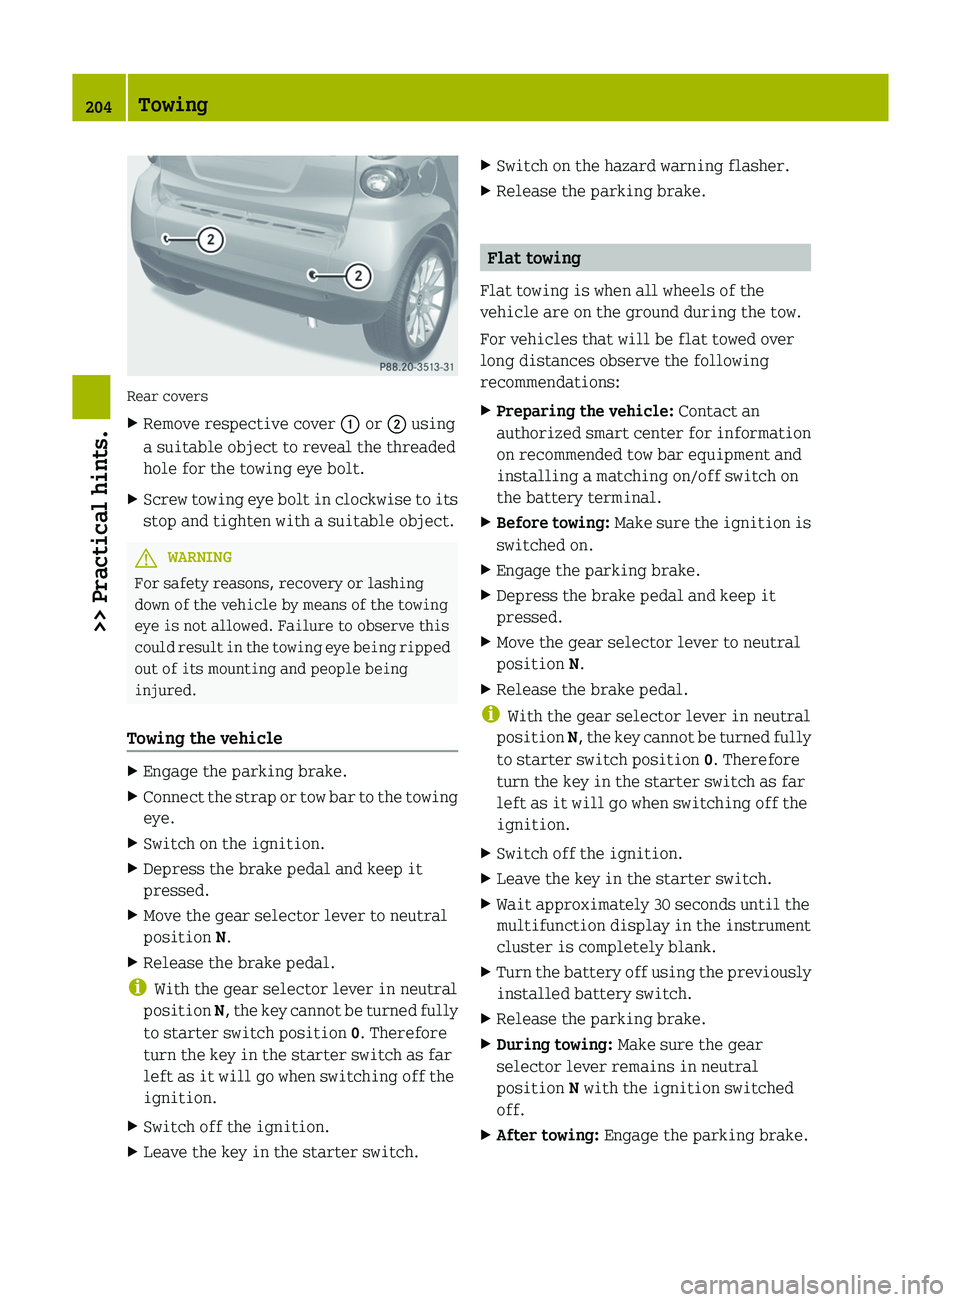
Rear covers
X
Remove respective cover : or ; using
a suitable object to reveal the threaded
hole for the towing eye bolt.
X Screw towing eye bolt in clockwise to its
stop and tighten with a suitable object. G
WARNING
For safety reasons, recovery or lashing
down of the vehicle by means of the towing
eye is not allowed. Failure to observe this
could
result in the towing eye being ripped
out of its mounting and people being
injured.
Towing the vehicle X
Engage the parking brake.
X Connect the strap or tow bar to the towing
eye.
X Switch on the ignition.
X Depress the brake pedal and keep it
pressed.
X Move the gear selector lever to neutral
position N.
X Release the brake pedal.
i With the gear selector lever in neutral
position N,
the key cannot be turned fully
to starter switch position 0. Therefore
turn the key in the starter switch as far
left as it will go when switching off the
ignition.
X Switch off the ignition.
X Leave the key in the starter switch. X
Switch on the hazard warning flasher.
X Release the parking brake. Flat towing
Flat towing is when all wheels of the
vehicle are on the ground during the tow.
For vehicles that will be flat towed over
long distances observe the following
recommendations:
X Preparing the vehicle: Contact an
authorized
smart center for information
on recommended tow bar equipment and
installing a matching on/off switch on
the battery terminal.
X Before towing:
Make sure the ignition is
switched on.
X Engage the parking brake.
X Depress the brake pedal and keep it
pressed.
X Move the gear selector lever to neutral
position N.
X Release the brake pedal.
i With the gear selector lever in neutral
position N,
the key cannot be turned fully
to starter switch position 0. Therefore
turn the key in the starter switch as far
left as it will go when switching off the
ignition.
X Switch off the ignition.
X Leave the key in the starter switch.
X Wait approximately 30 seconds until the
multifunction display in the instrument
cluster is completely blank.
X Turn the battery off using the previously
installed battery switch.
X Release the parking brake.
X During towing: Make sure the gear
selector lever remains in neutral
position N with the ignition switched
off.
X After towing: Engage the parking brake.204
Towing
>> Practical hints.
Page 207 of 228
X
Turn the battery on using the previously
installed battery switch.
X Move the gear selector lever to park
position P.
X Remove the key from the starter switch.
X Lock the doors.
! Do not flat tow the vehicle with the front
axle raised. Doing so may cause serious
damage to the brake system which is not
covered by the smart Limited Warranty.
! Failure to follow the recommendations
for flat towing can cause damage to your
vehicle:
R Not following the battery disconnect
procedure in the proper sequence may
result in data loss in the vehicle’s
control units.
R Not disconnecting the battery and
leaving the key in starter switch
position 1 (ignition on) may result in
-the vehicle locking. The vehicle will
lock if the wheels are turning at
vehicle speeds of approximately
8 mph (14 km/h) or more.
- the ESP ®
being activated. Active
braking action through the ESP ®
may
seriously damage the brake system
which is not covered by the smart
Limited Warranty.
R Not moving the gear selector lever to
neutral position N may result in
significant transmission damage.
R in a discharged battery. Fuses
The electrical fuses in your vehicle serve
to switch off malfunctioning power
circuits.
If a fuse is blown, the components and
systems secured by that fuse will stop
operating. G
WARNING
Only use fuses approved by smart with the
specified amperage for the system in
question and do not attempt to repair or
bridge a blown fuse this may cause an
overload leading to a fire, and/or cause
damage to electrical components and/or
systems. Contact a smart center if you
encounter any electrical problems.
! A blown fuse must be replaced by an
appropriate
spare fuse (recognizable by
its color or the fuse rating given on the
fuse) of the amperage recommended in
the fuse chart. Any smart center will be
glad to advise you on this subject.
If a newly inserted fuse blows again, have
the cause determined and rectified at an
authorized smart center.
Before replacing fuses:
R Engage the parking brake.
R Make sure the gear selector lever is in
park position P.
R Turn off all electrical accessories.
R Turn off the engine.
R Remove the key from the starter switch. Replacing a fuse
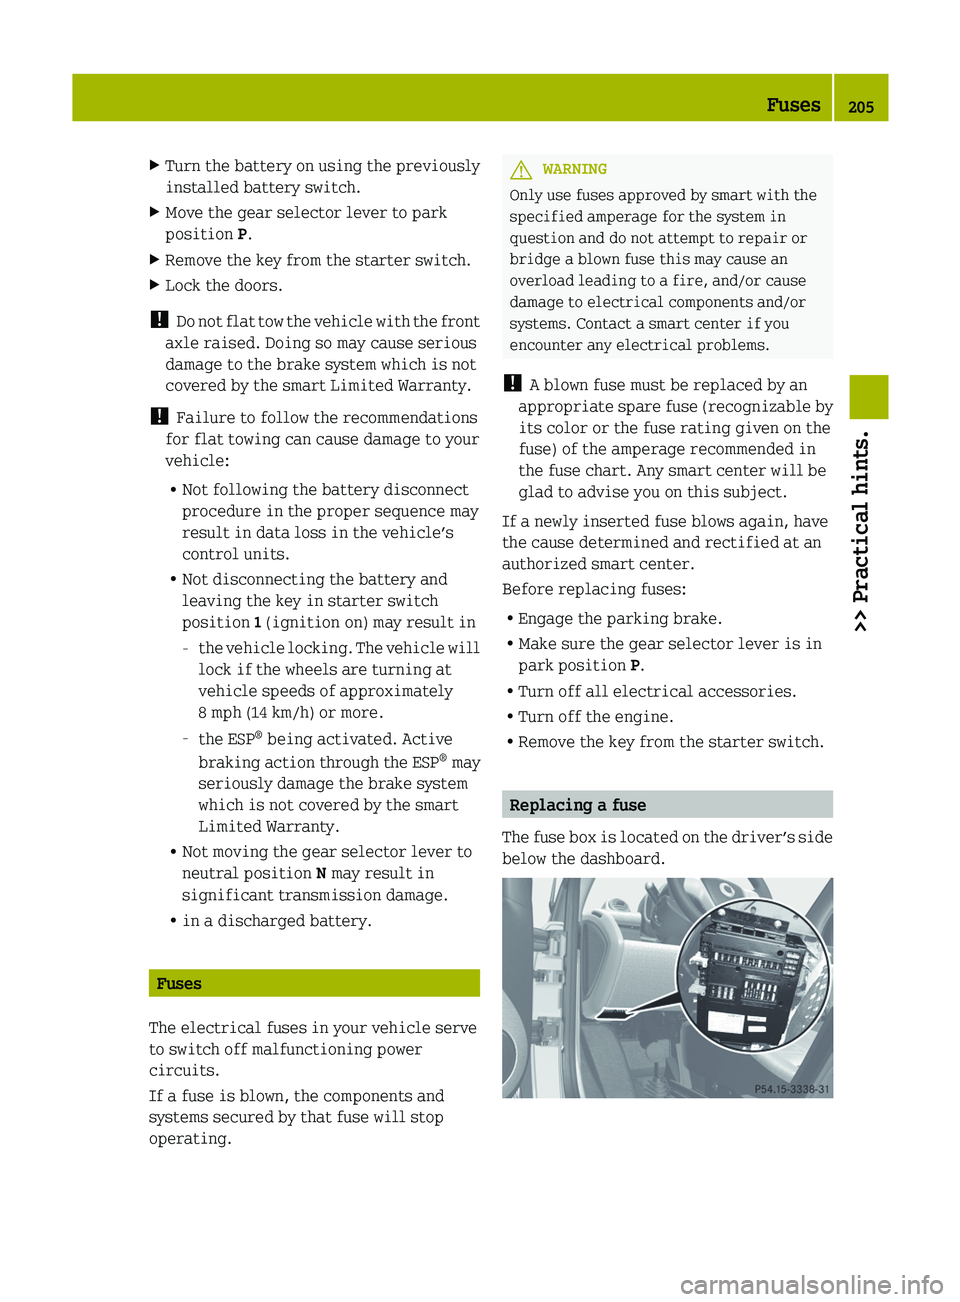
The
fuse box is located on the driver’s side
below the dashboard. Fuses
205
>> Practical hints. Z