navigation SUBARU BRZ 2017 1.G Navigation Manual
[x] Cancel search | Manufacturer: SUBARU, Model Year: 2017, Model line: BRZ, Model: SUBARU BRZ 2017 1.GPages: 334, PDF Size: 10.36 MB
Page 79 of 334
Navigation 77
Before Using the Navigation System
NOTEIn the interest of safety, the use of some functions may be unavailable while
driving. Buttons on the touch screen that cannot be used have their colors toned
down.
•If you stare at the display too much or operate the buttons of
the system while driving, the navigation system could
distract your attention from the current traffic conditions. Be
sure to enter as much information as possible into the
system before departing. Also, be sure to stop your vehicle
in a safe place if you need to enter information.
•Buttons on the touch screen that cannot be used have their
colors toned down.
Operating the navigation system while driving could cause
your attention to be distracted from the current traffic
conditions. This could result in a severe or fatal accident. Be
sure to follow all the operation descriptions and safety
instructions given in this manual.
Volume
•Keep the system's volume level low enough for you to be
able to hear outside sounds while driving. Otherwise, you
may not be able to react appropriately to traffic conditions,
resulting in an accident.
CAUTION
Foreign objects
Do not place foreign objects, such as fingers, into the disc
insertion slot.
If foreign objects enter the system's main unit, it could lead
to electric shock or fire. If the system emits smoke or an
unusual smell, stop using it immediately and contact the
nearest SUBARU dealer.
Never disassemble or modify the system
Never disassemble or modify any parts of the system. Doing
so may lead to a fire, an electric shock, or some other type of
accident.
Do not continue using the navigation system if it malfunctions
If the system shows any sign of malfunctioning (for example,
the monitor displays no picture), stop using it immediately
and contact the nearest SUBARU dealer.
Continuing to use the system could lead to a fire, an electric
shock, or some other type of accident.
If the navigation system gets contaminated, or emits smoke or
an odd smell, stop using it
If a foreign object gets inside the system, liquid is spilled
onto the system, or the system emits smoke or an unusual
smell, stop using it immediately and contact the nearest
SUBARU dealer. Continuing to use the system could lead to a
fire, an electric shock, or some other type of accident.
Page 80 of 334
78 Navigation
Information on Warnings and Safety
The navigation system uses a built-in GPS receiver to guide
you to your destination. This software does not transmit the
GPS position of your vehicle, and cannot be used to track the
vehicle.
Do not look at the navigation screen if it is not safe to do so. If
the driver is operating the navigation system, we strongly
recommend operating the software before you start driving.
Program the route before leaving, and stop your vehicle in a
safe place if you need to change the route.
Follow all road signs and road conditions. If you deviate from
the recommended route while driving, the software updates
the route according to your current position.
For details, see “End-user License Agreement” on Page 169.
Page 81 of 334
Navigation 79
Read First
This software is designed for optimum performance when
used for car navigation. It does not need a stylus for
operation. You can easily use buttons and maps on the screen
by touching them with the tip of your finger.
When you start the navigation software for the first time, the
initial settings screen is automatically displayed. Follow the
steps below to use the initial settings screen.
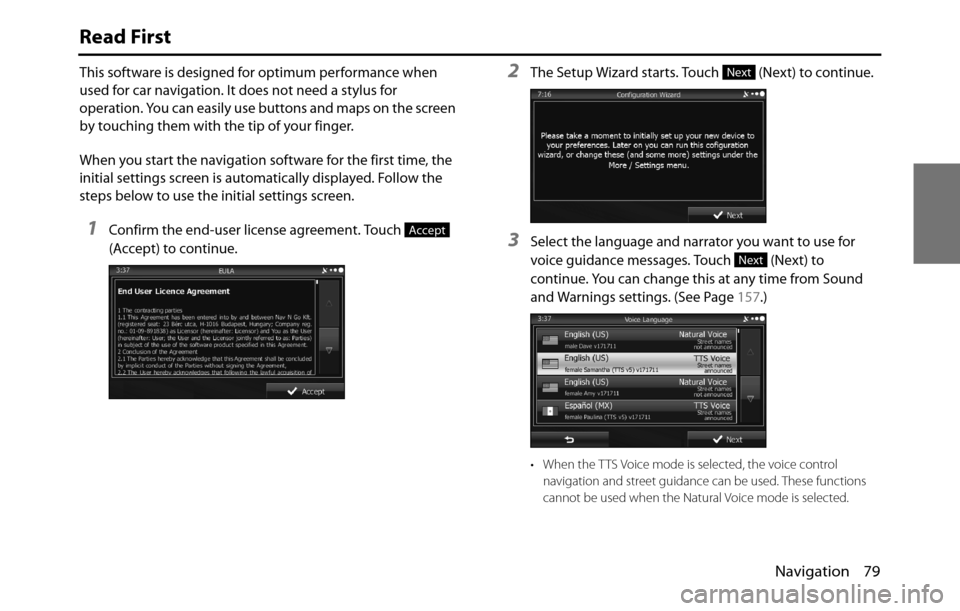
1Confirm the end-user license agreement. Touch
(Accept) to continue.
2The Setup Wizard starts. Touch (Next) to continue.
3Select the language and narrator you want to use for
voice guidance messages. Touch (Next) to
continue. You can change this at any time from Sound
and Warnings settings. (See Page 157.)
• When the TTS Voice mode is selected, the voice control
navigation and street guidance can be used. These functions
cannot be used when the Natural Voice mode is selected.
Accept
Next
Next
Page 82 of 334
80 Navigation
Read First
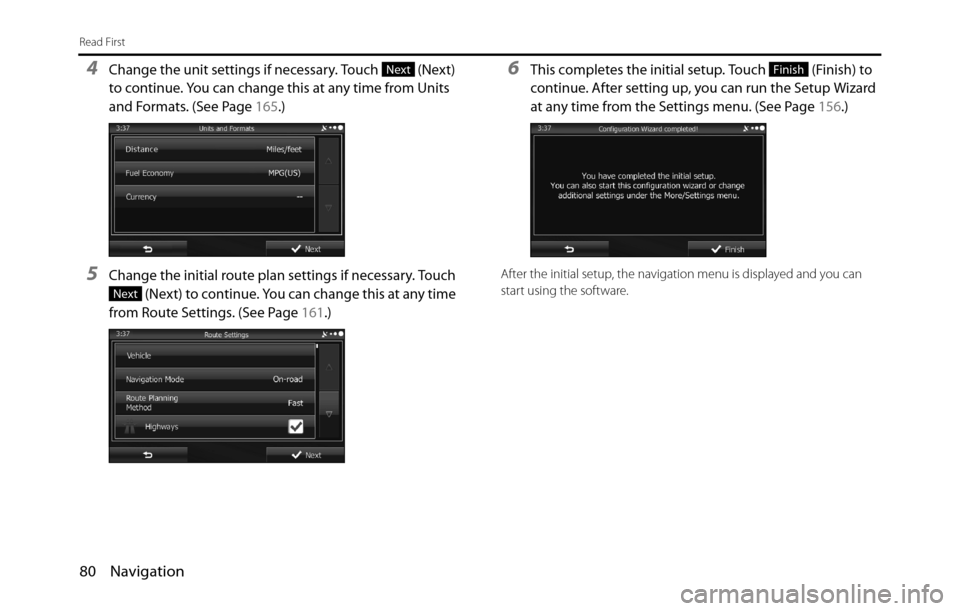
4Change the unit settings if necessary. Touch (Next)
to continue. You can change this at any time from Units
and Formats. (See Page 165.)
5Change the initial route plan settings if necessary. Touch
(Next) to continue. You can change this at any time
from Route Settings. (See Page 161.)
6This completes the initial setup. Touch (Finish) to
continue. After setting up, you can run the Setup Wizard
at any time from the Settings menu. (See Page 156.)
After the initial setup, the navigation menu is displayed and you can
start using the software.
Next
Next
Finish
Page 83 of 334
Navigation 81
Read First
Navigation Menu
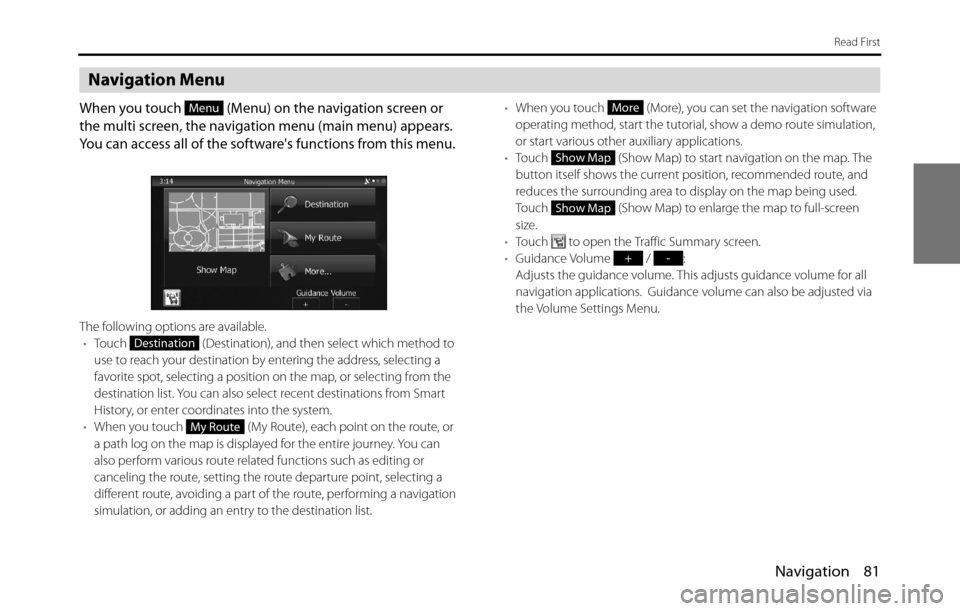
When you touch (Menu) on the navigation screen or
the multi screen, the navigation menu (main menu) appears.
You can access all of the software's functions from this menu.
The following options are available.
•Touch (Destination), and then select which method to
use to reach your destination by entering the address, selecting a
favorite spot, selecting a position on the map, or selecting from the
destination list. You can also select recent destinations from Smart
History, or enter coordinates into the system.
•When you touch (My Route), each point on the route, or
a path log on the map is displayed for the entire journey. You can
also perform various route related functions such as editing or
canceling the route, setting the route departure point, selecting a
different route, avoiding a part of the route, performing a navigation
simulation, or adding an entry to the destination list.•When you touch (More), you can set the navigation software
operating method, start the tutorial, show a demo route simulation,
or start various other auxiliary applications.
•Touch (Show Map) to start navigation on the map. The
button itself shows the current position, recommended route, and
reduces the surrounding area to display on the map being used.
Touch (Show Map) to enlarge the map to full-screen
size.
•Touch to open the Traffic Summary screen.
•Guidance Volume / :
Adjusts the guidance volume. This adjusts guidance volume for all
navigation applications. Guidance volume can also be adjusted via
the Volume Settings Menu.
Menu
Destination
My Route
More
Show Map
Show Map
+-
Page 84 of 334
82 Navigation
Read First
On-screen Buttons and Other buttons
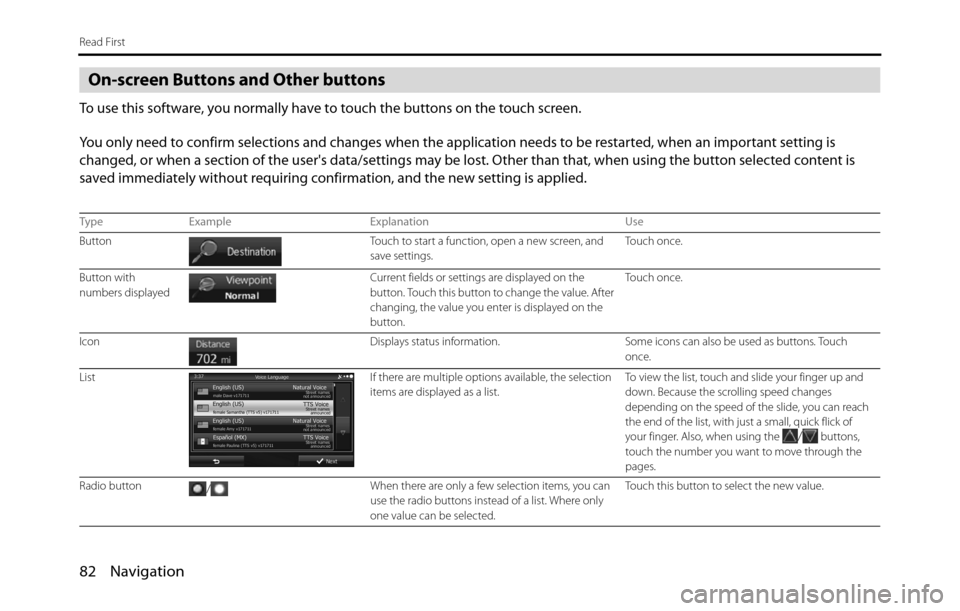
To use this software, you normally have to touch the buttons on the touch screen.
You only need to confirm selections and changes when the application needs to be restarted, when an important setting is
changed, or when a section of the user's data/settings may be lost. Other than that, when using the button selected content is
saved immediately without requiring confirmation, and the new setting is applied.
Type Example Explanation Use
Button Touch to start a function, open a new screen, and
save settings.Touch once.
Button with
numbers displayed Current fields or settings are displayed on the
button. Touch this button to change the value. After
changing, the value you enter is displayed on the
button.Touch once.
Icon Displays status information. Some icons can also be used as buttons. Touch
once.
List If there are multiple options available, the selection
items are displayed as a list.To view the list, touch and slide your finger up and
down. Because the scrolling speed changes
depending on the speed of the slide, you can reach
the end of the list, with just a small, quick flick of
your finger. Also, when using the
/ buttons,
touch the number you want to move through the
pages.
Radio button
/When there are only a few selection items, you can
use the radio buttons instead of a list. Where only
one value can be selected.Touch this button to select the new value.
Page 85 of 334
Navigation 83
Read First
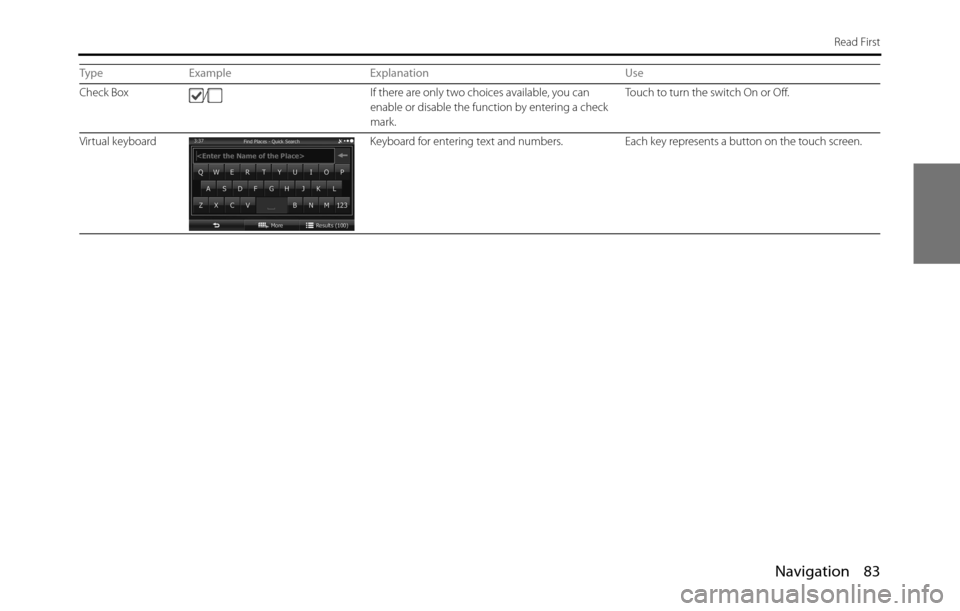
Check Box
/If there are only two choices available, you can
enable or disable the function by entering a check
mark.Touch to turn the switch On or Off.
Virtual keyboard Keyboard for entering text and numbers. Each key represents a button on the touch screen. Type Example Explanation Use
Page 86 of 334
84 Navigation
Read First
Using the Keyboard
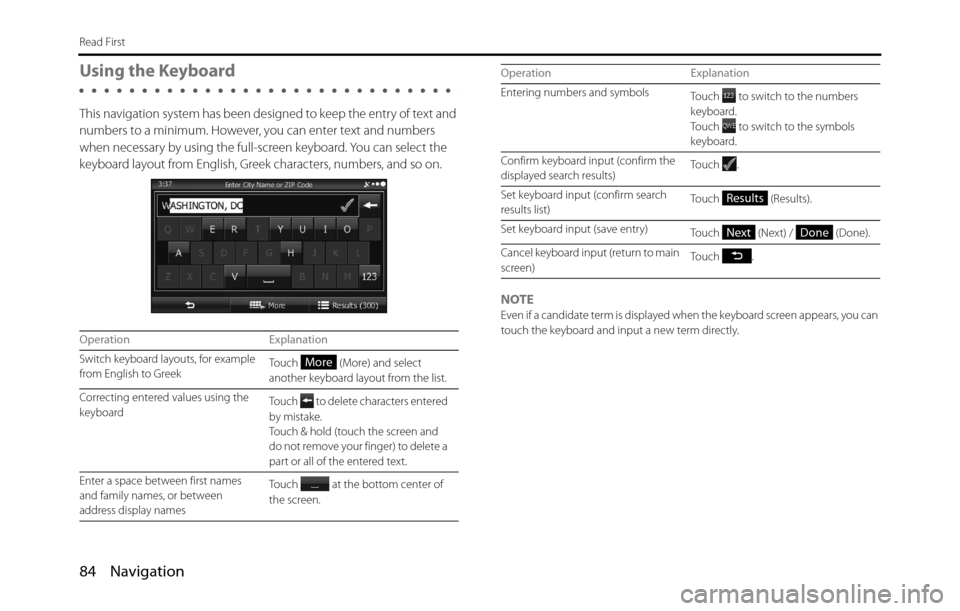
This navigation system has been designed to keep the entry of text and
numbers to a minimum. However, you can enter text and numbers
when necessary by using the full-screen keyboard. You can select the
keyboard layout from English, Greek characters, numbers, and so on.
NOTE
Even if a candidate term is displayed when the keyboard screen appears, you can
touch the keyboard and input a new term directly.
Operation Explanation
Switch keyboard layouts, for example
from English to GreekTouch (More) and select
another keyboard layout from the list.
Correcting entered values using the
keyboardTouch to delete characters entered
by mistake.
Touch & hold (touch the screen and
do not remove your finger) to delete a
part or all of the entered text.
Enter a space between first names
and family names, or between
address display namesTouch at the bottom center of
the screen.
More
Entering numbers and symbols
Touch to switch to the numbers
keyboard.
Touch to switch to the symbols
keyboard.
Confirm keyboard input (confirm the
displayed search results)Touch .
Set keyboard input (confirm search
results list)Touch (Results).
Set keyboard input (save entry)
Touch (Next) / (Done).
Cancel keyboard input (return to main
screen)Touch . Operation Explanation
Results
NextDone
Page 87 of 334
Navigation 85
Read First
Screen Operations Other than Single Touch
Normally, you only need to touch the screen once (single touch) to
perform an operation. However, you can make use of convenient
functions by combining different touch operations on the touch
screen. The following touch combinations are available.
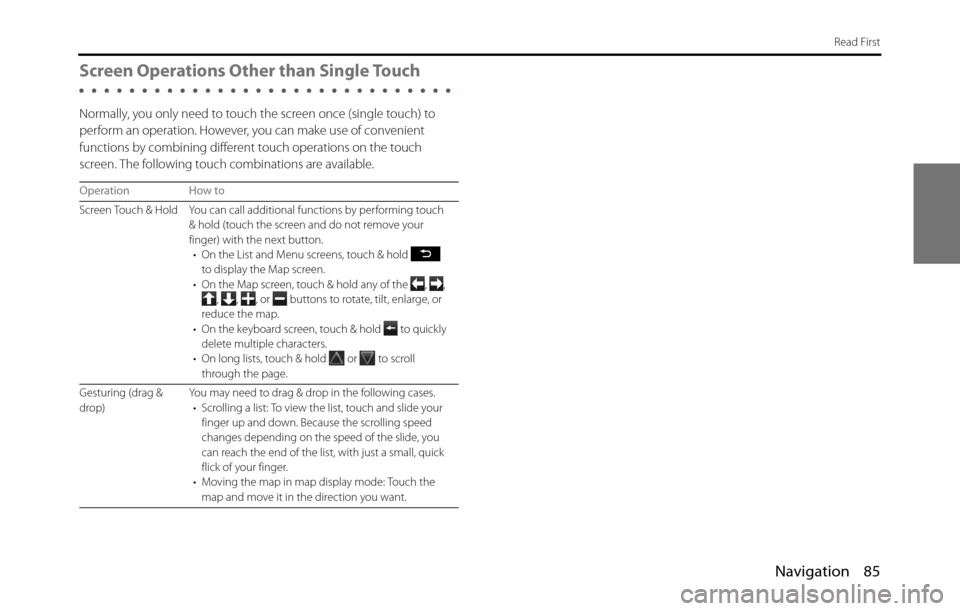
Operation How to
Screen Touch & Hold You can call additional functions by performing touch
& hold (touch the screen and do not remove your
finger) with the next button.
• On the List and Menu screens, touch & hold
to display the Map screen.
• On the Map screen, touch & hold any of the , ,
, , , or buttons to rotate, tilt, enlarge, or
reduce the map.
• On the keyboard screen, touch & hold
to quickly
delete multiple characters.
• On long lists, touch & hold
or to scroll
through the page.
Gesturing (drag &
drop)You may need to drag & drop in the following cases.
• Scrolling a list: To view the list, touch and slide your
finger up and down. Because the scrolling speed
changes depending on the speed of the slide, you
can reach the end of the list, with just a small, quick
flick of your finger.
• Moving the map in map display mode: Touch the
map and move it in the direction you want.
Page 88 of 334
86 Navigation
Read First
Map Screen
Navigating on the Map
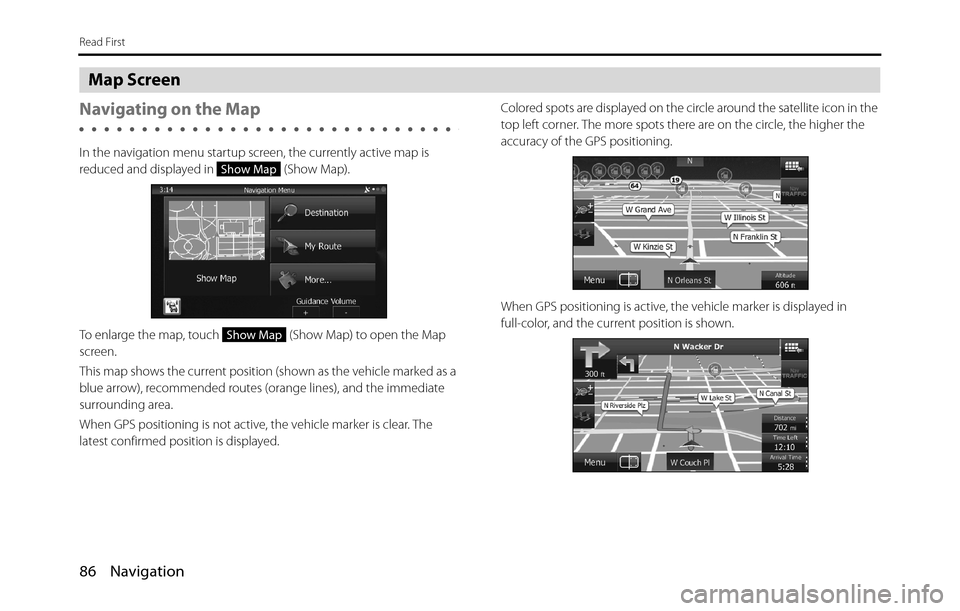
In the navigation menu startup screen, the currently active map is
reduced and displayed in (Show Map).
To enlarge the map, touch (Show Map) to open the Map
screen.
This map shows the current position (shown as the vehicle marked as a
blue arrow), recommended routes (orange lines), and the immediate
surrounding area.
When GPS positioning is not active, the vehicle marker is clear. The
latest confirmed position is displayed. Colored spots are displayed on the circle around the satellite icon in the
top left corner. The more spots there are on the circle, the higher the
accuracy of the GPS positioning.
When GPS positioning is active, the vehicle marker is displayed in
full-color, and the current position is shown.
Show Map
Show Map