seat belt anchor SUBARU LEGACY 1999 Service Repair Manual
[x] Cancel search | Manufacturer: SUBARU, Model Year: 1999, Model line: LEGACY, Model: SUBARU LEGACY 1999Pages: 1456, PDF Size: 59.93 MB
Page 1145 of 1456
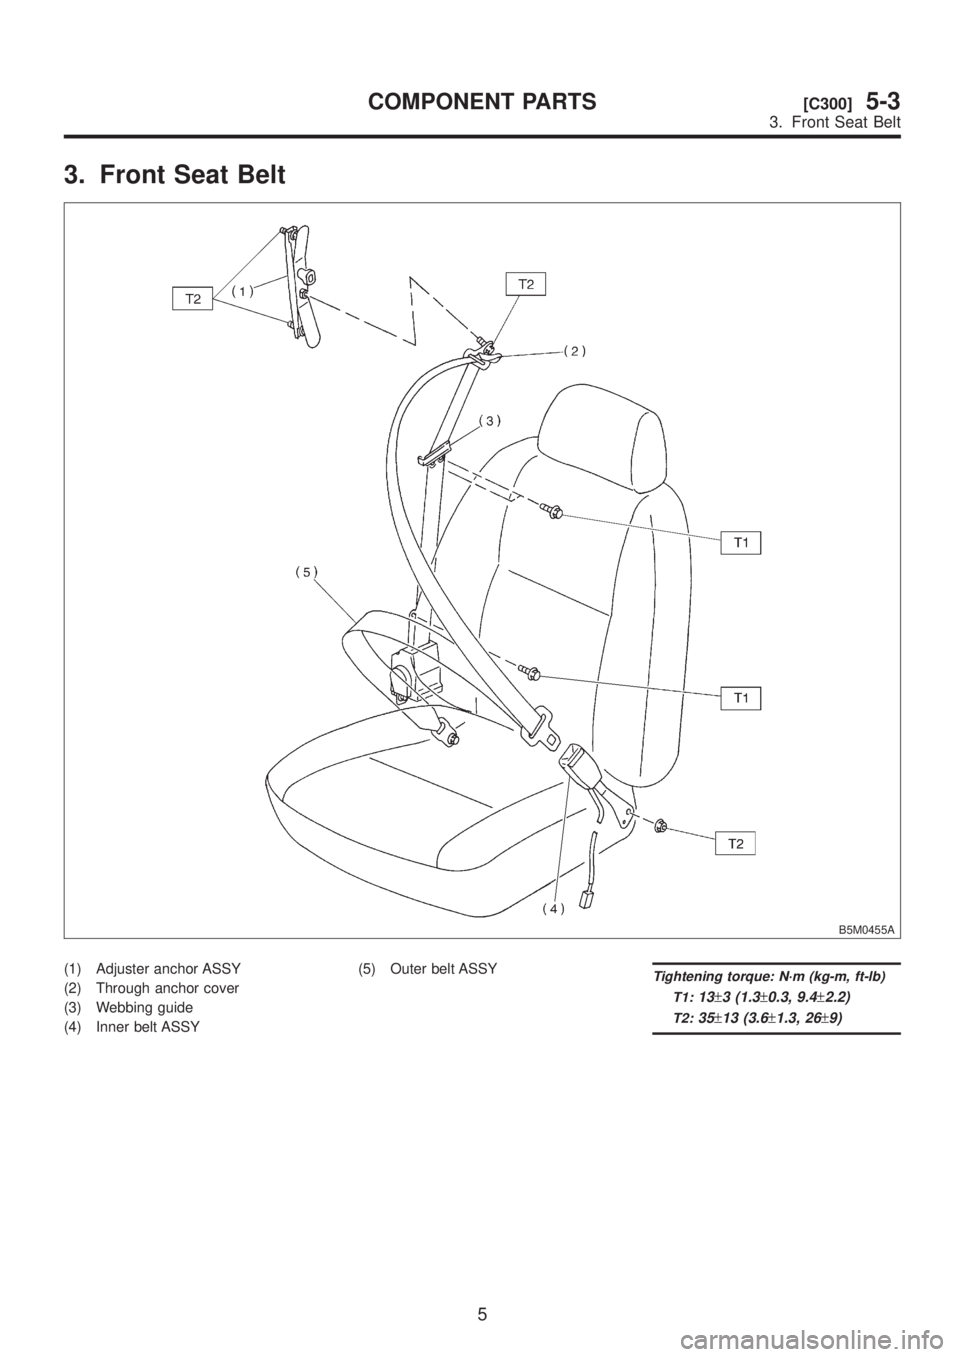
3. Front Seat Belt
B5M0455A
(1) Adjuster anchor ASSY
(2) Through anchor cover
(3) Webbing guide
(4) Inner belt ASSY(5) Outer belt ASSYTightening torque: N´m (kg-m, ft-lb)
T1:
13±3 (1.3±0.3, 9.4±2.2)
T2:35±13 (3.6±1.3, 26±9)
5
[C300]5-3COMPONENT PARTS
3. Front Seat Belt
Page 1146 of 1456
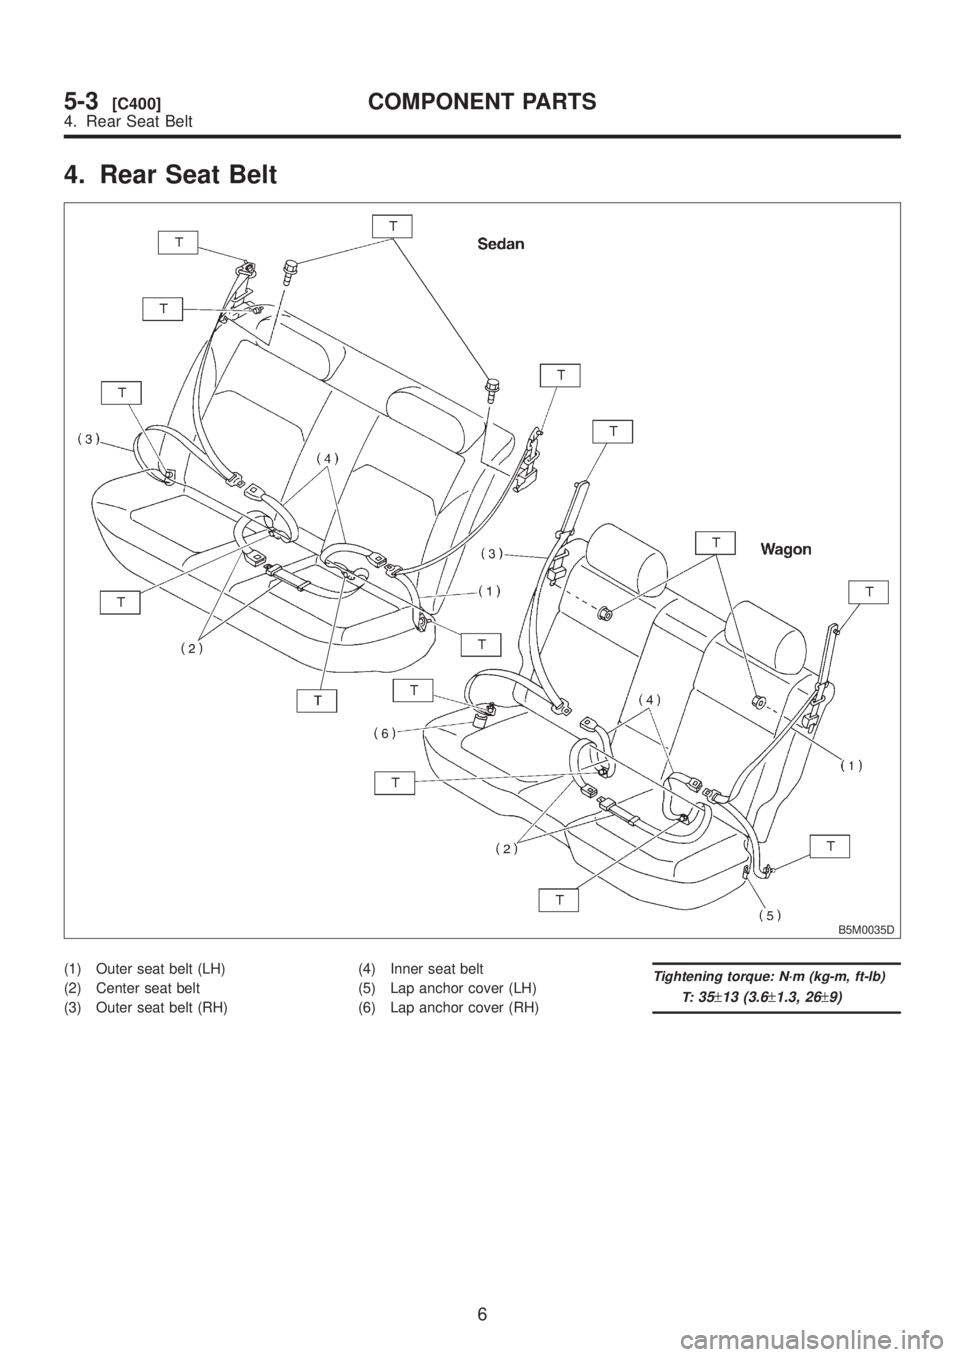
4. Rear Seat Belt
B5M0035D
(1) Outer seat belt (LH)
(2) Center seat belt
(3) Outer seat belt (RH)(4) Inner seat belt
(5) Lap anchor cover (LH)
(6) Lap anchor cover (RH)Tightening torque: N´m (kg-m, ft-lb)
T:
35±13 (3.6±1.3, 26±9)
6
5-3[C400]COMPONENT PARTS
4. Rear Seat Belt
Page 1152 of 1456
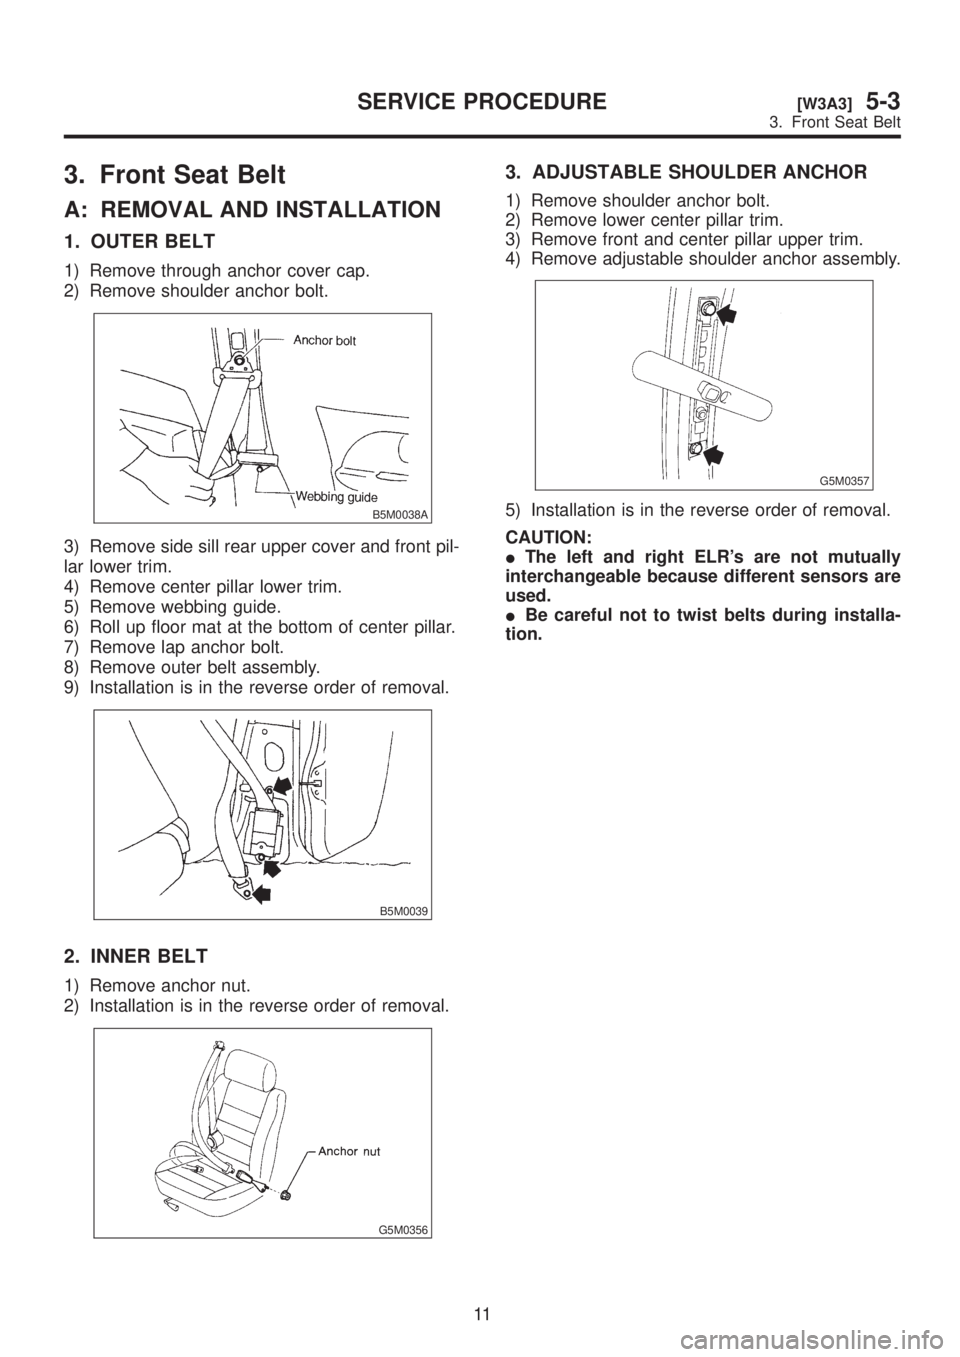
3. Front Seat Belt
A: REMOVAL AND INSTALLATION
1. OUTER BELT
1) Remove through anchor cover cap.
2) Remove shoulder anchor bolt.
B5M0038A
3) Remove side sill rear upper cover and front pil-
lar lower trim.
4) Remove center pillar lower trim.
5) Remove webbing guide.
6) Roll up floor mat at the bottom of center pillar.
7) Remove lap anchor bolt.
8) Remove outer belt assembly.
9) Installation is in the reverse order of removal.
B5M0039
2. INNER BELT
1) Remove anchor nut.
2) Installation is in the reverse order of removal.
G5M0356
3. ADJUSTABLE SHOULDER ANCHOR
1) Remove shoulder anchor bolt.
2) Remove lower center pillar trim.
3) Remove front and center pillar upper trim.
4) Remove adjustable shoulder anchor assembly.
G5M0357
5) Installation is in the reverse order of removal.
CAUTION:
IThe left and right ELR's are not mutually
interchangeable because different sensors are
used.
IBe careful not to twist belts during installa-
tion.
11
[W3A3]5-3SERVICE PROCEDURE
3. Front Seat Belt
Page 1153 of 1456
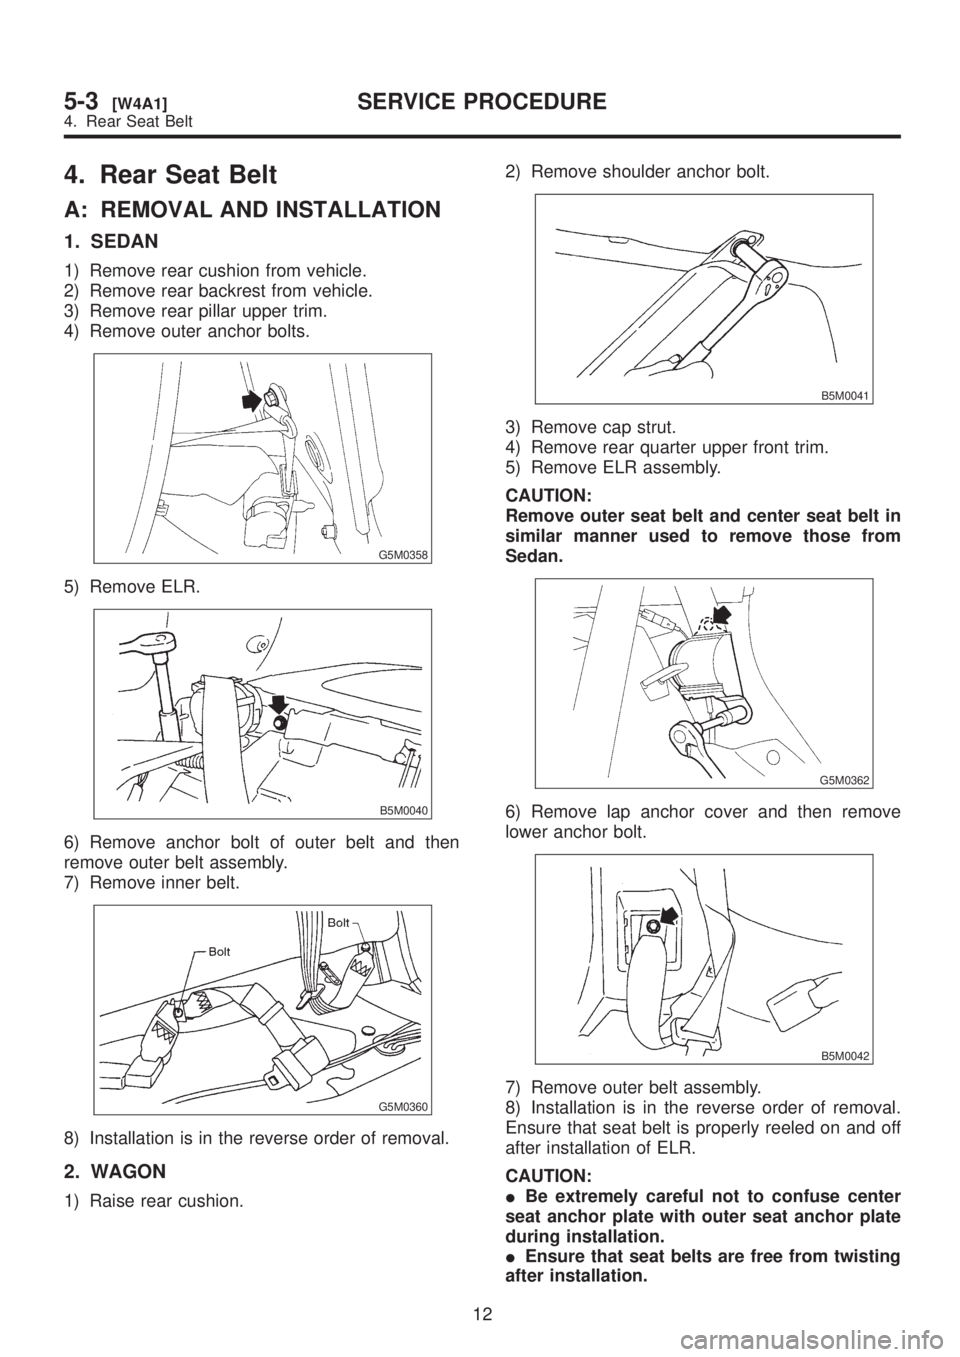
4. Rear Seat Belt
A: REMOVAL AND INSTALLATION
1. SEDAN
1) Remove rear cushion from vehicle.
2) Remove rear backrest from vehicle.
3) Remove rear pillar upper trim.
4) Remove outer anchor bolts.
G5M0358
5) Remove ELR.
B5M0040
6) Remove anchor bolt of outer belt and then
remove outer belt assembly.
7) Remove inner belt.
G5M0360
8) Installation is in the reverse order of removal.
2. WAGON
1) Raise rear cushion.2) Remove shoulder anchor bolt.
B5M0041
3) Remove cap strut.
4) Remove rear quarter upper front trim.
5) Remove ELR assembly.
CAUTION:
Remove outer seat belt and center seat belt in
similar manner used to remove those from
Sedan.
G5M0362
6) Remove lap anchor cover and then remove
lower anchor bolt.
B5M0042
7) Remove outer belt assembly.
8) Installation is in the reverse order of removal.
Ensure that seat belt is properly reeled on and off
after installation of ELR.
CAUTION:
IBe extremely careful not to confuse center
seat anchor plate with outer seat anchor plate
during installation.
IEnsure that seat belts are free from twisting
after installation.
12
5-3[W4A1]SERVICE PROCEDURE
4. Rear Seat Belt
Page 1154 of 1456
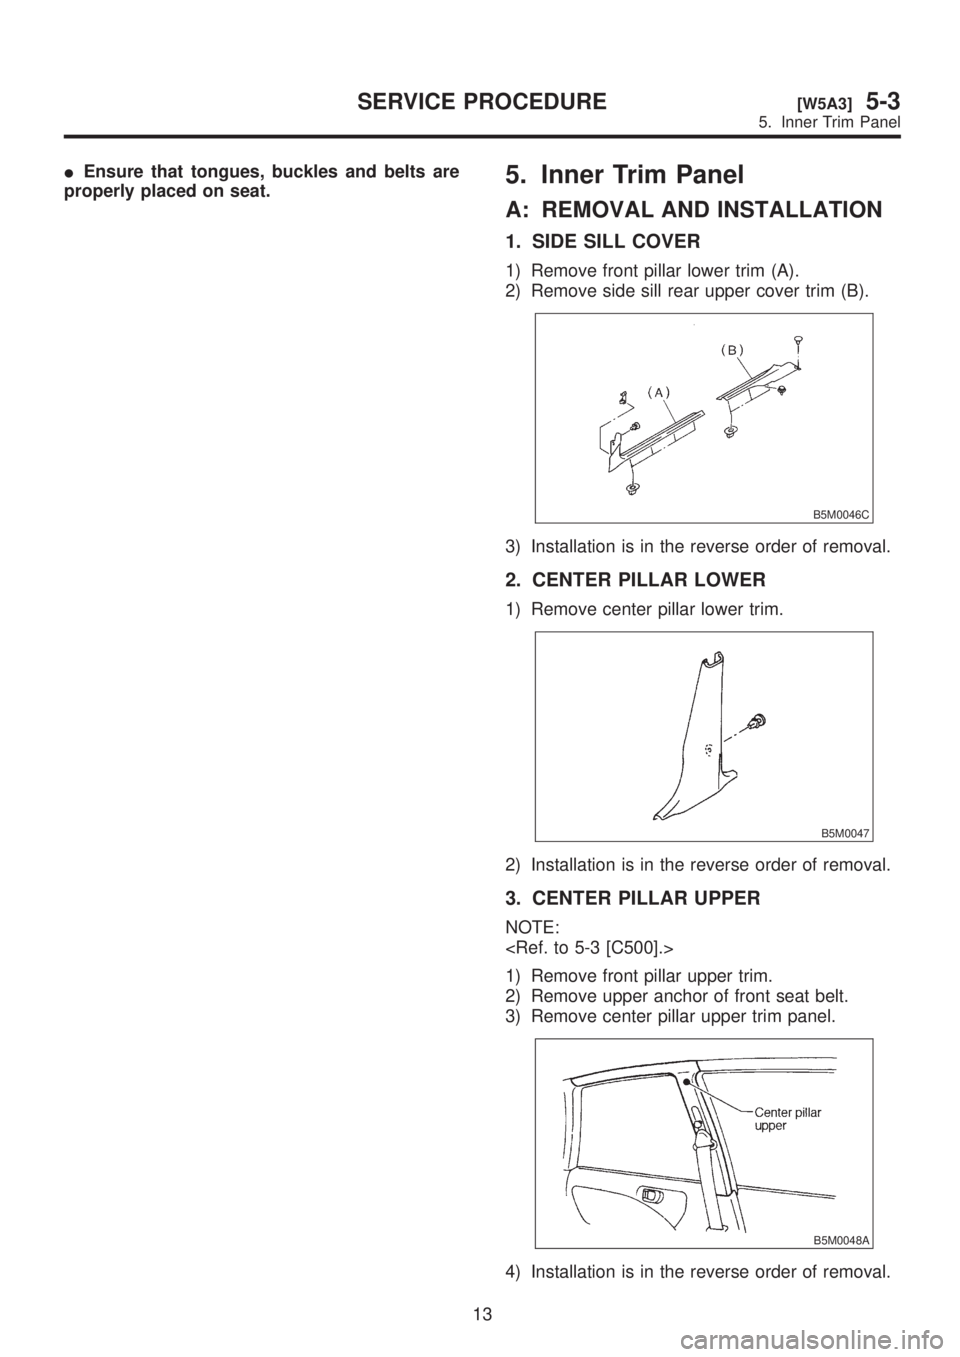
IEnsure that tongues, buckles and belts are
properly placed on seat.5. Inner Trim Panel
A: REMOVAL AND INSTALLATION
1. SIDE SILL COVER
1) Remove front pillar lower trim (A).
2) Remove side sill rear upper cover trim (B).
B5M0046C
3) Installation is in the reverse order of removal.
2. CENTER PILLAR LOWER
1) Remove center pillar lower trim.
B5M0047
2) Installation is in the reverse order of removal.
3. CENTER PILLAR UPPER
NOTE:
1) Remove front pillar upper trim.
2) Remove upper anchor of front seat belt.
3) Remove center pillar upper trim panel.
B5M0048A
4) Installation is in the reverse order of removal.
13
[W5A3]5-3SERVICE PROCEDURE
5. Inner Trim Panel
Page 1155 of 1456
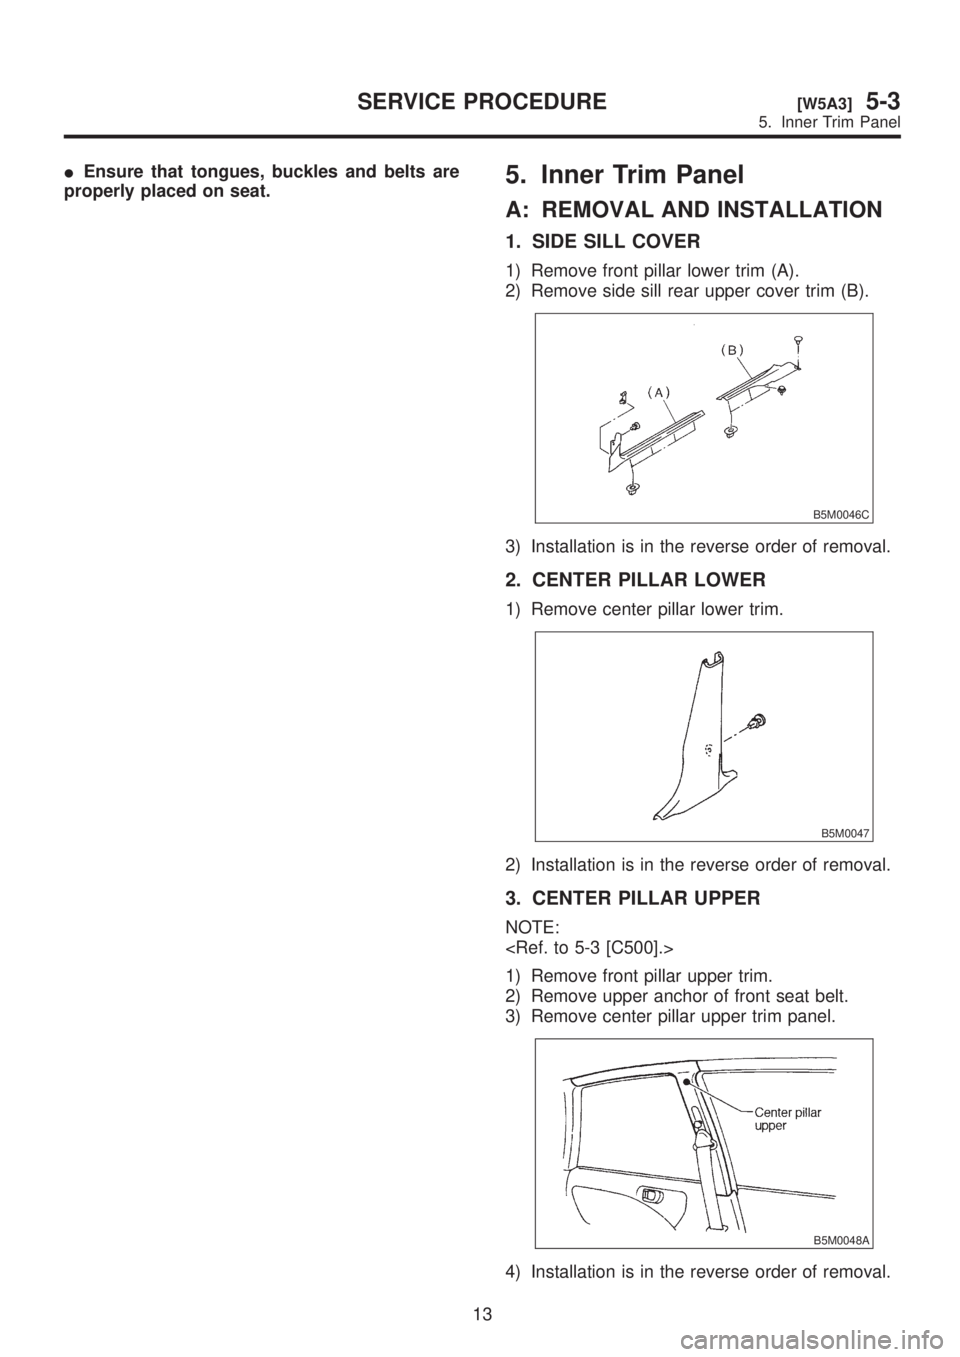
IEnsure that tongues, buckles and belts are
properly placed on seat.5. Inner Trim Panel
A: REMOVAL AND INSTALLATION
1. SIDE SILL COVER
1) Remove front pillar lower trim (A).
2) Remove side sill rear upper cover trim (B).
B5M0046C
3) Installation is in the reverse order of removal.
2. CENTER PILLAR LOWER
1) Remove center pillar lower trim.
B5M0047
2) Installation is in the reverse order of removal.
3. CENTER PILLAR UPPER
NOTE:
1) Remove front pillar upper trim.
2) Remove upper anchor of front seat belt.
3) Remove center pillar upper trim panel.
B5M0048A
4) Installation is in the reverse order of removal.
13
[W5A3]5-3SERVICE PROCEDURE
5. Inner Trim Panel
Page 1156 of 1456
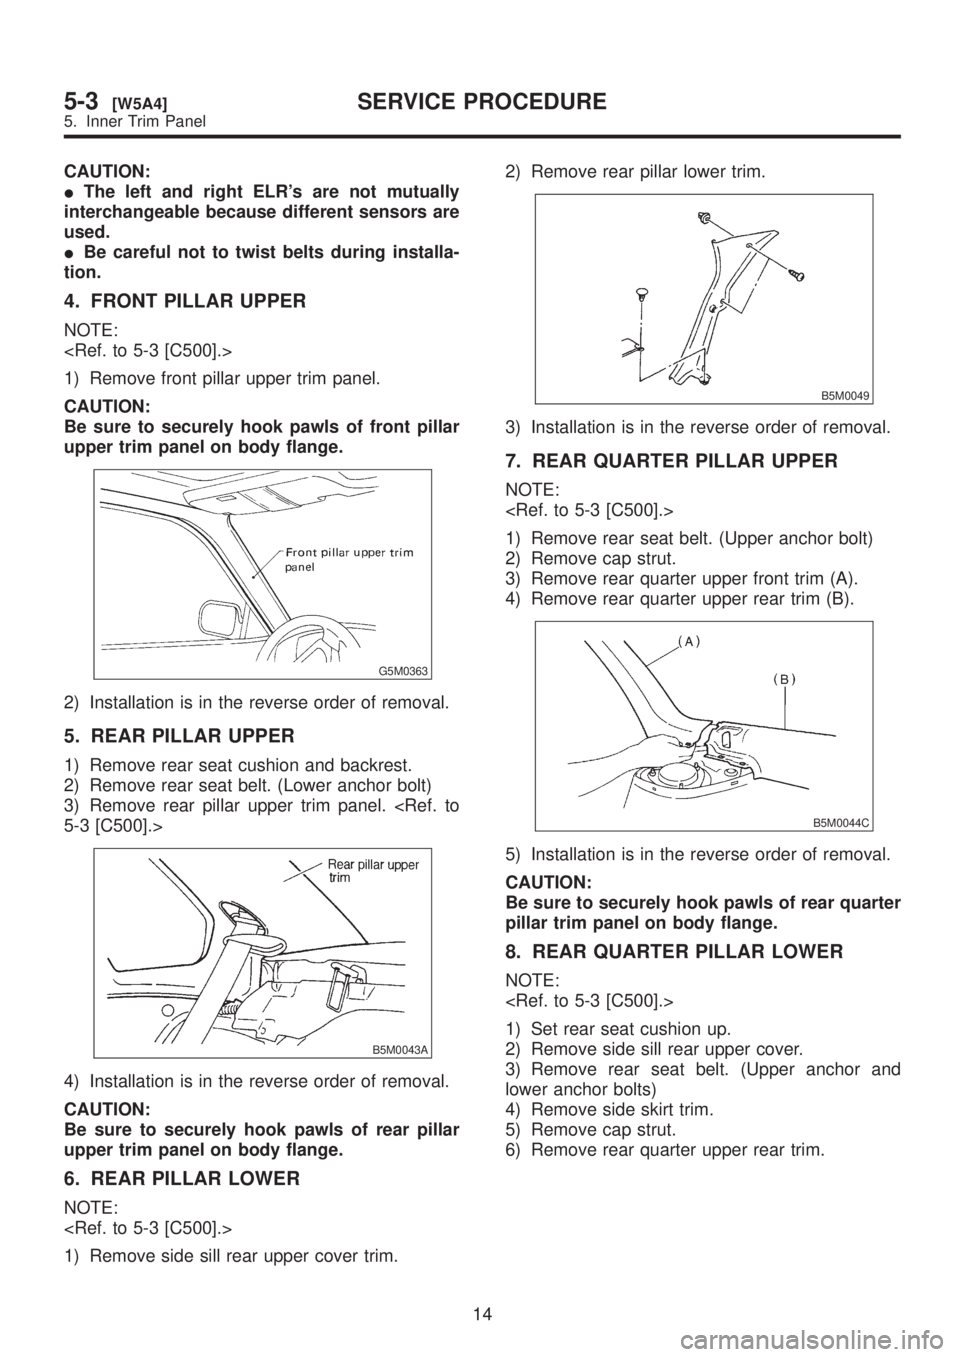
CAUTION:
IThe left and right ELR's are not mutually
interchangeable because different sensors are
used.
IBe careful not to twist belts during installa-
tion.
4. FRONT PILLAR UPPER
NOTE:
1) Remove front pillar upper trim panel.
CAUTION:
Be sure to securely hook pawls of front pillar
upper trim panel on body flange.
G5M0363
2) Installation is in the reverse order of removal.
5. REAR PILLAR UPPER
1) Remove rear seat cushion and backrest.
2) Remove rear seat belt. (Lower anchor bolt)
3) Remove rear pillar upper trim panel.
B5M0043A
4) Installation is in the reverse order of removal.
CAUTION:
Be sure to securely hook pawls of rear pillar
upper trim panel on body flange.
6. REAR PILLAR LOWER
NOTE:
1) Remove side sill rear upper cover trim.2) Remove rear pillar lower trim.
B5M0049
3) Installation is in the reverse order of removal.
7. REAR QUARTER PILLAR UPPER
NOTE:
1) Remove rear seat belt. (Upper anchor bolt)
2) Remove cap strut.
3) Remove rear quarter upper front trim (A).
4) Remove rear quarter upper rear trim (B).
B5M0044C
5) Installation is in the reverse order of removal.
CAUTION:
Be sure to securely hook pawls of rear quarter
pillar trim panel on body flange.
8. REAR QUARTER PILLAR LOWER
NOTE:
1) Set rear seat cushion up.
2) Remove side sill rear upper cover.
3) Remove rear seat belt. (Upper anchor and
lower anchor bolts)
4) Remove side skirt trim.
5) Remove cap strut.
6) Remove rear quarter upper rear trim.
14
5-3[W5A4]SERVICE PROCEDURE
5. Inner Trim Panel