SUBARU LEGACY 2010 5.G Owners Manual
Manufacturer: SUBARU, Model Year: 2010, Model line: LEGACY, Model: SUBARU LEGACY 2010 5.GPages: 448, PDF Size: 7.36 MB
Page 201 of 448
.Press the “RPT/RDM ”button
. Turn the “TUNE/TRACK/CH ”dial
. Press the “
”or “”side of the
“ FOLDER ”button
. Press the “
”button
. Press the “”or “”side of the
“ SEEK ”button
. Press the disc select button
. Select the radio or AUX mode
. Press the “LOAD ”button when
there is free space in the CD magazine . Turn off the power of the audio
equipment. Turn the ignition switch to the
“ LOCK ”position
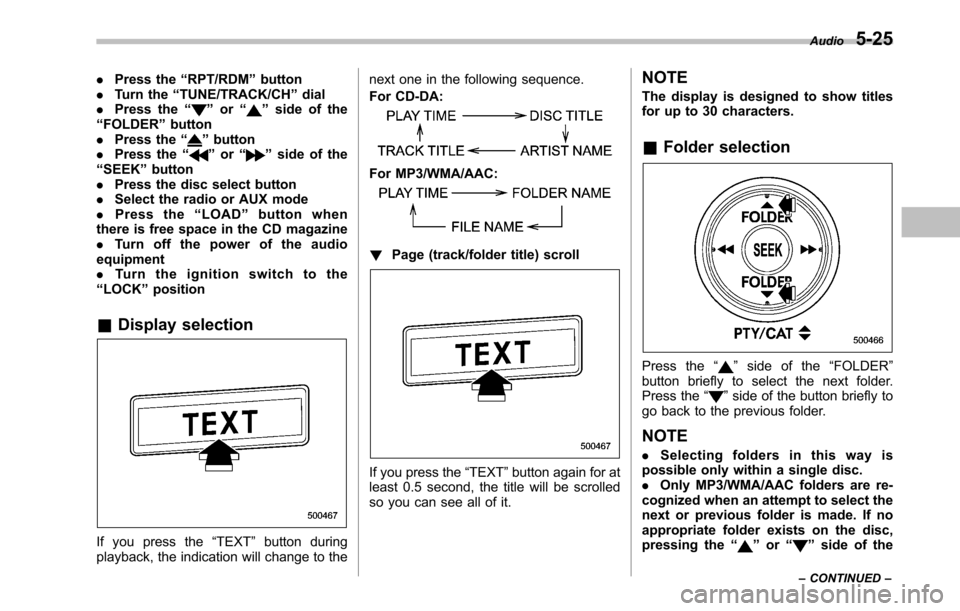
& Display selection
If you press the “TEXT ”button during
playback, the indication will change to the next one in the following sequence.
For CD-DA:
For MP3/WMA/AAC:
!
Page (track/folder title) scroll
If you press the “TEXT ”button again for at
least 0.5 second, the title will be scrolled
so you can see all of it. NOTE
The display is designed to show titles
for up to 30 characters. &
Folder selection
Press the “”side of the “FOLDER ”
button briefly to select the next folder.
Press the “
”side of the button briefly to
go back to the previous folder.
NOTE . Selecting folders in this way is
possible only within a single disc. . Only MP3/WMA/AAC folders are re-
cognized when an attempt to select the
next or previous folder is made. If no
appropriate folder exists on the disc,
pressing the “
”or “”side of the
Audio
5-25
– CONTINUED –
Page 202 of 448
5-26Audio
“ FOLDER ”button starts playback be-
ginning with the first track/file (track).
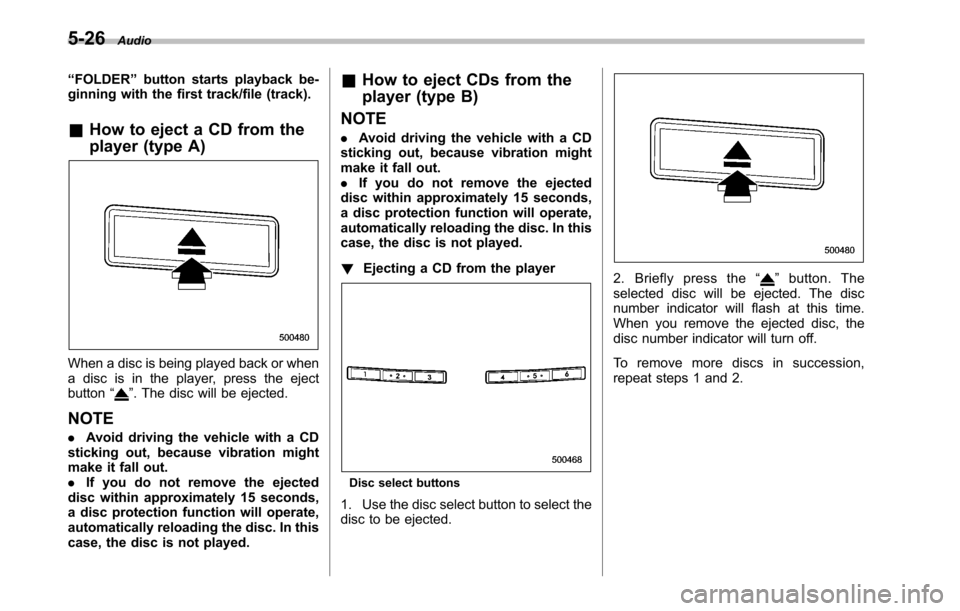
& How to eject a CD from the
player (type A)
When a disc is being played back or when
a disc is in the player, press the ejectbutton “
”. The disc will be ejected.
NOTE . Avoid driving the vehicle with a CD
sticking out, because vibration might
make it fall out.. If you do not remove the ejected
disc within approximately 15 seconds,
a disc protection function will operate,
automatically reloading the disc. In this
case, the disc is not played. &
How to eject CDs from the
player (type B)
NOTE . Avoid driving the vehicle with a CD
sticking out, because vibration might
make it fall out.. If you do not remove the ejected
disc within approximately 15 seconds,
a disc protection function will operate,
automatically reloading the disc. In this
case, the disc is not played. ! Ejecting a CD from the player
Disc select buttons
1. Use the disc select button to select the
disc to be ejected.
2. Briefly press the “”button. The
selected disc will be ejected. The disc
number indicator will flash at this time.
When you remove the ejected disc, the
disc number indicator will turn off.
To remove more discs in succession,
repeat steps 1 and 2.
Page 203 of 448
!Ejecting all discs from the player
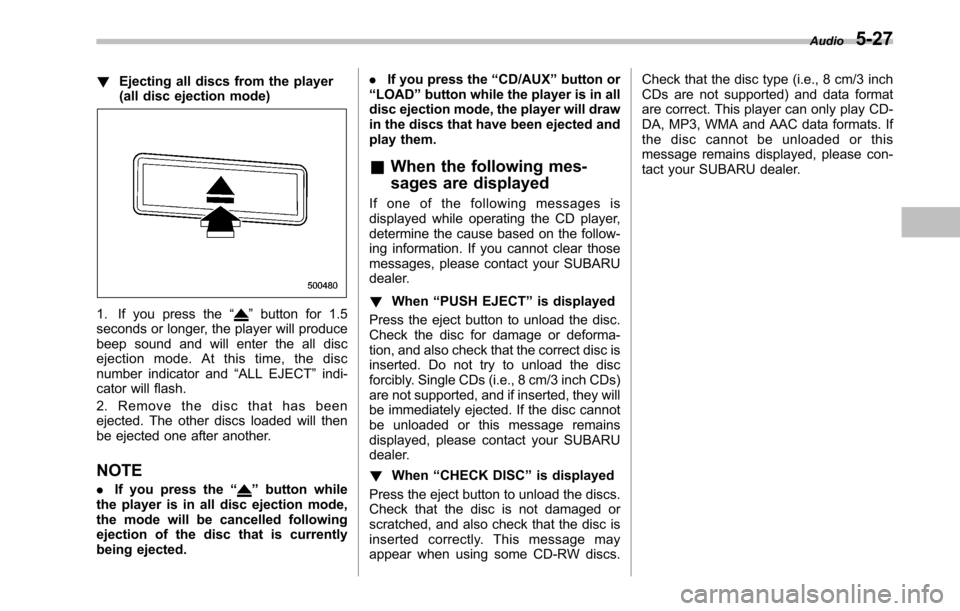
(all disc ejection mode)
1. If you press the “”button for 1.5
seconds or longer, the player will produce
beep sound and will enter the all disc
ejection mode. At this time, the disc
number indicator and “ALL EJECT ”indi-
cator will flash.
2. Remove the disc that has been
ejected. The other discs loaded will then
be ejected one after another.
NOTE . If you press the “
”button while
the player is in all disc ejection mode,
the mode will be cancelled following
ejection of the disc that is currently
being ejected. .
If you press the “CD/AUX ”button or
“ LOAD ”button while the player is in all
disc ejection mode, the player will draw
in the discs that have been ejected and
play them.
& When the following mes-
sages are displayed
If one of the following messages is
displayed while operating the CD player,
determine the cause based on the follow-
ing information. If you cannot clear those
messages, please contact your SUBARU
dealer. ! When “PUSH EJECT ”is displayed
Press the eject button to unload the disc.
Check the disc for damage or deforma-
tion, and also check that the correct disc is
inserted. Do not try to unload the disc
forcibly. Single CDs (i.e., 8 cm/3 inch CDs)
are not supported, and if inserted, they will
be immediately ejected. If the disc cannot
be unloaded or this message remains
displayed, please contact your SUBARU
dealer. ! When “CHECK DISC ”is displayed
Press the eject button to unload the discs.
Check that the disc is not damaged or
scratched, and also check that the disc is
inserted correctly. This message may
appear when using some CD-RW discs. Check that the disc type (i.e., 8 cm/3 inch
CDs are not supported) and data format
are correct. This player can only play CD-
DA, MP3, WMA and AAC data formats. If
the disc cannot be unloaded or this
message remains displayed, please con-
tact your SUBARU dealer.
Audio
5-27
Page 204 of 448
5-28Audio
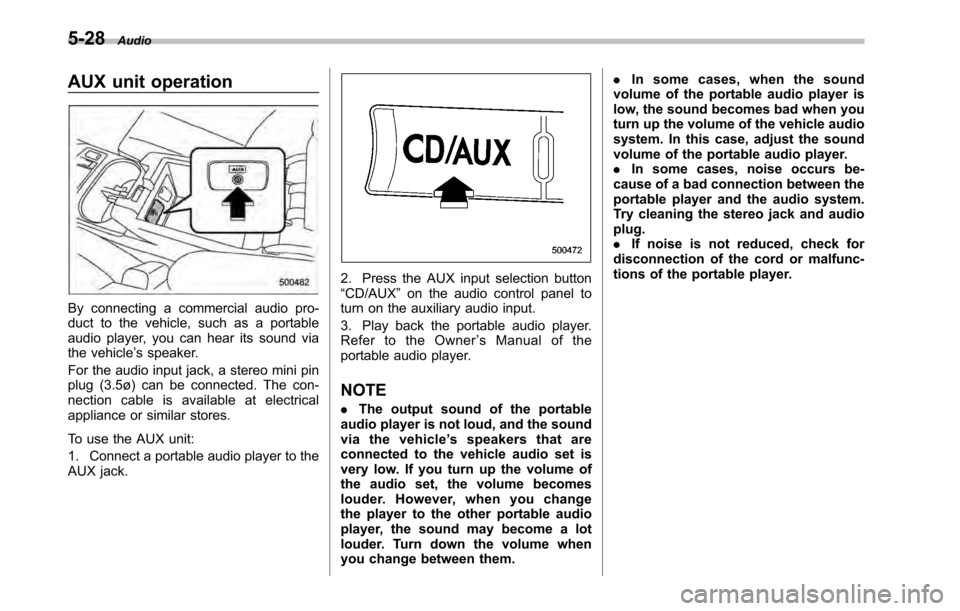
AUX unit operation
By connecting a commercial audio pro-
duct to the vehicle, such as a portable
audio player, you can hear its sound via
the vehicle ’s speaker.
For the audio input jack, a stereo mini pin
plug (3.5ø) can be connected. The con-
nection cable is available at electrical
appliance or similar stores.
To use the AUX unit:
1. Connect a portable audio player to the
AUX jack.
2. Press the AUX input selection button “ CD/AUX ”on the audio control panel to
turn on the auxiliary audio input.
3. Play back the portable audio player.
Refer to the Owner ’s Manual of the
portable audio player. NOTE . The output sound of the portable
audio player is not loud, and the sound
via the vehicle ’s speakers that are
connected to the vehicle audio set is
very low. If you turn up the volume of
the audio set, the volume becomes
louder. However, when you change
the player to the other portable audio
player, the sound may become a lot
louder. Turn down the volume when
you change between them. .
In some cases, when the sound
volume of the portable audio player is
low, the sound becomes bad when you
turn up the volume of the vehicle audio
system. In this case, adjust the sound
volume of the portable audio player.. In some cases, noise occurs be-
cause of a bad connection between the
portable player and the audio system.
Try cleaning the stereo jack and audioplug.. If noise is not reduced, check for
disconnection of the cord or malfunc-
tions of the portable player.
Page 205 of 448
Precautions to observe when
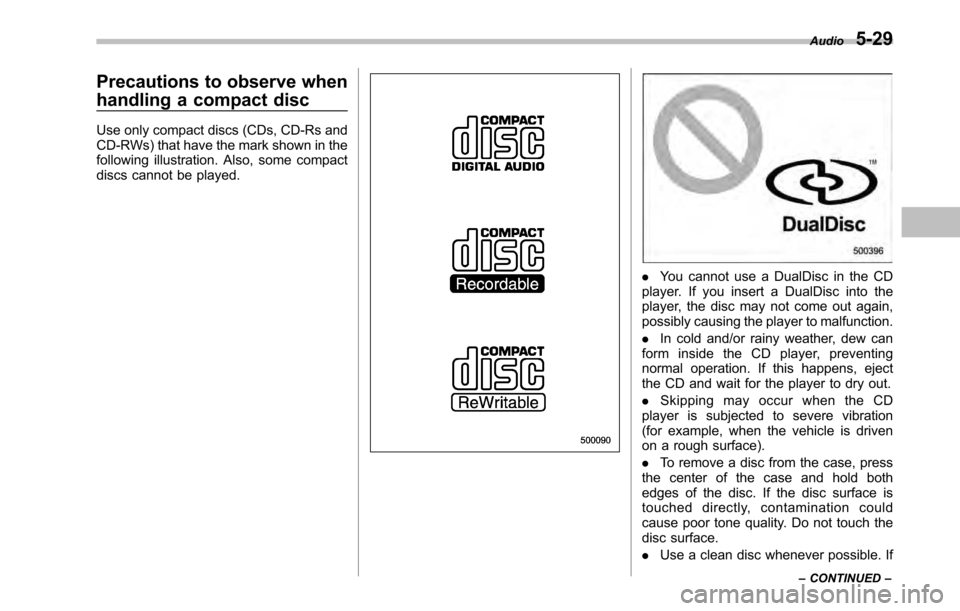
handling a compact disc
Use only compact discs (CDs, CD-Rs and
CD-RWs) that have the mark shown in the
following illustration. Also, some compact
discs cannot be played.
.You cannot use a DualDisc in the CD
player. If you insert a DualDisc into the
player, the disc may not come out again,
possibly causing the player to malfunction. . In cold and/or rainy weather, dew can
form inside the CD player, preventing
normal operation. If this happens, eject
the CD and wait for the player to dry out. . Skipping may occur when the CD
player is subjected to severe vibration
(for example, when the vehicle is driven
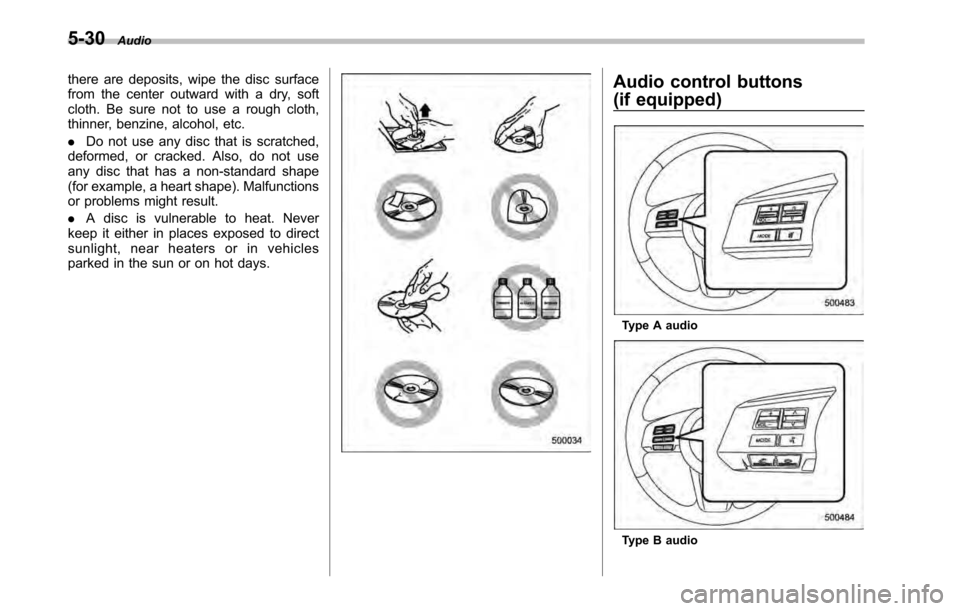
on a rough surface). . To remove a disc from the case, press
the center of the case and hold both
edges of the disc. If the disc surface is
touched directly, contamination could
cause poor tone quality. Do not touch the
disc surface. . Use a clean disc whenever possible. If Audio
5-29
– CONTINUED –
Page 206 of 448
5-30Audio
there are deposits, wipe the disc surface
from the center outward with a dry, soft
cloth. Be sure not to use a rough cloth,
thinner, benzine, alcohol, etc. .Do not use any disc that is scratched,
deformed, or cracked. Also, do not use
any disc that has a non-standard shape
(for example, a heart shape). Malfunctions
or problems might result. . A disc is vulnerable to heat. Never
keep it either in places exposed to direct
sunlight, near heaters or in vehicles
parked in the sun or on hot days.Audio control buttons
(if equipped)
Type A audio
Type B audio
Page 207 of 448
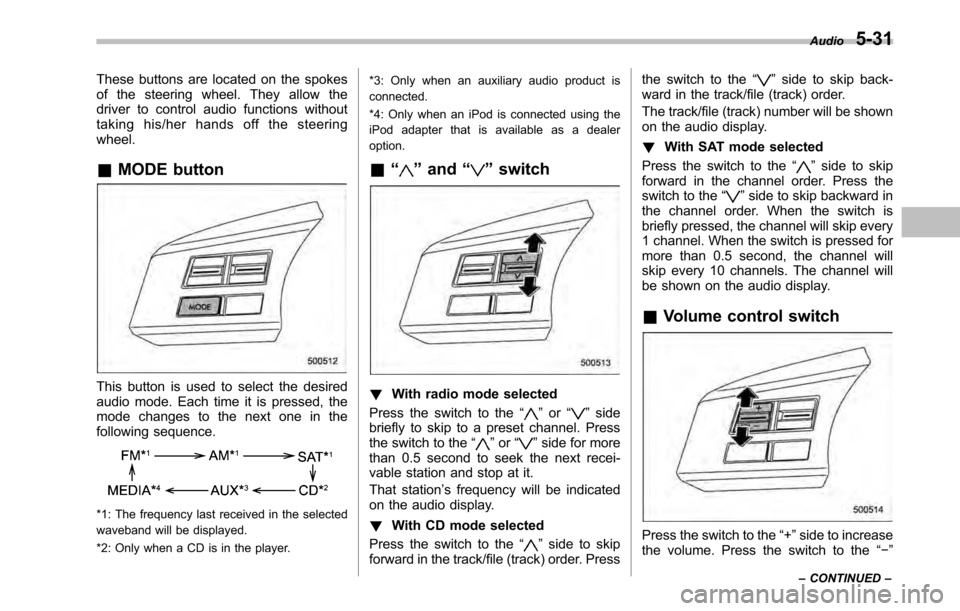
These buttons are located on the spokes
of the steering wheel. They allow the
driver to control audio functions without
taking his/her hands off the steeringwheel. &MODE button
This button is used to select the desired
audio mode. Each time it is pressed, the
mode changes to the next one in the
following sequence.
*1: The frequency last received in the selected
waveband will be displayed.
*2: Only when a CD is in the player. *3: Only when an auxiliary audio product is
connected.
*4: Only when an iPod is connected using the
iPod adapter that is available as a dealeroption.
& “
”and “”switch
! With radio mode selected
Press the switch to the “
”or “”side
briefly to skip to a preset channel. Press
the switch to the “
”or “”side for more
than 0.5 second to seek the next recei-
vable station and stop at it.
That station ’s frequency will be indicated
on the audio display. ! With CD mode selected
Press the switch to the “
”side to skip
forward in the track/file (track) order. Press the switch to the
“
”side to skip back-
ward in the track/file (track) order.
The track/file (track) number will be shown
on the audio display. ! With SAT mode selected
Press the switch to the “
”side to skip
forward in the channel order. Press the
switch to the “
”side to skip backward in
the channel order. When the switch is
briefly pressed, the channel will skip every
1 channel. When the switch is pressed for
more than 0.5 second, the channel will
skip every 10 channels. The channel will
be shown on the audio display.
& Volume control switch
Press the switch to the “+ ”side to increase
the volume. Press the switch to the “� ”
Audio
5-31
– CONTINUED –
Page 208 of 448
5-32Audio
side to reduce the volume.
A number indicating the volume will be
shown on the audio display. &MUTE button (if equipped)
Press this button if you wish to immedi-
ately cut the volume to zero.
The audio display will show “MUTE ”.
If you press the button again, the original
sound volume will return and “MUTE ”
turns off. Hands-free system (if equipped) NOTE .
For models with the genuine
SUBARU navigation system, refer to
the Owner ’s Manual supplement for the
navigation system.. When selling your vehicle, make
sure that you initialize the Hands-free
system to prevent personal data from
being improperly accessed.
The Hands-free system operates while the
ignition switch is in the “Acc ”or “ON ”
position. &
Tips for the Hands-free sys- tem
! Bluetooth ®NOTE
The Bluetooth word mark and logo are
registered trademarks of Bluetooth
SIG, Inc.
It is possible to connect a cell phone to the
in-vehicle equipment through the Blue-
tooth ® format (wireless) to make a phone
call from the in-vehicle equipment or take
an incoming phone call.
Since the Bluetooth® format is wireless,
a connection between the in-vehicle
equipment and the cell phone can be
made without placing them in close vicinity
of each other. The cell phone can be used
Page 209 of 448
with it left in the breast pocket or bag. NOTE
The Hands-free system may not oper-
ate properly under the following condi-tions. .The cell phone is turned off.
. The cell phone is not in the phone
call area. . The battery of the call phone has run
down.. The cell phone is not connected to
the Hands-free system.. The cell phone is behind the seat or
in the glove box.. A metal material covers or touches
the cell phone. ! Corresponding profiles for the cell phone
. HFP (Hands Free Profile): Ver. 1.0
. OPP (Object Push Profile): Ver. 1.1
& Certification for the Hands-
free system
NOTE
This device complies with Part 15 of
the FCC Rules and with RSS-Gen of IC
Rules. Operation is subject to the
following two conditions: (1) This de-
vice may not cause harmful interfer- ence, and (2) this device must accept
any interference received, including
interference that may cause undesiredoperation.
Changes or modifications not ex-
pressly approved by the party respon-
sible for compliance could void theuser
’s authority to operate the equip-
ment.
NOTE
This equipment has been tested and
found to comply with the limits for a
Class B digital device, pursuant to Part
15 of the FCC Rules. These limits are
designed to provide reasonable protec-
tion against harmful interference in a
residential installation. This equipment
may cause harmful interference to
radio communications, if it is not
installed and used in accordance with
the instructions. However, there is no
guarantee that interference will not
occur in a particular installation. If this
equipment does cause harmful inter-
ference to radio or television reception,
which can be determined by turning the
equipment off and on, the user is
encouraged to try to correct the inter-
ference by one or more of the followingmeasures. .
Reorient or relocate the receiving
antenna.. Increase the separation between the
equipment and receiver.. Connect the equipment into an out-
let on a circuit different from that to
which the receiver is connected.. Consult the dealer or an experi-
enced radio/TV technician for help.
& Safety precautions
WARNING
. For safety reasons, avoid operat-
ing of the cell phone while driv- ing.
. Do not make a phone call while
driving. When you have an in-
coming call, stop the vehicle in a
safe location before taking the
incoming phone call. When you
have to absolutely take a phone
call, tell the caller “I’ll call you
back ”. And then call the caller
back after stopping the vehicle in
a safe location.
. Part 15 FCC Rules
FCC Warning:
Any unauthorized changes of
modifications to this equipment Audio
5-33
– CONTINUED –
Page 210 of 448
5-34Audio
would void the user ’s authority to
operate this device.
CAUTION
. Do not leave the cell phone in the
vehicle. The temperature in the
vehicle may become extremely
high and cause a malfunction of
the cell phone.
. When using the cell phone, be
careful not to get it close to the
in-vehicle equipment. Getting it
too close to the in-vehicle equip-
ment may result in deterioration
in tone quality or a poor connect-
ing condition.
. In the frequency band used by
this equipment, along with indus-
trial, scientific and medical
equipment such as a microwave
oven, radio stations (a license is
required) to be used by the
production line in the factory to
identify movable bodies, specific
small power radio stations (a
license is not required) and ama-
teur radio stations (a license is
required) are being operated.
(These three types of radio sta-
tions are hereinafter referred to as
“other radio stations ”.) Before
using this equipment, be sure to
check to see if “other radio
stations ”are being operated in
the vicinity. If there is detrimental
radio interference from this
equipment to “other radio sta-
tions ”, move the equipment to
another location as soon as
possible to avoid radio interfer-
ence. The frequency band used
by this equipment is in the 2.4
GHz zone. The FH-SS modulation
is employed as a modulation
method. The expected inflicting
interference distance is less than
33 ft (10 m). This equipment uses
a full band and can avoid a band
used by a movable body identifi-
cation device. &
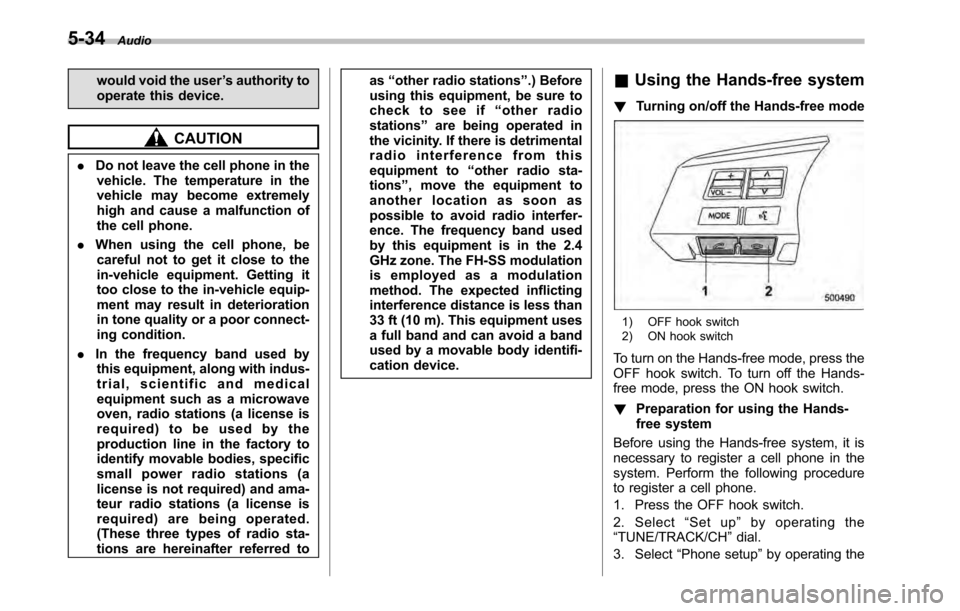
Using the Hands-free system
! Turning on/off the Hands-free mode
1) OFF hook switch
2) ON hook switch
To turn on the Hands-free mode, press the
OFF hook switch. To turn off the Hands-
free mode, press the ON hook switch. ! Preparation for using the Hands-
free system
Before using the Hands-free system, it is
necessary to register a cell phone in the
system. Perform the following procedure
to register a cell phone.
1. Press the OFF hook switch.
2. Select “Set up ”by operating the
“ TUNE/TRACK/CH ”dial.
3. Select “Phone setup ”by operating the