light SUBARU LEGACY 2012 5.G Navigation Manual
[x] Cancel search | Manufacturer: SUBARU, Model Year: 2012, Model line: LEGACY, Model: SUBARU LEGACY 2012 5.GPages: 90, PDF Size: 1.82 MB
Page 5 of 90

Navigation 19
Before Use
■Handling precautions for DVD-ROM discs
•Handle DVD-ROM discs carefully. Any DVD-ROM disc with exces-
sive warping or scratches on its surface can cause reading errors.
•Store DVD-ROM discs away from direct sunlight, which can cause
warping and render them unusable.
•DVD-ROM discs rotate at high speeds inside the system's main
unit. Never use a cracked or badly warped disc; doing so could
damage the unit.
•To clean a DVD-ROM disc, lightly wipe it with a soft cloth in
straight lines from the center hole toward the outer edge.
•Never clean DVD-ROM discs with benzene, thinner, record spray,
antistatic spray, or chemical swabs.
•Do not touch the DVD-ROM disc's data surface (the surface with-
out a printed label). A dirty data surface can cause reading errors.
Always hold a DVD-ROM disc by the center hole and at one point
on the outer edge, or by two points on the outer edge.
•Do not write anything on DVD-ROM discs or affix anything, such
as stickers, to them.
Page 35 of 90

Navigation 49
Setting Route
■Using "Change Search Area" function
This function designates a general geographical area where the desti-
nation or waypoint you want to set is located.
1Press the button and select (change).
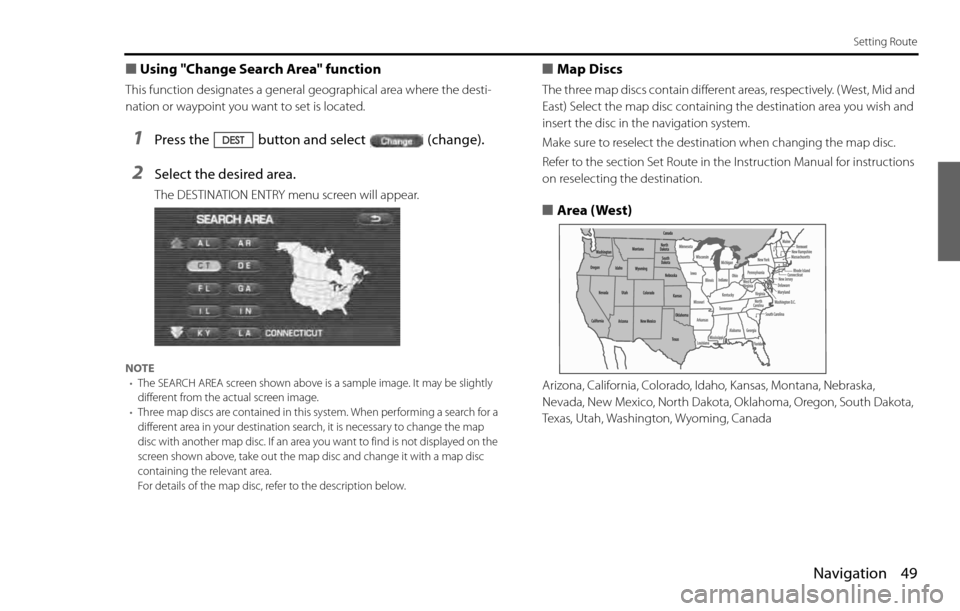
2Select the desired area.
The DESTINATION ENTRY menu screen will appear.
NOTE
•The SEARCH AREA screen shown above is a sample image. It may be slightly
different from the actual screen image.
•Three map discs are contained in this system. When performing a search for a
different area in your destination search, it is necessary to change the map
disc with another map disc. If an area you want to find is not displayed on the
screen shown above, take out the map disc and change it with a map disc
containing the relevant area.
For details of the map disc, refer to the description below.
■Map Discs
The three map discs contain different areas, respectively. ( West, Mid and
East) Select the map disc containing the destination area you wish and
insert the disc in the navigation system.
Make sure to reselect the destination when changing the map disc.
Refer to the section Set Route in the Instruction Manual for instructions
on reselecting the destination.
■Area (West)
Arizona, California, Colorado, Idaho, Kansas, Montana, Nebraska,
Nevada, New Mexico, North Dakota, Oklahoma, Oregon, South Dakota,
Texas, Utah, Washington, Wyoming, Canada
Page 56 of 90

70 Navigation
Navigation Setup
Distance:
Units of distance can be selected from (km)
and (mile).
Road Restriction Warnings:
You can select or deselect display of traffic restriction warnings
during route guidance.
Keyboard layout:
The layout of input keys can be selected from ("ABC" lay-
out) or ("QWERTY" layout).
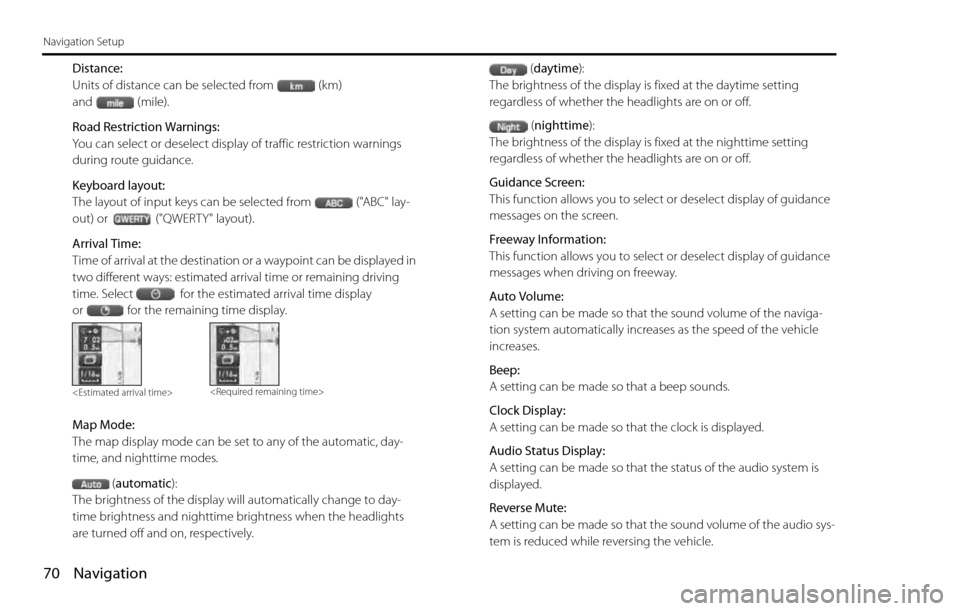
Arrival Time:
Time of arrival at the destination or a waypoint can be displayed in
two different ways: estimated arrival time or remaining driving
time. Select for the estimated arrival time display
or for the remaining time display.
Map Mode:
The map display mode can be set to any of the automatic, day-
time, and nighttime modes.
(automatic):
The brightness of the display will automatically change to day-
time brightness and nighttime brightness when the headlights
are turned off and on, respectively.(daytime):
The brightness of the display is fixed at the daytime setting
regardless of whether the headlights are on or off.
(nighttime):
The brightness of the display is fixed at the nighttime setting
regardless of whether the headlights are on or off.
Guidance Screen:
This function allows you to select or deselect display of guidance
messages on the screen.
Freeway Information:
This function allows you to select or deselect display of guidance
messages when driving on freeway.
Auto Volume:
A setting can be made so that the sound volume of the naviga-
tion system automatically increases as the speed of the vehicle
increases.
Beep:
A setting can be made so that a beep sounds.
Clock Display:
A setting can be made so that the clock is displayed.
Audio Status Display:
A setting can be made so that the status of the audio system is
displayed.
Reverse Mute:
A setting can be made so that the sound volume of the audio sys-
tem is reduced while reversing the vehicle.
Page 60 of 90

74 Navigation
Navigation Setup
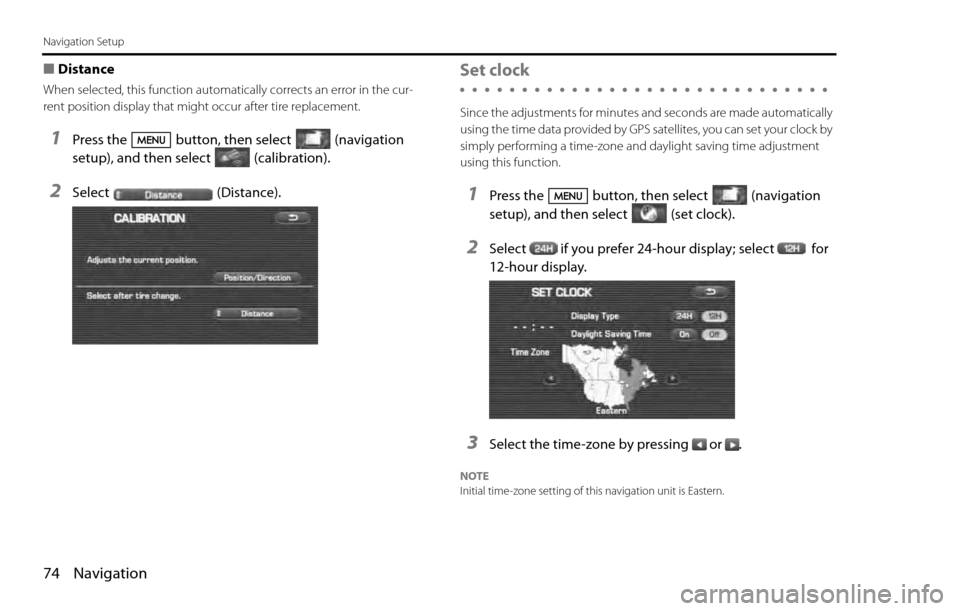
■Distance
When selected, this function automatically corrects an error in the cur-
rent position display that might occur after tire replacement.
1Press the button, then select (navigation
setup), and then select (calibration).
2Select (Distance).
Set clock
Since the adjustments for minutes and seconds are made automatically
using the time data provided by GPS satellites, you can set your clock by
simply performing a time-zone and daylight saving time adjustment
using this function.
1Press the button, then select (navigation
setup), and then select (set clock).
2Select if you prefer 24-hour display; select for
12-hour display.
3Select the time-zone by pressing or .
NOTE
Initial time-zone setting of this navigation unit is Eastern.
Page 61 of 90

Navigation 75
Navigation Setup
4Select the daylight saving time mode by pressing
or .
NOTE
Select to advance the time by one hour.
Vehicle signal
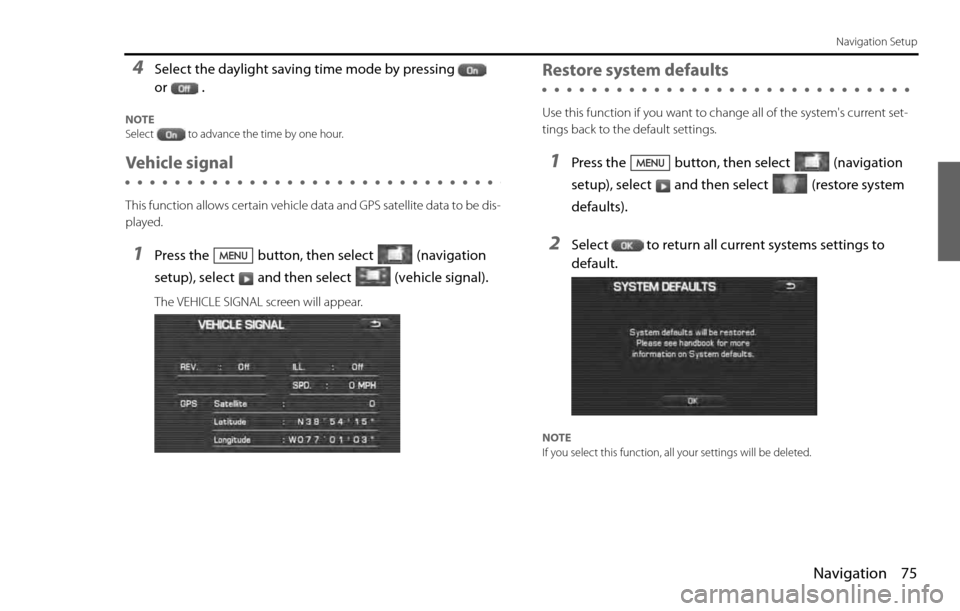
This function allows certain vehicle data and GPS satellite data to be dis-
played.
1Press the button, then select (navigation
setup), select and then select (vehicle signal).
The VEHICLE SIGNAL screen will appear.
Restore system defaults
Use this function if you want to change all of the system's current set-
tings back to the default settings.
1Press the button, then select (navigation
setup), select and then select (restore system
defaults).
2Select to return all current systems settings to
default.
NOTE
If you select this function, all your settings will be deleted.