SUBARU OUTBACK 2005 4.G Owners Manual
OUTBACK 2005 4.G
SUBARU
SUBARU
https://www.carmanualsonline.info/img/17/7298/w960_7298-0.png
SUBARU OUTBACK 2005 4.G Owners Manual
Trending: automatic transmission, transmission oil, interior lights, oil level, suspension, park assist, tow bar
Page 341 of 627
6-24
Interior equipment
is rewinding.
Do not place anything on the extended cover.
Putting excessive weight on the extended cov-
er can break it and an object on the cover could
tumble forward in the event of a sudden stop or
collision. This could cause serious injury.
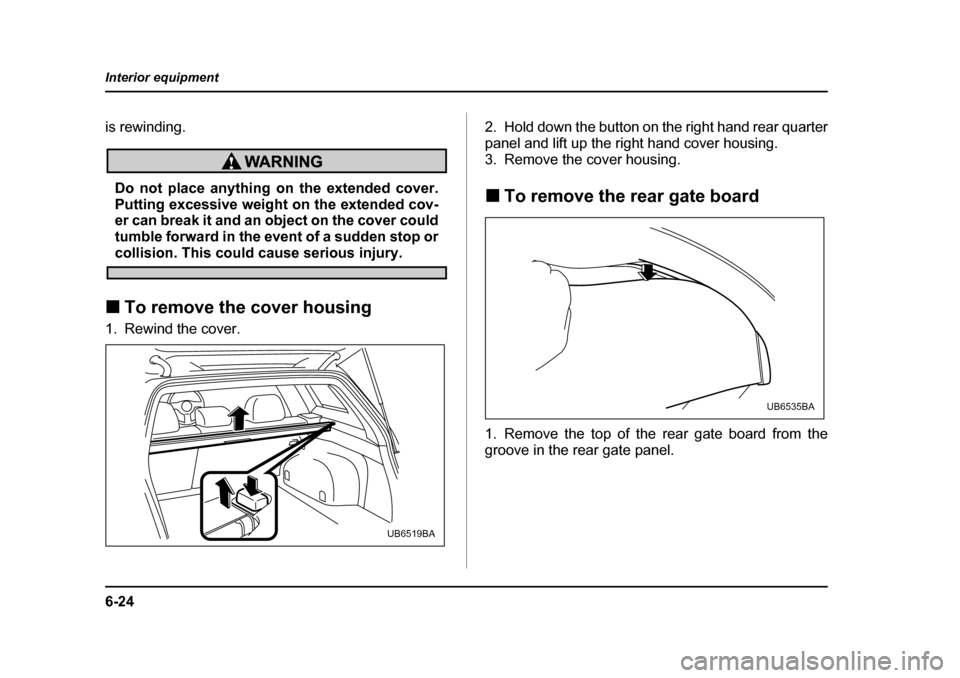
! To remove the cover housing
1. Rewind the cover. 2. Hold down the button on the right hand rear quarter
panel and lift up the right hand cover housing.
3. Remove the cover housing. !
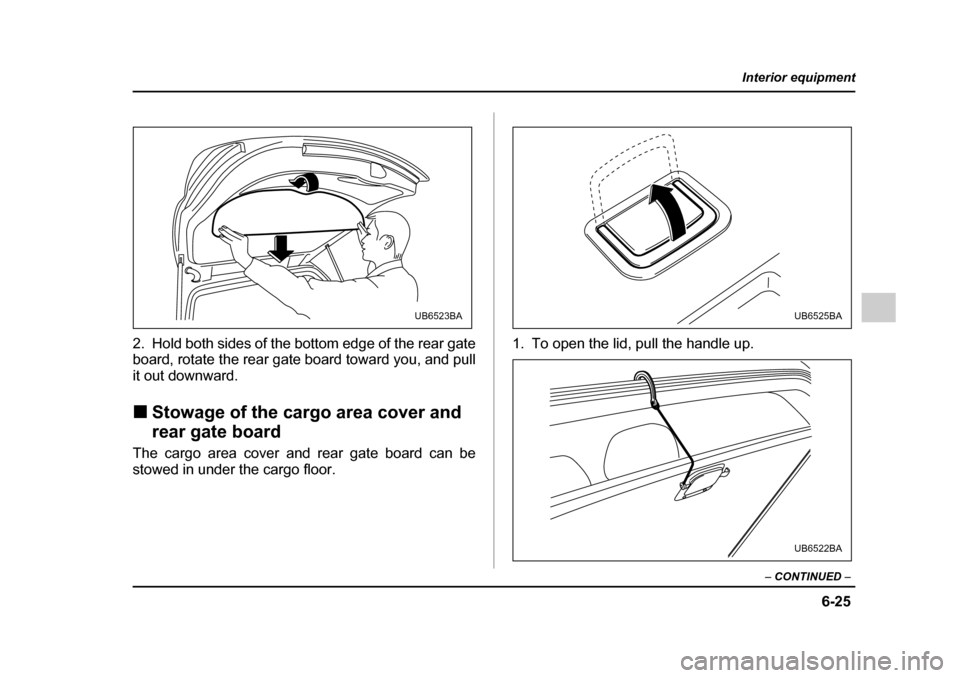
To remove the rear gate board
0
1. Remove the top of the rear gate board from the
groove in the rear gate panel.
UB6519BA
UB6535BA
Page 342 of 627
6-25
Interior equipment
– CONTINUED –
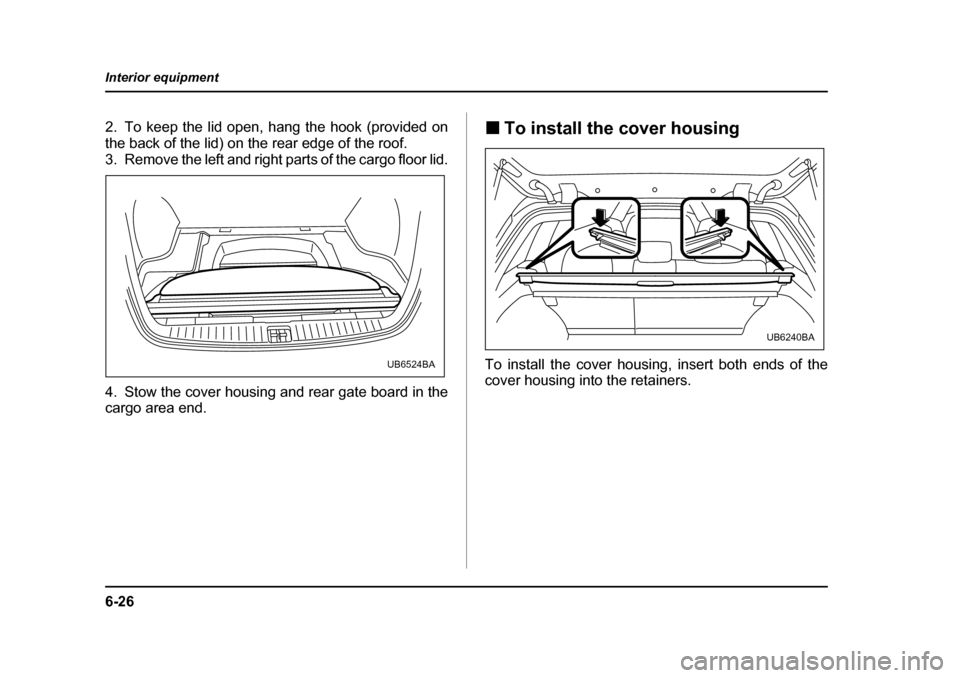
2. Hold both sides of the bottom edge of the rear gate
board, rotate the rear gate board toward you, and pull
it out downward. !Stowage of the cargo area cover and
rear gate board
The cargo area cover and rear gate board can be
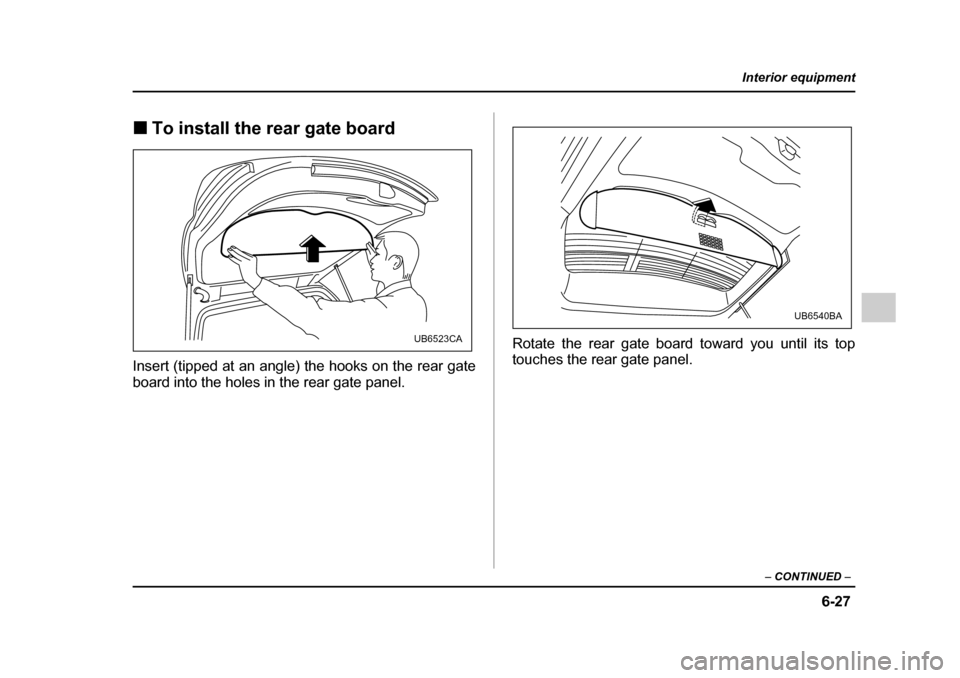
stowed in under the cargo floor. 1. To open the lid, pull the handle up.
UB6523BAUB6525BA
UB6522BA
Page 343 of 627
6-26
Interior equipment
2. To keep the lid open, hang the hook (provided on
the back of the lid) on the rear edge of the roof.
3. Remove the left and right parts of the cargo floor lid.
4. Stow the cover housing and rear gate board in the
cargo area end.
!
To install the cover housing
To install the cover housing, insert both ends of the
cover housing into the retainers.
UB6524BA
UB6240BA
Page 344 of 627
6-27
Interior equipment
– CONTINUED –
!To install the rear gate board
Insert (tipped at an angle) the hooks on the rear gate
board into the holes in the rear gate panel. Rotate the rear gate board toward you until its top
touches the rear gate panel.
UB6523CA
UB6540BA
Page 345 of 627
6-28
Interior equipment
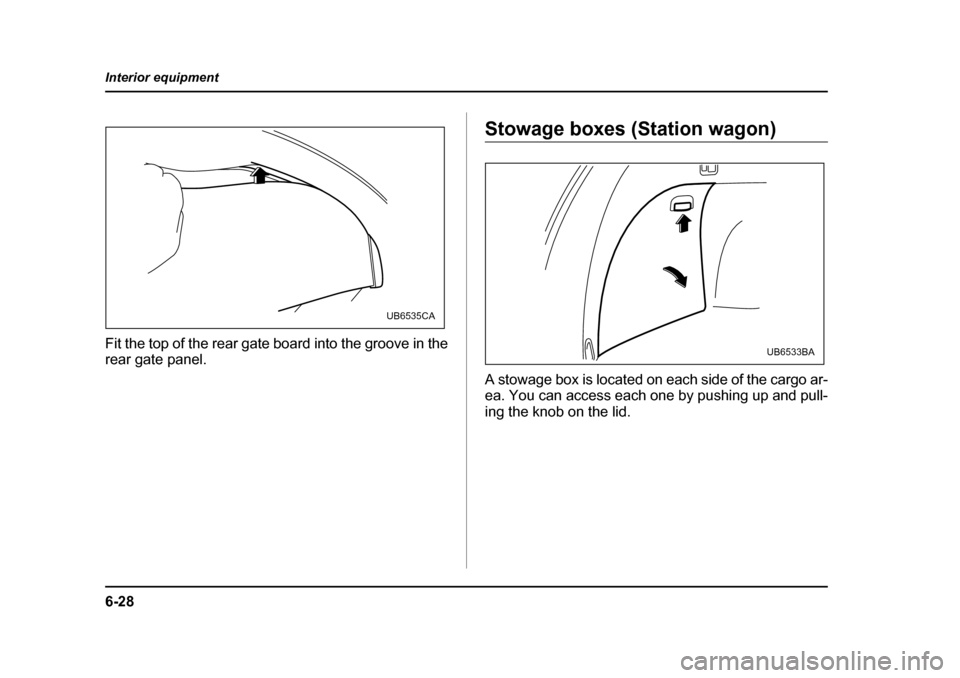
Fit the top of the rear gate board into the groove in the
rear gate panel.
Stowage boxes (Station wagon)
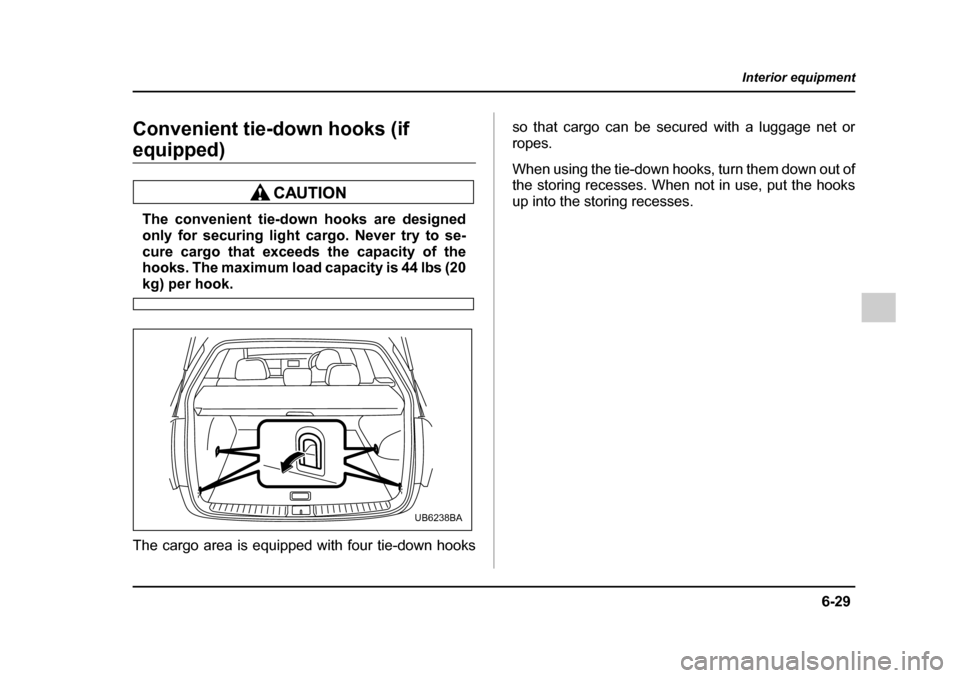
A stowage box is located on each side of the cargo ar-
ea. You can access each one by pushing up and pull-
ing the knob on the lid.
UB6535CA
UB6533BA
Page 346 of 627
6-29
Interior equipment
– CONTINUED –
Convenient tie-down hooks (if
equipped)
The convenient tie-down hooks are designed
only for securing light cargo. Never try to se-
cure cargo that exceeds the capacity of the
hooks. The maximum load capacity is 44 lbs (20
kg) per hook.
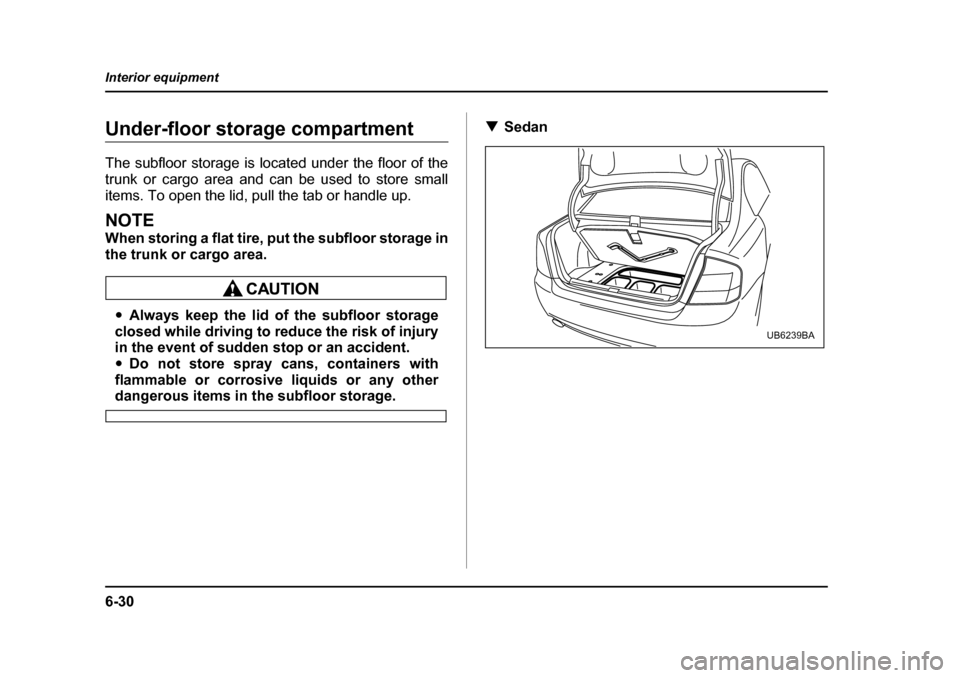
The cargo area is equipped with four tie-down hooks so that cargo can be secured with a luggage net or
ropes.
When using the tie-down hooks, turn them down out of
the storing recesses. When not in use, put the hooks
up into the storing recesses.
UB6238BA
Page 347 of 627
6-30
Interior equipment
Under-floor storage compartment
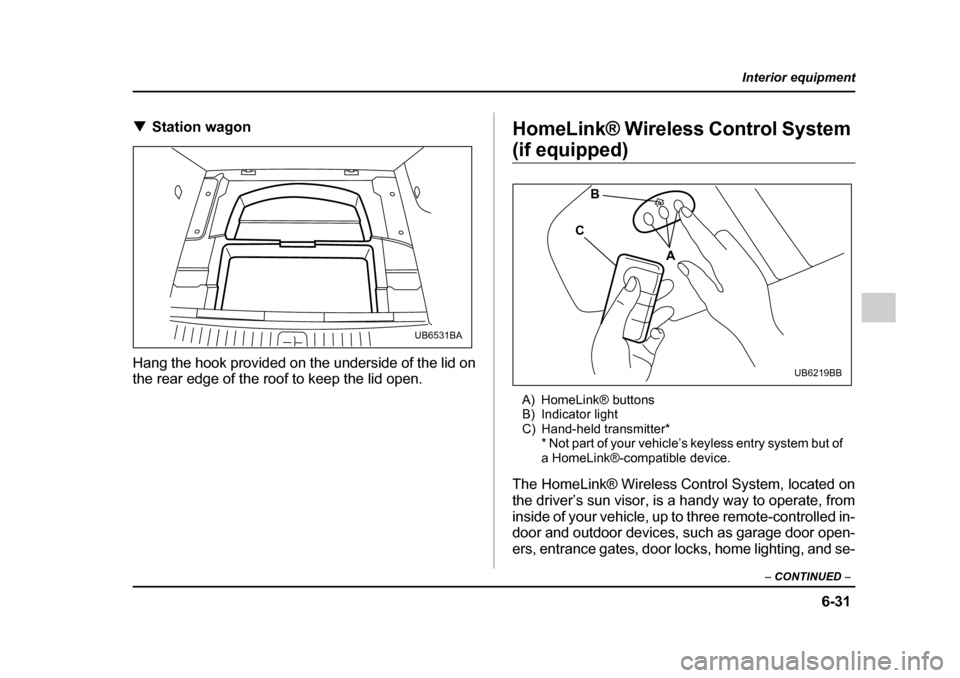
The subfloor storage is located under the floor of the
trunk or cargo area and can be used to store small
items. To open the lid, pull the tab or handle up.
NOTE
When storing a flat tire, put the subfloor storage in
the trunk or cargo area.
"
Always keep the lid of the subfloor storage
closed while driving to reduce the risk of injury
in the event of sudden stop or an accident. " Do not store spray cans, containers with
flammable or corrosive liquids or any other
dangerous items in the subfloor storage. !
Sedan
UB6239BA
Page 348 of 627
6-31
Interior equipment
– CONTINUED –
!Station wagon
Hang the hook provided on the underside of the lid on
the rear edge of the roof to keep the lid open. HomeLink® Wireless Control System
(if equipped)
A) HomeLink® buttons
B) Indicator light
C) Hand-held transmitter* * Not part of your vehicle’s keyless entry system but of
a HomeLink®-compatible device.
The HomeLink® Wireless Control System, located on
the driver’s sun visor, is a handy way to operate, from
inside of your vehicle, up to three remote-controlled in-
door and outdoor devices, such as garage door open-
ers, entrance gates, door locks, home lighting, and se-
UB6531BA
A
B
C
UB6219BB
Page 349 of 627
6-32
Interior equipment
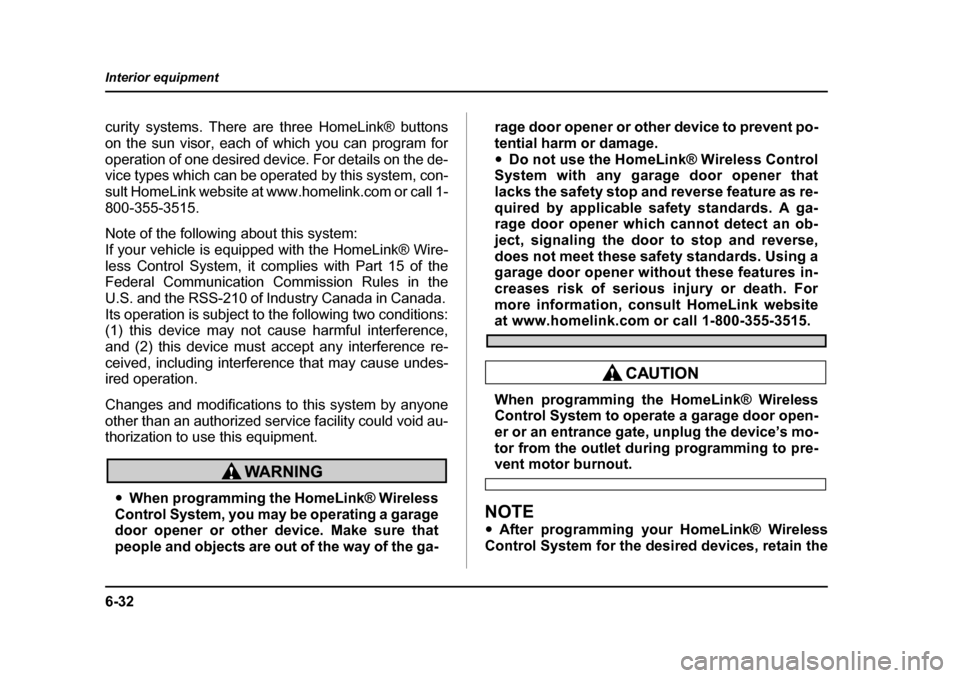
curity systems. There are three HomeLink® buttons
on the sun visor, each of which you can program for
operation of one desired device. For details on the de-
vice types which can be operated by this system, con-
sult HomeLink website at www.homelink.com or call 1-
800-355-3515.
Note of the following about this system:
If your vehicle is equipped with the HomeLink® Wire-
less Control System, it complies with Part 15 of the
Federal Communication Commission Rules in the U.S.
and the RSS- 210 of Ind ustry Ca nad a in C anad a.
Its operation is subject to the following two conditions:
(1) this device may not cause harmful interference,
and (2) this device must accept any interference re-
ceived, including interference that may cause undes-
ired operation.
Changes and modifications to this system by anyone
other than an authorized service facility could void au-
thorization to use this equipment.
" When programming the HomeLink® Wireless
Control System, you may be operating a garage
door opener or other device. Make sure that
people and objects are out of the way of the ga- rage door opener or other device to prevent po-
tential harm or damage."
Do not use the HomeLink® Wireless Control
System with any garage door opener that
lacks the safety stop and reverse feature as re-
quired by applicable safety standards. A ga-
rage door opener which cannot detect an ob-
ject, signaling the door to stop and reverse,
does not meet these safety standards. Using a
garage door opener without these features in-
creases risk of serious injury or death. Formore information, consult HomeLink website
at www.homelink.com or call 1-800-355-3515.
When programming the HomeLink® Wireless
Control System to operate a garage door open-
er or an entrance gate, unplug the device’s mo-
tor from the outlet during programming to pre-
vent motor burnout.
NOTE
" After programming your HomeLink® Wireless
Control System for the desired devices, retain the
Page 350 of 627
6-33
Interior equipment
– CONTINUED –
hand-held transmitters for further programming or
device testing in the event of a problem."It is recommended to insert a new battery in the
hand-held transmitter of a device to ensure cor-
rect programming. ! Garage door opener programming in the U.S.A.
NOTE
When programming the HomeLink® Wireless
Control System for a garage door opener, it is sug-
gested that you park the vehicle outside the ga-
rage.
1. Unplug the motor of the garage door opener from
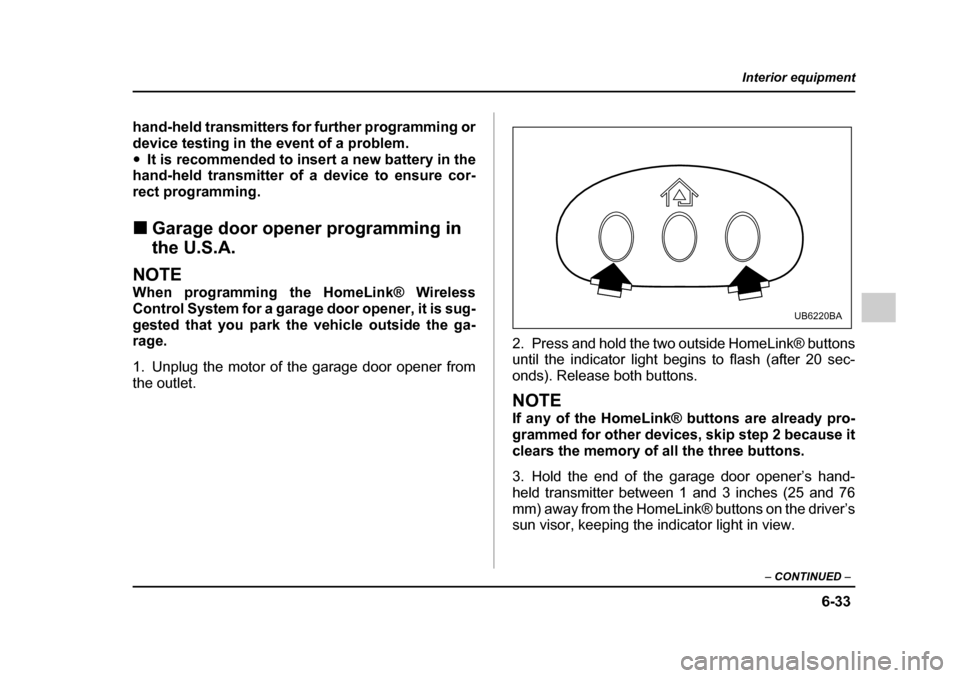
the outlet. 2. Press and hold the two outside HomeLink® buttons
until the indicator light begins to flash (after 20 sec-
onds). Release both buttons.
NOTE
If any of the HomeLink® buttons are already pro-
grammed for other devices, skip step 2 because it
clears the memory of all the three buttons.
3. Hold the end of the garage door opener’s hand-
held transmitter between 1 and 3 inches (25 and 76
mm) away from the HomeLink® buttons on the driver’s
sun visor, keeping the indicator light in view.
UB6220BA
Trending: set clock, warning lights, interior lights, ground clearance, fuel reserve, manual radio set, ECU
