SUBARU WRX 2018 Owners Manual
Manufacturer: SUBARU, Model Year: 2018, Model line: WRX, Model: SUBARU WRX 2018Pages: 578, PDF Size: 33.21 MB
Page 191 of 578
(196,1)
北米Model "A1700BE-B" EDITED: 2017/ 10/ 11
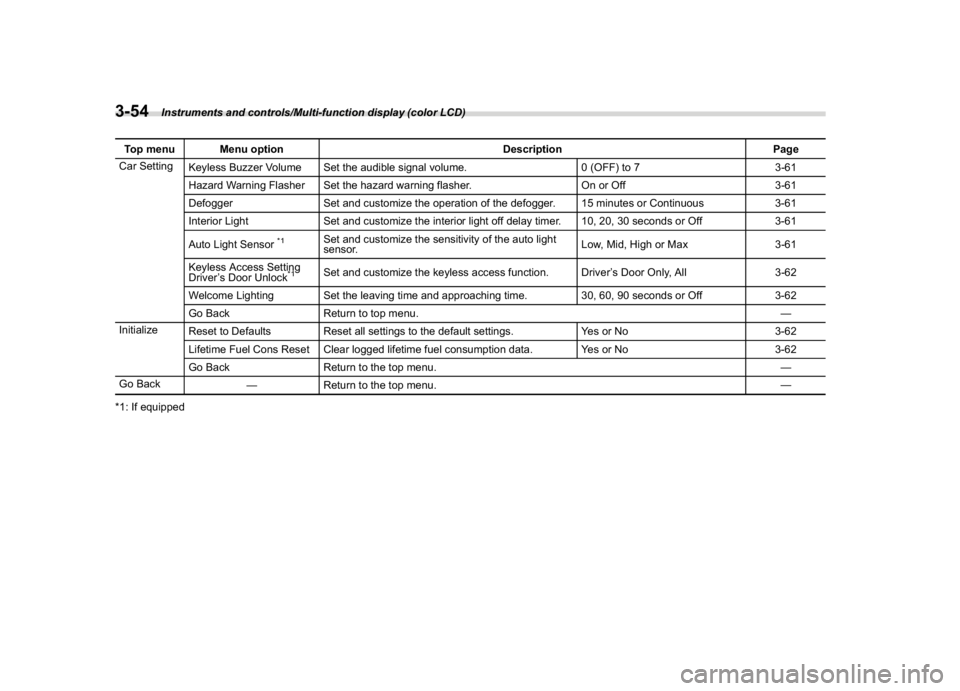
Top menu Menu option Description Page
Car Setting
Keyless Buzzer Volume Set the audible signal volume. 0 (OFF) to 7 3-61
Hazard Warning Flasher Set the hazard warning flasher. On or Off 3-61
Defogger Set and customize the operation of the defogger. 15 minutes or Continuous 3-61
Interior Light Set and customize the interior light off delay timer. 10, 20, 30 seconds or Off 3-61
Auto Light Sensor
*1
Set and customize the sensitivity of the auto light
sensor.Low, Mid, High or Max 3-61
Keyless Access Setting
Driver’s Door Unlock
*1
Set and customize the keyless access function. Driver’s Door Only, All 3-62
Welcome Lighting Set the leaving time and approaching time. 30, 60, 90 seconds or Off 3-62
Go Back Return to top menu.—
Initialize
Reset to Defaults Reset all settings to the default settings. Yes or No 3-62
Lifetime Fuel Cons Reset Clear logged lifetime fuel consumption data. Yes or No 3-62
Go Back Return to the top menu.—
Go Back
—Return to the top menu.—
*1: If equipped
Instruments and controls/Multi-function display (color LCD)
3-54
Page 192 of 578
(197,1)
北米Model "A1700BE-B" EDITED: 2017/ 10/ 11
!Date and time settings
If a birthday or anniversary is approaching,
a message will be displayed when turning
the ignition switch to the“ON”position. You
can set this function to on or off. For
details, refer to“Bypass screen setting”
F3-58.
!Current date and time setting
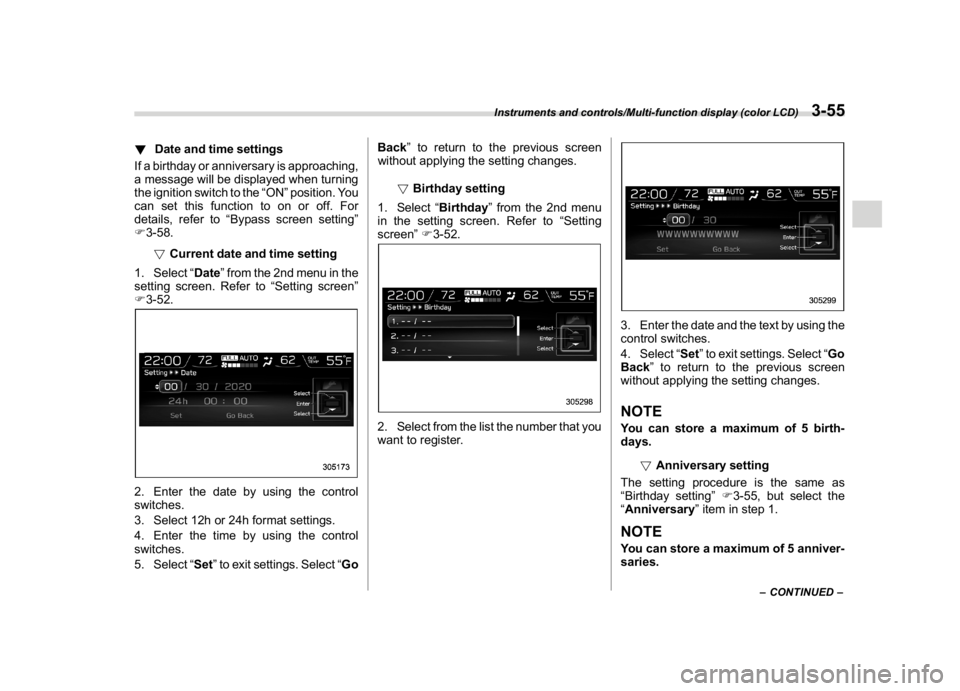
1. Select“Date”from the 2nd menu in the
setting screen. Refer to“Setting screen”
F3-52.2. Enter the date by using the control
switches.
3. Select 12h or 24h format settings.
4. Enter the time by using the control
switches.
5. Select“Set”to exit settings. Select“GoBack”to return to the previous screen
without applying the setting changes.
!Birthday setting
1. Select“Birthday”from the 2nd menu
in the setting screen. Refer to“Setting
screen”F3-52.
2. Select from the list the number that you
want to register.
3. Enter the date and the text by using the
control switches.
4. Select“Set”to exit settings. Select“Go
Back”to return to the previous screen
without applying the setting changes.NOTEYou can store a maximum of 5 birth-
days.
!Anniversary setting
The setting procedure is the same as
“Birthday setting”F3-55, but select the
“Anniversary”item in step 1.NOTEYou can store a maximum of 5 anniver-
saries.
–CONTINUED–
Instruments and controls/Multi-function display (color LCD)
3-55
3
Page 193 of 578
(198,1)
北米Model "A1700BE-B" EDITED: 2017/ 10/ 11
!Daylight saving time setting
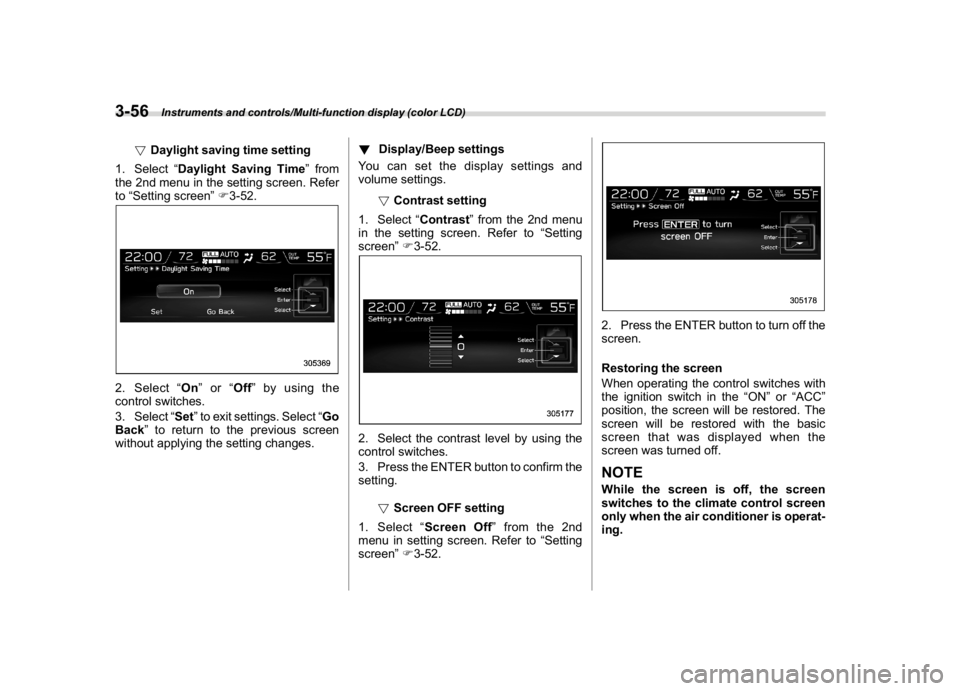
1. Select“Daylight Saving Time”from
the 2nd menu in the setting screen. Refer
to“Setting screen”F3-52.
2. Select“On”or“Off”by using the
control switches.
3. Select“Set”to exit settings. Select“Go
Back”to return to the previous screen
without applying the setting changes.!Display/Beep settings
You can set the display settings and
volume settings.
!Contrast setting
1. Select“Contrast”from the 2nd menu
in the setting screen. Refer to“Setting
screen”F3-52.
2. Select the contrast level by using the
control switches.
3. Press the ENTER button to confirm the
setting.
!Screen OFF setting
1. Select“Screen Off”from the 2nd
menu in setting screen. Refer to“Setting
screen”F3-52.
2. Press the ENTER button to turn off the
screen.
Restoring the screen
When operating the control switches with
the ignition switch in the“ON”or“ACC”
position, the screen will be restored. The
screen will be restored with the basic
screen that was displayed when the
screen was turned off.NOTEWhile the screen is off, the screen
switches to the climate control screen
only when the air conditioner is operat-
ing.
Instruments and controls/Multi-function display (color LCD)
3-56
Page 194 of 578
(199,1)
北米Model "A1700BE-B" EDITED: 2017/ 10/ 11
!Beep setting
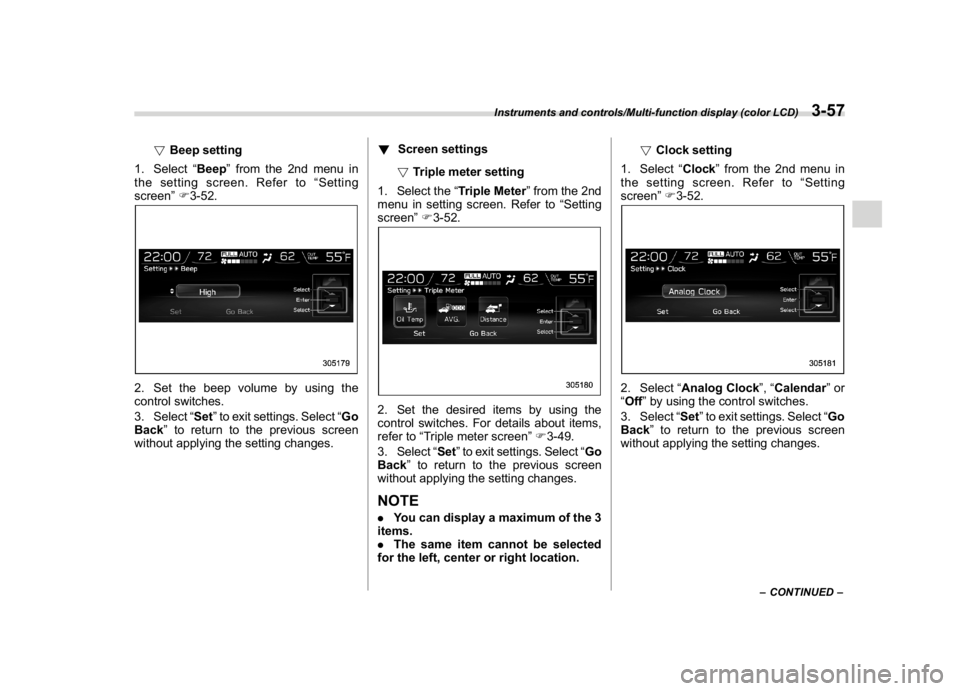
1. Select“Beep”from the 2nd menu in
the setting screen. Refer to“Setting
screen”F3-52.
2. Set the beep volume by using the
control switches.
3. Select“Set”to exit settings. Select“Go
Back”to return to the previous screen
without applying the setting changes.!Screen settings
!Triple meter setting
1. Select the“Triple Meter”from the 2nd
menu in setting screen. Refer to“Setting
screen”F3-52.
2. Set the desired items by using the
control switches. For details about items,
refer to“Triple meter screen”F3-49.
3. Select“Set”to exit settings. Select“Go
Back”to return to the previous screen
without applying the setting changes.NOTE.You can display a maximum of the 3
items.
.The same item cannot be selected
for the left, center or right location.!Clock setting
1. Select“Clock”from the 2nd menu in
the setting screen. Refer to“Setting
screen”F3-52.
2. Select“Analog Clock”,“Calendar”or
“Off”by using the control switches.
3. Select“Set”to exit settings. Select“Go
Back”to return to the previous screen
without applying the setting changes.
–CONTINUED–
Instruments and controls/Multi-function display (color LCD)
3-57
3
Page 195 of 578
(200,1)
北米Model "A1700BE-B" EDITED: 2017/ 10/ 11
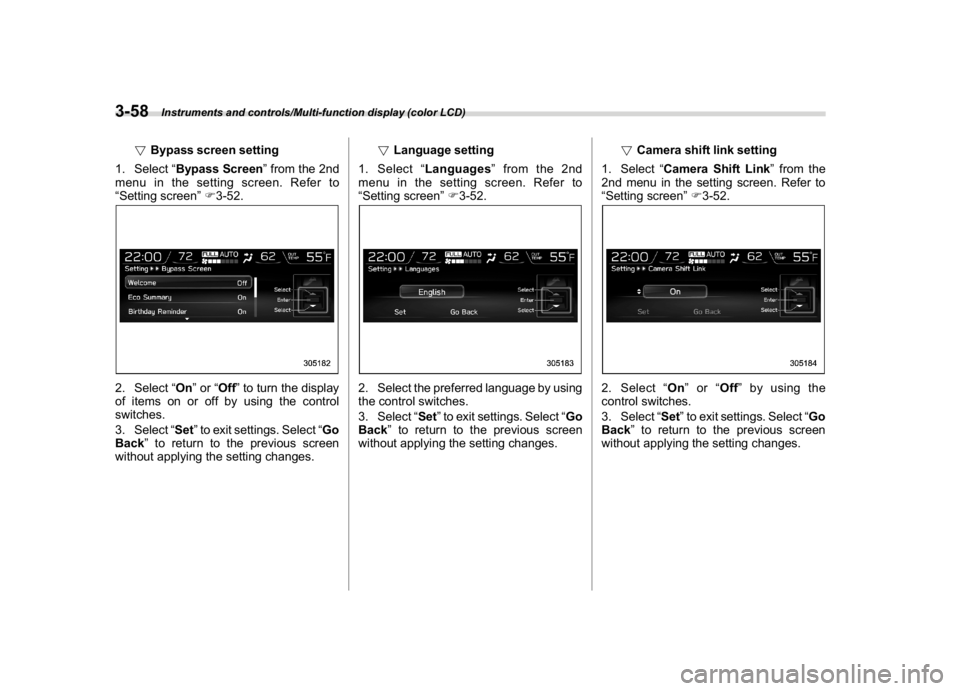
!Bypass screen setting
1. Select“Bypass Screen”from the 2nd
menu in the setting screen. Refer to
“Setting screen”F3-52.
2. Select“On”or“Off”to turn the display
of items on or off by using the control
switches.
3. Select“Set”to exit settings. Select“Go
Back”to return to the previous screen
without applying the setting changes.!Language setting
1. Select“Languages”from the 2nd
menu in the setting screen. Refer to
“Setting screen”F3-52.
2. Select the preferred language by using
the control switches.
3. Select“Set”to exit settings. Select“Go
Back”to return to the previous screen
without applying the setting changes.!Camera shift link setting
1. Select“Camera Shift Link”from the
2nd menu in the setting screen. Refer to
“Setting screen”F3-52.
2. Select“On”or“Off”by using the
control switches.
3. Select“Set”to exit settings. Select“Go
Back”to return to the previous screen
without applying the setting changes.
Instruments and controls/Multi-function display (color LCD)
3-58
Page 196 of 578
(201,1)
北米Model "A1700BE-B" EDITED: 2017/ 10/ 11
!Maintenance settings
You can set maintenance reminders.
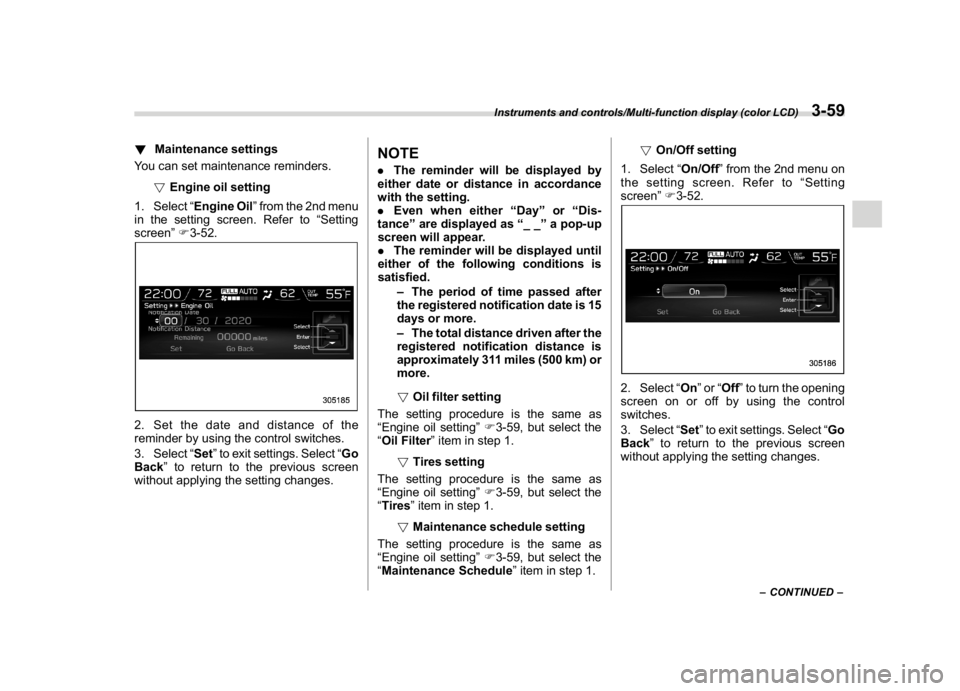
!Engine oil setting
1. Select“Engine Oil”from the 2nd menu
in the setting screen. Refer to“Setting
screen”F3-52.2. Set the date and distance of the
reminder by using the control switches.
3. Select“Set”to exit settings. Select“Go
Back”to return to the previous screen
without applying the setting changes.
NOTE.The reminder will be displayed by
either date or distance in accordance
with the setting.
.Even when either“Day”or“Dis-
tance”are displayed as“__”a pop-up
screen will appear.
.The reminder will be displayed until
either of the following conditions is
satisfied.
–The period of time passed after
the registered notification date is 15
days or more.
–The total distance driven after the
registered notification distance is
approximately 311 miles (500 km) or
more.
!Oil filter setting
The setting procedure is the same as
“Engine oil setting”F3-59, but select the
“Oil Filter”item in step 1.
!Tires setting
The setting procedure is the same as
“Engine oil setting”F3-59, but select the
“Tires”item in step 1.
!Maintenance schedule setting
The setting procedure is the same as
“Engine oil setting”F3-59, but select the
“Maintenance Schedule”item in step 1.!On/Off setting
1. Select“On/Off”from the 2nd menu on
the setting screen. Refer to“Setting
screen”F3-52.
2. Select“On”or“Off”to turn the opening
screen on or off by using the control
switches.
3. Select“Set”to exit settings. Select“Go
Back”to return to the previous screen
without applying the setting changes.
–CONTINUED–
Instruments and controls/Multi-function display (color LCD)
3-59
3
Page 197 of 578
(202,1)
北米Model "A1700BE-B" EDITED: 2017/ 10/ 11
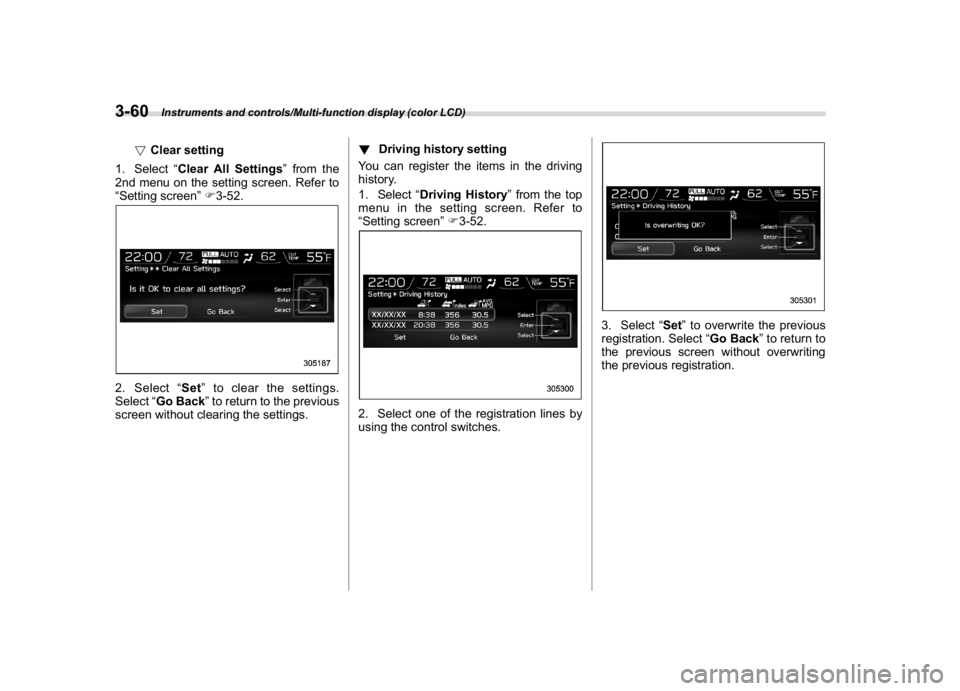
!Clear setting
1. Select“Clear All Settings”from the
2nd menu on the setting screen. Refer to
“Setting screen”F3-52.
2. Select“Set”to clear the settings.
Select“Go Back”to return to the previous
screen without clearing the settings.!Driving history setting
You can register the items in the driving
history.
1. Select“Driving History”from the top
menu in the setting screen. Refer to
“Setting screen”F3-52.
2. Select one of the registration lines by
using the control switches.
3. Select“Set”to overwrite the previous
registration. Select“Go Back”to return to
the previous screen without overwriting
the previous registration.
Instruments and controls/Multi-function display (color LCD)
3-60
Page 198 of 578
(203,1)
北米Model "A1700BE-B" EDITED: 2017/ 10/ 11
!Car setting
You can set the vehicle setting.
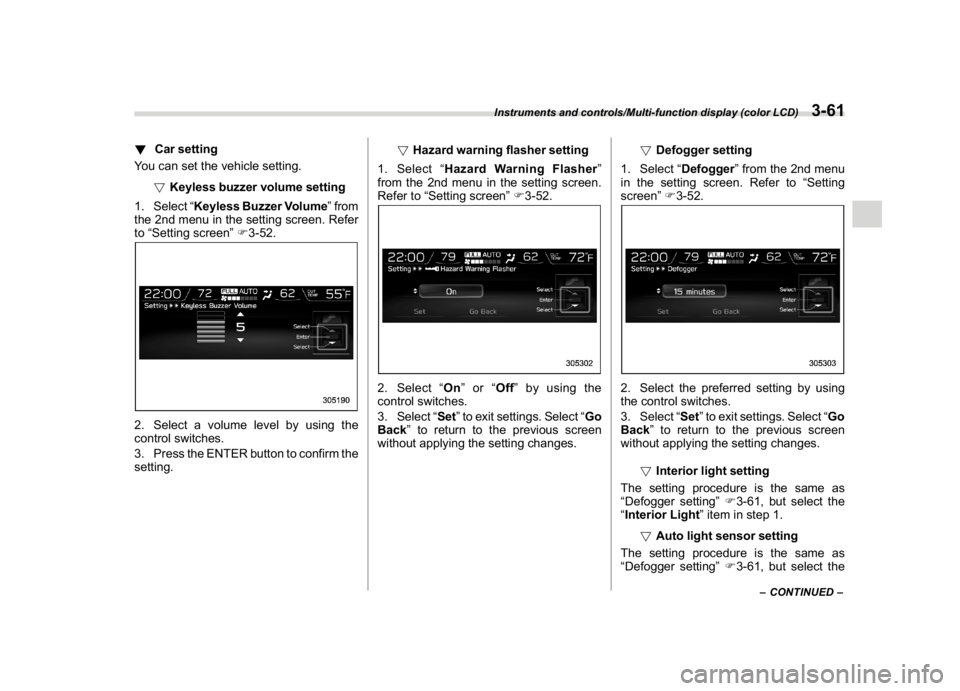
!Keyless buzzer volume setting
1. Select“Keyless Buzzer Volume”from
the 2nd menu in the setting screen. Refer
to“Setting screen”F3-52.2. Select a volume level by using the
control switches.
3. Press the ENTER button to confirm the
setting.!Hazard warning flasher setting
1. Select“Hazard Warning Flasher”
from the 2nd menu in the setting screen.
Refer to“Setting screen”F3-52.
2. Select“On”or“Off”by using the
control switches.
3. Select“Set”to exit settings. Select“Go
Back”to return to the previous screen
without applying the setting changes.!Defogger setting
1. Select“Defogger”from the 2nd menu
in the setting screen. Refer to“Setting
screen”F3-52.
2. Select the preferred setting by using
the control switches.
3. Select“Set”to exit settings. Select“Go
Back”to return to the previous screen
without applying the setting changes.
!Interior light setting
The setting procedure is the same as
“Defogger setting”F3-61, but select the
“Interior Light”item in step 1.
!Auto light sensor setting
The setting procedure is the same as
“Defogger setting”F3-61, but select the
–CONTINUED–
Instruments and controls/Multi-function display (color LCD)
3-61
3
Page 199 of 578
(204,1)
北米Model "A1700BE-B" EDITED: 2017/ 10/ 11
“Auto Light Sensor”item in step 1.
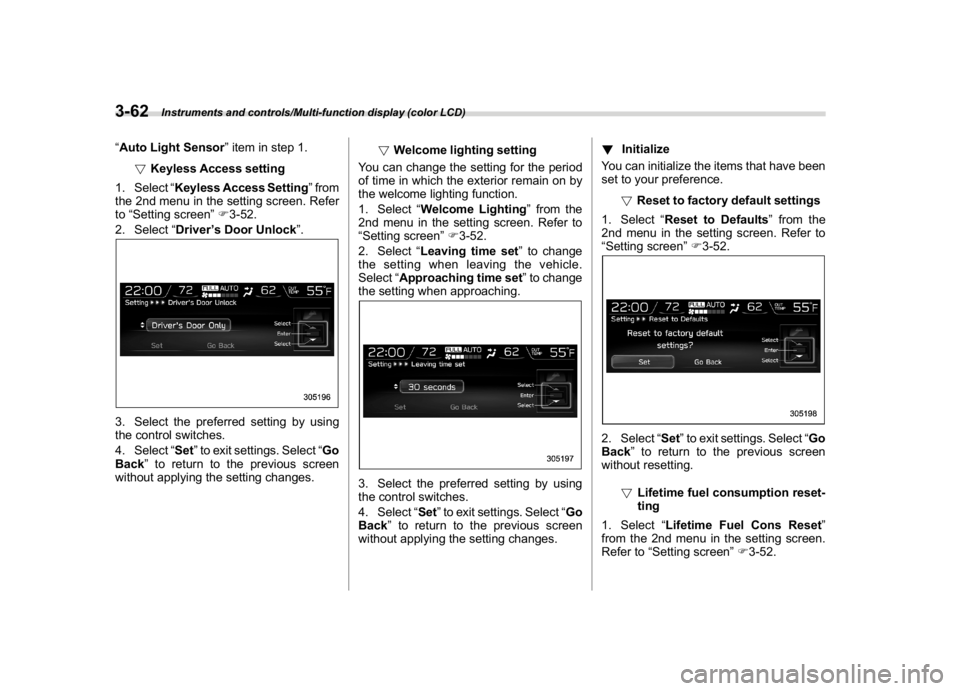
!Keyless Access setting
1. Select“Keyless Access Setting”from
the 2nd menu in the setting screen. Refer
to“Setting screen”F3-52.
2. Select“Driver’s Door Unlock”.3. Select the preferred setting by using
the control switches.
4. Select“Set”to exit settings. Select“Go
Back”to return to the previous screen
without applying the setting changes.!Welcome lighting setting
You can change the setting for the period
of time in which the exterior remain on by
the welcome lighting function.
1. Select“Welcome Lighting”from the
2nd menu in the setting screen. Refer to
“Setting screen”F3-52.
2. Select“Leaving time set”to change
the setting when leaving the vehicle.
Select“Approaching time set”to change
the setting when approaching.
3. Select the preferred setting by using
the control switches.
4. Select“Set”to exit settings. Select“Go
Back”to return to the previous screen
without applying the setting changes.!Initialize
You can initialize the items that have been
set to your preference.
!Reset to factory default settings
1. Select“Reset to Defaults”from the
2nd menu in the setting screen. Refer to
“Setting screen”F3-52.
2. Select“Set”to exit settings. Select“Go
Back”to return to the previous screen
without resetting.
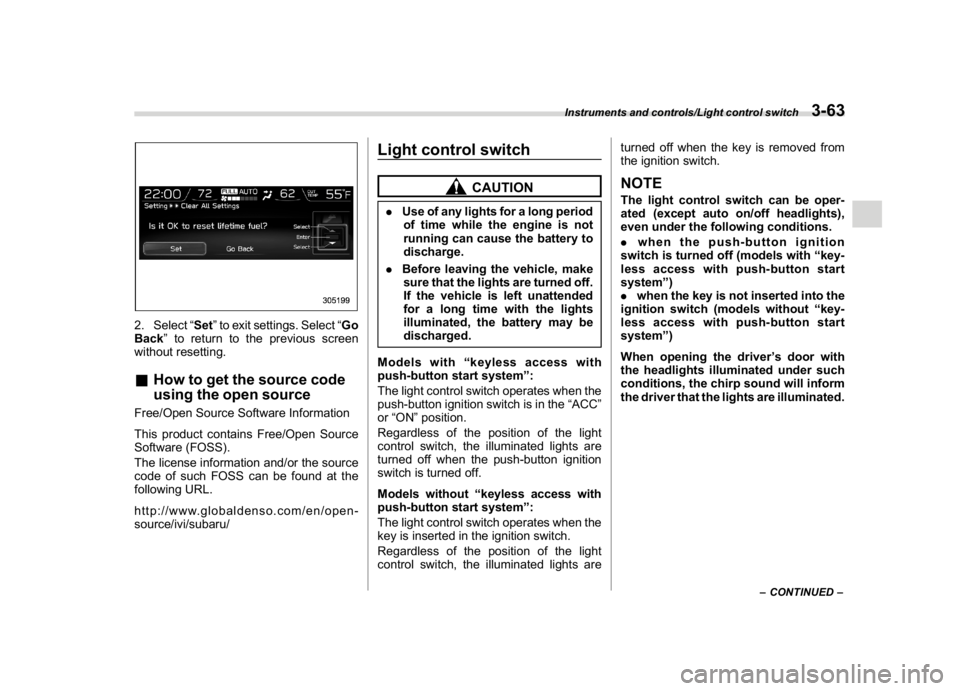
!Lifetime fuel consumption reset-
ting
1. Select“Lifetime Fuel Cons Reset”
from the 2nd menu in the setting screen.
Refer to“Setting screen”F3-52.
Instruments and controls/Multi-function display (color LCD)
3-62
Page 200 of 578
(205,1)
北米Model "A1700BE-B" EDITED: 2017/ 10/ 11
2. Select“Set”to exit settings. Select“Go
Back”to return to the previous screen
without resetting.&How to get the source code
using the open sourceFree/Open Source Software Information
This product contains Free/Open Source
Software (FOSS).
The license information and/or the source
code of such FOSS can be found at the
following URL.
http://www.globaldenso.com/en/open-
source/ivi/subaru/
Light control switch
CAUTION
.Use of any lights for a long period
of time while the engine is not
running can cause the battery to
discharge.
.Before leaving the vehicle, make
sure that the lights are turned off.
If the vehicle is left unattended
for a long time with the lights
illuminated, the battery may be
discharged.
Models with“keyless access with
push-button start system”:
The light control switch operates when the
push-button ignition switch is in the“ACC”
or“ON”position.
Regardless of the position of the light
control switch, the illuminated lights are
turned off when the push-button ignition
switch is turned off.
Models without“keyless access with
push-button start system”:
The light control switch operates when the
key is inserted in the ignition switch.
Regardless of the position of the light
control switch, the illuminated lights areturned off when the key is removed from
the ignition switch.
NOTEThe light control switch can be oper-
ated (except auto on/off headlights),
even under the following conditions.
.when the push-button ignition
switch is turned off (models with“key-
less access with push-button start
system”)
.when the key is not inserted into the
ignition switch (models without“key-
less access with push-button start
system”)
When opening the driver’s door with
the headlights illuminated under such
conditions, the chirp sound will inform
the driver that the lights are illuminated.
–CONTINUED–
Instruments and controls/Light control switch
3-63
3