check engine SUZUKI ALTO 2007 6.G User Guide
[x] Cancel search | Manufacturer: SUZUKI, Model Year: 2007, Model line: ALTO, Model: SUZUKI ALTO 2007 6.GPages: 139, PDF Size: 2.63 MB
Page 70 of 139
Downloaded from www.Manualslib.com manuals search engine 7176G-74E
Before starting the engine:
1) Make sure the parking brake is applied
fully.
2) Manual Transmission - Shift into “N”
(neutral) and depress the clutch pedal all
the way to the floor. Hold it while starting
the engine.
Make sure that the parking brake is
applied fully and the transmission is
in Neutral before attempting to start
the engine.
Stop turning the starter immediately
after the engine has started or the
starter system can be damaged.
Do not crank the engine for more
than 15 seconds at a time. If the
engine doesn’t start on the first try,
wait about 15 seconds before trying
again.
7-2
STARTING THE ENGINE
w ww w
w WARNING
OPERATING YOUR VEHICLE
Once a week, or each time you fill your fuel
tank, perform the following under-bonnet
checks:
1) Engine oil level.
2) Coolant level.
3) Brake fluid level.
4) Windscreen washer fluid level.
5) Battery solution level.
6) Bonnet latch operation.
Pull the bonnet release handle inside the
vehicle. Make sure that you can not
open the hood all the way without
releasing the secondary latch. Be sure
to close the hood securely after checking
for proper operation. See "All Latches,
Hinges & Locks" of "PERIODIC
MAINTENANCE SCHEDULE" in the
"INSPECTION AND MAINTENANCE"
section for lubrication schedule.
Make sure the bonnet is fully closed
and latched before driving. If it is not,
it can fly up unexpectedly during
driving, obstructing your view and
resulting in an accident.
w ww w
w WARNING
Starting a Cold Engine
Engine which is started after 6 hours should
be treated as cold engine.
For Electronic fuel injection models
With your foot off the accelerator pedal,
crank the engine by turning the ignition
key to “START”. Release the key when
the engine starts.
If the engine does not start after 15
seconds of cranking, wait about 15
seconds, then press down the
accelerator pedal to 1/3 of its travel and
try cranking the engine again. Release
the key and accelerator pedal when the
engine starts.
If the engine still does not start, try
holding the accelerator pedal all the way
to the floor while cranking. This should
clear the engine if it is flooded.
Starting a Warm Engine
For Electronic fuel injection models:
Use the same procedure as for “Starting a
Cold Engine”.
CAUTION
Page 80 of 139
Downloaded from www.Manualslib.com manuals search engine 8176G-74E
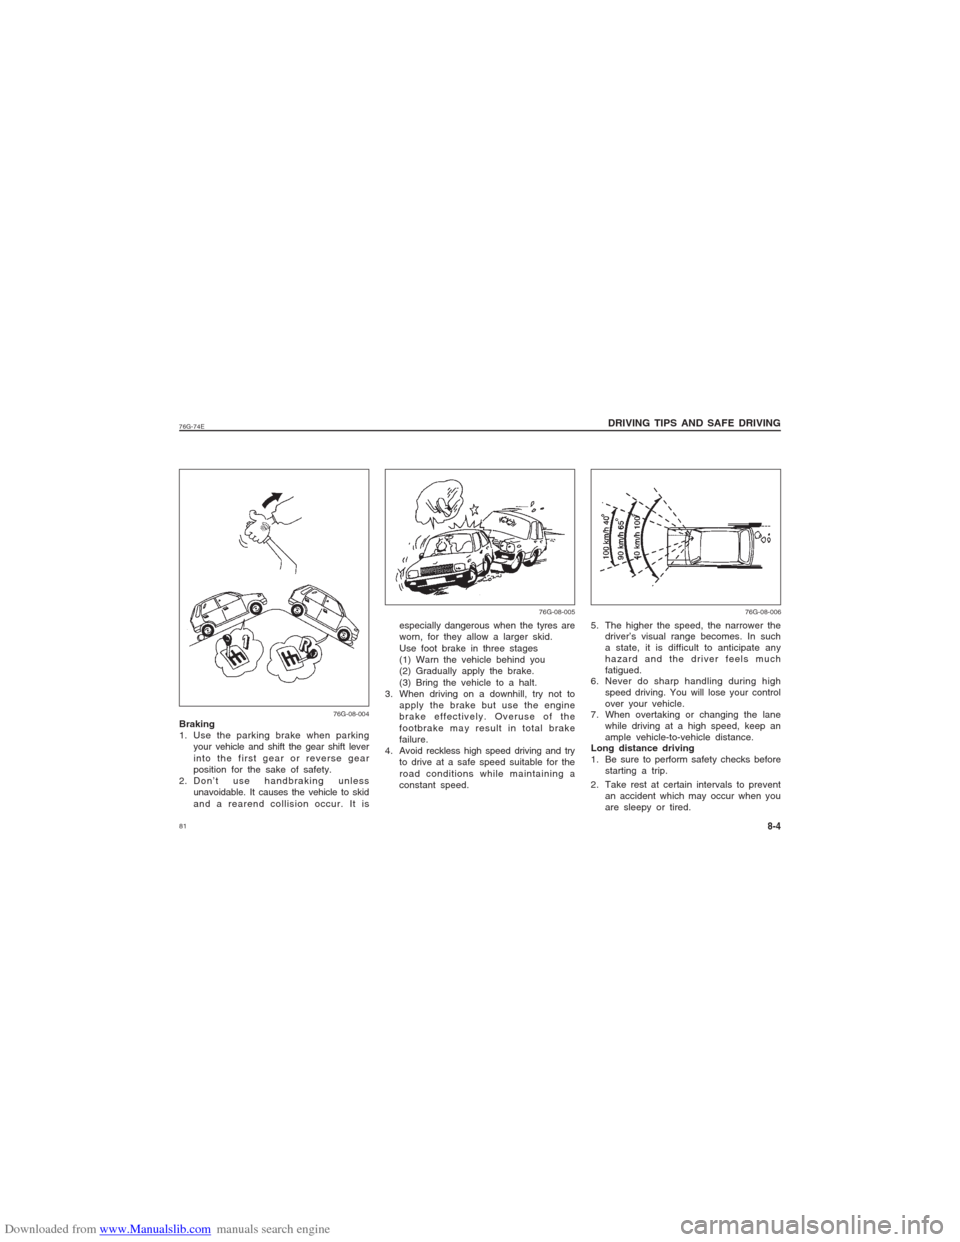
especially dangerous when the tyres are
worn, for they allow a larger skid.
Use foot brake in three stages
(1) Warn the vehicle behind you
(2) Gradually apply the brake.
(3) Bring the vehicle to a halt.
3. When driving on a downhill, try not to
apply the brake but use the engine
brake effectively. Overuse of the
footbrake may result in total brake
failure.
4. Avoid reckless high speed driving and try
to drive at a safe speed suitable for the
road conditions while maintaining a
constant speed.5. The higher the speed, the narrower the
driver’s visual range becomes. In such
a state, it is difficult to anticipate any
hazard and the driver feels much
fatigued.
6. Never do sharp handling during high
speed driving. You will lose your control
over your vehicle.
7. When overtaking or changing the lane
while driving at a high speed, keep an
ample vehicle-to-vehicle distance.
Long distance driving
1. Be sure to perform safety checks before
starting a trip.
2. Take rest at certain intervals to prevent
an accident which may occur when you
are sleepy or tired. Braking
1. Use the parking brake when parking
your vehicle and shift the gear shift lever
into the first gear or reverse gear
position for the sake of safety.
2. Don’t use handbraking unless
unavoidable. It causes the vehicle to skid
and a rearend collision occur. It is
8-4
DRIVING TIPS AND SAFE DRIVING
76G-08-00476G-08-005 76G-08-006
Page 87 of 139
Downloaded from www.Manualslib.com manuals search engine 88
76G-74E
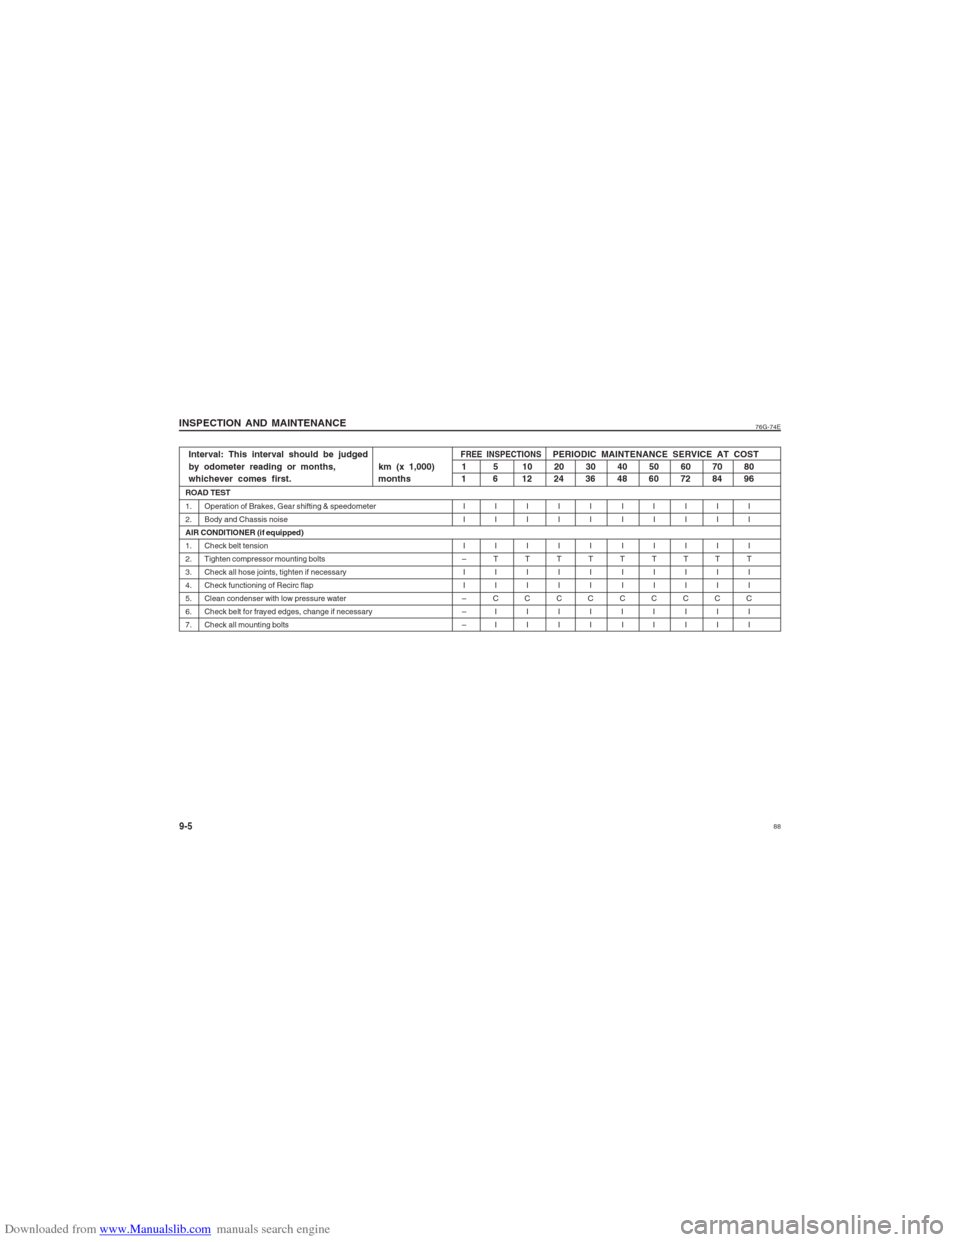
INSPECTION AND MAINTENANCE9-5Interval: This interval should be judged
FREE INSPECTIONS
PERIODIC MAINTENANCE SERVICE AT COST
by odometer reading or months, km (x 1,000) 1 5 10 20 30 40 50 60 70 80
whichever comes first. months 1 6 12 24 36 48 60 72 84 96
ROAD TEST
1. Operation of Brakes, Gear shifting & speedometer I I I I I I I I I I
2. Body and Chassis noise I I I I I I I I I I
AIR CONDITIONER (if equipped)
1. Check belt tension I I I I I I I I I I
2. Tighten compressor mounting bolts – T T T T T T T T T
3. Check all hose joints, tighten if necessary I I I I I I I I I I
4. Check functioning of Recirc flap I I I I I I I I I I
5. Clean condenser with low pressure water – C C C C C C C C C
6. Check belt for frayed edges, change if necessary – I I I I I I I I I
7. Check all mounting bolts – I I I I I I I I I
Page 93 of 139
Downloaded from www.Manualslib.com manuals search engine 94
76G-74E
INSPECTION AND MAINTENANCE9-11ENGINE OIL AND FILTERSpecified oil
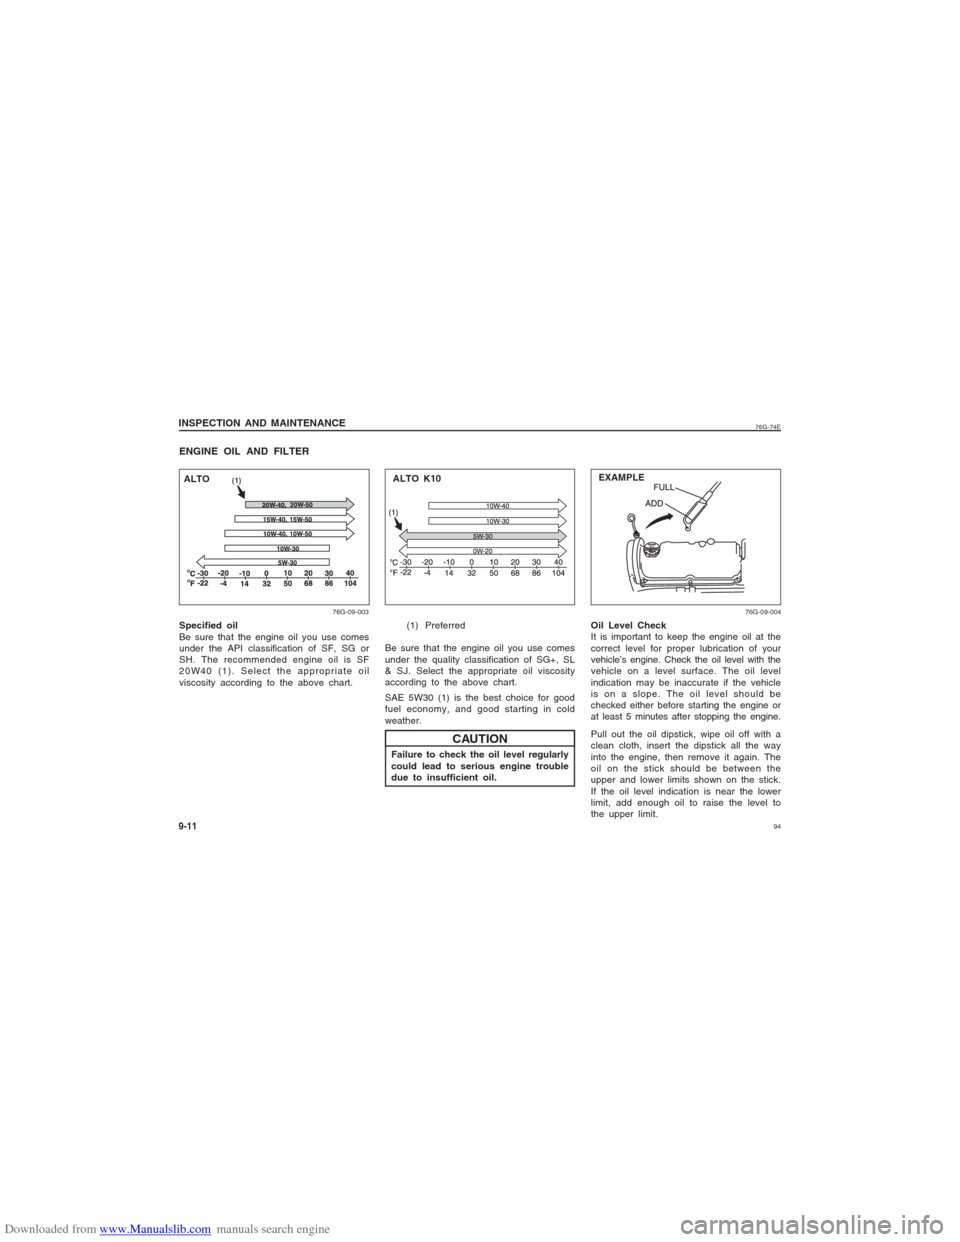
Be sure that the engine oil you use comes
under the API classification of SF, SG or
SH. The recommended engine oil is SF
20W40 (1). Select the appropriate oil
viscosity according to the above chart.
Oil Level Check
It is important to keep the engine oil at the
correct level for proper lubrication of your
vehicle’s engine. Check the oil level with the
vehicle on a level surface. The oil level
indication may be inaccurate if the vehicle
is on a slope. The oil level should be
checked either before starting the engine or
at least 5 minutes after stopping the engine.
Pull out the oil dipstick, wipe oil off with a
clean cloth, insert the dipstick all the way
into the engine, then remove it again. The
oil on the stick should be between the
upper and lower limits shown on the stick.
If the oil level indication is near the lower
limit, add enough oil to raise the level to
the upper limit.
76G-09-00376G-09-004
(1) Preferred
Be sure that the engine oil you use comes
under the quality classification of SG+, SL
& SJ. Select the appropriate oil viscosity
according to the above chart.
SAE 5W30 (1) is the best choice for good
fuel economy, and good starting in cold
weather.
Failure to check the oil level regularly
could lead to serious engine trouble
due to insufficient oil.
ALTO K10
ALTOEXAMPLE
CAUTION
Page 94 of 139
Downloaded from www.Manualslib.com manuals search engine 9576G-74E
INSPECTION AND MAINTENANCE
9-12
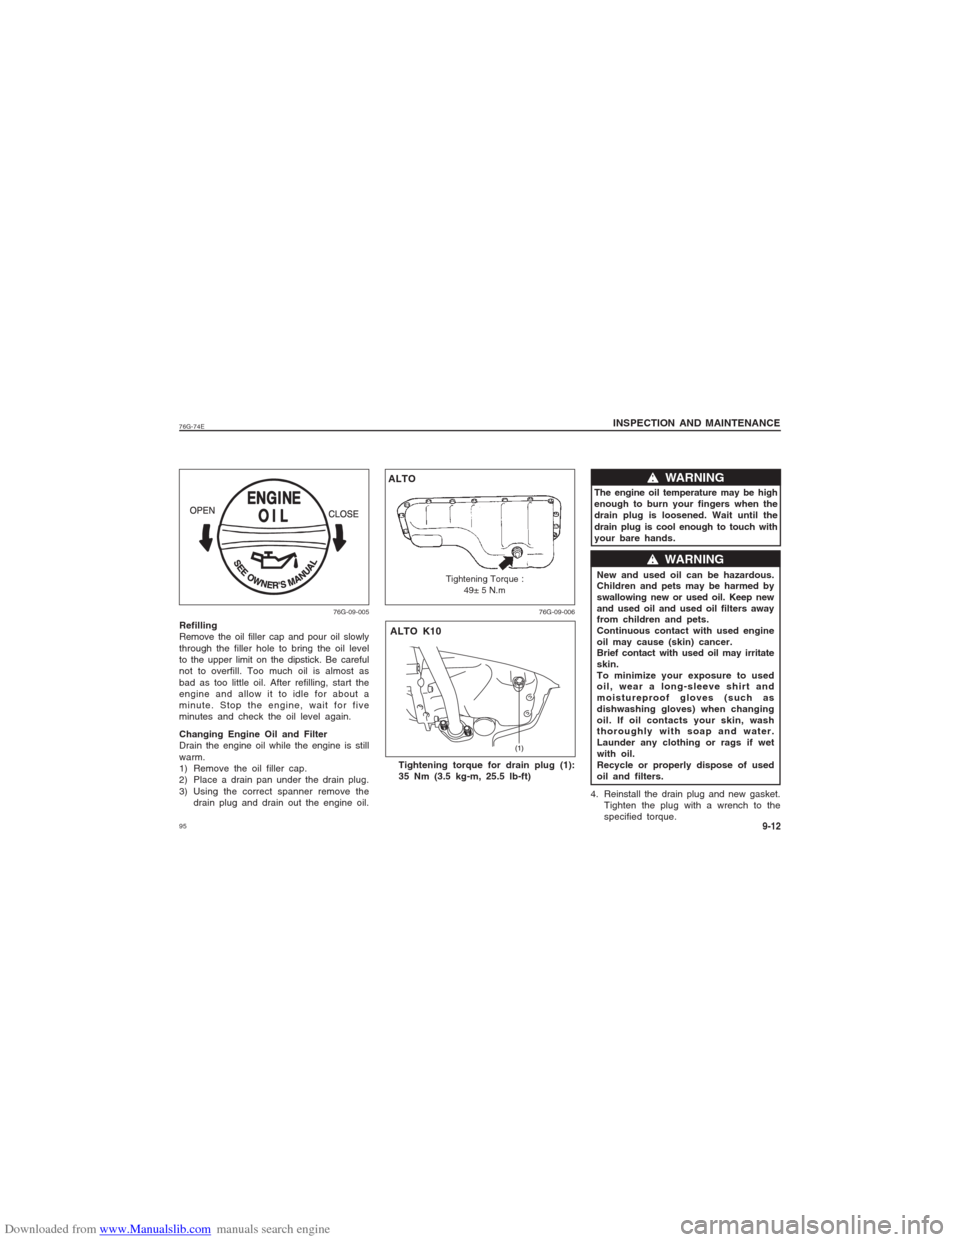
Refilling
Remove the oil filler cap and pour oil slowly
through the filler hole to bring the oil level
to the upper limit on the dipstick. Be careful
not to overfill. Too much oil is almost as
bad as too little oil. After refilling, start the
engine and allow it to idle for about a
minute. Stop the engine, wait for five
minutes and check the oil level again.
Changing Engine Oil and Filter
Drain the engine oil while the engine is still
warm.
1) Remove the oil filler cap.
2) Place a drain pan under the drain plug.
3) Using the correct spanner remove the
drain plug and drain out the engine oil.
The engine oil temperature may be high
enough to burn your fingers when the
drain plug is loosened. Wait until the
drain plug is cool enough to touch with
your bare hands.
w ww w
w WARNING
New and used oil can be hazardous.
Children and pets may be harmed by
swallowing new or used oil. Keep new
and used oil and used oil filters away
from children and pets.
Continuous contact with used engine
oil may cause (skin) cancer.
Brief contact with used oil may irritate
skin.
To minimize your exposure to used
oil, wear a long-sleeve shirt and
moistureproof gloves (such as
dishwashing gloves) when changing
oil. If oil contacts your skin, wash
thoroughly with soap and water.
Launder any clothing or rags if wet
with oil.
Recycle or properly dispose of used
oil and filters.
4. Reinstall the drain plug and new gasket.
Tighten the plug with a wrench to the
specified torque.
w ww w
w WARNING
76G-09-005 76G-09-006
Tightening torque for drain plug (1):
35 Nm (3.5 kg-m, 25.5 lb-ft)ALTO
ALTO K10
Tightening Torque :
49± 5 N.m
Page 95 of 139
Downloaded from www.Manualslib.com manuals search engine 96
76G-74E
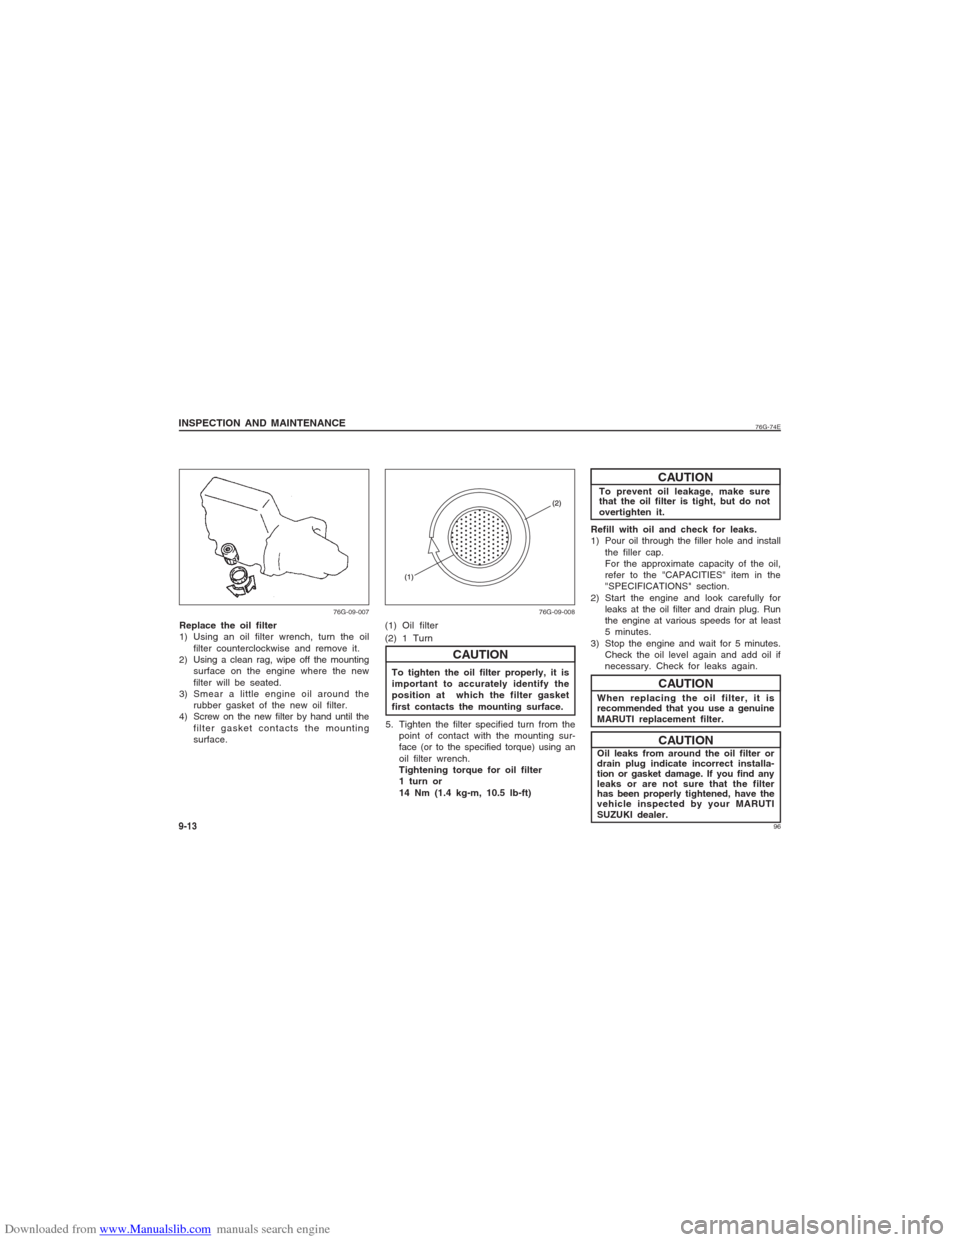
INSPECTION AND MAINTENANCE9-13Replace the oil filter
1) Using an oil filter wrench, turn the oil
filter counterclockwise and remove it.
2) Using a clean rag, wipe off the mounting
surface on the engine where the new
filter will be seated.
3) Smear a little engine oil around the
rubber gasket of the new oil filter.
4) Screw on the new filter by hand until the
filter gasket contacts the mounting
surface.
To tighten the oil filter properly, it is
important to accurately identify the
position at which the filter gasket
first contacts the mounting surface.
5. Tighten the filter specified turn from the
point of contact with the mounting sur-
face (or to the specified torque) using an
oil filter wrench.
Tightening torque for oil filter
1 turn or
14 Nm (1.4 kg-m, 10.5 lb-ft)
CAUTION
Refill with oil and check for leaks.
1) Pour oil through the filler hole and install
the filler cap.
For the approximate capacity of the oil,
refer to the "CAPACITIES" item in the
"SPECIFICATIONS" section.
2) Start the engine and look carefully for
leaks at the oil filter and drain plug. Run
the engine at various speeds for at least
5 minutes.
3) Stop the engine and wait for 5 minutes.
Check the oil level again and add oil if
necessary. Check for leaks again.
When replacing the oil filter, it is
recommended that you use a genuine
MARUTI replacement filter.
Oil leaks from around the oil filter or
drain plug indicate incorrect installa-
tion or gasket damage. If you find any
leaks or are not sure that the filter
has been properly tightened, have the
vehicle inspected by your MARUTI
SUZUKI dealer.
CAUTIONCAUTIONCAUTION
76G-09-007 76G-09-008
To prevent oil leakage, make sure
that the oil filter is tight, but do not
overtighten it.
(1) Oil filter
(2) 1 Turn
Page 96 of 139
Downloaded from www.Manualslib.com manuals search engine 9776G-74E
INSPECTION AND MAINTENANCE
9-14
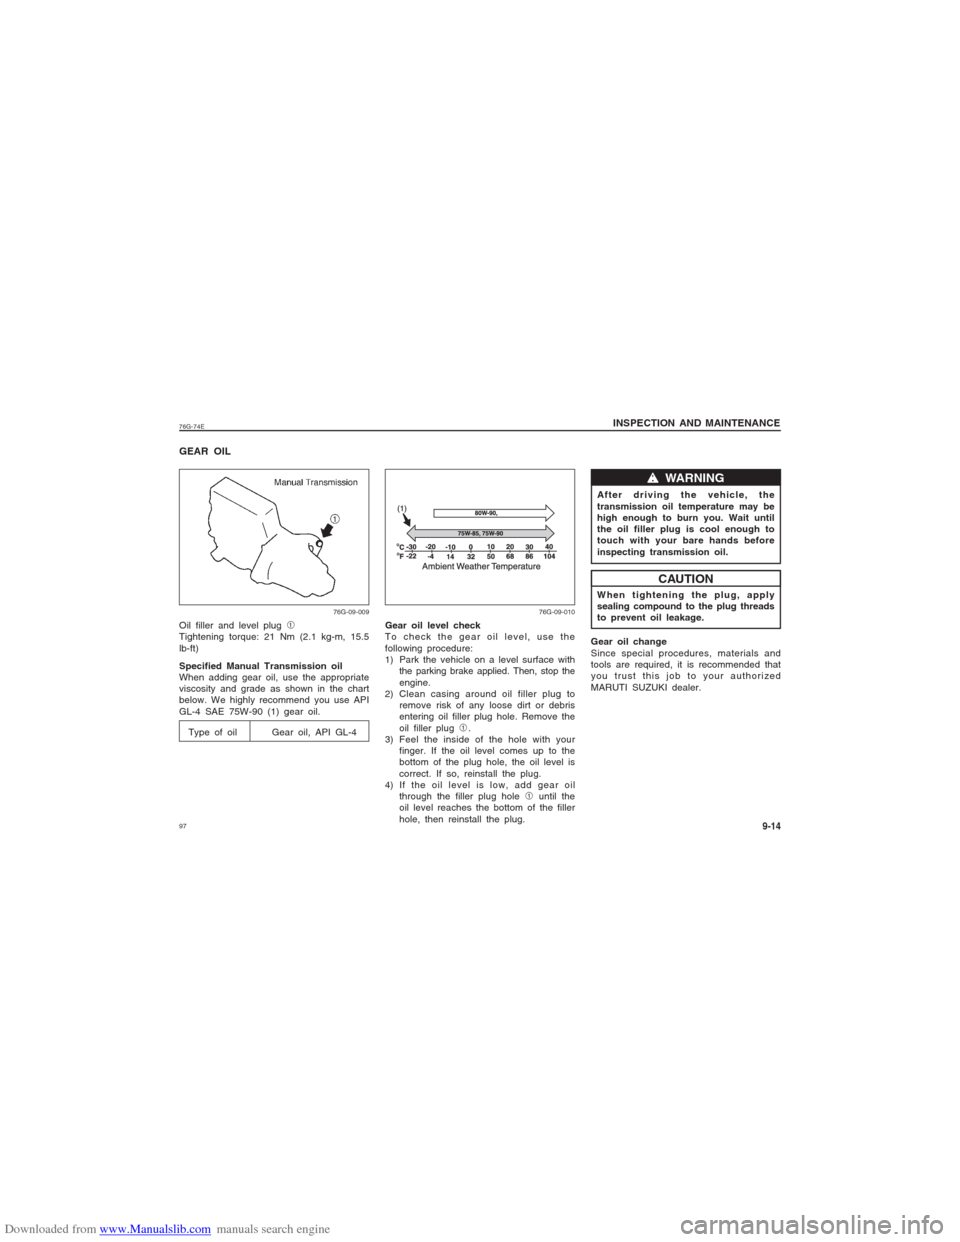
GEAR OILOil filler and level plug 1
Tightening torque: 21 Nm (2.1 kg-m, 15.5
lb-ft)
Specified Manual Transmission oil
When adding gear oil, use the appropriate
viscosity and grade as shown in the chart
below. We highly recommend you use API
GL-4 SAE 75W-90 (1) gear oil.
Type of oil Gear oil, API GL-4
Gear oil level check
To check the gear oil level, use the
following procedure:
1) Park the vehicle on a level surface with
the parking brake applied. Then, stop the
engine.
2) Clean casing around oil filler plug to
remove risk of any loose dirt or debris
entering oil filler plug hole. Remove the
oil filler plug 1.
3) Feel the inside of the hole with your
finger. If the oil level comes up to the
bottom of the plug hole, the oil level is
correct. If so, reinstall the plug.
4) If the oil level is low, add gear oil
through the filler plug hole 1 until the
oil level reaches the bottom of the filler
hole, then reinstall the plug.After driving the vehicle, the
transmission oil temperature may be
high enough to burn you. Wait until
the oil filler plug is cool enough to
touch with your bare hands before
inspecting transmission oil.
When tightening the plug, apply
sealing compound to the plug threads
to prevent oil leakage.
Gear oil change
Since special procedures, materials and
tools are required, it is recommended that
you trust this job to your authorized
MARUTI SUZUKI dealer.
w ww w
w WARNINGCAUTION
76G-09-009 76G-09-010
Page 98 of 139
Downloaded from www.Manualslib.com manuals search engine 9976G-74E
INSPECTION AND MAINTENANCE
9-16
CAUTION
To avoid damaging your cooling sys-
tem:
Always use a high quality ethylene
glycol base non-silicate type cool-
ant diluted with distilled water at
the correct mixture concentration.
Make sure that the proper mix is 30/
70 coolant to distilled water.
Concentrations greater than 70/30
coolant to distilled water will cause
over heating conditions.
Do not use straight coolant nor
plain water.
Do not add extra inhibitors or addi-
tives. They may not be compatible
with your cooling system.
Do not mix different types of base
coolants. Doing so may result in
accelerated seal wear and/or the
possibility of severe overheating
and extensive engine damage.Coolant Level Check
Check the coolant level at the reservoir
tank, not at the radiator. With the engine
cool, the coolant level should be between
the “FULL” and “LOW” marks.
Adding Coolant
If the coolant level is below the “LOW”
mark, more coolant should be added.
Remove the reservoir tank cap and add
coolant until the reservoir tank level reaches
the “FULL” mark. Never fill the reservoir
tank above the “FULL” mark.
CAUTION
The mixture you use should con-
tain 50% concentration of anti-
freeze.
If the lowest ambient temperature
in your area is expected to be –
35°C (–31°F) or below, use higher
concentrations up to 60% following
the instructions on the antifreeze
container.
When putting the cap on the reser-
voir tank, line up the arrow on the
cap and the arrow on the tank. Fail-
ure to follow this can result in cool-
ant leakage.
Page 100 of 139
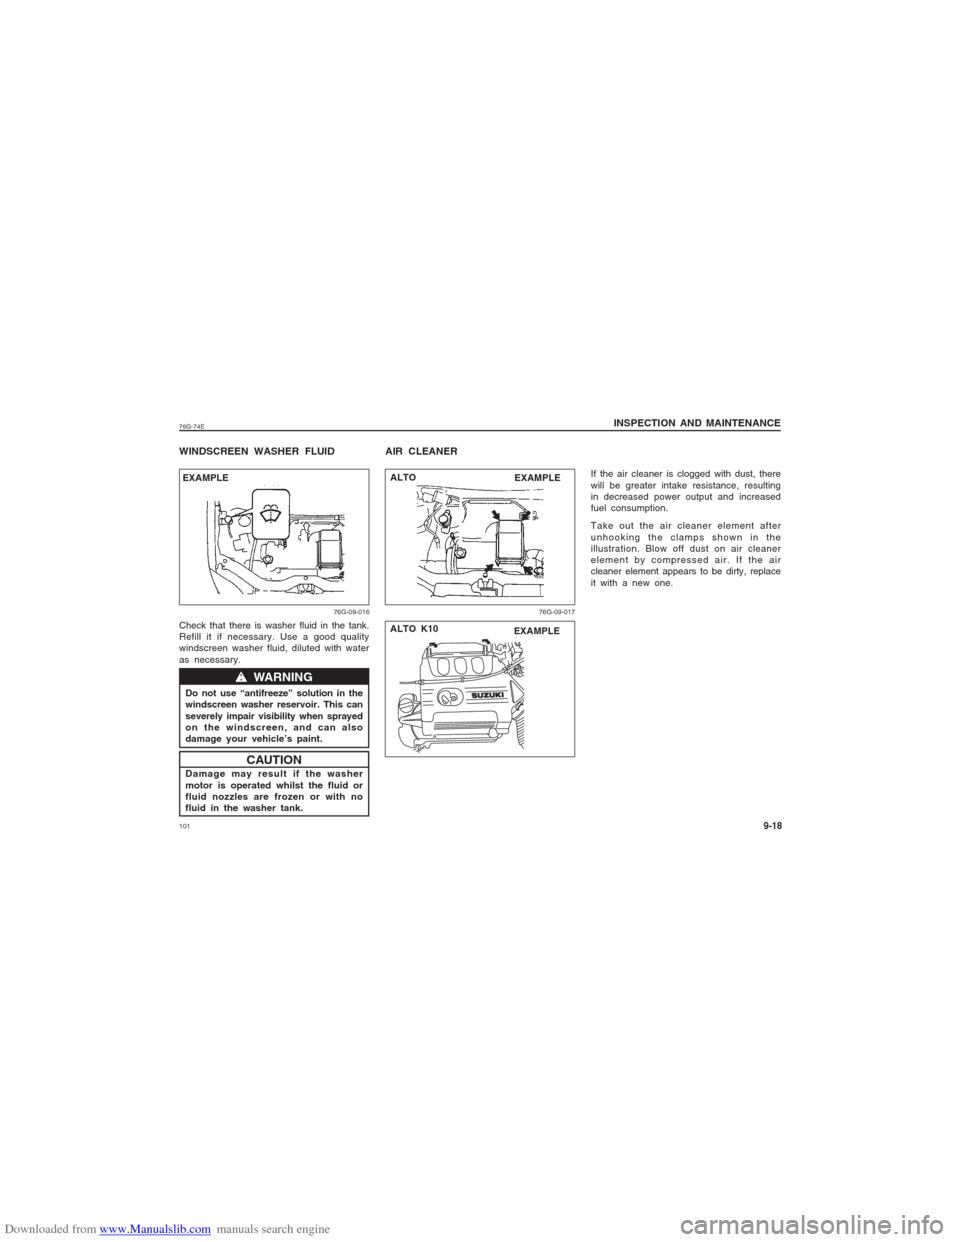
Downloaded from www.Manualslib.com manuals search engine 10176G-74EWINDSCREEN WASHER FLUIDCheck that there is washer fluid in the tank.
Refill it if necessary. Use a good quality
windscreen washer fluid, diluted with water
as necessary.
Do not use “antifreeze” solution in the
windscreen washer reservoir. This can
severely impair visibility when sprayed
on the windscreen, and can also
damage your vehicle’s paint.
Damage may result if the washer
motor is operated whilst the fluid or
fluid nozzles are frozen or with no
fluid in the washer tank.
w ww w
w WARNINGCAUTION
76G-09-016
AIR CLEANER
If the air cleaner is clogged with dust, there
will be greater intake resistance, resulting
in decreased power output and increased
fuel consumption.
Take out the air cleaner element after
unhooking the clamps shown in the
illustration. Blow off dust on air cleaner
element by compressed air. If the air
cleaner element appears to be dirty, replace
it with a new one.
76G-09-017
ALTO K10
INSPECTION AND MAINTENANCE
9-18
EXAMPLEALTO
EXAMPLE
EXAMPLE
Page 103 of 139
Downloaded from www.Manualslib.com manuals search engine 104
76G-74E
INSPECTION AND MAINTENANCE9-21NOTE:
If you experience some firing problem of
spark plugs, such as, hard engine-starting,
misfire etc., the cause may be located not
only on spark plugs but also on deteriorated
ignition wiring (generally, used for more than
80,000 km or five years). If spark plug
replacement does not solve the problem,
have the ignition wiring and other ignition
system inspected by your MARUTI SUZUKI
dealer.
76G-09-022
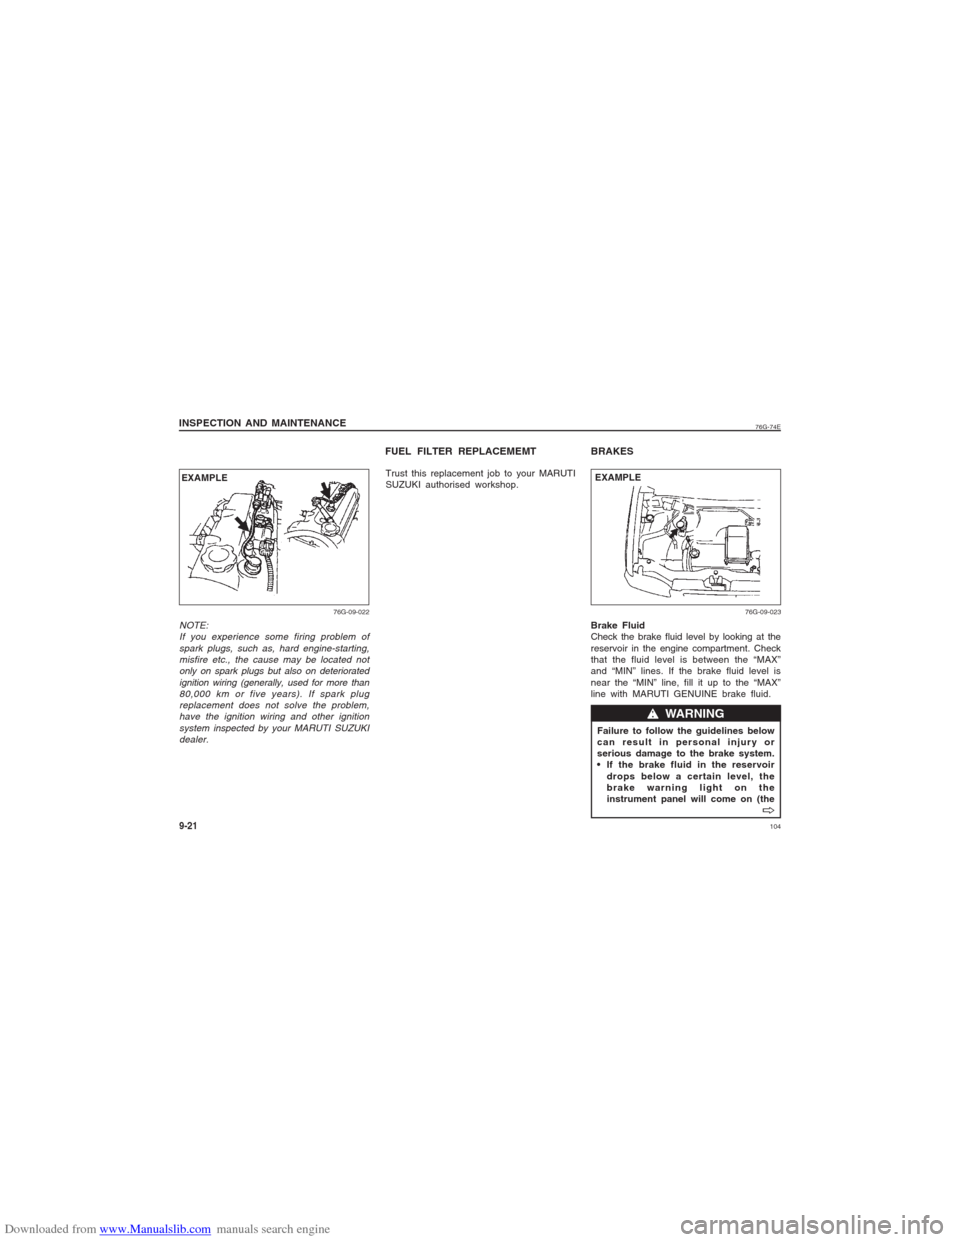
BRAKESBrake Fluid
Check the brake fluid level by looking at the
reservoir in the engine compartment. Check
that the fluid level is between the “MAX”
and “MIN” lines. If the brake fluid level is
near the “MIN” line, fill it up to the “MAX”
line with MARUTI GENUINE brake fluid.
Failure to follow the guidelines below
can result in personal injury or
serious damage to the brake system.
If the brake fluid in the reservoir
drops below a certain level, the
brake warning light on the
instrument panel will come on (the
w ww w
w WARNING
V VV V
V
76G-09-023
EXAMPLEEXAMPLE
FUEL FILTER REPLACEMEMTTrust this replacement job to your MARUTI
SUZUKI authorised workshop.