service indicator SUZUKI CELERIO 2022 Owners Manual
[x] Cancel search | Manufacturer: SUZUKI, Model Year: 2022, Model line: CELERIO, Model: SUZUKI CELERIO 2022Pages: 201, PDF Size: 5.82 MB
Page 54 of 201

2-32
BEFORE DRIVING
76MH1-74E
76MH1-74E
(a) Trip meter A (b) Trip meter B (c) Odometer(d) Instantaneous fuel consumption (e) Average fuel consumption (f) Driving range
NOTE:• Indications will change when you pushand release a knob.• The display shows estimated values.Indications may not be the same as actual values.Trip meter The trip meter can be used to measure the distance traveled on short trips or between fuel stops.You can use the trip meter A or trip meter B independently.
To reset the trip meter to zero, push and hold the trip meter selector knob (1) for a while when the display shows the tripmeter.
NOTE: The indicated maximum value of the trip meter is 9999.9. When you run past the
maximum value, the indicated value willreturn to 0.0.
Odometer The odometer records the total distance the vehicle has been driven.
Instantaneous Fuel ConsumptionThe display shows the value of instanta- neous fuel consumption only when the vehi- cle is moving.
NOTE:• The display does not show the valueunless the vehicle is moving.• The indicated maximum value of instanta-neous fuel consumption is 30. No more than 30 will be indicated on the displayeven if the actual instantaneous fuel con-sumption is higher.• The indication on the display may bedelayed if fuel consumption is greatly affected by driving conditions.• The display shows estimated values. Indi-cations may not be the same as actual values.• You can change the units that instanta-neous fuel consumption is displayed in.Refer to “Average fuel consumption” in this section.
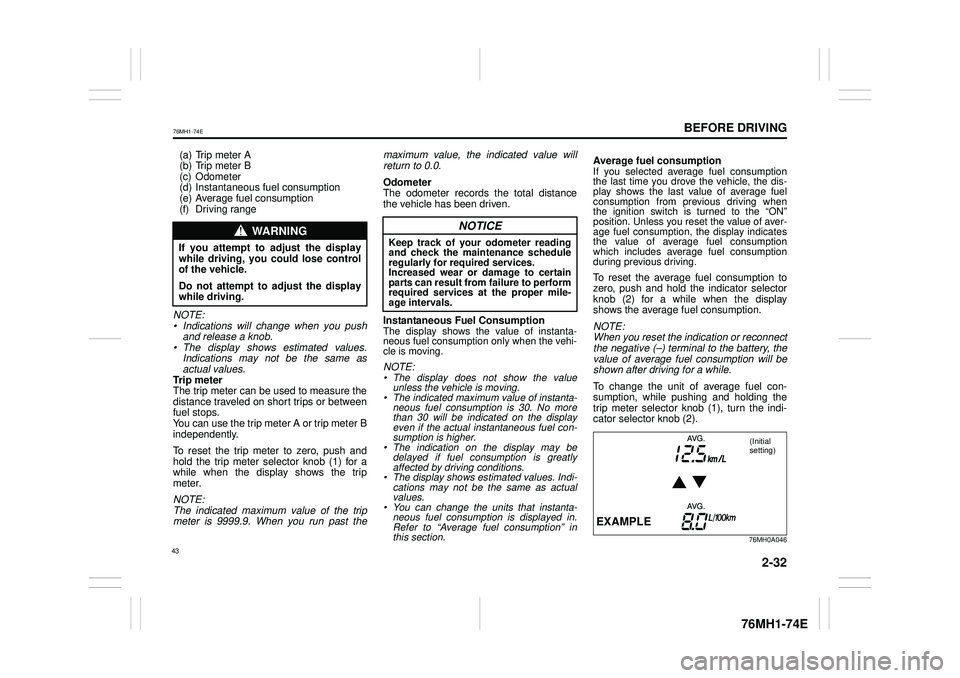
Average fuel consumptionIf you selected average fuel consumptionthe last time you drove the vehicle, the dis- play shows the last value of average fuelconsumption from previous driving when the ignition switch is turned to the “ON”position. Unless you reset the value of aver- age fuel consumption, the display indicates the value of average fuel consumption which includes average fuel consumptionduring previous driving.
To reset the average fuel consumption to zero, push and hold the indicator selector knob (2) for a while when the display shows the average fuel consumption.
NOTE: When you reset the indication or reconnectthe negative (–) terminal to the battery, the value of average fuel consumption will be shown after driving for a while.
To change the unit of average fuel con- sumption, while pushing and holding thetrip meter selector knob (1), turn the indi- cator selector knob (2).
76MH0A046
WA R N I N G
If you attempt to adjust the display while driving, you could lose controlof the vehicle.
Do not attempt to adjust the displaywhile driving.
NOTICE
Keep track of your odometer reading and check the maintenance scheduleregularly for required services. Increased wear or damage to certain parts can result from failure to performrequired services at the proper mile-age intervals.
EXAMPLE
(Initial setting)
43
Page 61 of 201

2-39
BEFORE DRIVING
76MH1-74E
76MH1-74E
If one of these happens, have the system inspected by your MARUTI SUZUKI dealer. If the ABS becomes inoperative, the brake system will function as an ordinary brake system that does not have this ABS sys-tem.
Malfunction Indicator Light
63J031
Your vehicle has a computer-controlledemission control system. A malfunctionindicator light is provided on the instrument panel to indicate when it is necessary to have the emission control system serviced.The malfunction indicator light comes on when the ignition switch is turned to “ON” position to let you know the light is workingand goes out when the engine is started.
If the malfunction indicator light comes on when the engine is running, there is a damage with the emission control system.Bring the vehicle to your MARUTI SUZUKI dealer to have the damage fixed.
Also, if the light comes on, there may be something wrong with the Auto Gear Shift system. Have the system inspected by an authorized MARUTI SUZUKI dealer.
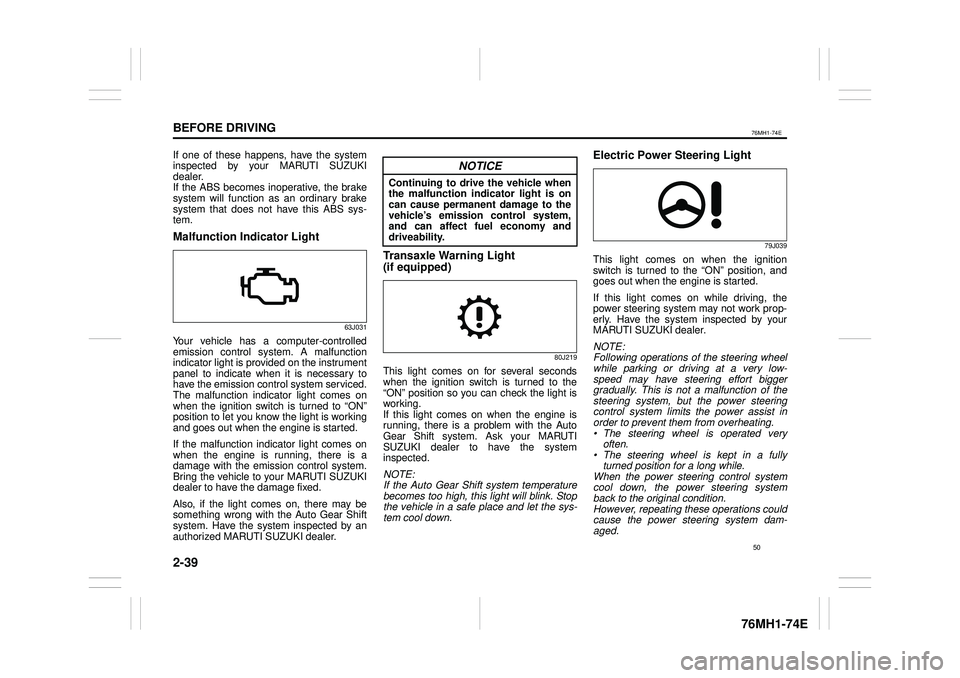
Transaxle Warning Light
(if equipped)
80J219
This light comes on for several seconds when the ignition switch is turned to the “ON” position so you can check the light isworking. If this light comes on when the engine is running, there is a problem with the AutoGear Shift system. Ask your MARUTI SUZUKI dealer to have the system inspected.
NOTE: If the Auto Gear Shift system temperaturebecomes too high, this light will blink. Stop the vehicle in a safe place and let the sys- tem cool down.
Electric Power Steering Light
79J039
This light comes on when the ignitionswitch is turned to the “ON” position, and goes out when the engine is started.
If this light comes on while driving, the power steering system may not work prop- erly. Have the system inspected by yourMARUTI SUZUKI dealer.
NOTE: Following operations of the steering wheel while parking or driving at a very low- speed may have steering effort biggergradually. This is not a malfunction of the steering system, but the power steering control system limits the power assist inorder to prevent them from overheating. • The steering wheel is operated veryoften.• The steering wheel is kept in a fullyturned position for a long while. When the power steering control system cool down, the power steering system back to the original condition. However, repeating these operations couldcause the power steering system dam-aged.
NOTICE
Continuing to drive the vehicle whenthe malfunction indicator light is oncan cause permanent damage to the vehicle’s emission control system, and can affect fuel economy anddriveability.
50
Page 186 of 201

8-5
EMERGENCY SERVICE
76MH1-74E
76MH1-74E
3) Make jump lead connections as follows:
1. Connect one end of the first jump lead to the positive (+) terminal of the flat battery (1). 2. Connect the other end to the positive(+) terminal of the booster battery (2). 3. Connect one end of the second jumplead to the negative (–) terminal of the booster battery (2). 4. Make the final connection to anunpainted, heavy metal part (i.e. engine mount bracket (3)) of the engine of the vehicle with the flatbattery (1).
4) If the booster battery you are using is fitted to another vehicle, start the
engine of the vehicle with the booster battery. Run the engine at moderate speed.5) Start the engine of the vehicle with the flat battery. 6) Remove the jump leads in the exactreverse order in which you connected them.
Towing
If you need to have your vehicle towed, contact a professional service. Your dealercan provide you with detailed towing instructions.
2-Wheel Drive (2WD) Manual Tran- saxle or Auto Gear ShiftManual transaxle vehicles or Auto Gear Shift vehicles may be towed using either of the following methods.
1) From the front, with the front wheels lifted and the rear wheels on the ground. Before towing, make sure thatthe parking brake is released. 2) From the rear, with the rear wheels lifted and the front wheels on theground, provided the steering and drivetrain are in operational condition. Before towing, make sure that transaxleis in neutral, the steering wheel is
unlocked (the ignition key should be in the “ACC” position), and the steering wheel is secured with a clampingdevice designed for towing service.
WA R N I N G
Never connect the jump lead directlyto the negative (–) terminal of the dis- charged battery, or an explosion may occur.
CAUTION
Connect the jump le ad to the engine mount bracket securely. If the jump lead disconnects from the engine mount bracket because of vibrationat the start of the engine, the jump lead could be caught in the drive belts.
NOTICE
To help avoid damage to your vehicle during towing, proper equipment and towing procedures must be used.
NOTICE
After shifting the Auto Gear Shiftlever to the “N” position, always check the gear position indicator in the instrument cluster shows the “N”position to make sure that the transaxle is disengaged. If the transaxle cannot be put in neu-tral, turn the key from the “LOCK” to the “ON” position, and move the Auto Gear Shift lever from “N” to “D”,“M” or “R”, then back to “N” again. Then turn the key from the “ON” to the “LOCK” position.These procedures may help put the transaxle in neutral. If the transaxle still cannot be put in neutral, you can-not tow the vehicle without using a towing dolly. The steering column is not strongenough to with stand shocks trans- mitted from the fr ont wheels during towing. Always unlock the steeringwheel before towing.
175