brake SUZUKI GRAND VITARA 2007 3.G Owners Manual
[x] Cancel search | Manufacturer: SUZUKI, Model Year: 2007, Model line: GRAND VITARA, Model: SUZUKI GRAND VITARA 2007 3.GPages: 211, PDF Size: 3.21 MB
Page 1 of 211

Downloaded from www.Manualslib.com manuals search engine Part No. 99011-66J21-03E
June, 2006
OWNER’S MANUAL
99011-66J21-03E GRAND VITARA
Printed in Japan
See page 1-1
12.5 mm
Keep With Vehicle At All Times.
Contains Important Information
On Safety, Operation & Maintenance.
SERVICE STATION INFORMATION
Fuel recommendation: Brake and clutch fluid:
Engine oil recommendation: Automatic transmission fluid:
Tire cold pressure:
For further details, see “Engine Oil and Filter” in the
“INSPECTION AND MAINTENANCE” section.DOT3
See the “Tire Information Label” located on the
driver’s door lock pillar.
2007Engine oil with “Starburst” symbol
Made from 100% recycled paper,
except for cover.
ENGLISH
Suzuki Red: PANTONE 485
Suzuki Blue: PANTONE 294
SUZUKI ATF 3317 or Mobil ATF 3309
Page 7 of 211
Downloaded from www.Manualslib.com manuals search engine 66J21-03E
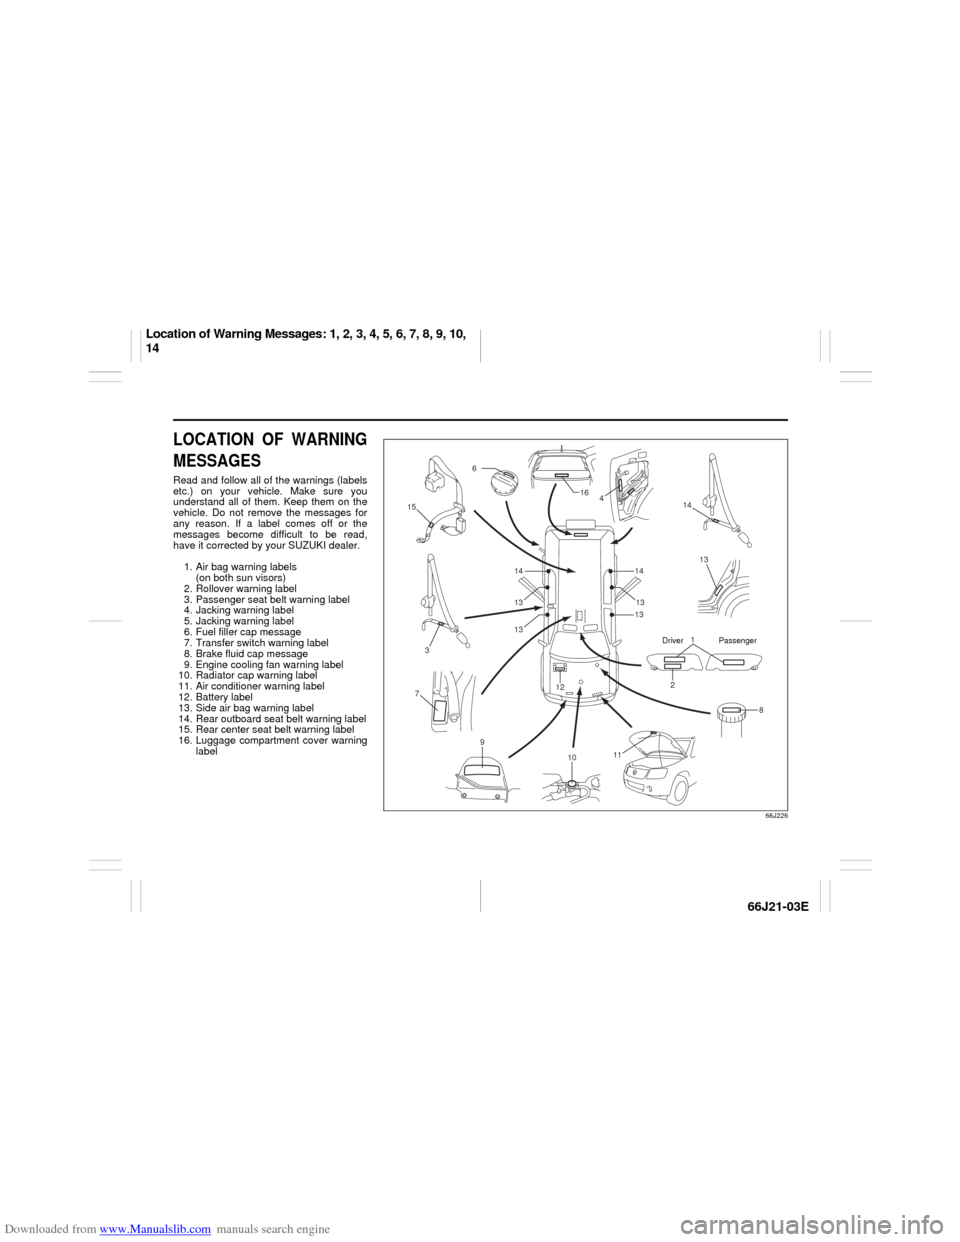
LOCATION OF WARNING
MESSAGESRead and follow all of the warnings (labels
etc.) on your vehicle. Make sure you
understand all of them. Keep them on the
vehicle. Do not remove the messages for
any reason. If a label comes off or the
messages become difficult to be read,
have it corrected by your SUZUKI dealer.
1. Air bag warning labels
(on both sun visors)
2. Rollover warning label
3. Passenger seat belt warning label
4. Jacking warning label
5. Jacking warning label
6. Fuel filler cap message
7. Transfer switch warning label
8. Brake fluid cap message
9. Engine cooling fan warning label
10. Radiator cap warning label
11. Air conditioner warning label
12. Battery label
13. Side air bag warning label
14. Rear outboard seat belt warning label
15. Rear center seat belt warning label
16. Luggage compartment cover warning
label
66J226
1
2
3
6
8 12
13 4 16
14
15
14
7
9
11
10
1413
13 1313
Driver Passenger
Location of Warning Messages: 1, 2, 3, 4, 5, 6, 7, 8, 9, 10,
14
Page 66 of 211

Downloaded from www.Manualslib.com manuals search engine 4-4 INSTRUMENT PANEL
66J21-03E
inflation pressure as specified in the vehi-
cle placard and owner’s manual.
The low tire pressure warning light is also
used to inform you of a TPMS malfunction.
When the system detects a malfunction,
this light will flash for approximately one
minute and then remain continuously illu-
minated. This sequence will be repeated
approximately ten minutes after subse-
quent vehicle start-ups as long as the mal-
function exists.
NOTE:
The low tire pressure warning light may not
come on immediately if you have a sudden
loss of air pressure.
Refer to “Tire Pressure Monitoring System”
in the “OPERATING YOUR VEHICLE”
section for additional details on the tire
pressure monitoring system. Refer to
“Tires” in the “INSPECTION AND MAIN-
TENANCE” section for information on
maintaining proper tire pressure.
WARNING
If the low tire pressure warning light
does not come on when the ignition
is turned to the “ON” position, or
comes on and blinks while driving
there may be a problem with the tire
pressure monitoring system. Have
your vehicle inspected by an autho-
rized SUZUKI dealer. Even if the light
turns off after blinking, indicating
that the monitoring system has
recovered, make sure to have an
authorized SUZUKI dealer check the
system.
WARNING
The load rating of your tires is
reduced at lower inflation pressures.
If your tires become even moderately
under-inflated, the vehicle load may
exceed the load rating of the tires,
which can lead to tire failure. The low
tire pressure warning light will not
alert you of this condition. The warn-
ing light will only come on when one
or more of your tires become signifi-
cantly under-inflated. Check and
adjust your tire inflation pressure at
least once a month. Refer to “Tires”
in the “INSPECTION AND MAINTE-
NANCE” section.
WARNING
If the low tire pressure warning light
comes on and stays on, reduce your
speed and avoid abrupt steering and
braking. Stop in a safe place as soon
as possible and check your tires.
If you have a flat tire, replace it with
the spare tire. Refer to “Jacking
Instructions” in the “EMERGENCY
SERVICE” section. Refer to
“Replacing Tires and/or Wheels”
for instructions on how to restore
normal operation of the tire pres-
sure monitoring system after you
have had a flat tire.
(Continued)
WARNING
(Continued)
If one or more of your tires is
under-inflated, adjust the inflation
pressure in all of your tires to the
recommended inflation pressure as
soon as possible.
Be aware that driving on a signifi-
cantly under-inflated tire can cause
the tire to overheat and can lead to
tire failure, and may affect steering
control and brake effectiveness. This
could lead to an accident, resulting in
severe injury or death.
Warning and Indicator Lights: 8
Page 67 of 211
Downloaded from www.Manualslib.com manuals search engine 4-5 INSTRUMENT PANEL
66J21-03E
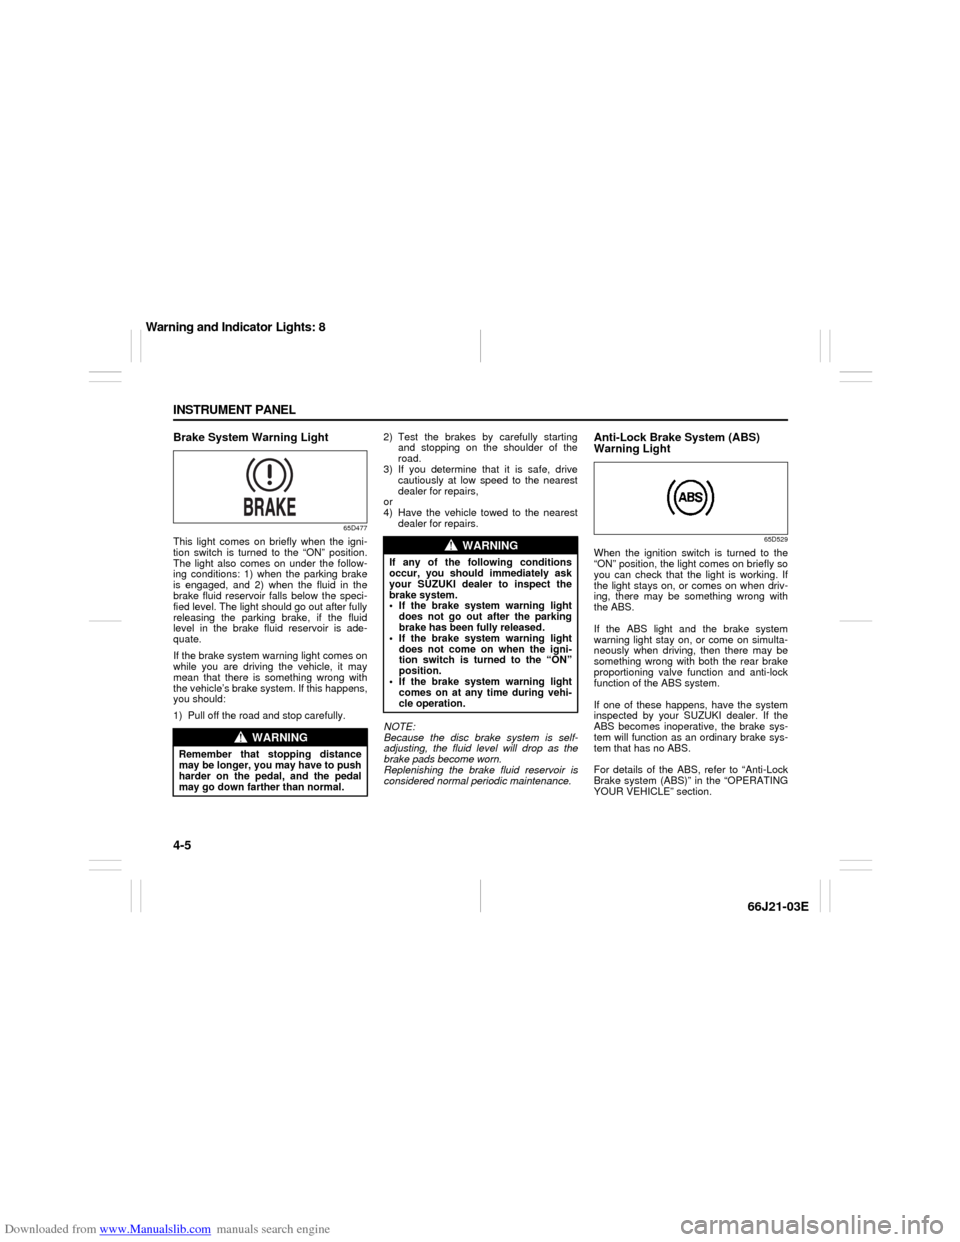
Brake System Warning Light
65D477
This light comes on briefly when the igni-
tion switch is turned to the “ON” position.
The light also comes on under the follow-
ing conditions: 1) when the parking brake
is engaged, and 2) when the fluid in the
brake fluid reservoir falls below the speci-
fied level. The light should go out after fully
releasing the parking brake, if the fluid
level in the brake fluid reservoir is ade-
quate.
If the brake system warning light comes on
while you are driving the vehicle, it may
mean that there is something wrong with
the vehicle’s brake system. If this happens,
you should:
1) Pull off the road and stop carefully.2) Test the brakes by carefully starting
and stopping on the shoulder of the
road.
3) If you determine that it is safe, drive
cautiously at low speed to the nearest
dealer for repairs,
or
4) Have the vehicle towed to the nearest
dealer for repairs.
NOTE:
Because the disc brake system is self-
adjusting, the fluid level will drop as the
brake pads become worn.
Replenishing the brake fluid reservoir is
considered normal periodic maintenance.
Anti-Lock Brake System (ABS)
Warning Light
65D529
When the ignition switch is turned to the
“ON” position, the light comes on briefly so
you can check that the light is working. If
the light stays on, or comes on when driv-
ing, there may be something wrong with
the ABS.
If the ABS light and the brake system
warning light stay on, or come on simulta-
neously when driving, then there may be
something wrong with both the rear brake
proportioning valve function and anti-lock
function of the ABS system.
If one of these happens, have the system
inspected by your SUZUKI dealer. If the
ABS becomes inoperative, the brake sys-
tem will function as an ordinary brake sys-
tem that has no ABS.
For details of the ABS, refer to “Anti-Lock
Brake system (ABS)” in the “OPERATING
YOUR VEHICLE” section.
WARNING
Remember that stopping distance
may be longer, you may have to push
harder on the pedal, and the pedal
may go down farther than normal.
WARNING
If any of the following conditions
occur, you should immediately ask
your SUZUKI dealer to inspect the
brake system.
If the brake system warning light
does not go out after the parking
brake has been fully released.
If the brake system warning light
does not come on when the igni-
tion switch is turned to the “ON”
position.
If the brake system warning light
comes on at any time during vehi-
cle operation.
Warning and Indicator Lights: 8
Page 68 of 211
Downloaded from www.Manualslib.com manuals search engine 4-6 INSTRUMENT PANEL
66J21-03E
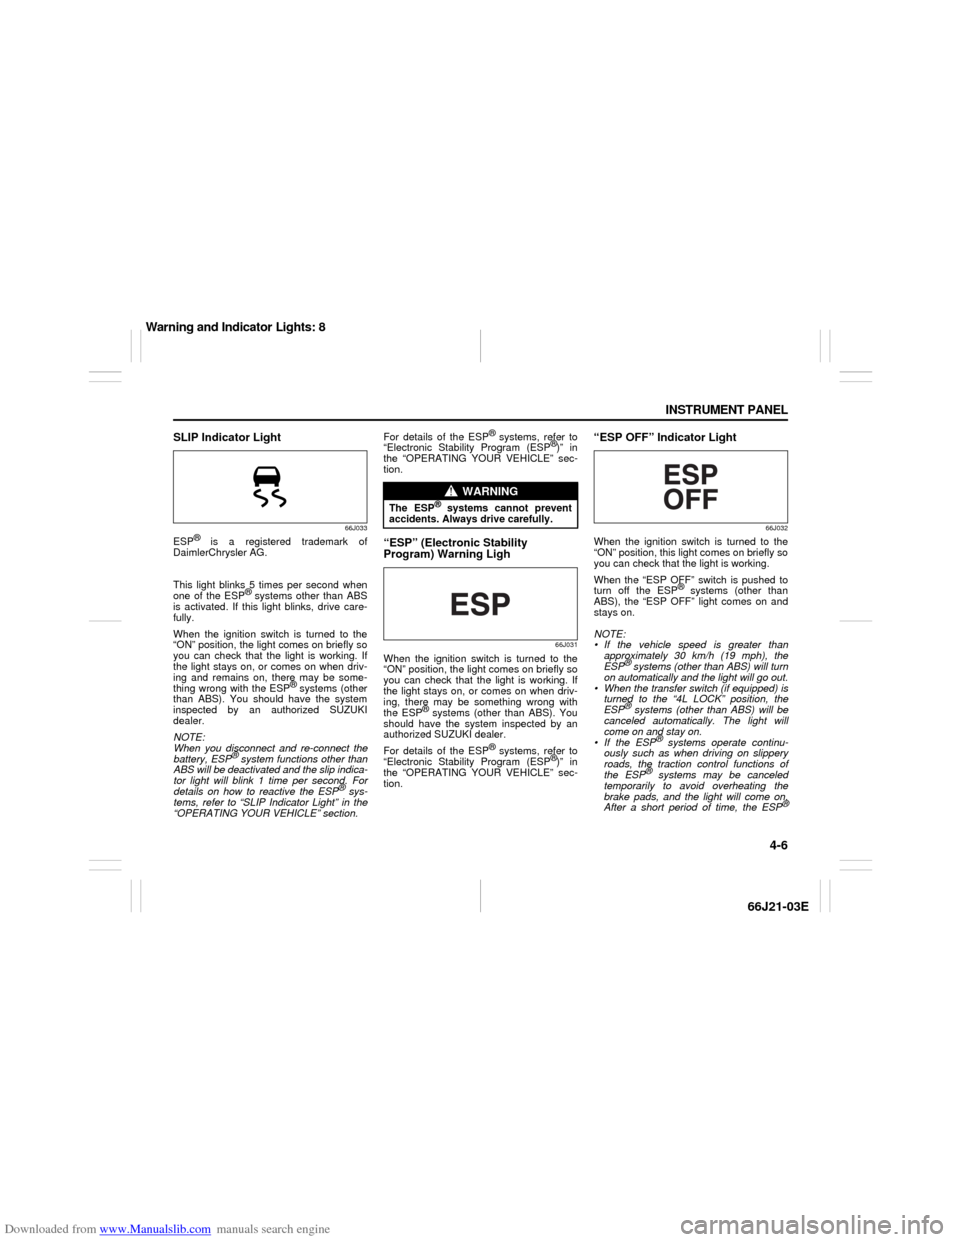
SLIP Indicator Light
66J033
ESP
® is a registered trademark of
DaimlerChrysler AG.
This light blinks 5 times per second when
one of the ESP
® systems other than ABS
is activated. If this light blinks, drive care-
fully.
When the ignition switch is turned to the
“ON” position, the light comes on briefly so
you can check that the light is working. If
the light stays on, or comes on when driv-
ing and remains on, there may be some-
thing wrong with the ESP
® systems (other
than ABS). You should have the system
inspected by an authorized SUZUKI
dealer.
NOTE:
When you disconnect and re-connect the
battery, ESP
® system functions other than
ABS will be deactivated and the slip indica-
tor light will blink 1 time per second. For
details on how to reactive the ESP
® sys-
tems, refer to “SLIP Indicator Light” in the
“OPERATING YOUR VEHICLE” section.For details of the ESP
® systems, refer to
“Electronic Stability Program (ESP
®)” in
the “OPERATING YOUR VEHICLE” sec-
tion.
“ESP” (Electronic Stability
Program) Warning Ligh
66J031
When the ignition switch is turned to the
“ON” position, the light comes on briefly so
you can check that the light is working. If
the light stays on, or comes on when driv-
ing, there may be something wrong with
the ESP
® systems (other than ABS). You
should have the system inspected by an
authorized SUZUKI dealer.
For details of the ESP
® systems, refer to
“Electronic Stability Program (ESP
®)” in
the “OPERATING YOUR VEHICLE” sec-
tion.
“ESP OFF” Indicator Light
66J032
When the ignition switch is turned to the
“ON” position, this light comes on briefly so
you can check that the light is working.
When the “ESP OFF” switch is pushed to
turn off the ESP
® systems (other than
ABS), the “ESP OFF” light comes on and
stays on.
NOTE:
If the vehicle speed is greater than
approximately 30 km/h (19 mph), the
ESP
® systems (other than ABS) will turn
on automatically and the light will go out.
When the transfer switch (if equipped) is
turned to the “4L LOCK” position, the
ESP® systems (other than ABS) will be
canceled automatically. The light will
come on and stay on.
If the ESP
® systems operate continu-
ously such as when driving on slippery
roads, the traction control functions of
the ESP
® systems may be canceled
temporarily to avoid overheating the
brake pads, and the light will come on.
After a short period of time, the ESP
®
WARNING
The ESP
® systems cannot prevent
accidents. Always drive carefully.
Warning and Indicator Lights: 8
Page 72 of 211
Downloaded from www.Manualslib.com manuals search engine 4-10 INSTRUMENT PANEL
66J21-03E
Turn Signal Indicators
50G055
When you turn on the left or right turn sig-
nals, the corresponding green arrow on the
instrument panel will flash along with the
respective turn signal lights.
When you turn on the hazard warning
switch, both arrows will flash along with all
of the turn signal lights.High Beam Indicator Light
50G056
This indicator comes on when headlight
high beams are turned on.
Daytime Running Light (D.R.L.)
Indicator Light (if equipped)
60B245
With the D.R.L. system, the headlights
light, but are dimmer than the low beam,
when the following three conditions are all
met. Whenever the D.R.L. system is oper-
ating, the D.R.L. indicator light remains on.
Conditions for D.R.L. system operation
1) The engine is running.
2) The parking brake is released.
3) The lighting switch is at either the
“OFF” or the “middle” position: or
The lighting switch is in the “AUTO”
position and it is light around the light
sensor.
Illumination Indicator Light
64J045
This indicator light comes on when the
lighting switch is in the second or third
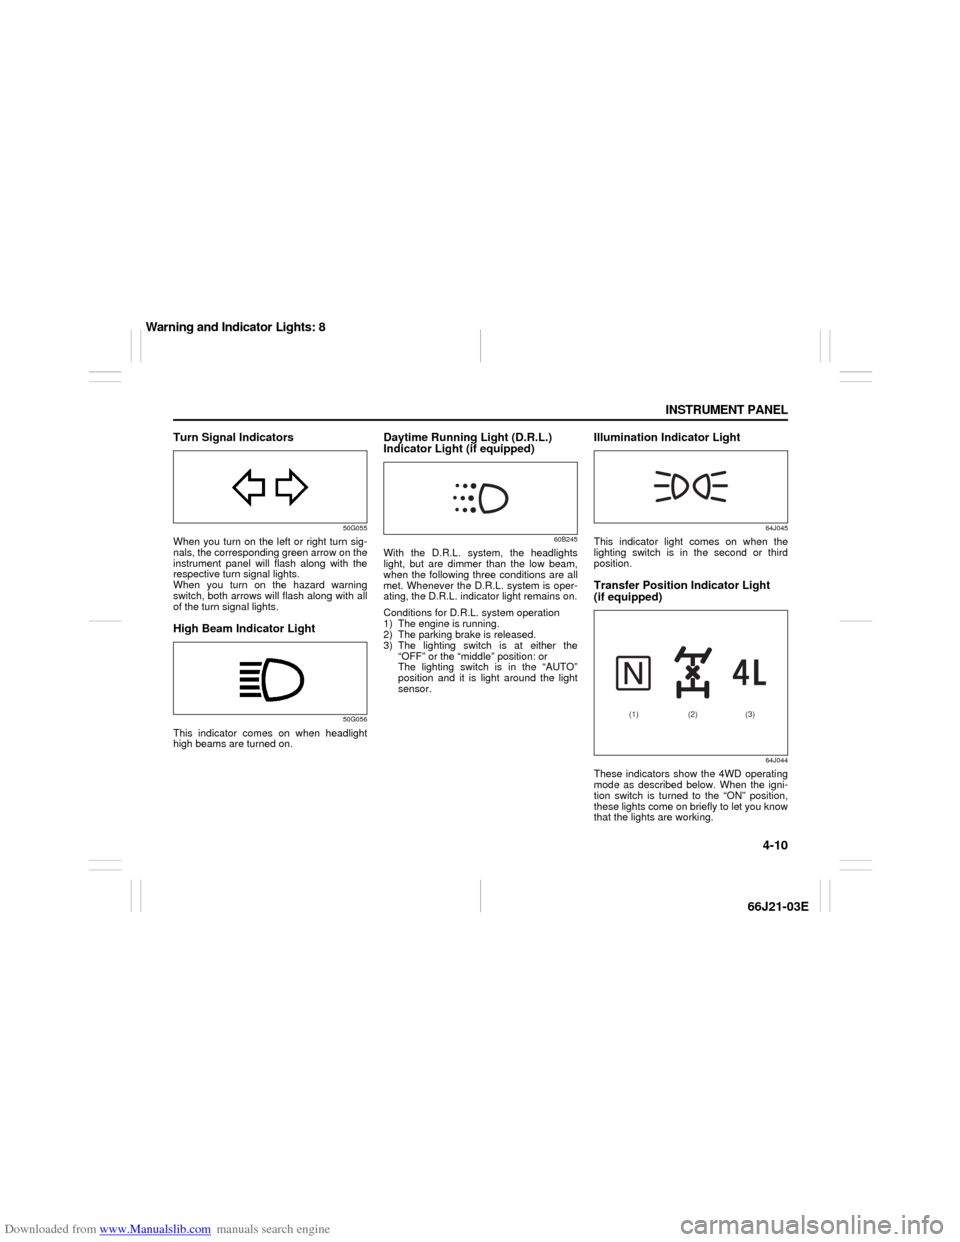
position.Transfer Position Indicator Light
(if equipped)
64J044
These indicators show the 4WD operating
mode as described below. When the igni-
tion switch is turned to the “ON” position,
these lights come on briefly to let you know
that the lights are working.
(2) (1) (3)
Warning and Indicator Lights: 8
Page 78 of 211
Downloaded from www.Manualslib.com manuals search engine 4-16 INSTRUMENT PANEL
66J21-03E
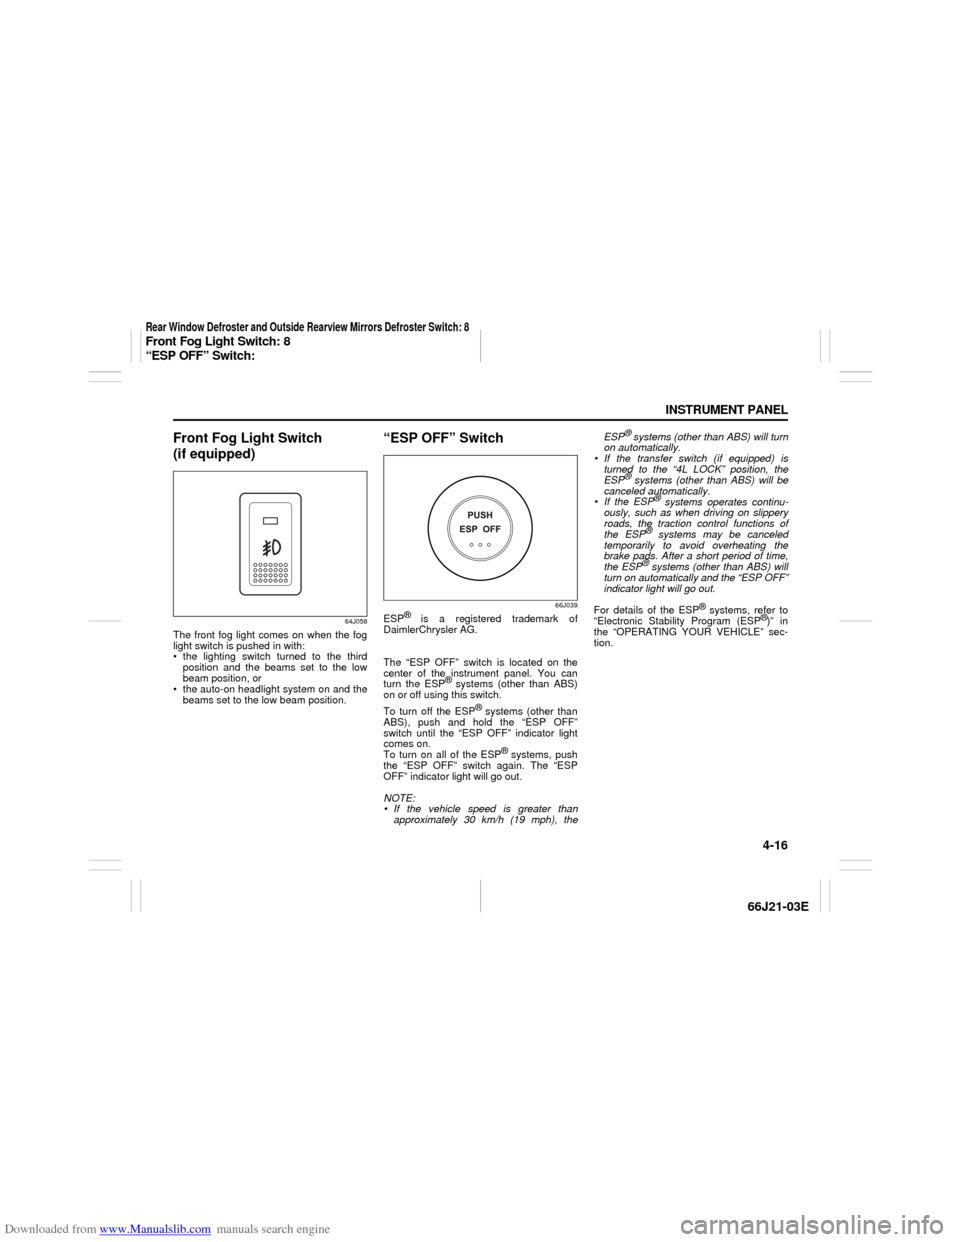
Front Fog Light Switch
(if equipped)
64J058
The front fog light comes on when the fog
light switch is pushed in with:
the lighting switch turned to the third
position and the beams set to the low
beam position, or
the auto-on headlight system on and the
beams set to the low beam position.
“ESP OFF” Switch
66J039
ESP
® is a registered trademark of
DaimlerChrysler AG.
The “ESP OFF” switch is located on the
center of the instrument panel. You can
turn the ESP
® systems (other than ABS)
on or off using this switch.
To turn off the ESP
® systems (other than
ABS), push and hold the “ESP OFF”
switch until the “ESP OFF” indicator light
comes on.
To turn on all of the ESP
® systems, push
the “ESP OFF” switch again. The “ESP
OFF” indicator light will go out.
NOTE:
If the vehicle speed is greater than
approximately 30 km/h (19 mph), theESP
® systems (other than ABS) will turn
on automatically.
If the transfer switch (if equipped) is
turned to the “4L LOCK” position, the
ESP® systems (other than ABS) will be
canceled automatically.
If the ESP
® systems operates continu-
ously, such as when driving on slippery
roads, the traction control functions of
the ESP
® systems may be canceled
temporarily to avoid overheating the
brake pads. After a short period of time,
the ESP® systems (other than ABS) will
turn on automatically and the “ESP OFF”
indicator light will go out.
For details of the ESP
® systems, refer to
“Electronic Stability Program (ESP
®)” in
the “OPERATING YOUR VEHICLE” sec-
tion.
Rear Window Defroster and Outside Rearview Mirrors Defroster Switch: 8Front Fog Light Switch: 8
“ESP OFF” Switch:
Page 122 of 211

Downloaded from www.Manualslib.com manuals search engine 7-4 DRIVING TIPS
66J21-03E
Off-Road DrivingYour vehicle has specific design character-
istics for off-road driving. When you leave
the pavement, you will encounter driving
surfaces of all kinds which may change
continually as you drive. In most cases, off-
road driving requires the use of 4-wheel
drive. If your vehicle is a 2-wheel drive
vehicle, you should limit your off-road driv-
ing only to hard, flat, nonslippery surfaces.
2-wheel drive vehicles have far less trac-
tion on off-road surfaces than 4-wheel
drive vehicles. It is important when driving
off-road to follow the guidelines below.
Use Caution on Steep Inclines
Always inspect hills before you attempt to
drive up them. Know what is on the other
side and how you will get back down. If you
have any doubt that it is safe, do not
attempt to drive over a hill. Never drive
your vehicle up an extremely steep incline.
Coming down a steep hill can be trickier
than getting up one. Keep the vehicle
heading straight down the hill and use low
gear. Do not lock the brakes. If the vehicle
begins to slide, accelerate slightly to regain
steering control.Do Not Turn on or Drive Across the Side
of Hills
Turning on or driving across the side of a
hill can be extremely hazardous. Most of
the vehicle’s weight will be transferred to
the downhill tires, which could result in the
vehicle rolling sideways. Whenever possi-
ble, avoid this potential hazard. Also, if you
have to exit your vehicle on a side-hill,
always get out on the uphill side.
Wear Your Seat Belts at All Times
You and your passengers should use the
seat belts at all times when driving off-
road. For proper seat belt use, refer to the
“Seat Belts and Child Restraint Systems”
section in this manual.
Avoid Sudden Reactions in Mud, Ice or
Snow
Be careful when off-road conditions are
slick. Reduce your speed and avoid sud-
den movements of the vehicle. If your vehi-
cle is a 2-wheel drive vehicle, do not drive
in deep snow or mud. If your vehicle is a 4-
wheel drive vehicle, be aware that driving
in deep snow or mud can cause a loss of
traction and an increase in the resistance
to the vehicle’s forward motion. Use 4WD
low gear (4L) and maintain a steady but
moderate speed with a light touch on the
steering wheel and brakes.Do not drive in the field covered with
grown grass
If you drive in the field covered with grass,
it may cause unexpected accident or vehi-
cle damage by getting caught in grown
grass.
If Your Vehicle Gets Stuck
If your vehicle gets stuck in snow, mud or
sand, follow the directions below:
1) (For vehicles equipped with transfer
switch) Turn the transfer switch to “4H
LOCK” or “4L LOCK”.
2) Shift the transmission back and forth
between a forward range (or first gear
for manual transmission) and reverse.
This will create a rocking motion which
may give you enough momentum to
free the vehicle. Press gently on the
accelerator to keep wheel spin to a min-
imum. Remove your foot from the
accelerator while shifting.
Do not race the engine. Excessive
wheel spin will cause the tires to dig
deeper, making it more difficult to free
the vehicle.
3) If your vehicle remains stuck after a few
minutes of rocking, get another vehicle
to pull you out.
Off-Road Driving: NO
Page 123 of 211

Downloaded from www.Manualslib.com manuals search engine 7-5 DRIVING TIPS
66J21-03E
Tire ChainsTire chains should only be used if they are
needed to increase traction or are required
by law. Make sure that the chains you use
are small-link chains or cable-type chains
and are the correct size for your vehicle’s
tires. Also make sure that there is enough
clearance between the fenders and the
chains as installed on the tires.
Install the chains on the rear tires tightly,
according to the chain manufacturer’s
instructions. Retighten the chains after
driving about 1.0 km (1/2 mile) if neces-
sary. With the chains installed, drive slowly.Do not drive through deep or rushing
water
Driving in deep or rushing water can be
hazardous. You could lose control of the
vehicle and the occupants could drown.
Also, your vehicle could be seriously dam-
aged. To avoid these risks, observe the fol-
lowing instructions and precautions.
Do not drive through deep or rushing
water. Deep or rushing water, such as
fast-moving streams or floodwaters,
could carry your vehicle away from your
intended path. The water is too deep if it
covers your wheel hubs, axles or
exhaust tailpipe. Know the depth of the
water before you attempt to drive
through it.
If water blocks the tailpipe, the engine
may not start or run. If the water is deep
enough to get drawn into the engine
intake system, the engine will be badly
damaged.
Submerged brakes will have poor brak-
ing performance. Drive slowly and care-
fully. Driving slowly will also help avoid
water splashing onto the ignition system,
which could cause the engine to stall.
Even when driving through shallow or
still waters, drive carefully since the
water may be hiding ground hazards
such as holes, ditches or bumps.
WARNING
Do not allow anyone to stand near
the vehicle when you are rocking it,
and do not spin the wheels faster
than an indicated 40 km/h (25 mph)
on the speedometer. Personal
injury and/or vehicle damage may
result from spinning the wheels too
fast.
Be sure to turn the transfer switch
from “4H” to “4H LOCK” or “4L
LOCK” when the tires slip in “4H”.
The continuing tires slip in “4H”
can cause the limited slip differen-
tial gear damage in the center dif-
ferential.
CAUTION
Release the accelerator pedal when
operating the gearshift lever. Operat-
ing the lever with the engine racing
can damage the gears.
CAUTION
Do not continue rocking the vehicle
for more than a few minutes. Pro-
longed rocking can cause engine
overheating, transmission or trans-
fer case damage or tire damage.
CAUTION
If you hear the chains hitting against
the vehicle body while driving, stop
and tighten them.
Off-Road Driving: NO
Page 124 of 211

Downloaded from www.Manualslib.com manuals search engine 7-6 DRIVING TIPS
66J21-03E
WARNING
In addition to following the driving
tips in this section, it is important to
observe the following precautions for
on-road and off-road driving.
Driver and passengers should wear
seat belts at all times.
Do not let anyone else drive your
vehicle unless they are also aware
of the vehicle characteristics and
handling differences described in
this section.
Avoid loaning your vehicle to any-
one unless you accompany them.
Make sure your tires are in good
condition and always maintain the
specified tire pressure. Refer to
“Tires” in the “INSPECTION AND
MAINTENANCE” section for
details.
Do not use tires other than those
specified by SUZUKI. Never use dif-
ferent sizes or types of tires on the
front and rear wheels. For informa-
tion regarding the specified tires,
refer to the Tire Inflation Pressure
Label located on the driver’s side
door pillar or the “SPECIFICA-
TIONS” section.
(Continued)
WARNING
(Continued)
Never use oversized tires or special
shocks and springs to raise (jack
up) your vehicle. This will raise the
center of gravity of the vehicle and
change its handling characteris-
tics. Oversized tires may also rub
against the fender over bumps,
causing vehicle damage or tire fail-
ure.
After driving through water, mud or
sandy ground, test the brakes while
driving at a slow speed to see if
they have maintained their normal
effectiveness. If the brakes are less
effective than normal, dry them by
repeatedly applying the brakes
while driving slowly until the
brakes have regained their normal
effectiveness.
Do not use “4H LOCK” or “4L
LOCK” drive for normal driving.
After extended operation in mud,
sand or water, have the brakes
inspected by your authorized
SUZUKI dealer as soon as possi-
ble.