SUZUKI IGNIS 2021 Owners Manual
Manufacturer: SUZUKI, Model Year: 2021, Model line: IGNIS, Model: SUZUKI IGNIS 2021Pages: 505, PDF Size: 8.36 MB
Page 121 of 505
2-98
BEFORE DRIVING
75RM4-01E
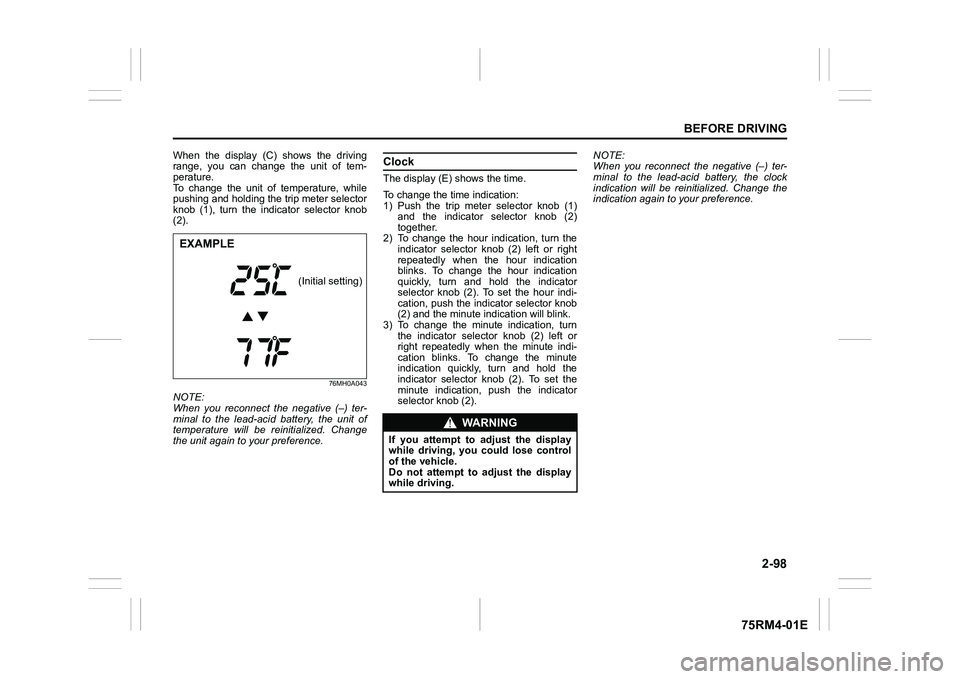
When the display (C) shows the driving
range, you can change the unit of tem-
perature.
To change the unit of temperature, while
pushing and holding the trip meter selector
knob (1), turn the indicator selector knob
(2).
76MH0A043
NOTE:
When you reconnect the negative (–) ter-
minal to the lead-acid battery, the unit of
temperature will be reinitialized. Change
the unit again to your preference.
ClockThe display (E) shows the time.
To change the time indication:
1) Push the trip meter selector knob (1) and the indicator selector knob (2)
together.
2) To change the hour indication, turn the indicator selector kn ob (2) left or right
repeatedly when the hour indication
blinks. To change the hour indication
quickly, turn and hold the indicator
selector knob (2). To set the hour indi-
cation, push the indicator selector knob
(2) and the minute ind ication will blink.
3) To change the minute indication, turn the indicator selector knob (2) left or
right repeatedly when the minute indi-
cation blinks. To change the minute
indication quickly, turn and hold the
indicator selector knob (2). To set the
minute indication, push the indicator
selector knob (2). NOTE:
When you reconnect the negative (–) ter-
minal to the lead-acid battery, the clock
indication will be reinitialized. Change the
indication again to your preference.
EXAMPLE
(Initial setting)
WA R N I N G
If you attempt to a
djust the display
while driving, you could lose control
of the vehicle.
Do not attempt to adjust the display
while driving.
Page 122 of 505
2-99BEFORE DRIVING
75RM4-01E
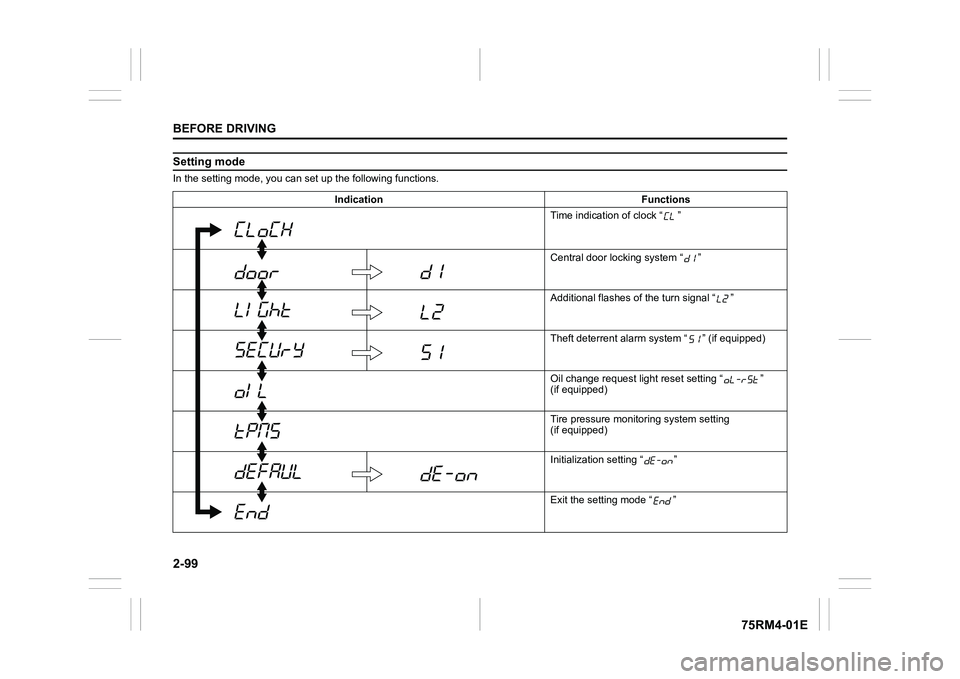
Setting modeIn the setting mode, you can set up the following functions.
Indication Functions Time indication of clock “ ”
Central door locking system “ ”
Additional flashes of the turn signal “ ”
Theft deterrent alarm system “ ” (if equipped)
Oil change request lig ht reset setting “ ”
(if equipped)
Tire pressure monito ring system setting
(if equipped)
Initialization setting “ ”
Exit the setting mode “ ”
Page 123 of 505
2-100
BEFORE DRIVING
75RM4-01E
NOTE:
Depending on vehicle’s specifications,
some items may not be displayed.
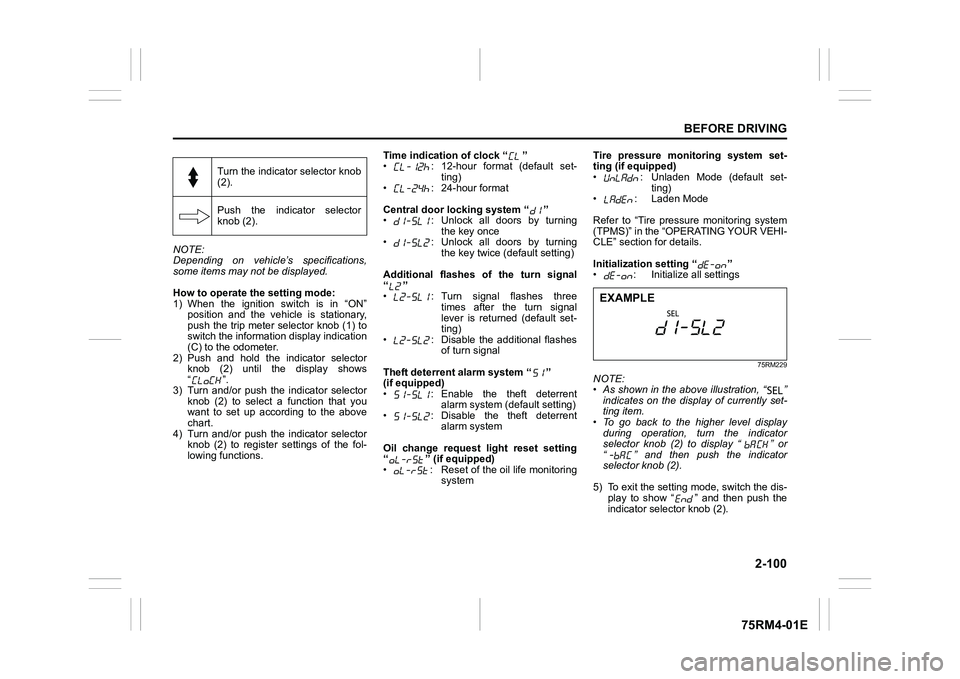
How to operate the setting mode:
1) When the ignition switch is in “ON”
position and the vehicle is stationary,
push the trip meter selector knob (1) to
switch the information display indication
(C) to the odometer.
2) Push and hold the indicator selector knob (2) until the display shows
“”.
3) Turn and/or push the indicator selector knob (2) to select a function that you
want to set up according to the above
chart.
4) Turn and/or push the indicator selector knob (2) to register settings of the fol-
lowing functions. Time indication of clock “ ”
• : 12-hour format (default set-
ting)
• : 24-hour format
Central door locking system “ ”
• : Unlock all doors by turning the key once
• : Unlock all doors by turning
the key twice (default setting)
Additional flashes of the turn signal
“”
• : Turn signal flashes three times after the turn signal
lever is returned (default set-
ting)
• : Disable the additional flashes of turn signal
Theft deterrent alarm system “ ”
(if equipped)
• : Enable the theft deterrent alarm system (default setting)
• : Disable the theft deterrent alarm system
Oil change request light reset setting
“ ” (if equipped)
• : Reset of the oil life monitoring system Tire pressure monitoring system set-
ting (if equipped)
• : Unladen Mode (default set-
ting)
• : Laden Mode
Refer to “Tire pressure monitoring system
(TPMS)” in the “OPERATING YOUR VEHI-
CLE” section for details.
Initialization setting “ ”
• : Initialize all settings
75RM229
NOTE:
• As shown in the above illustration, “ ”
indicates on the disp lay of currently set-
ting item.
• To go back to the higher level display
during operation, turn the indicator
selector knob (2) to display “ ” or
“ ” and then push the indicator
selector knob (2).
5) To exit the setting mode, switch the dis- play to show “ ” and then push the
indicator selector knob (2).
Turn the indicator selector knob
(2).
Push the indicator selector
knob (2).EXAMPLE
Page 124 of 505
2-101BEFORE DRIVING
75RM4-01E
Warning and indicator lightsNOTE:
If warning and indicator lights blink or
come on, the corresponding messages
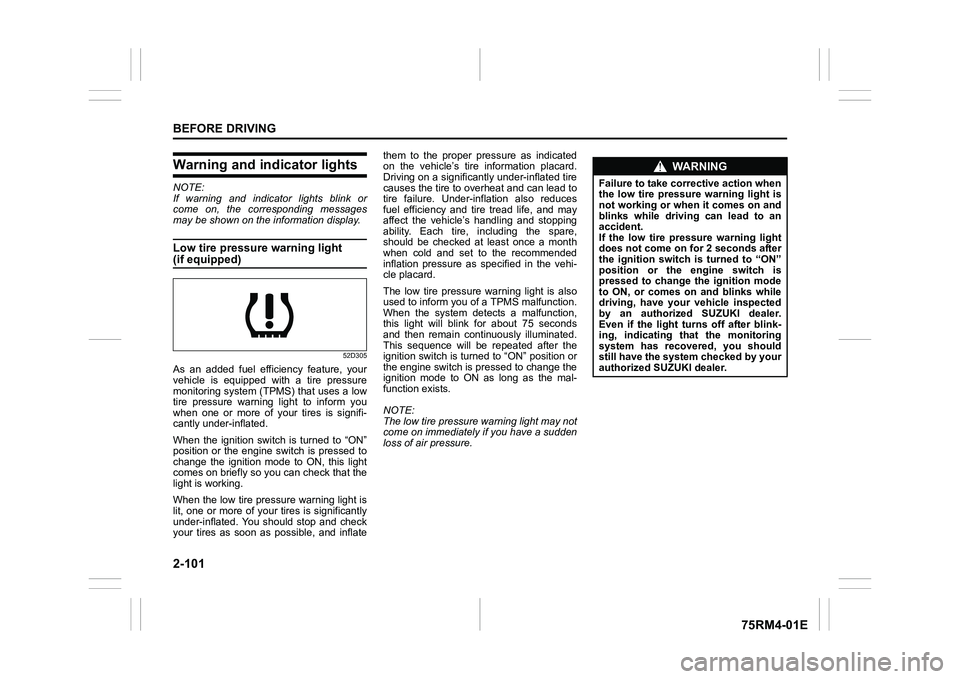
may be shown on the information display.Low tire pressure warning light (if equipped)
52D305
As an added fuel efficiency feature, your
vehicle is equipped with a tire pressure
monitoring system (TPMS) that uses a low
tire pressure warning light to inform you
when one or more of your tires is signifi-
cantly under-inflated.
When the ignition switch is turned to “ON”
position or the engine switch is pressed to
change the ignition mode to ON, this light
comes on briefly so you can check that the
light is working.
When the low tire pressure warning light is
lit, one or more of your tires is significantly
under-inflated. You should stop and check
your tires as soon as possible, and inflate them to the proper pressure as indicated
on the vehicle’s tire information placard.
Driving on a significantly under-inflated tire
causes the tire to overheat and can lead to
tire failure. Under-inf
lation also reduces
fuel efficiency and tire tread life, and may
affect the vehicle’s handling and stopping
ability. Each tire, including the spare,
should be checked at least once a month
when cold and set to the recommended
inflation pressure as specified in the vehi-
cle placard.
The low tire pressure warning light is also
used to inform you of a TPMS malfunction.
When the system detects a malfunction,
this light will blink for about 75 seconds
and then remain continuously illuminated.
This sequence will be repeated after the
ignition switch is turned to “ON” position or
the engine switch is pressed to change the
ignition mode to ON as long as the mal-
function exists.
NOTE:
The low tire pressure warning light may not
come on immediately if you have a sudden
loss of air pressure.
WA R N I N G
Failure to take corrective action when
the low tire pressure warning light is
not working or when it comes on and
blinks while driving can lead to an
accident.
If the low tire pressure warning light
does not come on for 2 seconds after
the ignition switch is turned to “ON”
position or the engine switch is
pressed to change the ignition mode
to ON, or comes on and blinks while
driving, have your vehicle inspected
by an authorized SUZUKI dealer.
Even if the light tu rns off after blink-
ing, indicating that the monitoring
system has recovered, you should
still have the system checked by your
authorized SUZUKI dealer.
Page 125 of 505
2-102
BEFORE DRIVING
75RM4-01E
Refer to “Tire pressure monitoring system
(TPMS)” in the “OPERATING YOUR VEHI-
CLE” section for additional details on the
tire pressure monitoring system. Refer to
“Tires” in the “INSPECTION AND MAIN-
TENANCE” section for information on
maintaining proper tire pressure.
WA R N I N G
The load-carrying capacity of your
tires is reduced at lower inflation
pressures. If your tires are even mod-
erately under-inflated, the load on the
tires may exceed the load-carrying
capacity of the tires, which could lead
to tire failure. The low tire pressure
warning light will not alert you to this
condition, because it only comes on
when one or more of your tires
becomes significan tly under-inflated.
Check and adjust your tire inflation
pressure at least once a month. Refer
to “Tires” in the “INSPECTION AND
MAINTENANCE” section.
WA R N I N G
Continuing to drive with the low tire
pressure warning light on can lead to
an accident, resulting in severe injury
or death.
If the low tire pressure warning light
comes on and stays on, reduce your
speed and avoid abrupt steering and
braking. Be aware that driving on a
significantly unde r-inflated tire can
cause the tire to overheat and can
lead to tire failure, and may affect
steering control and brake effective-
ness. Stop the vehicle in a safe place
as soon as possible and check your
tires.
• If you have a flat tire, replace it with
the spare tire (if e quipped). Refer to
“Jacking instructions” in the
“EMERGENCY SERVICE” section
for the tire replacement method.
Also refer to “Replacing tires and/
or wheels” for instructions on how
to restore normal operation of the
TPMS after you have had a flat tire. (Continued)
WA R N I N G
(Continued)
• If your vehicle is equipped with a
flat tire repair kit instead of a spare
tire, refer to “Flat tire repair kit (if
equipped)” in the “EMERGENCY
SERVICE” section for instructions
on how to perform an emergency
repair of a flat tire.
• If one or more of your tires is under-inflated, adjust the inflation
pressure of all tires to the recom-
mended inflation pressure as soon
as possible.
Page 126 of 505
2-103BEFORE DRIVING
75RM4-01E
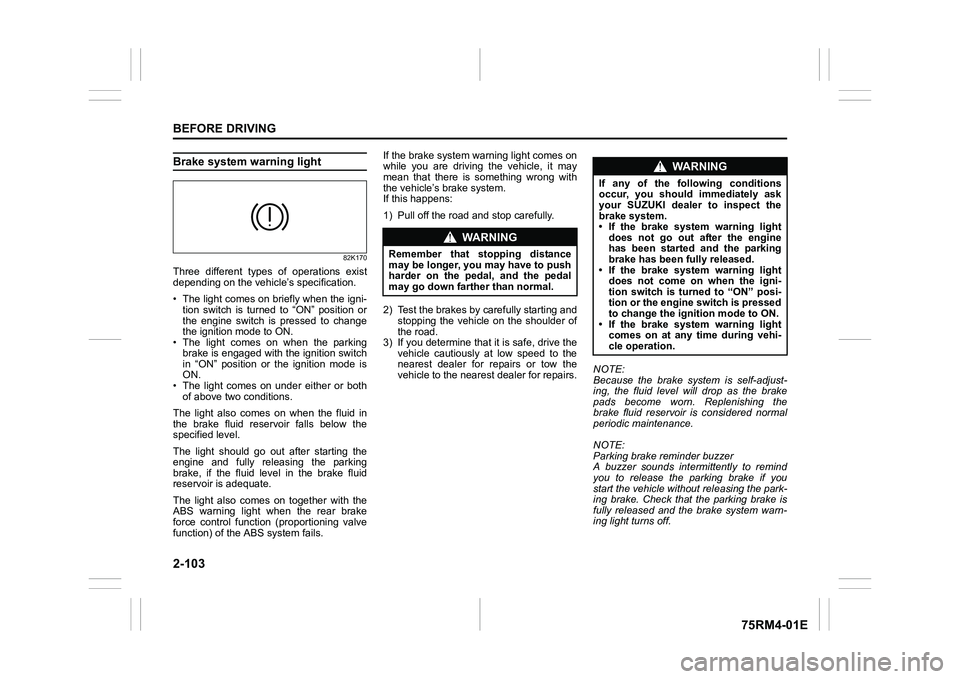
Brake system warning light
82K170
Three different types of operations exist
depending on the vehicle’s specification.
• The light comes on briefly when the igni- tion switch is turned to “ON” position or
the engine switch is pressed to change
the ignition mode to ON.
• The light comes on when the parking
brake is engaged with the ignition switch
in “ON” position or the ignition mode is
ON.
• The light comes on under either or both of above two conditions.
The light also comes on when the fluid in
the brake fluid reservoir falls below the
specified level.
The light should go out after starting the
engine and fully releasing the parking
brake, if the fluid level in the brake fluid
reservoir is adequate.
The light also comes on together with the
ABS warning light when the rear brake
force control function (proportioning valve
function) of the ABS system fails. If the brake system warning light comes on
while you are driving the vehicle, it may
mean that there is something wrong with
the vehicle’s brake system.
If this happens:
1) Pull off the road and stop carefully.
2) Test the brakes by carefully starting and
stopping the vehicle on the shoulder of
the road.
3) If you determine that it is safe, drive the
vehicle cautiously at low speed to the
nearest dealer for repairs or tow the
vehicle to the nearest dealer for repairs. NOTE:
Because the brake system is self-adjust-
ing, the fluid level will drop as the brake
pads become worn. Replenishing the
brake fluid reservoir is considered normal
periodic maintenance.
NOTE:
Parking brake reminder buzzer
A buzzer sounds intermittently to remind
you to release the parking brake if you
start the vehicle without releasing the park-
ing brake. Check that the parking brake is
fully released and the brake system warn-
ing light turns off.
WA R N I N G
Remember that stopping distance
may be longer, you may have to push
harder on the pedal, and the pedal
may go down farther than normal.
WA R N I N G
If any of the following conditions
occur, you should immediately ask
your SUZUKI dealer to inspect the
brake system.
• If the brake system warning light
does not go out after the engine
has been started and the parking
brake has been fully released.
• If the brake system warning light does not come on when the igni-
tion switch is turned to “ON” posi-
tion or the engine switch is pressed
to change the ignition mode to ON.
• If the brake system warning light comes on at any time during vehi-
cle operation.
Page 127 of 505
2-104
BEFORE DRIVING
75RM4-01E
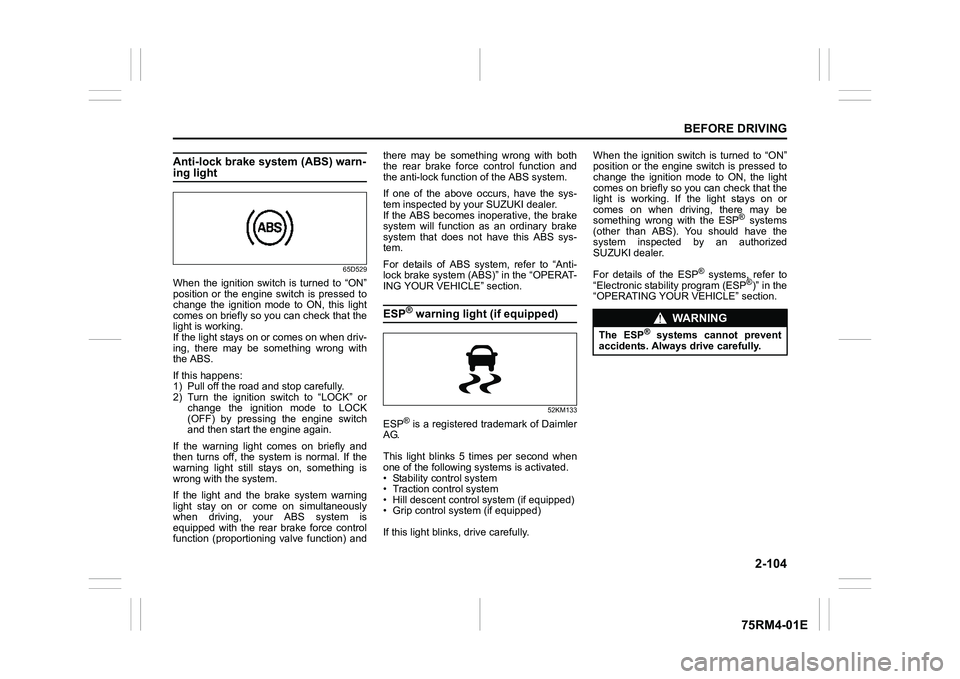
Anti-lock brake system (ABS) warn-ing light
65D529
When the ignition switch is turned to “ON”
position or the engine switch is pressed to
change the ignition mode to ON, this light
comes on briefly so you can check that the
light is working.
If the light stays on or comes on when driv-
ing, there may be something wrong with
the ABS.
If this happens:
1) Pull off the road and stop carefully.
2) Turn the ignition switch to “LOCK” orchange the ignition mode to LOCK
(OFF) by pressing the engine switch
and then start the engine again.
If the warning light comes on briefly and
then turns off, the system is normal. If the
warning light still stays on, something is
wrong with the system.
If the light and the brake system warning
light stay on or come on simultaneously
when driving, your ABS system is
equipped with the rear brake force control
function (proportioning valve function) and there may be something wrong with both
the rear brake force control function and
the anti-lock functi
on of the ABS system.
If one of the above occurs, have the sys-
tem inspected by your SUZUKI dealer.
If the ABS becomes inope rative, the brake
system will function as an ordinary brake
system that does not have this ABS sys-
tem.
For details of ABS system, refer to “Anti-
lock brake system (ABS)” in the “OPERAT-
ING YOUR VEHICLE” section.
ESP
® warning light (if equipped)
52KM133
ESP
® is a registered trademark of Daimler
AG.
This light blinks 5 times per second when
one of the following sy stems is activated.
• Stability control system
• Traction control system
• Hill descent control system (if equipped)
• Grip control system (if equipped)
If this light blinks, drive carefully. When the ignition switch is turned to “ON”
position or the engine switch is pressed to
change the ignition mode to ON, the light
comes on briefly so you can check that the
light is working. If the light stays on or
comes on when driving, there may be
something wrong with the ESP
® systems
(other than ABS). You should have the
system inspected by an authorized
SUZUKI dealer.
For details of the ESP
® systems, refer to
“Electronic stability program (ESP
®)” in the
“OPERATING YOUR VEHICLE” section.
WA R N I N G
The ESP
® systems cannot prevent
accidents. Always drive carefully.
Page 128 of 505
2-105BEFORE DRIVING
75RM4-01E
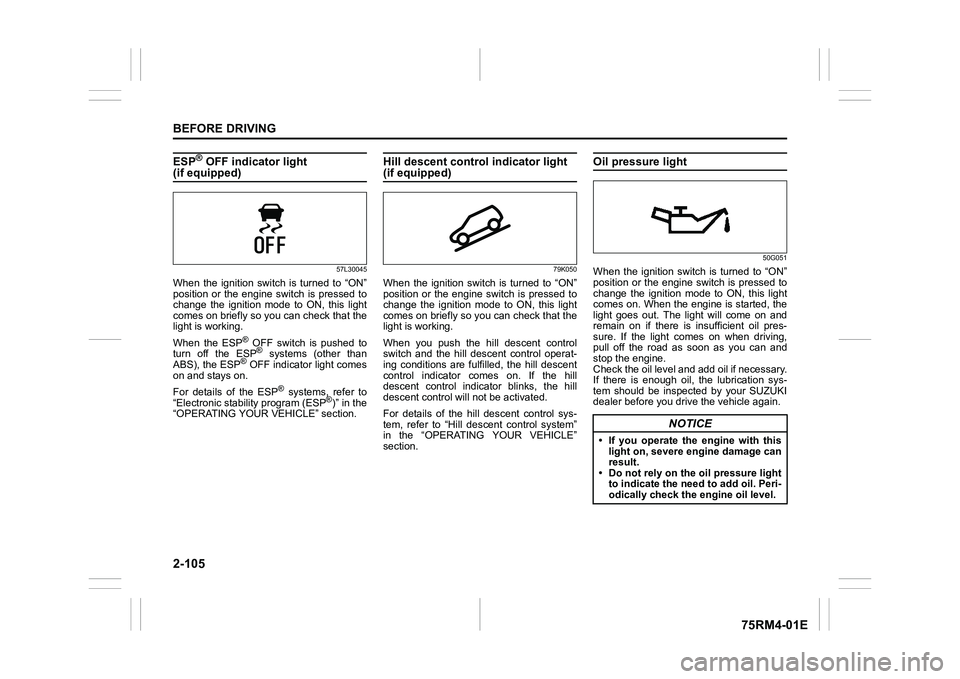
ESP
® OFF indicator light
(if equipped)
57L30045
When the ignition switch is turned to “ON”
position or the engine switch is pressed to
change the ignition mode to ON, this light
comes on briefly so you can check that the
light is working.
When the ESP
® OFF switch is pushed to
turn off the ESP® systems (other than
ABS), the ESP
® OFF indicator light comes
on and stays on.
For details of the ESP
® systems, refer to
“Electronic stability program (ESP
®)” in the
“OPERATING YOUR VEHICLE” section.
Hill descent control indicator light (if equipped)
79K050
When the ignition switch is turned to “ON”
position or the engine switch is pressed to
change the ignition mode to ON, this light
comes on briefly so you can check that the
light is working.
When you push the hill descent control
switch and the hill descent control operat-
ing conditions are fulfilled, the hill descent
control indicator comes on. If the hill
descent control indicator blinks, the hill
descent control will not be activated.
For details of the hill descent control sys-
tem, refer to “Hill descent control system”
in the “OPERATING YOUR VEHICLE”
section.
Oil pressure light
50G051
When the ignition switch is turned to “ON”
position or the engine switch is pressed to
change the ignition mode to ON, this light
comes on. When the engine is started, the
light goes out. The light will come on and
remain on if there is insufficient oil pres-
sure. If the light comes on when driving,
pull off the road as soon as you can and
stop the engine.
Check the oil level and add oil if necessary.
If there is enough oil, the lubrication sys-
tem should be inspected by your SUZUKI
dealer before you driv e the vehicle again.
NOTICE
• If you operate the engine with this
light on, severe engine damage can
result.
• Do not rely on the oil pressure light to indicate the need to add oil. Peri-
odically check the engine oil level.
Page 129 of 505
2-106
BEFORE DRIVING
75RM4-01E
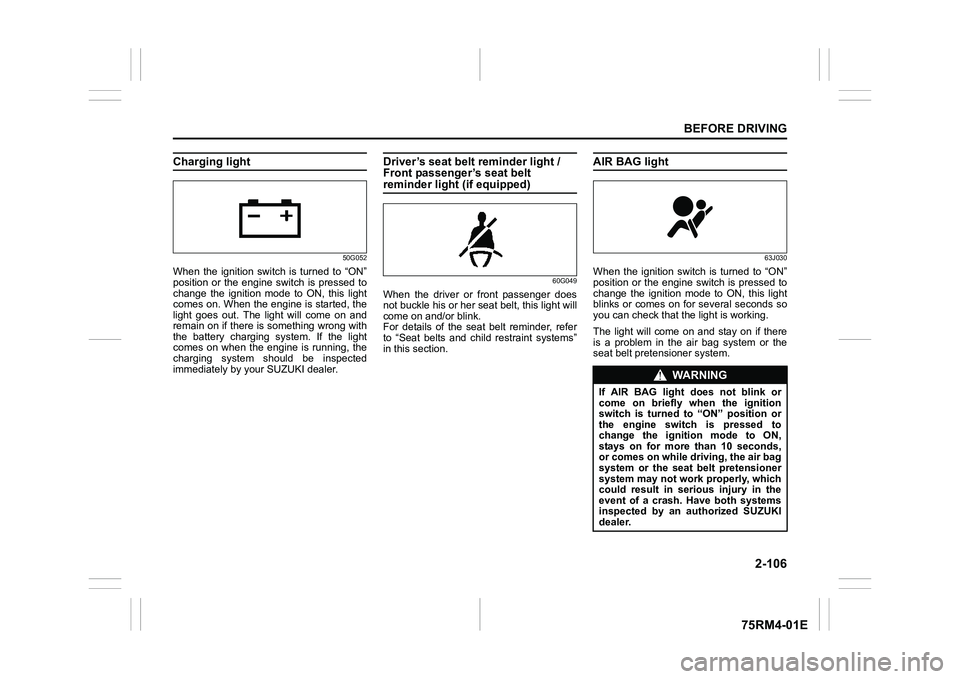
Charging light
50G052
When the ignition switch is turned to “ON”
position or the engine switch is pressed to
change the ignition mode to ON, this light
comes on. When the engine is started, the
light goes out. The light will come on and
remain on if there is something wrong with
the battery charging system. If the light
comes on when the engine is running, the
charging system should be inspected
immediately by your SUZUKI dealer.
Driver’s seat belt reminder light /
Front passenger’s seat belt reminder light (if equipped)
60G049
When the driver or front passenger does
not buckle his or her seat belt, this light will
come on and/or blink.
For details of the seat belt reminder, refer
to “Seat belts and child restraint systems”
in this section.
AIR BAG light
63J030
When the ignition switch is turned to “ON”
position or the engine switch is pressed to
change the ignition mode to ON, this light
blinks or comes on for several seconds so
you can check that t he light is working.
The light will come on and stay on if there
is a problem in the air bag system or the
seat belt pretensioner system.
WA R N I N G
If AIR BAG light does not blink or
come on briefly when the ignition
switch is turned to “ON” position or
the engine switch is pressed to
change the ignition mode to ON,
stays on for more than 10 seconds,
or comes on while driving, the air bag
system or the seat belt pretensioner
system may not work properly, which
could result in serious injury in the
event of a crash. Have both systems
inspected by an authorized SUZUKI
dealer.
Page 130 of 505
2-107BEFORE DRIVING
75RM4-01E
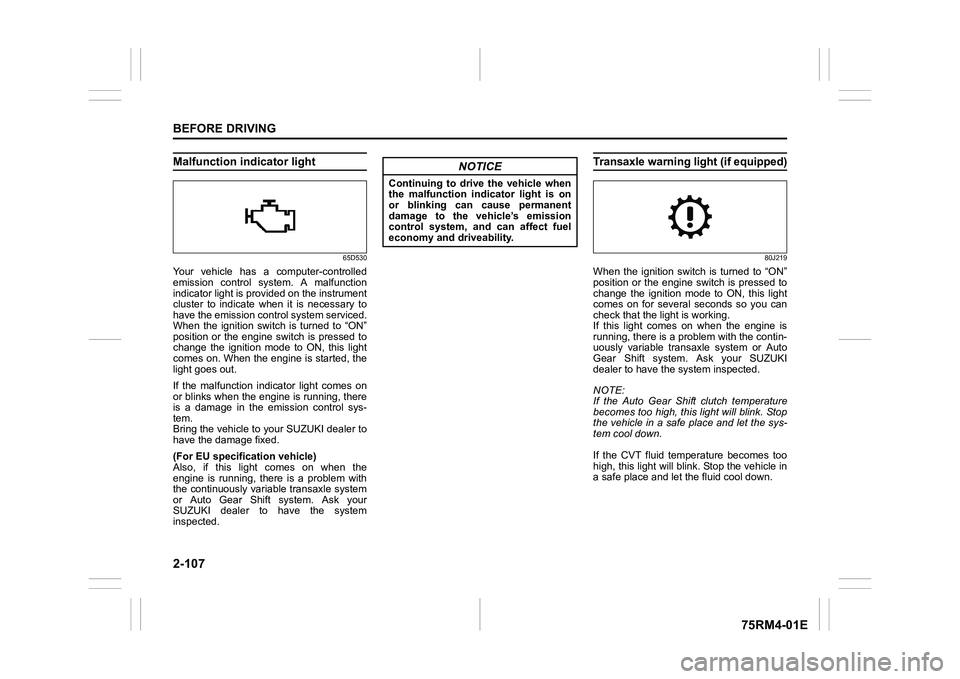
Malfunction indicator light
65D530
Your vehicle has a computer-controlled
emission control system. A malfunction
indicator light is provided on the instrument
cluster to indicate when it is necessary to
have the emission control system serviced.
When the ignition switch is turned to “ON”
position or the engine switch is pressed to
change the ignition mode to ON, this light
comes on. When the engine is started, the
light goes out.
If the malfunction indicator light comes on
or blinks when the engine is running, there
is a damage in the emission control sys-
tem.
Bring the vehicle to your SUZUKI dealer to
have the damage fixed.
(For EU specifi cation vehicle)
Also, if this light comes on when the
engine is running, there is a problem with
the continuously variable transaxle system
or Auto Gear Shift system. Ask your
SUZUKI dealer to have the system
inspected.
Transaxle warning light (if equipped)
80J219
When the ignition switch is turned to “ON”
position or the engine switch is pressed to
change the ignition mode to ON, this light
comes on for several seconds so you can
check that the light is working.
If this light comes on when the engine is
running, there is a problem with the contin-
uously variable transaxle system or Auto
Gear Shift system. Ask your SUZUKI
dealer to have t he system inspected.
NOTE:
If the Auto Gear Shift clutch temperature
becomes too high, this light will blink. Stop
the vehicle in a safe place and let the sys-
tem cool down.
If the CVT fluid temperature becomes too
high, this light will blink. Stop the vehicle in
a safe place and let the fluid cool down.
NOTICE
Continuing to drive the vehicle when
the malfunction indicator light is on
or blinking can cause permanent
damage to the vehicle’s emission
control system, and can affect fuel
economy and driveability.