engine SUZUKI JIMNY 2020 Owner's Manual
[x] Cancel search | Manufacturer: SUZUKI, Model Year: 2020, Model line: JIMNY, Model: SUZUKI JIMNY 2020Pages: 421, PDF Size: 6.35 MB
Page 120 of 421
BEFORE DRIVING
If the dual sensor brake support indicator light, lane departure warning indicator light and high beam assist warning light stay on after restarting the engine, there may be a failure of the dual sensor. Ask a SUZUKI dealer to have the dual sensor inspected.
Under the following situations, the function of the dual sensor stops temporarily. When the situations are improved, the temporary stop of the function will be canceled. When the visibility of the dual sensor is poor.
• When the temperature of the body of dual sensor is high.
• When the systems related to the dual sensor brake support stop temporarily. • When the battery has a voltage abnor-mality.
For details, refer to "Dual sensor brake support (if equipped)" in "OPERATING YOUR VEHICLE" section.
2-49
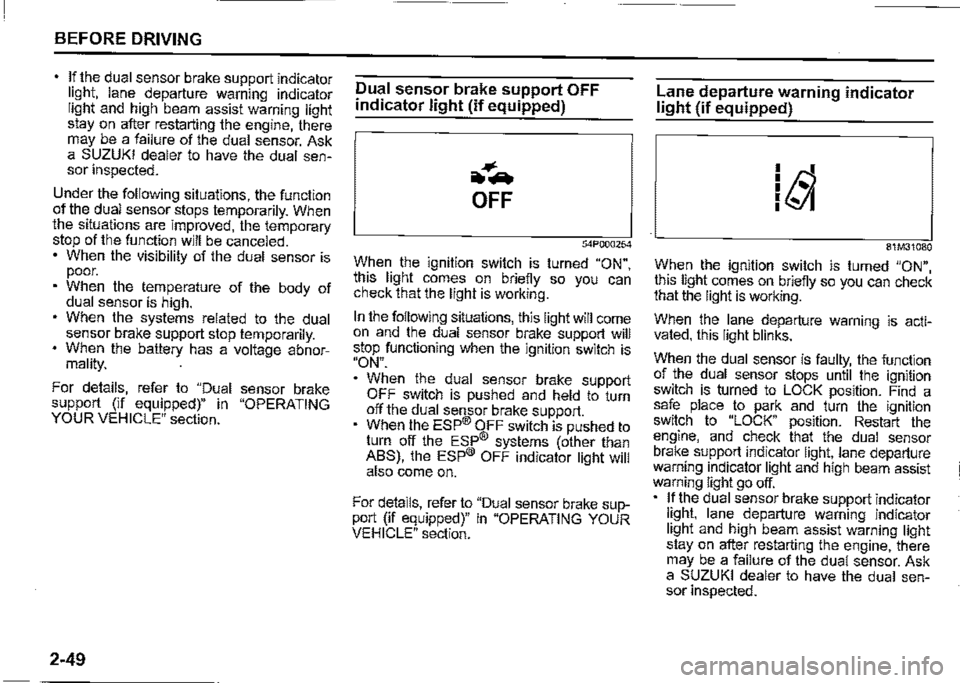
Dual sensor brake support OFF
indicator light (if equipped)
~-.
OFF
54P000254
When the ignition switch is turned "ON", this light comes on briefly so you can check that the light is working.
In the following situations, this light will come on and the dual sensor brake support will stop functioning when the ignition switch is "ON".
When the dual sensor brake support OFF switch is pushed and held to turn off the dual sensor brake support. When the ESP® OFF switch is pushed to turn off the ESP® systems (other than ABS), the ESP® OFF indicator light will also come on.
For details, refer to "Dual sensor brake support (if equipped)" in "OPERATING YOUR VEHICLE" section.
Lane departure warning indicator light (if equipped)
81M31080
When the ignition switch is turned "ON", this light comes on briefly so you can check that the light is working.
When the lane departure warning is activated, this light blinks.
When the dual sensor is faulty, the function of the dual sensor stops until the ignition switch is turned to LOCK position. Find a safe place to park and turn the ignition switch to "LOCK" position. Restart the engine, and check that the dual sensor brake support indicator light, lane departure warning indicator light and high beam assist warning light go off. If the dual sensor brake support indicator light, lane departure warning indicator light and high beam assist warning light stay on after restarting the engine, there may be a failure of the dual sensor. Ask a SUZUKI dealer to have the dual sensor inspected.
Page 122 of 421
BEFORE DRIVING
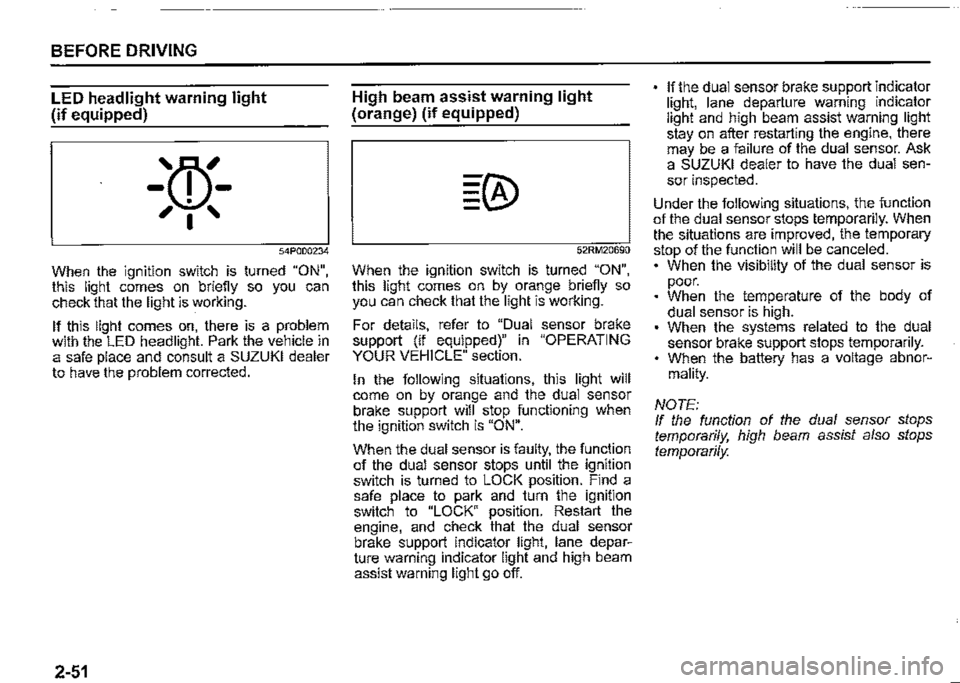
LED headlight warning light
(if equipped)
'm
-w.-, I '
54P000234
When the ignition switch is turned "ON", this light comes on briefly so you can check that the light is working.
If this light comes on, there is a problem with the LED headlight. Park the vehicle in a safe place and consult a SUZUKI dealer to have the problem corrected.
2-51
High beam assist warning light
(orange) (if equipped)
52RM20690
When the ignition switch is turned "ON", this light comes on by orange briefly so you can check that the light is working.
For details, refer to "Dual sensor brake support (if equipped)" in "OPERATING YOUR VEHICLE" section.
In the following situations, this light will come on by orange and the dual sensor brake support will stop functioning when the ignition switch is "ON".
When the dual sensor is faulty, the function of the dual sensor stops until the ignition switch is turned to LOCK position. Find a safe place to park and turn the ignition switch to "LOCK" position. Restart the engine, and check that the dual sensor brake support indicator light, lane departure warning indicator light and high beam assist warning light go off.
If the dual sensor brake support indicator light, lane departure warning indicator light and high beam assist warning light stay on after restarting the engine, there may be a failure of the dual sensor. Ask a SUZUKI dealer to have the dual sensor inspected.
Under the following situations, the function of the dual sensor stops temporarily. When the situations are improved, the temporary stop of the function will be canceled. • When the visibility of the dual sensor is poor. When the temperature of the body of dual sensor is high. When the systems related to the dual sensor brake support stops temporarily. When the battery has a voltage abnor
mality.
NOTE: If the function of the dual sensor stops temporarily, high beam assist also stops
temporarily.
Page 124 of 421
BEFORE DRIVING
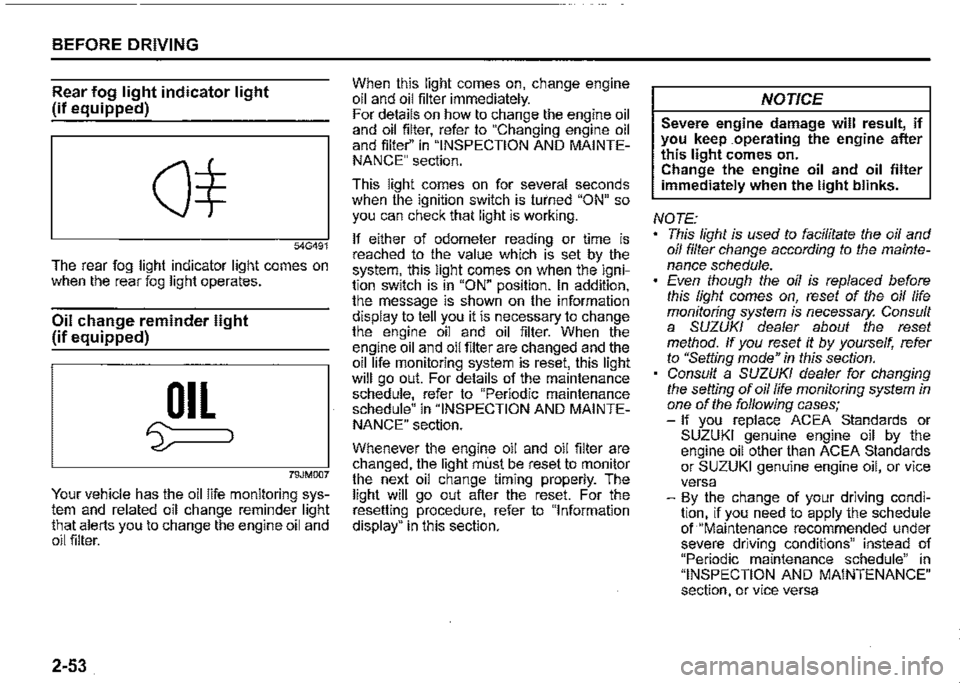
Rear fog light indicator light
(if equipped)
54G491
The rear fog light indicator light comes on when the rear fog light operates.
Oil change reminder light
(if equipped)
OIL
'5::===i
79JM007
Your vehicle has the oil life monitoring system and related oil change reminder light that alerts you to change the engine oil and oil filter.
2-53
When this light comes on, change engine oil and oil filter immediately. For details on how to change the engine oil and oil filter, refer to "Changing engine oil and filter'' in "INSPECTION AND MAINTENANCE" section.
This light comes on for several seconds when the ignition switch is turned "ON" so you can check that light is working.
If either of odometer reading or time is reached to the value which is set by the system, this light comes on when the ignition switch is in "ON" position. In addition, the message is shown on the information display to tell you it is necessary to change the engine oil and oil filter. When the engine oil and oil filter are changed and the oil life monitoring system is reset, this light will go out. For details of the maintenance schedule, refer to "Periodic maintenance schedule" in "INSPECTION AND MAINTENANCE" section.
Whenever the engine oil and oil filter are changed, the light must be reset to monitor the next oil change timing properly. The light will go out after the reset. For the resetting procedure, refer to "Information display" in this section.
NOTICE
Severe engine damage will result, if you keep .operating the engine after this light comes on. Change the engine oil and oil filter immediately when the light blinks.
NOTE: This light is used to facilitate the oil and oil filter change according to the maintenance schedule. Even though the oil is replaced before this light comes on, reset of the oil life monitoring system is necessary. Consult a SUZUKI dealer about the reset method. If you reset it by yourself, refer to "Setting mode" in this section. Consult a SUZUKI dealer for changing the setting of oil life monitoring system in one of the following cases; -If you replace ACEA Standards or SUZUKI genuine engine oil by the engine oil other than ACEA Standards or SUZUKI genuine engine oil, or vice versa -By the change of your driving condition, if you need to apply the schedule of "Maintenance recommended under severe driving conditions" instead of "Periodic maintenance schedule" in "INSPECTION AND MAINTENANCE" section, or vice versa
Page 125 of 421

Master warning indicator light
(if equipped)
68PM00278
When the ignition switch is turned "ON", this light comes on briefiy so you can check that the light is working.
When the information display shows warning and indicator messages, this indicator light may also blink.
For details, refer to "Information display" in this section.
4WD indicator light
78RB02078
· This indicator light comes on when the transfer gear and the air locking hubs are switched to 4-wheel drive condition ("4H" or "4L").
When the ignition switch is turned "ON", this 4WD indicator light will come on for a while and then this light will turned on or off according to the drive condition.
If 4WD indicator light continues to blink, there may be a malfunction of the system. If so, have the system inspected by your SUZUKI dealer.
When you shift the transfer lever from "2H" position to "4H" position at a speed of 100 km/h (60 mph) or more, this indicator light blinks.
When you shift transfer lever again while changing the drive condition, this indicator blinks.
BEFORE DRIVING
NOTE: When the drive condition is 4-wheel drive condition and the engine is not running with the ignition switch turned "ON", this 4WD indicator light will come on for a while and then blink. In this situation, when you start the engine and this indicator light comes on, the system does not indicate a malfunction.
Cruise indicator light (if equipped)
81P40090
When the cruise control system is activated, this light comes on.
2-54
Page 128 of 421

BEFORE DRIVING
To turn the lights on or off, twist the knob on the end of the lever. There are four positions:
OFF (1) All lights are off.
AUTO (2) This function works when the ignition switch is turned "ON". The headlights and position lights are turned on and off automatically according to the amount of outside light detected by the sensor. They go out automatically when you turn the ignition switch to "ACC" or "LOCK" position.
The light sensor (5) for sensing the amount of outside light is installed on the passenger's seat side instrument panel.
When headlights are turned on and the lighting control lever is in "AUTO" position, you can use the high beam assist (if equipped). For details, refer to "High beam assist" in "OPERATING YOUR VEHICLE" section.
2-57
A CAUTION
If the light sensor area of the windshield is covered with mud, ice1 or other similar substances, the headlights and position lights may be turned on even when it is still light outside.
NOTE: Avoid covering the light sensor area of the windshield with a sticker. The sticker may impair the performance of the sensor and make the system unable to control operation of the lights correctly. If you turned the ignition switch to "ON" position and "AUTO" position remains selected, the headlights and position lights come on automatically as it gets dark outside, even with the engine not running. Leaving the lights lit for a long time may lead to a completely discharged battery.
oOO~ (3) Front position lights, tail lights, license plate lights and instrument lights are on, but headlights are off.
~D (4) Front position lights, tail lights, license plate lights, instrument lights and headlights are on.
= IO · OFF 01
f,
68PM00230
With the headlights on, push the lever forward to switch to the high beams (main beams) or pull the lever toward you to switch to the low beams. When the high beams (main beams) are on, a light on the instrument cluster will come on. To momentarily activate the high beams (main beams) as a passing signal, pull the lever slightly toward you and release it when you have completed the signal.
Page 129 of 421
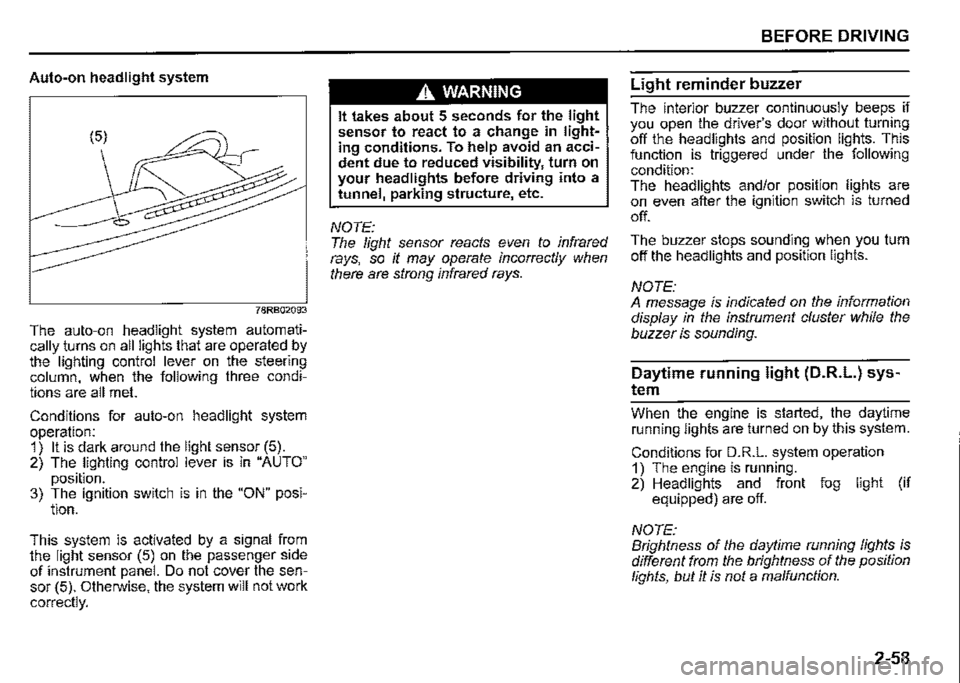
Auto-on headlight system
78RB02093
The auto-on headlight system automatically _turns on all lights that are operated by the lighting control lever on the steering column, when the following three conditions are all met.
Conditions for auto-on headlight system operation: 1) It is dark around the light sensor (5). 2) The lighting control lever is in "AUTO"
position. 3) The ignition switch is in the "ON" posi-tion.
This. system is activated by a signal from the light sensor (5) on the passenger side of instrument panel. Do not cover the sensor (5). Otherwise, the system will not work
correctly.
A WARNING
It takes about 5 seconds for the light sensor to react to a change in lighting conditions. To help avoid an accident due to reduced visibility, turn on your headlights before driving into a tunnel, parking structure, etc.
NOTE: The light sensor reacts even to infrared rays, so it may operate incorrectly when there are strong infrared rays.
BEFORE DRIVING
Light reminder buzzer
The interior buzzer continuously beeps if you open the driver's door without turning off the headlights and position lights. This function is triggered under the following condition: The headlights and/or position lights are on even after the ignition switch is turned
off.
The buzzer stops sounding when you turn off the headlights and position lights.
NOTE: A message is indicated on the information display in the instrument cluster while the buzzer is sounding.
Daytime running light (D.R.L.) sys
tem
Whe_n th_e engine is started, the daytime running lights are turned on by this system.
Conditions for D.R.L. system operation 1) The engine is running. 2) Headlights and front fog light (if equipped) are off.
NOTE: Brightness of the daytime running lights is different from the brightness of the position lights, but it is not a malfunction.
2-58
Page 139 of 421
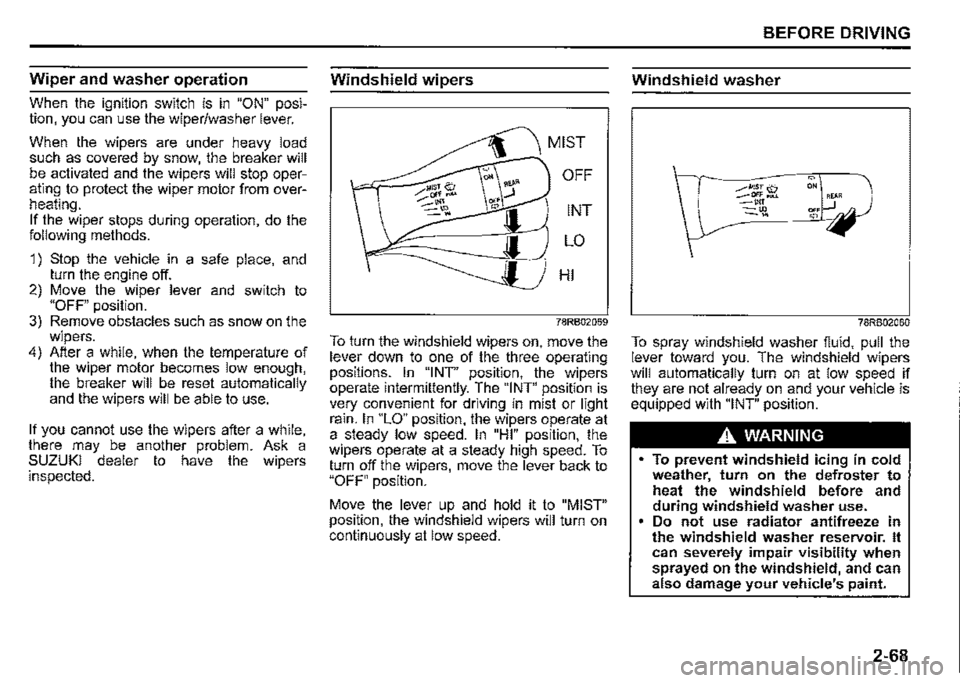
Wiper and washer operation
When the ignition switch is in "ON" position, you can use the wiper/washer lever.
When the wipers are under heavy load such as covered by snow, the breaker will be activated and the wipers will stop operating to protect the wiper motor from overheating. If the wiper stops during operation, do the following methods.
1) Stop the vehicle in a safe place, and turn the engine off. 2) Move the wiper lever and switch to "OFF" position. 3) Remove obstacles such as snow on the wipers. 4) After a while, when the temperature of the wiper motor becomes low enough, the breaker will be reset automatically and the wipers will be able to use.
If you cannot use the wipers after a while, there may be another problem. Ask a SUZUKI dealer to have the wipers inspected.
Windshield wipers
MIST
OFF
INT
LO
HI
78RB02059
To turn the windshield wipers on, move the lever down to one of the three operating positions. In "INT" position, the wipers operate intermittently. The "INT" position is very convenient for driving in mist or light rain. In "LO" position, the wipers operate at a steady low speed. In "HI" position, the wipers operate at a steady high speed. To turn off the wipers, move the lever back to "OFF" position.
Move the lever up and hold it to "MIST" position, the windshield wipers will turn on continuously at low speed.
BEFORE DRIVING
Windshield washer
78RB02060
To spray windshield washer fluid, pull the lever toward you. The windshield wipers will automatically turn on at low speed if they are not already on and your vehicle is equipped with "INT" position.
.A, WARNING
To prevent windshield icing in cold weather, turn on the defroster to heat the windshield before and during windshield washer use. Do not use radiator antifreeze in the windshield washer reservoir. It can severely impair visibility when sprayed on the windshield, and can also damage your vehicle's paint.
2-68
Page 142 of 421

BEFORE DRIVING
Heated rear window switch/
heated outside rearview
mirror switch (if equipped)
Type 1
(1)
78RB02064
2-71
Type2
78RB02065
When the rear window is misted, push this switch (1) to clear the window.
If the outside rearview mirror has the mark (2), it is also equipped with the heated outside rearview mirrors. When you push the switch (1 ), both the heated outside rearview mirrors and the heated rear window will operate simultaneously.
An indicator light will come on when the defogger is on. The defogger will work only when the engine is running. To turn off the defogger, push the switch (1) again.
NOTICE
The heated rear window and the heated outside rearview mirrors (if equipped) use a large amount of electricity. Turn off the switch after the window and mirrors have become clear.
NOTE: The defogger will work only when the engine is running. The defogger will automatically turn off after the defogger remains on for 15 minutes to prevent discharging of the lead-acid battery.
Page 144 of 421
BEFORE DRIVING
Maximum towing capacity (gross trailer weight; trailer with integrated drawbar, and cargo)
Braked trailer: 1300 kg (2866 lbs) Unbraked trailer: 350 kg (772 lbs)
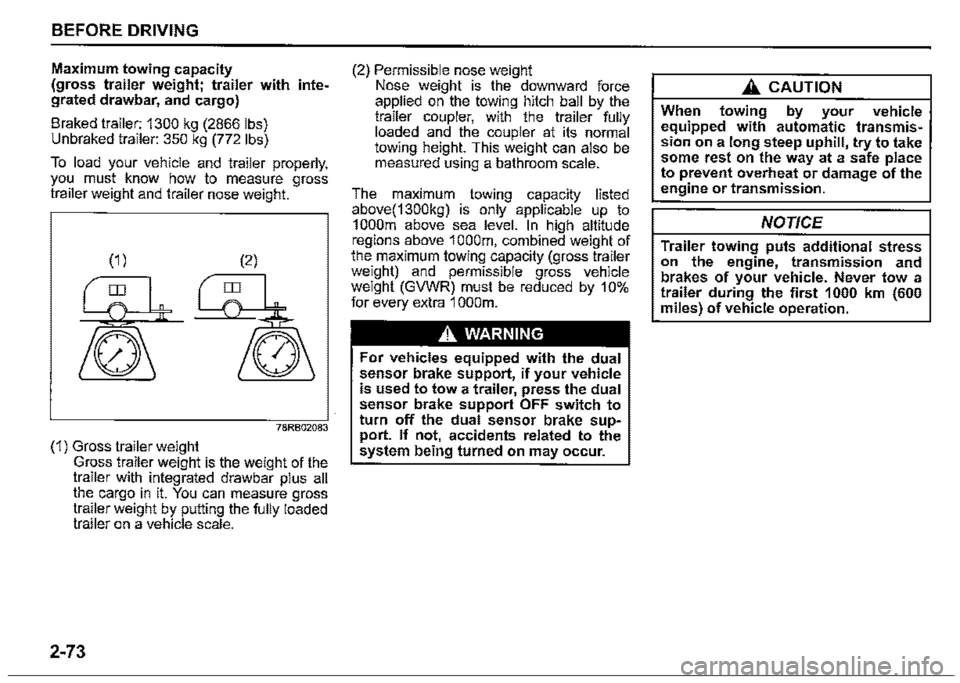
To load your vehicle and trailer properly, you must know how to measure gross trailer weight and trailer nose weight.
78RB02083
(1) Gross trailer weight Gross trailer weight is the weight of the trailer with integrated drawbar plus all the cargo in it. You can measure gross trailer weight by putting the fully loaded trailer on a vehicle scale.
2-73
(2) Permissible nose weight Nose weight is the downward force applied on the towing hitch ball by the trailer coupler, with the trailer fully loaded and the coupler at its normal towing height. This weight can also be measured using a bathroom scale.
The maximum towing capacity listed above(1300kg) is only applicable up to 1 000m above sea level. In high altitude regions above 1 000m, combined weight of the maximum towing capacity (gross trailer weight) and permissible gross vehicle weight (GVWR) must be reduced by 10% for every extra 1 000m.
A WARNING
For vehicles equipped with the dual sensor brake support, if your vehicle is used to tow a trailer, press the dual sensor brake support OFF switch to turn off the dual sensor brake support. If not, accidents related to the system being turned on may occur.
A CAUTION
When towing by your vehicle equipped with automatic transmission on a long steep uphill, try to take some rest on the way at a safe place to prevent overheat or damage of the engine or transmission.
NOTICE
Trailer towing puts additional stress on the engine, transmission and brakes of your vehicle. Never tow a trailer during the first 1000 km (600 miles) of vehicle operation.
Page 147 of 421
A WARNING
Your vehicle should be handled in a different way when towing a trailer. For the safety of yourself and others, observe the following precautions: Practice turning, stopping, and reversing before you begin towing a trailer in traffic. Do not tow a trailer in traffic until you are confident that you can handle the vehicle and trailer safely. Never exceed local towing speed limits or 80 km/h (50 mph), whichever is lower. Never drive at a speed that causes shaking or swaying of the trailer. If you notice even the slightest sign of shaking or swaying, slow down. • When roads are wet, slippery or rough, drive at a slower speed than you would on dry or smooth roads. Failure to slow down when road conditions are bad can result in loss of control. Always have someone guide you when reversing. (Continued)
A WARNING
(Continued) Always admit greater stopping distance. Stopping distance is increased when you tow a trailer. For each 16 km/h (10 mph) of speed, allow at least one vehicle and trailer length between you and the vehicle ahead. Allow a greater stopping distance if roads are wet or slippery. If the trailer has over-run brakes, apply the brakes gradually to avoid snatching caused by the trailer wheels locking. Slow down before corners and maintain a steady speed while cornering. Deceleration or acceleration while cornering can result in loss of control. Remember that a larger than normal turning radius is needed because the trailer wheels will go inside than vehicle's wheels. Avoid sudden acceleration and stopping of the vehicle. Do not make quick maneuvers unless they are necessary. Slow down in cross winds and be prepared for gusts of wind from large passing vehicles. (Continued)
BEFORE DRIVING
A WARNING
(Continued) Be careful when overtaking other vehicles. Allow enough room for your trailer before changing lanes, and use turn signal lights properly in advance. Slow down and shift into a lower gear for better engine braking before you reach long or steep downhill grades. It is hazardous to attempt downshifting while you are descending a hill. Do not step on the brake pedal excessively. This could cause the brakes to over-heat resulting in reduced braking efficiency. Use engine braking as much as possible. Because of the added trailer weight, your engine may overheat on hot days when going up long or steep hills. Pay attention to your engine coolant temperature. If it indicates overheating, pull off the road and stop the vehicle in a safe place. Refer to "Engine trouble: Overheating" in "EMERGENCY SERVICE" section.
2-76