stop start SUZUKI JIMNY 2020 Owner's Manual
[x] Cancel search | Manufacturer: SUZUKI, Model Year: 2020, Model line: JIMNY, Model: SUZUKI JIMNY 2020Pages: 421, PDF Size: 6.35 MB
Page 204 of 421

OPERATING YOUR VEHICLE
Braking
60G165S
The distance needed to bring any vehicle to a halt increases with the speed of the vehicle. The braking distance needed, for example, at 60 km/h (37 mph) will be approximately 4 times greater than the braking distance needed at 30 km/h (19 mph). Start to depress the brake pedal when there is plenty of distance between your vehicle and the stopping point, and slow down gradually.
3-53
A WARNING
If water gets into the brake devices, brake performance may become poor and unpredictable. After driving through water or washing the underside of the vehicle, test the brakes while driving at a slow speed to see if they have maintained their normal effectiveness. If the brakes are less effective than normal, dry them by repeatedly applying the brakes while driving slowly until the brakes have regained their normal effectiveness.
Power-assisted brakes
Your vehicle has power-assisted brakes. If power assistance is lost due to a stalled engine or other failures, the system is still fully operational on reserve power and you can bring the vehicle to a complete stop by pressing the brake pedal once and holding it down. The reserve power is partly used up when you depress the brake pedal and reduces each time the pedal is pressed. Apply smooth and even pressure to the pedal. Do not pump the pedal.
A WARNING
Even without reserve power in the brake system, you can still stop the vehicle by pressing the brake pedal harder than normally required. However, the stopping distance may be
longer.
Brake assist system
When you slam the brakes on, the brake assist system determines it to be an emergency stop and provides more powerful braking for a driver who cannot hold down the brake pedal firmly.
Page 205 of 421
Anti-lock brake system (ABS)
ABS will help you avoid skidding by electronically controlling braking pressure. It will also help you maintain steering control when braking on slippery surfaces or when braking hard. The ABS works automatically, so you do not need any special braking technique. Just push the brake pedal down without pumping. The ABS will operate whenever it senses that the wheels are locking up. You may feel the brake pedal move a little while the ABS is operating.
NOTE: The ABS will not work if vehicle speed is under about 9 km/h (6 mph). ff the ABS system is activated, you may hear a clunking noise and/or feel pulsating in the brake pedal. This is normal and indicates that the brake fluid pressure is being controlled properly. You may hear an operation sound when you start the engine or after the vehicle begins to move. This means that the above systems are in the self-check mode. This sound does not indicate a malfunction.
A WARNING
On some types of loose surfaces (such as gravel, snow-covered roads, etc.), the stopping distance required for a vehicle with ABS may be slightly greater than the one required for a comparable vehicle with a conventional brake system. With a conventional brake system, skidding tyres are able to plow the gravel or snow layer, shortening the stopping distance. ABS minimizes this resistance effect. Allow for extra stopping distance when driving on loose surfaces. On regular paved roads, some drivers may be able to obtain slightly shorter stopping distances with conventional brake systems than with ABS. In both of the above conditions, ABS will still offer the advantage of helping you maintain directional control. However, remember that ABS will not compensate for bad road or weather conditions or poor driver judgment. Use good judgment and do not drive too fast.
OPERATING YOUR VEHICLE
(8) (CD)
(1) (2)
54MN069
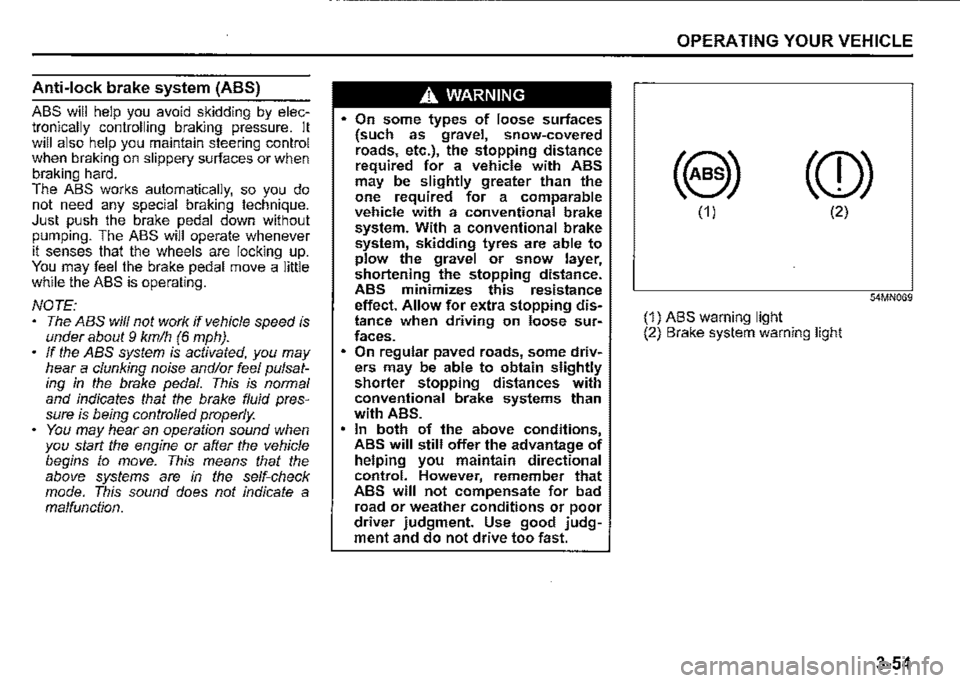
(1) ABS warning light (2) Brake system warning light
3-54
Page 206 of 421
OPERATING YOUR VEHICLE
A WARNING
If the ABS warning light (1) on the instrument cluster comes on and stays on while driving, there may be a problem with the ABS system. Ask a SUZUKI dealer to inspect the ABS system immediately. If the ABS system becomes inoperative, the brake system will function as an ordinary brake system that has no ABS. If the ABS warning light (1) and the brake system warning light (2) on the instrument cluster simultaneously stay on or come on while driving, both anti-lock function and rear brake force control function (proportioning valve function) of the ABS system may have failed. If so, the rear wheels may easily skid or the vehicle can even spin in the worst case when braking on a slippery road or when hard braking even on a dry paved road. Ask a SUZUKI dealer to inspect the ABS system immediately. Drive carefully, avoiding hard braking as much as possible.
3-55
How ABS works
A computer continuously monitors wheel speed. The computer compares the changes in wheel speed when braking. If the wheels slow suddenly. indicating a skidding situation, the computer will change braking pressure several times each second to prevent the wheels from locking. When you start your vehicle or when you accelerate after a hard stop. you may hear a momentary motor or clicking noise as the system resets or checks itself.
A WARNING
The ABS may not work properly if tyres or wheels other than those specified in the owner's manual are used. This is because the ABS works by comparing changes in wheel speed. When replacing tyres or wheels, use only the size and type specified in this owner's manual.
Electronic stability program
(ESP®)
ESP® is a registered trademark of Daimler
AG.
The Electronic Stability Program (ESP®) helps to control the vehicle during cornering if front wheels or rear wheels skid. It also assists you in maintaining traction while accelerating on loose or slippery road surfaces. It does this by regulating the engine's output, and by_ . selective!¥ applying the brakes. In add1t1on, ESP helps to avoid skidding by controlling braking pressure.
A WARNING
The ESP® cannot enhance the vehicle's driving stability in all situations and does not control your vehicle's entire braking system. The ESP® cannot prevent accidents, including those resulting from excessive speed in turns, or hydroplaning. Only safe and attentive drive can prevent accidents. The capabilities of an ESP®
equipped vehicle must never be used as a substitute for careful driving.
Page 212 of 421
OPERATING YOUR VEHICLE
NOTE: If the hill descent control indicator blinks when you push the hill descent control switch, check the following conditions. • The transfer lever is in 4-wheel drive high range position ("4H'? or 4-wheel drive low range position("4L '? • The gearshift lever is in a forward gear or reverse gear • The vehicle speed is under 25 km/h (15 mph) • The brake system is under normal oper-ating temperature
NOTE: If any of the following conditions occur, there may be a problem with the hill descent control system or the ESP8 system. Have your vehicle inspected by a SUZUKI dealer. The hill descent control indicator does not come on or blink when you push the hill descent control switch. The hill descent control indicator stays on when driving without pushing the hill descent control switch.
3-61
ESP
HILL HOLD DISABLE
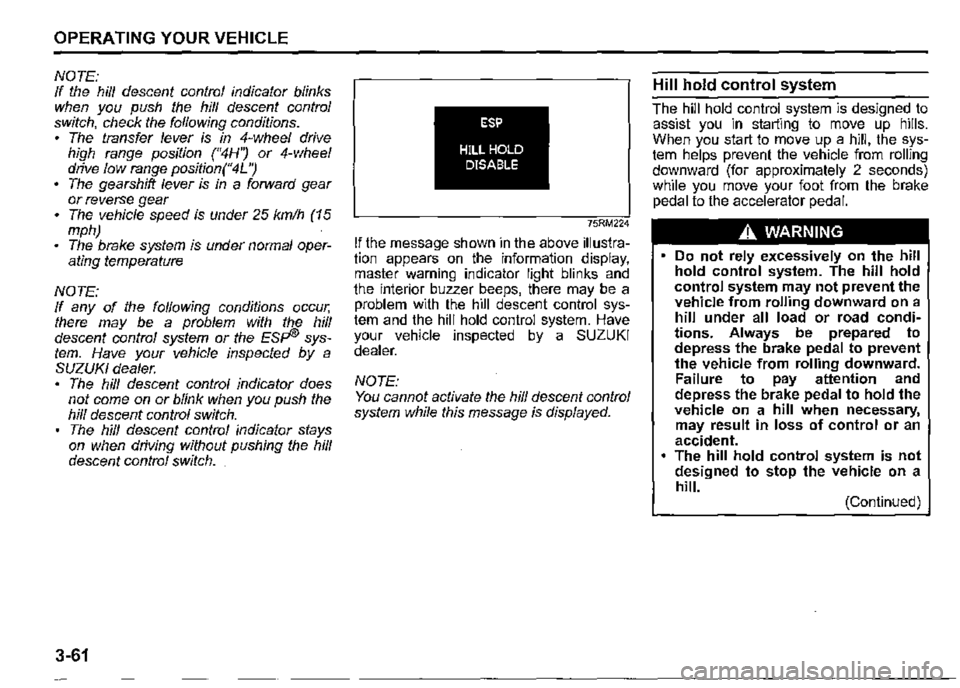
75RM224
If the message shown in the above illustration appears on the information display, master warning indicator light blinks and the interior buzzer beeps, there may be a problem with the hill descent control system and the hill hold control system. Have your vehicle inspected by a SUZUKI dealer.
NOTE: You cannot activate the hill descent control system while this message is displayed.
Hill hold control system
The hill hold control system is designed to assist you in starting to move up hills. When you start to move up a hill, the system helps prevent the vehicle from rolling downward (for approximately 2 seconds) while you move your foot from the brake pedal to the accelerator pedal.
A WARNING
• Do not rely excessively on the hill hold control system. The hill hold control system may not prevent the vehicle from rolling downward on a hill under all load or road conditions. Always be prepared to depress the brake pedal to prevent the vehicle from rolling downward. Failure to pay attention and depress the brake pedal to hold the vehicle on a hill when necessary, may result in loss of control or an accident. The hill hold control system is not designed to stop the vehicle on a hill. (Continued)
Page 221 of 421
If you stop the vehicle and turn the ignition switch to "LOCK" position, and leave it for 20 minutes or more, tyre pressure wi/1 be reset and will be indicated as 0 kPa when the engine is restarted. In this case, the current tyre pressure indication will recover after driving for a while. However, if any of tyre pressures has been detected as low pressure before stopping the engine, the tyre pressure indication may not recover and may be indicated as "---".
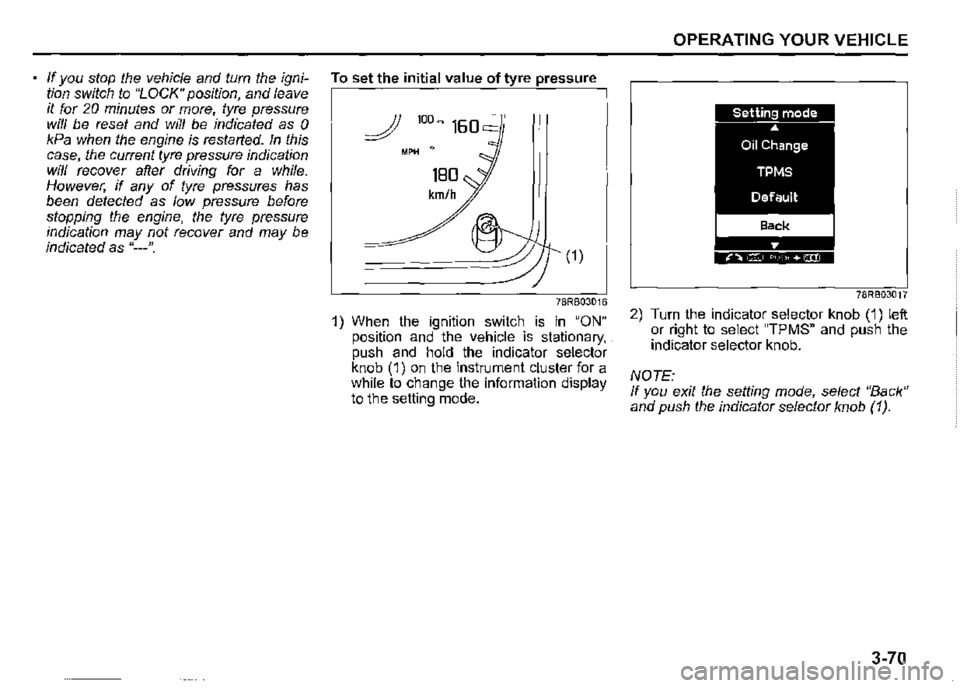
To set the initial value of tyre pressure
(1)
78RB03016
1) When the ignition switch is in "ON" position and the vehicle is stationary, . push and hold the indicator selector knob (1) on the instrument cluster for a while to change the information display to the setting mode.
OPERATING YOUR VEHICLE
78RB03017
2) Turn the indicator selector knob (1) left or right to select "TPMS" and push the indicator selector knob.
NOTE: If you exit the setting mode, select "Back" and push the indicator selector knob (1 ).
3-70
Page 230 of 421
DRIVING TIPS
NOTICE
Avoid driving in a flooded area or a deep puddle. It may cause an engine stall, short in electrical components, engine and transmission damages, etc.
4-7
Do not drive through deep or rush
ing water
Driving in deep or rushing water can be hazardous. You could lose control of the vehicle and the occupants could drown. Also, your vehicle could be seriously damaged. To avoid these risks, observe the following instructions and precautions. Do not drive through deep or rushing water. Deep or rushing water, such as fast-moving streams or fioodwaters, could carry your vehicle away from your intended path. The water is too deep if it covers your wheel hubs, axles, or exhaust tailpipe. Know the depth of the water before you attempt to drive through it.
If the vehicle goes across the river unavoidably, follow the instructions below before going across the river. 1) Confirm the depth of the river and the terrain. 2) Select the place which is less than 30cm (11.8 inch) in depth of water. Go across the river to a right angle for the river or lower part of the river 3) Drive slowly at less than 5 km/h (3.1 mph) not to raise the wave and go across the river immediately to avoid operating the gearshift lever.
If the vehicle goes across the river that is more than 30 cm (11.8 inch) in depth of water unavoidably, stop the vehicle in a safe place while checking the brake effectiveness. Then, ask a SUZUKI dealer or a qualified workshop to check the following
inspection items. Function of brake Function of electrical components Changes of oil level and quality for engine, transmission and differential. In case that the oil is turbid whitely, water has been mixed in the oil and an oil change is required. Lubricant condition of the bearings, suspension joints, etc. If water blocks the tailpipe, the engine may not start or run. If the water is deep enough to get drawn into the engine intake system, the engine will be badly damaged. Submerged brakes will have poor braking performance. Drive slowly and carefully. Driving slowly will also help avoid water splashing onto the ignition system, which could cause the engine to stall. Even when driving through shallow or still waters, drive carefully since the water may be hiding ground hazards such as holes, ditches, or bumps.
Page 231 of 421

A WARNING
In addition to following the driving tips in this section, it is important to observe the following precautions for on-road and off-road driving. Driver and passengers should wear seat belts at all times. Do not let anyone else drive your vehicle unless they are also aware of the vehicle characteristics and handling differences described in this section. Avoid loaning your vehicle to any• one unless you accompany them. Make sure your tyres are in good condition and always maintain the specified tyre pressure. Refer to "Tyres" in the "INSPECTION AND MAINTENANCE" section for details. Do not use tyres other than those specified by SUZUKI. Never use dif• ferent sizes or types of tyres on the front and rear wheels. For informa• lion regarding the specified tyres, refer to the "SPECIFICATIONS" section. Never use oversized tyres or special shock absorbers and springs to raise uack up) your vehicle. This will raise the center of gravity of the vehicle and change its handling characteristics. (Continued)
A WARNING
(Continued) After driving through water, mud, or sandy ground, test the brakes while driving at a slow speed to see if they have maintained their nor• mal effectiveness. If the brakes are less effective than normal, dry them by repeatedly applying the brakes while driving slowly until the brakes have regained their nor• mal effectiveness. After extended operation in mud, sand, or water, have the brakes, bearings and joint parts etc. inspected by a SUZUKI dealer as soon as possible.
DRIVING TIPS
Running-in
NOTICE
The future performance and reliabil• ity of the engine depends on the care and restraint exercised during its early life. It is especially important to observe the following precautions during the first 960 km (600 miles) of vehicle operation. • After starting, do not race the engine. Warm ii up gradually. • Avoid prolonged vehicle operation at a constant speed. Moving parts will break in better if you vary your speed. Start off from a stop slowly. Avoid full throttle starts. Avoid hard braking, especially during the first 320 km (200 miles) of driving. Do not drive slowly with the !rans• mission in a high gear. Drive the vehicle at moderate engine speeds. Do not tow a trailer during the first 960 km (600 miles) of vehicle oper• ation.
4-8
Page 233 of 421
Improving fuel economy
The following instructions will help you improve fuel economy.
Avoid excessive idling If you park your vehicle for more than one minute, stop the engine and start it again later. When warming up a cold engine, do not allow the engine to idle or apply full throttle until the engine has reached operating temperature. Allow the engine to warm up by driving.
Avoid fast starts F~st starts away from lights or stop signs will consume fuel unnecessarily and shorten engine life. Start off slowly.
Avoid unnecessary stops Avoid unnecessary deceleration and stopping. Try to maintain a moderate, steady speed whenever possible. Slowing down and then accelerating again uses more fuel.
Keep a steady cruising speed Drive at a constant speed that road and traffic conditions will permit.
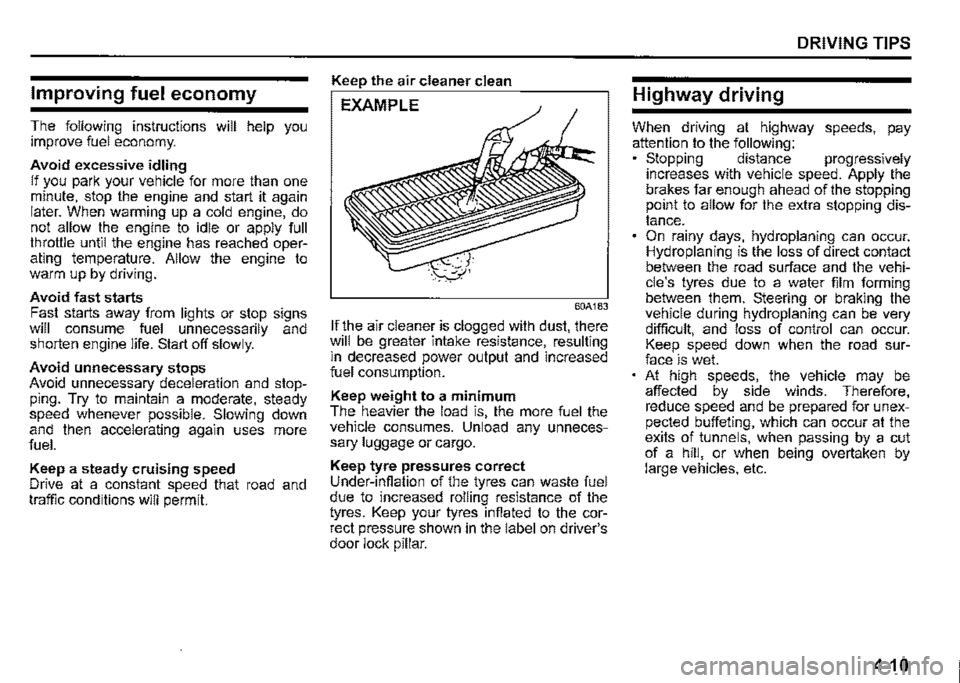
Keep the air cleaner clean
EXAMPLE
60A183
If the air cleaner is clogged with dust, there will be greater intake resistance, resulting m decreased power output and increased fuel consumption.
Keep weight to a minimum The heavier the load is, the more fuel the vehicle consumes. Unload any unnecessary luggage or cargo.
Keep tyre pressures correct Under-infiation of the tyres can waste fuel due to increased rolling resistance of the tyres. Keep your tyres infiated to the correct pressure shown in the label on driver's door lock pillar.
DRIVING TIPS
Highway driving
When driving at highway speeds, pay attention to the following: • Stopping distance progressively increases with vehicle speed. Apply the brakes far enough ahead of the stopping prnnt to allow for the extra stopping distance. On rainy days, hydroplaning can occur. Hydroplaning is the loss of direct contact between the road surface and the vehicle's tyres due to a water film forming between them. Steering or braking the vehicle during hydroplaning can be very difficult, and loss of control can occur. Keep speed down when the road surface is wet. At high speeds, the vehicle may be affected by side winds. Therefore, reduce speed and be prepared for unexpected buffeting, which can occur at the exits of tunnels, when passing by a cut of a hill, or when being overtaken by large vehicles, etc.
4-10
Page 277 of 421
Selecting the reception band
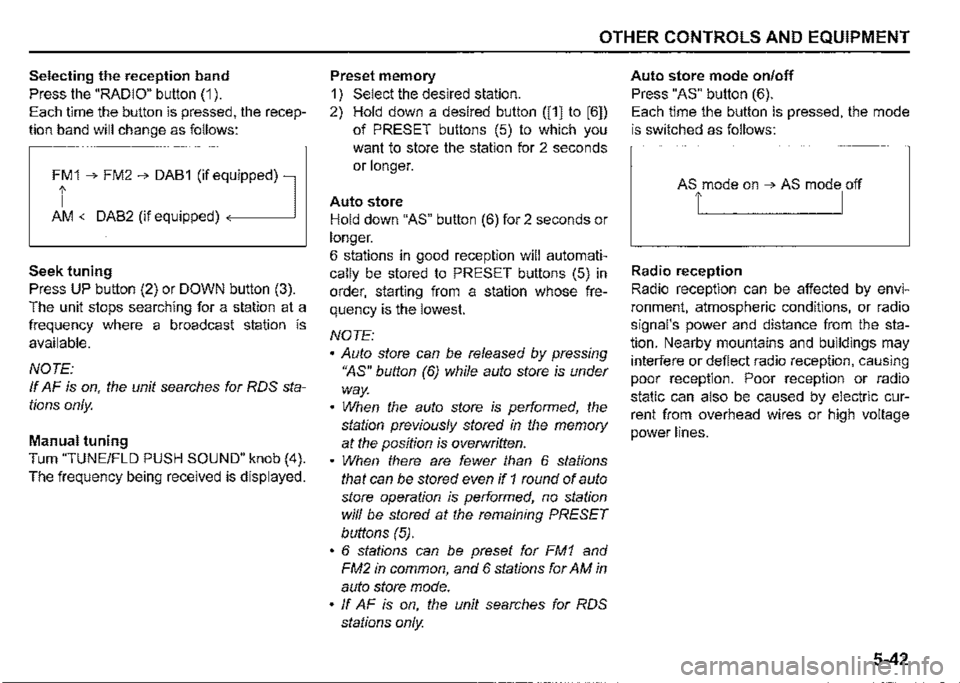
Press the "RADIO" button (1 ).
Each time the button is pressed, the recep
tion band will change as follows:
Ff 1 ➔ FM2 ➔ DAB1 (if eq,uipped) l
AM <-DAB2 (if equipped)
Seek tuning
Press UP button (2) or DOWN button (3).
The unit stops searching for a station at a
frequency where a broadcast station is
available.
NOTE:
If AF is on, the unit searches for RDS sta
tions only.
Manual tuning
Turn "TUNE/FLO PUSH SOUND" knob (4).
The frequency being received is displayed.
OTHER CONTROLS AND EQUIPMENT
Preset memory
1) Select the desired station.
2) Hold down a desired button ([1] to [6])
of PRESET buttons (5) to which you
want to store the station for 2 seconds
or longer.
Auto store
Hold down "AS" button (6) for 2 seconds or
longer.
6 stations in good reception will automati
cally be stored to PRESET buttons (5) in
order, starting from a station whose fre
quency is the lowest.
NOTE:
• Auto store can be released by pressing
"AS" button (6) while auto store is under
way.
• When the auto store is performed, the
station previously stored in the memory
at the position is overwritten.
• When there are fewer than 6 stations
that can be stored even if 1 round of auto
store operation is performed, no station
will be stored at the remaining PRESET
buttons (5).
• 6 stations can be preset for FM1 and
FM2 in common, and 6 stations for AM in
auto store mode.
• ff AF is on, the unit searches for RDS
stations only.
Auto store mode on/off
Press "AS" button (6).
Each time the button is pressed, the mode
is switched as follows:
Radio reception
Radio reception can be affected by envi
ronment, atmospheric conditions, or radio
signal's power and distance from the sta
tion. Nearby mountains and buildings may
interfere or deflect radio reception, causing
poor reception. Poor reception or radio
static can also be caused by electric cur
rent from overhead wires or high voltage
power lines.
5-42
Page 279 of 421
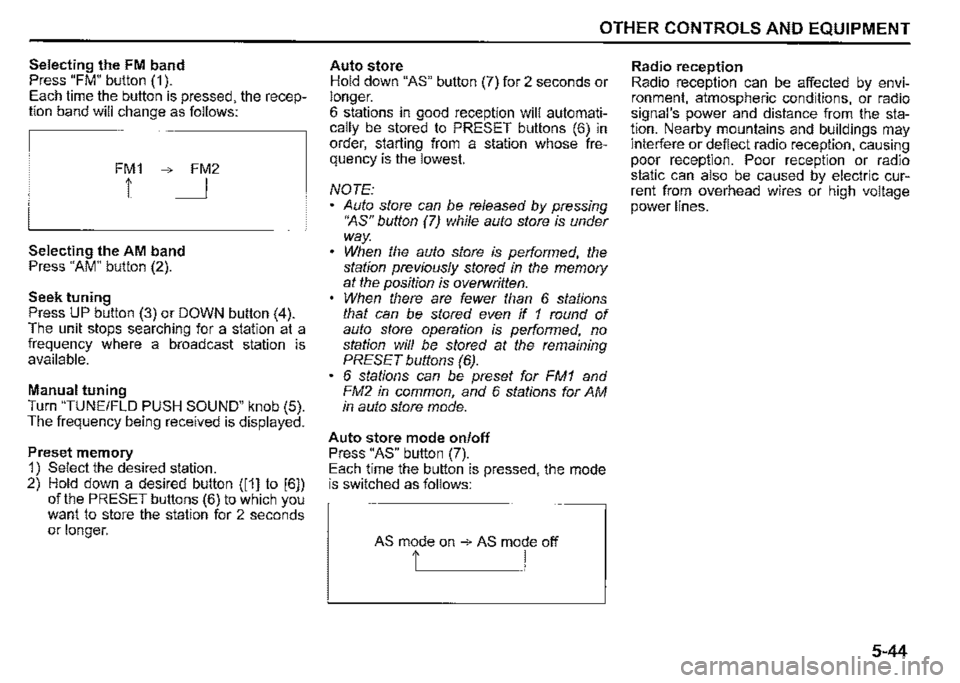
Selecting the FM band Press "FM" button (1 ). Each time the button is pressed, the reception band will change as follows:
FM1 ➔ FM2
1 I
Selecting the AM band Press "AM" button (2).
Seek tuning Press UP button (3) or DOWN button (4). The unit stops searching for a station at a frequency where a broadcast station is available.
Manual tuning Turn "TUNE/FLO PUSH SOUND" knob (5). The frequency being received is displayed.
Preset memory 1) Select the desired station. 2) Hold down a desired button ([1] to [6]) of the PRESET buttons (6) to which you want to store the station for 2 seconds or longer.
OTHER CONTROLS AND EQUIPMENT
Auto store Hold down "AS" button (7) for 2 seconds or longer. 6 stations in good reception will automatically be stored to PRESET buttons (6) in order, starting from a station whose frequency is the lowest.
NOTE: Auto store can be released by pressing •~s" button (7) while auto store is under way. When the auto store is performed, the station previously stored in the memory at the position is overwritten. When there are fewer than 6 stations that can be stored even if 1 round of auto store operation is performed, no station will be stored at the remaining PRESET buttons (6). 6 stations can be preset for FM1 and FM2 in common, and 6 stations for AM in auto store mode.
Auto store mode on/off Press "AS" button (7). Each time the button is pressed, the mode is switched as follows:
AS mode on ➔ AS mode off
t I
Radio reception Radio reception can be affected by environment, atmospheric conditions, or radio signal's power and distance from the station. Nearby mountains and buildings may interfere or deflect radio reception, causing poor reception. Poor reception or radio static can also be caused by electric current from overhead wires or high voltage power lines.
5-44