stop start SUZUKI SWIFT 2017 5.G Owner's Manual
[x] Cancel search | Manufacturer: SUZUKI, Model Year: 2017, Model line: SWIFT, Model: SUZUKI SWIFT 2017 5.GPages: 336, PDF Size: 6.24 MB
Page 118 of 336
4-1DRIVING TIPS
67LH3-74E
74LHM0401
Running-inCatalytic Converter
74LHM0402
The purpose of the catalytic converter is to
minimize the amount of harmful pollutants
in your vehicle’s exhaust. Use of leaded
fuel in vehicles equipped with catalytic
converters is prohibited, because lead
deactivates the pollutant-reducing compo-
nents of the catalyst system.
The converter is designed to last the life of
the vehicle under normal usage and when
unleaded fuel is used. No special mainte-
nance is required on the converter. How-
ever, it is very important to keep the engine
properly tuned. Engine misfiring, which can
result from an improperly tuned engine,
may cause overheating of the catalyst.
This may result in permanent heat damage
to the catalyst and other vehicle compo-
nents.
WA R N I N G
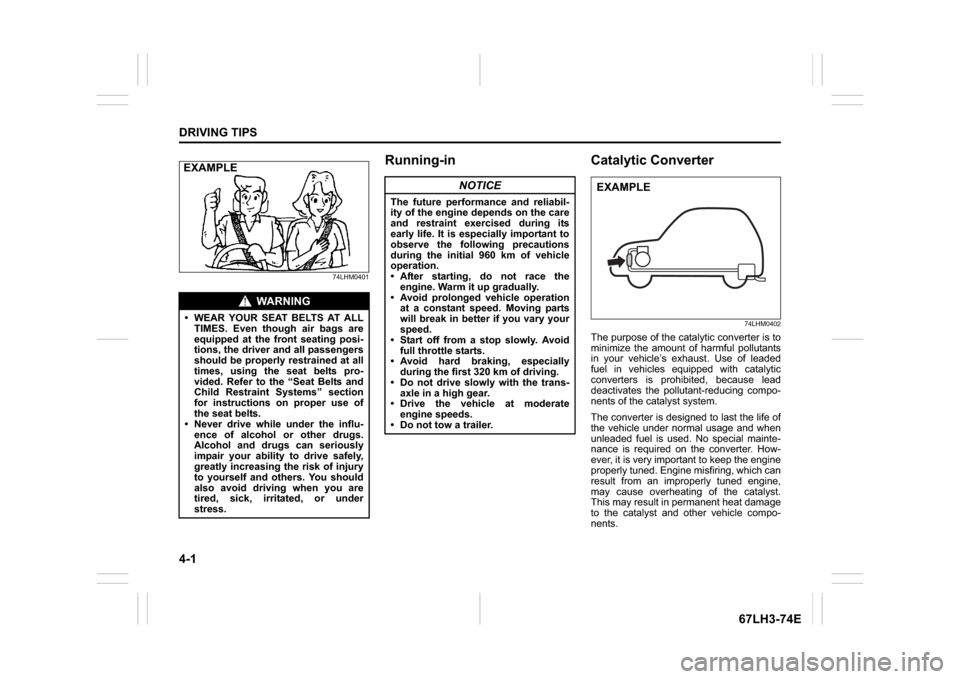
WEAR YOUR SEAT BELTS AT ALL
TIMES. Even though air bags are
equipped at the front seating posi-
tions, the driver and all passengers
should be properly restrained at all
times, using the seat belts pro-
vided. Refer to the “Seat Belts and
Child Restraint Systems” section
for instructions on proper use of
the seat belts.
Never drive while under the influ-
ence of alcohol or other drugs.
Alcohol and drugs can seriously
impair your ability to drive safely,
greatly increasing the risk of injury
to yourself and others. You should
also avoid driving when you are
tired, sick, irritated, or under
stress.EXAMPLE
NOTICE
The future performance and reliabil-
ity of the engine depends on the care
and restraint exercised during its
early life. It is especially important to
observe the following precautions
during the initial 960 km of vehicle
operation.
After starting, do not race theengine. Warm it up gradually.
Avoid prolonged vehicle operation at a constant speed. Moving parts
will break in better if you vary your
speed.
Start off from a stop slowly. Avoid
full throttle starts.
Avoid hard braking, especially during the first 320 km of driving.
Do not drive slowly with the trans- axle in a high gear.
Drive the vehicle at moderate
engine speeds.
Do not tow a trailer.
EXAMPLE
Page 119 of 336
4-2
DRIVING TIPS
67LH3-74E
74LHM0403
Improving Fuel EconomyThe following instructions will help you
improve fuel economy.
Avoid excessive idling
If you are to wait for more than a minute
while you are parked, stop the engine and
start it again later. When warming up a
cold engine, do not allow the engine to idle
or apply full throttle until the engine has
reached operating temperature. Allow the
engine to warm up by driving.
Avoid sudden acceleration
Sudden acceleration starting from rest or
while driving will consume fuel unneces-
sarily and shorten engine life. Start off
slowly.
Avoid unnecessary stops
Avoid unnecessary deceleration and stop-
ping. Try to maintain a slow, steady speed
whenever possible. Slowing down and
then accelerating again uses more fuel.
Keep a steady cruising speed
Keep as constant a speed as road and
traffic conditions will permit.
NOTICE
To minimize the possibility of catalyst
or other vehicle damage:
Maintain the engine in the properoperating condition.
In the event of an engine malfunc- tion, particularly one involving
engine misfire or other apparent
loss of performance, have the vehi-
cle serviced promptly.
Do not turn off the engine or inter- rupt the ignition when the transaxle
is in gear and the vehicle is in
motion.
Do not try to start the engine by pushing or towing the vehicle, or
coasting down a hill.
Do not idle the engine with any spark plug wires disconnected or
removed, such as during diagnos-
tic testing.
Do not idle the vehicle for pro-
longed periods if idling seems
rough or there are other malfunc-
tions.
Do not allow the fuel tank to get near the empty level.
Avoid driving your vehicle at
excessively high engine speeds, in
or around the red zone of the
tachometer (if equipped).
WA R N I N G
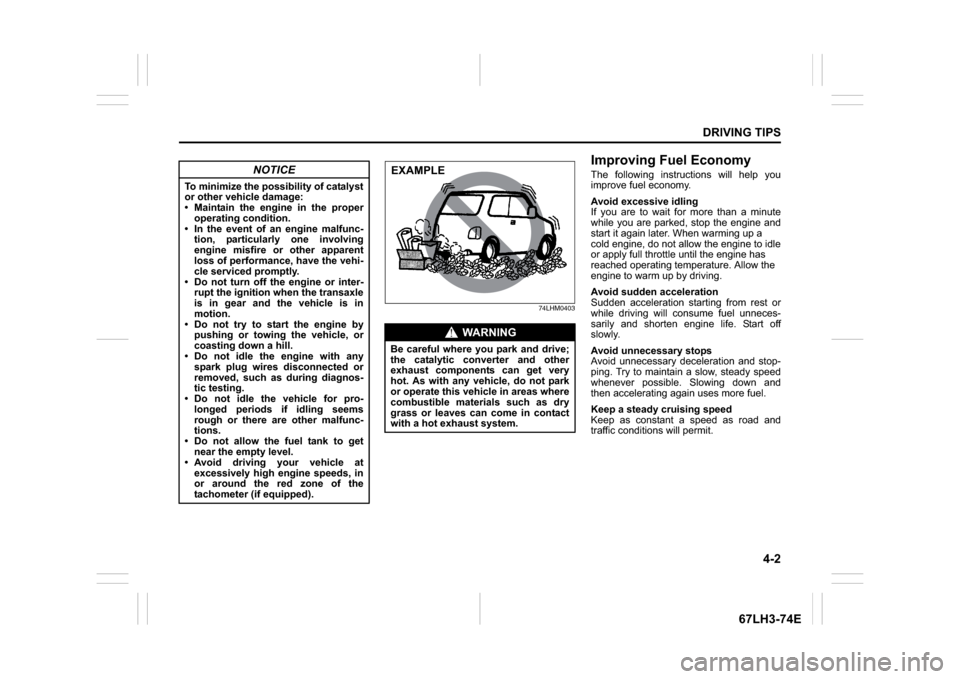
Be careful where you park and drive;
the catalytic converter and other
exhaust components can get very
hot. As with any vehicle, do not park
or operate this vehicle in areas where
combustible materials such as dry
grass or leaves can come in contact
with a hot exhaust system.EXAMPLE
Page 121 of 336
4-4
DRIVING TIPS
67LH3-74E
Tire ChainsTire chains should only be used if they are
needed to increase traction or are required
by law. Make sure that the chains you use
are the correct size for your vehicle’s tires.
Also make sure that there is enough clear-
ance between the fenders and the chains
as installed on the tires.
Install the chains on the front tires tightly,
according to the chain manufacturer’s
instructions. Retighten the chains after
driving about 1.0 km if necessary. With the
chains installed, drive slowly.
NOTICE
If you hear the chains hittingagainst the vehicle body while driv-
ing, stop and tighten them.
If your vehicle is equipped with full wheel caps, remove the wheel caps
before installing the chains or the
wheel caps can be damaged by the
chain bands.
brake firmly so that the
74LH M0407
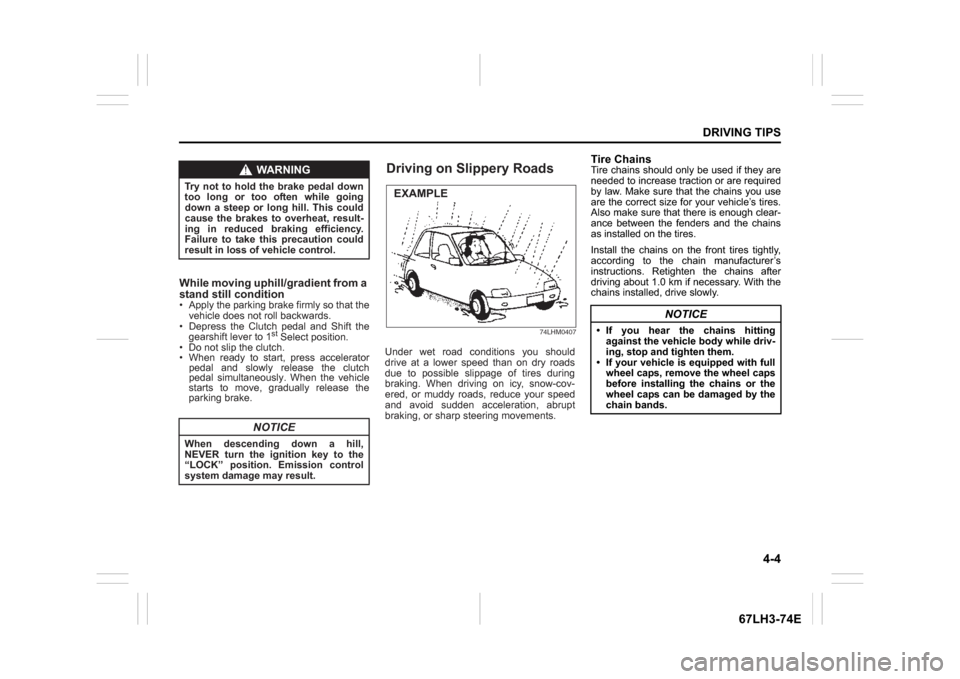
Under wet road conditions you should
drive at a lower speed th an on dry roads
d ue to po ssible slipp age of tires during
braking. When driving on icy, snow-cov-
ered, or mud dy road s, re duce yo ur speed
a nd avoid sudden accele ration, ab rupt
braking, or sharp steering movements.
WARNING
Try not to hold the brake pedal down
too lo ng or too of ten while going
down a steep or long hill. This could
cause the brak es to ov erheat, re sult-
ing in redu ced braking ef ficiency.
Fa ilure to ta ke this pr ecaution could
resu lt in lo ss of vehicle control.
NOTICE
When d escending down a hill,
NEVER turn the ignition key to the “L OCK” po sition. Emission control
system damage may result.
Apply the
parking
vehicle does not roll backwards.
Dep ress the Clutch pedal and Shift the
gearshift lever to 1
st Sel ect position.
Do not slip the clutch. W hen ready to start, press accelerator
pedal and s lowly release the c lutch
pedal simultane ously. When the vehicle
starts to move, gradua lly release the
parking brake.
While mov ing uph ill/gradient from a
stand still c ondition
Driving on Slippery RoadsEXAMPLE
Page 123 of 336
4-6
DRIVING TIPS
67LH3-74E
74LHM0408
Do’s and Dont’s for Safe
DrivingExercise care in handling your vehicle. Be
conscious of not only your own safety but
also the safety of others on the road, and
thus enjoy the best and most comfortable
driving experience.
Following are basic rules for safe driving.
Read them carefully for good understand-
ing of the content so that you can enjoy
safe and pleasant driving in your vehicle.Starting1) Adjust the driver’s seat for the proper driving posture.
2) Adjust the rear view mirror so as to obtain the best po ssible rear view.
74LHM0409
3) Before moving, look around your vehi-
cle to confirm safety.
4) Don’t accelerate suddenly, since it is
dangerous and wastes fuel.General driving1) Be sure to stop before a stop light orstop sign. When moving into an inter-
section without any traffic lights or
signs, drive slowly to confirm safety.
2) Always follow other vehicles at a safe
distance in order to prevent a rear-end
collision, in case the vehicle ahead
makes a sudden stop.
74LHM0410
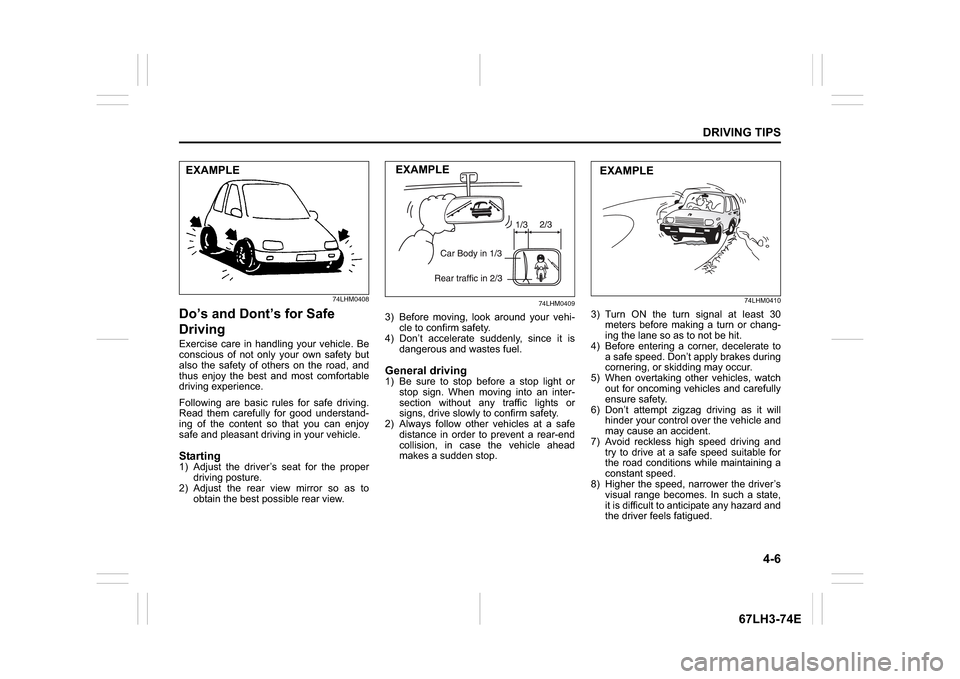
3) Turn ON the turn signal at least 30meters before making a turn or chang-
ing the lane so as to not be hit.
4) Before entering a corner, decelerate to a safe speed. Don’t apply brakes during
cornering, or skidding may occur.
5) When overtaking other vehicles, watch out for oncoming vehicles and carefully
ensure safety.
6) Don’t attempt zigzag driving as it will hinder your control over the vehicle and
may cause an accident.
7) Avoid reckless high speed driving and try to drive at a safe speed suitable for
the road conditions while maintaining a
constant speed.
8) Higher the speed, narrower the driver’s visual range becomes. In such a state,
it is difficult to anticipate any hazard and
the driver feels fatigued.
EXAMPLE
EXAMPLE
EXAMPLE
Page 140 of 336
5-13OTHER CONTROLS AND EQUIPMENT
74LH0-74E
(if equipped)
The
® word mark and logo are registered
trademarks and are owned by the SIG,
Ink.
Stop using this unit and a
® ready
device whenever requested.
This unit shares the communication fre-
quency with other private or public wireless
communication equipment such as a wire-
less LAN and other wireless communica-
tion radios.
You should stop using this unit whenever
you are notified that your unit disturbs
other wireless communication immediately.
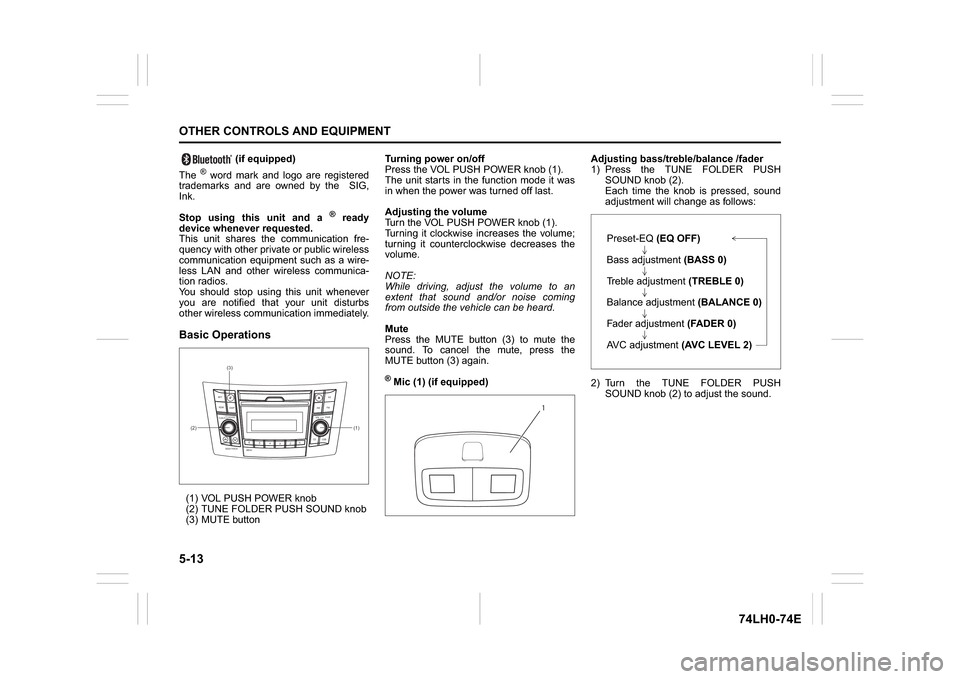
Basic Operations(1) VOL PUSH POWER knob
(2) TUNE FOLDER PUSH SOUND knob
(3) MUTE buttonTurning power on/off
Press the VOL PUSH POWER knob (1).
The unit starts in the function mode it was
in when the power was turned off last.
Adjusting the volume
Turn the VOL PUSH POWER knob (1).
Turning it clockwise increases the volume;
turning it counterclockwise decreases the
volume.
NOTE:
While driving, adjust the volume to an
extent that sound and/or noise coming
from outside the vehicle can be heard.
Mute
Press the MUTE button (3) to mute the
sound. To cancel the mute, press the
MUTE button (3) again.
® Mic (1) (if equipped)Adjusting bass/treble/balance /fader
1) Press the TUNE FOLDER PUSH
SOUND knob (2).
Each time the knob is pressed, sound
adjustment will change as follows:
2) Turn the TUNE FOLDER PUSH
SOUND knob (2) to adjust the sound.
(1) (2)(3)
B
S U
CD
2
3 4 5 6
SEEK/TRACK
AS
AMFM RPT
RDM
DISP
PUSHSOUND
TUNE/FLD
VOLPWRPUSH
11
MENU
1
Preset-EQ(EQ OFF)
Bass adjustment (BASS 0)
Treble adjustment (TREBLE 0)
Balance adjustment (BALANCE 0)
Fader adjustment (FADER 0)
AVC adjustment (AVC LEVEL 2)
Page 187 of 336
6-4
VEHICLE LOADING AND TOWING
74LH0-74E
60A186
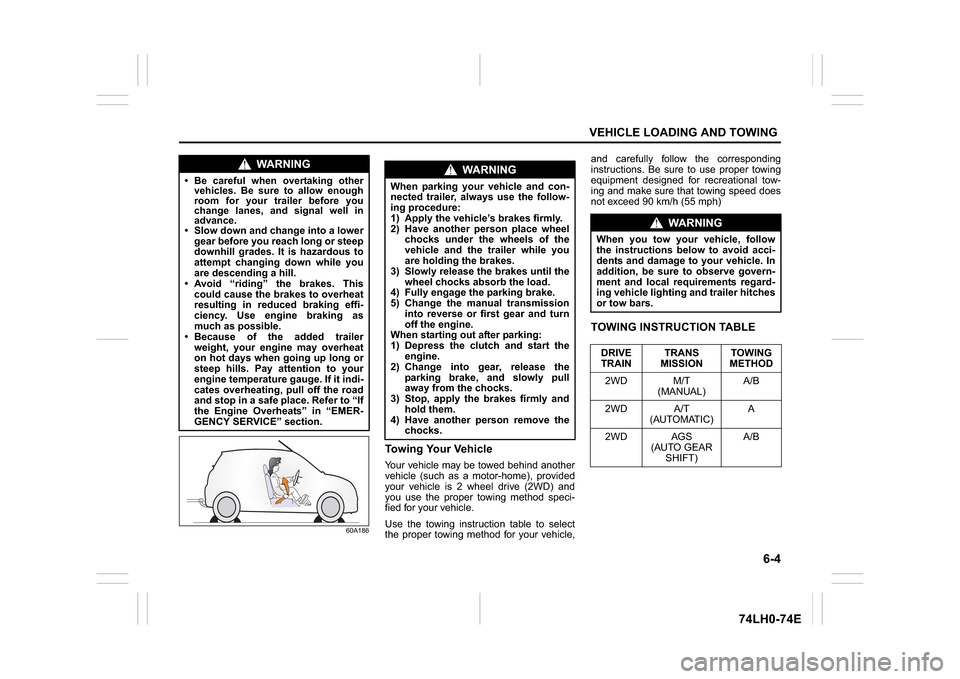
Towing Your VehicleYour vehicle may be towed behind another
vehicle (such as a motor-home), provided
your vehicle is 2 wheel drive (2WD) and
you use the proper towing method speci-
fied for your vehicle.
Use the towing instruction table to select
the proper towing method for your vehicle,and carefully follow the corresponding
instructions. Be sure to use proper towing
equipment designed for recreational tow-
ing and make sure that towing speed does
not exceed 90 km/h (55 mph)
TOWING INSTRUCTION TABLE
WA R N I N G
Be careful when overtaking other
vehicles. Be sure to allow enough
room for your trailer before you
change lanes, and signal well in
advance. Slow down and change into a lower
gear before you reach long or steep
downhill grades. It is hazardous to
attempt changing down while you
are descending a hill.
Avoid “riding” the brakes. This
could cause the brakes to overheat
resulting in reduced braking effi-
ciency. Use engine braking as
much as possible.
Because of the added trailer
weight, your engine may overheat
on hot days when going up long or
steep hills. Pay attention to your
engine temperature gauge. If it indi-
cates overheating, pull off the road
and stop in a safe place. Refer to “If
the Engine Overheats” in “EMER-
GENCY SERVICE” section.
WA R N I N G
When parking your vehicle and con-
nected trailer, always use the follow-
ing procedure:
1) Apply the vehicle’s brakes firmly.
2) Have another person place wheel
chocks under the wheels of the
vehicle and the trailer while you
are holding the brakes.
3) Slowly release the brakes until the
wheel chocks absorb the load.
4) Fully engage the parking brake.
5) Change the manual transmission
into reverse or first gear and turn
off the engine.
When starting out after parking:
1) Depress the clutch and start the
engine.
2) Change into gear, release the
parking brake, and slowly pull
away from the chocks.
3) Stop, apply the brakes firmly and
hold them.
4) Have another person remove the
chocks.
WA R N I N G
When you tow your vehicle, follow
the instructions below to avoid acci-
dents and damage to your vehicle. In
addition, be sure to observe govern-
ment and local requirements regard-
ing vehicle lighting and trailer hitches
or tow bars.
DRIVE
TRAINTRANS
MISSIONTOWING
METHOD
2WD M/T
(MANUAL)A/B
2WD A/T
(AUTOMATIC)A
2WD AGS
(AUTO GEAR
SHIFT)A/B
Page 198 of 336
7-7INSPECTION AND MAINTENANCE
74LH0-74E
(1) Preferred
Be sure that the engine oil you use comes
under the quality classification of ACEA
A5/B5. The recommended Engine oil is
5W30 A5/B5. Oil Level Check(For Petrol Engine Model)
80G064
52D084
(For Diesel Engine Model)
84E012
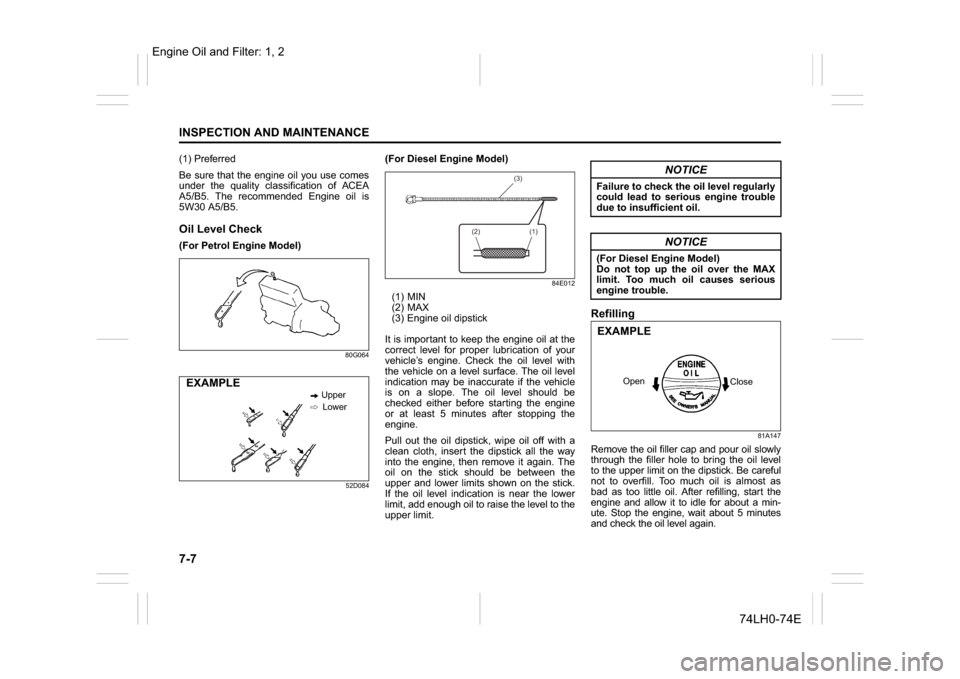
(1) MIN
(2) MAX
(3) Engine oil dipstick
It is important to keep the engine oil at the
correct level for proper lubrication of your
vehicle’s engine. Check the oil level with
the vehicle on a level surface. The oil level
indication may be inaccurate if the vehicle
is on a slope. The oil level should be
checked either before starting the engine
or at least 5 minutes after stopping the
engine.
Pull out the oil dipstick, wipe oil off with a
clean cloth, insert the dipstick all the way
into the engine, then remove it again. The
oil on the stick should be between the
upper and lower limits shown on the stick.
If the oil level indication is near the lower
limit, add enough oil to raise the level to the
upper limit.
Refilling
81A147
Remove the oil filler cap and pour oil slowly
through the filler hole to bring the oil level
to the upper limit on the dipstick. Be careful
not to overfill. Too much oil is almost as
bad as too little oil. After refilling, start the
engine and allow it to idle for about a min-
ute. Stop the engine, wait about 5 minutes
and check the oil level again.
Upper
Lower
EXAMPLE
(3)
(2) (1)
NOTICE
Failure to check the oil level regularly
could lead to serious engine trouble
due to insufficient oil.
NOTICE
(For Diesel Engine Model)
Do not top up the oil over the MAX
limit. Too much oil causes serious
engine trouble.
Close Open
EXAMPLE
Engine Oil and Filter: 1, 2
Page 200 of 336
7-9INSPECTION AND MAINTENANCE
74LH0-74E
Replace the Oil Filter(For Petrol Engine Model)
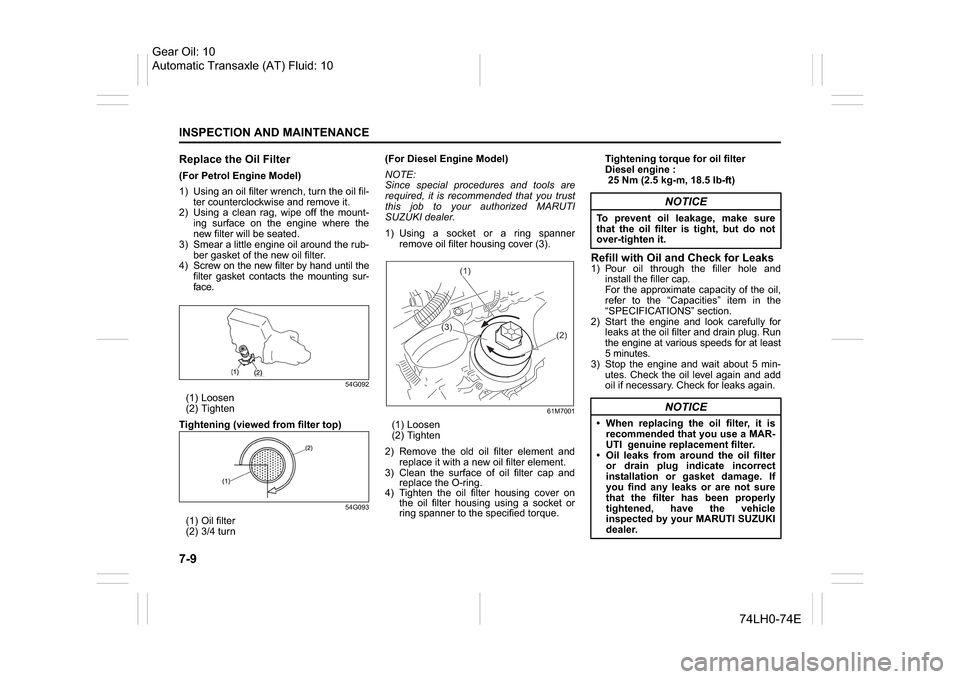
1) Using an oil filter wrench, turn the oil fil-
ter counterclockwise and remove it.
2) Using a clean rag, wipe off the mount-
ing surface on the engine where the
new filter will be seated.
3) Smear a little engine oil around the rub-
ber gasket of the new oil filter.
4) Screw on the new filter by hand until the
filter gasket contacts the mounting sur-
face.
54G092
(1) Loosen
(2) Tighten
Tightening (viewed from filter top)
54G093
(1) Oil filter
(2) 3/4 turn(For Diesel Engine Model)
NOTE:
Since special procedures and tools are
required, it is recommended that you trust
this job to your authorized MARUTI
SUZUKI dealer.
1) Using a socket or a ring spanner
remove oil filter housing cover (3).
61M7001
(1) Loosen
(2) Tighten
2) Remove the old oil filter element and
replace it with a new oil filter element.
3) Clean the surface of oil filter cap and
replace the O-ring.
4) Tighten the oil filter housing cover on
the oil filter housing using a socket or
ring spanner to the specified torque.Tightening torque for oil filter
Diesel engine :
25 Nm (2.5 kg-m, 18.5 lb-ft)
Refill with Oil and Check for Leaks1) Pour oil through the filler hole and
install the filler cap.
For the approximate capacity of the oil,
refer to the “Capacities” item in the
“SPECIFICATIONS” section.
2) Start the engine and look carefully for
leaks at the oil filter and drain plug. Run
the engine at various speeds for at least
5 minutes.
3) Stop the engine and wait about 5 min-
utes. Check the oil level again and add
oil if necessary. Check for leaks again.
(1)
(3)
(2)
NOTICE
To prevent oil leakage, make sure
that the oil filter is tight, but do not
over-tighten it.
NOTICE
When replacing the oil filter, it is
recommended that you use a MAR-
UTI genuine replacement filter.
Oil leaks from around the oil filter
or drain plug indicate incorrect
installation or gasket damage. If
you find any leaks or are not sure
that the filter has been properly
tightened, have the vehicle
inspected by your MARUTI SUZUKI
dealer.
Gear Oil: 10
Automatic Transaxle (AT) Fluid: 10
Page 204 of 336
7-13INSPECTION AND MAINTENANCE
74LH0-74E
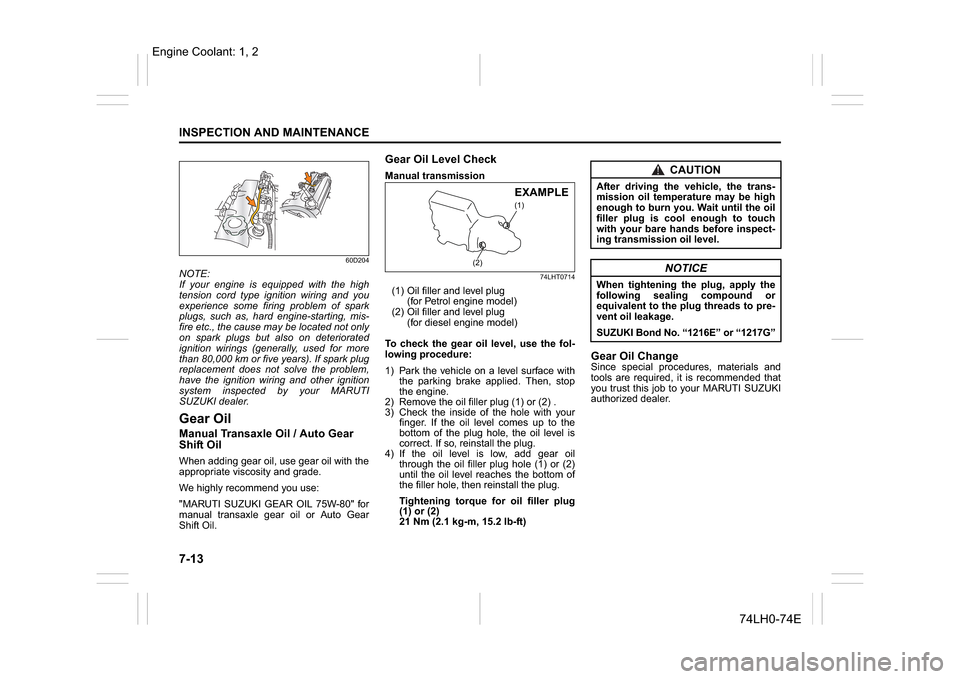
60D204
NOTE:
If your engine is equipped with the high
tension cord type ignition wiring and you
experience some firing problem of spark
plugs, such as, hard engine-starting, mis-
fire etc., the cause may be located not only
on spark plugs but also on deteriorated
ignition wirings (generally, used for more
than 80,000 km or five years). If spark plug
replacement does not solve the problem,
have the ignition wiring and other ignition
system inspected by your MARUTI
SUZUKI dealer.Gear OilManual Transaxle Oil / Auto Gear
Shift OilWhen adding gear oil, use gear oil with the
appropriate viscosity and grade.
We highly recommend you use:
"MARUTI SUZUKI GEAR OIL 75W-80" for
manual transaxle gear oil or Auto Gear
Shift Oil.
Gear Oil Level CheckManual transmission
74LHT0714
(1) Oil filler and level plug
(for Petrol engine model)
(2) Oil filler and level plug
(for diesel engine model)
To check the gear oil level, use the fol-
lowing procedure:
1) Park the vehicle on a level surface with
the parking brake applied. Then, stop
the engine.
2) Remove the oil filler plug (1) or (2) .
3) Check the inside of the hole with your
finger. If the oil level comes up to the
bottom of the plug hole, the oil level is
correct. If so, reinstall the plug.
4) If the oil level is low, add gear oil
through the oil filler plug hole (1) or (2)
until the oil level reaches the bottom of
the filler hole, then reinstall the plug.
Tightening torque for oil filler plug
(1) or (2)
21 Nm (2.1 kg-m, 15.2 lb-ft)
Gear Oil ChangeSince special procedures, materials and
tools are required, it is recommended that
you trust this job to your MARUTI SUZUKI
authorized dealer.
(1)
(2)
EXAMPLE
CAUTION
After driving the vehicle, the trans-
mission oil temperature may be high
enough to burn you. Wait until the oil
filler plug is cool enough to touch
with your bare hands before inspect-
ing transmission oil level.
NOTICE
When tightening the plug, apply the
following sealing compound or
equivalent to the plug threads to pre-
vent oil leakage.
SUZUKI Bond No. “1216E” or “1217G”
Engine Coolant: 1, 2
Page 230 of 336
8-7EMERGENCY SERVICE
74LH0-74E
(Vehicle with Keyless Push Start Sys-
tem)
If the engine is flooded with Petrol, it may
be hard to start. If this happens, press the
accelerator pedal all the way to the floor
and hold it there while cranking the engine.
For Petrol engine model, do not operate
the starter motor for more than 12 sec-
onds.
For diesel engine model, do not operate
the starter motor for more than 30 sec-
onds.
NOTE:
If the engine refuses to start, the starter
motor automatically stops after a certain
period of time. After the starter motor has
automatically stopped or there is anything
abnormal in the engine starting system,
the starter motor runs only while the
engine switch is held pressed.
If the Engine OverheatsThe engine could overheat temporarily
under severe driving conditions. If the
engine coolant temperature gauge indi-
cates overheating during driving:
1) Turn off the air conditioner, if equipped.
2) Take the vehicle to a safe place and
park.
3) Let the engine run at the normal idle
speed for a few minutes until the indica-
tor is within the normal, acceptable
temperature range between “H” and
“C”.
If the temperature indication does not
come down to within the normal, accept-
able range:
1) Turn off the engine and check that the
water pump belt and pulleys are not
damaged or slipping. If any abnormality
is found, correct it.
2) Check the coolant level in the reservoir.
If it is found to be lower than the “LOW”line, look for leaks at the radiator, water
pump, and radiator and heater hoses. If
you locate any leaks that may have
caused the overheating, do not run the
engine until these problems have been
corrected.
3) If you do not find a leak, carefully add
coolant to the reservoir and then the
radiator, if necessary. (Refer to “Engine
Coolant” in the “INSPECTION AND
MAINTENANCE” section.)
NOTE:
If your engine overheats and you are
unsure what to do, contact your MARUTI
SUZUKI dealer.
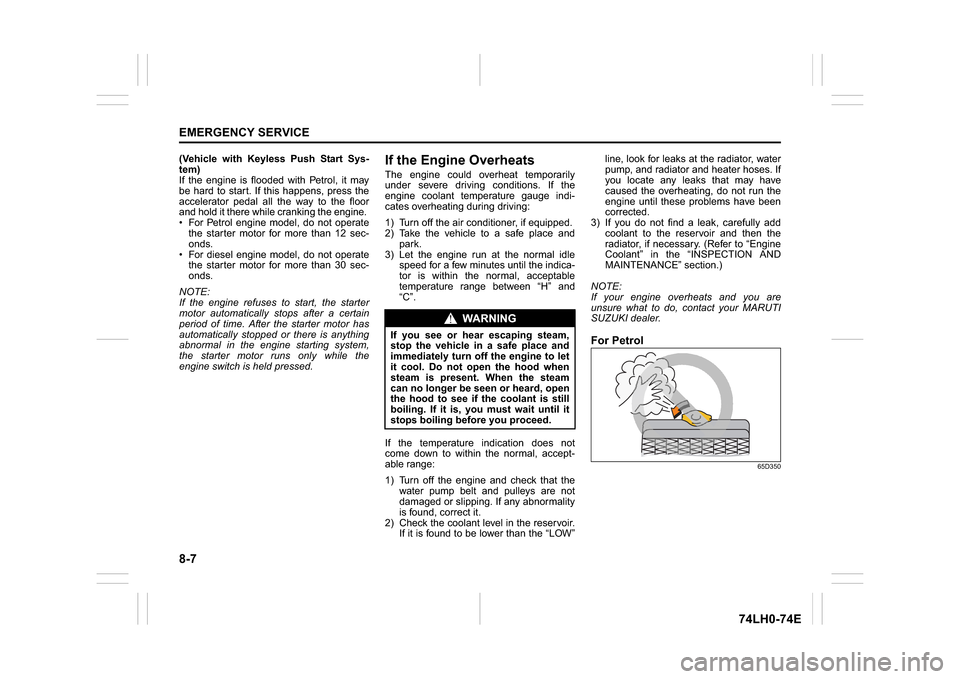
For Petrol
65D350
WA R N I N G
If you see or hear escaping steam,
stop the vehicle in a safe place and
immediately turn off the engine to let
it cool. Do not open the hood when
steam is present. When the steam
can no longer be seen or heard, open
the hood to see if the coolant is still
boiling. If it is, you must wait until it
stops boiling before you proceed.