service indicator SUZUKI XL7 2007 2.G User Guide
[x] Cancel search | Manufacturer: SUZUKI, Model Year: 2007, Model line: XL7, Model: SUZUKI XL7 2007 2.GPages: 274, PDF Size: 6.12 MB
Page 164 of 274
4-6 DRIVING YOUR VEHICLE
78J00-03E
All-Wheel Drive (AWD) SystemIf your vehicle has all-wheel drive (AWD),
the AWD system operates automatically
without any action required by the driver. If
the front drive wheels begin to slip, the rear
wheels will automatically begin to drive the
vehicle as required. Torque is also applied
to the rear wheels during launches. There
may be a slight engagement noise during
hard use but this is normal.
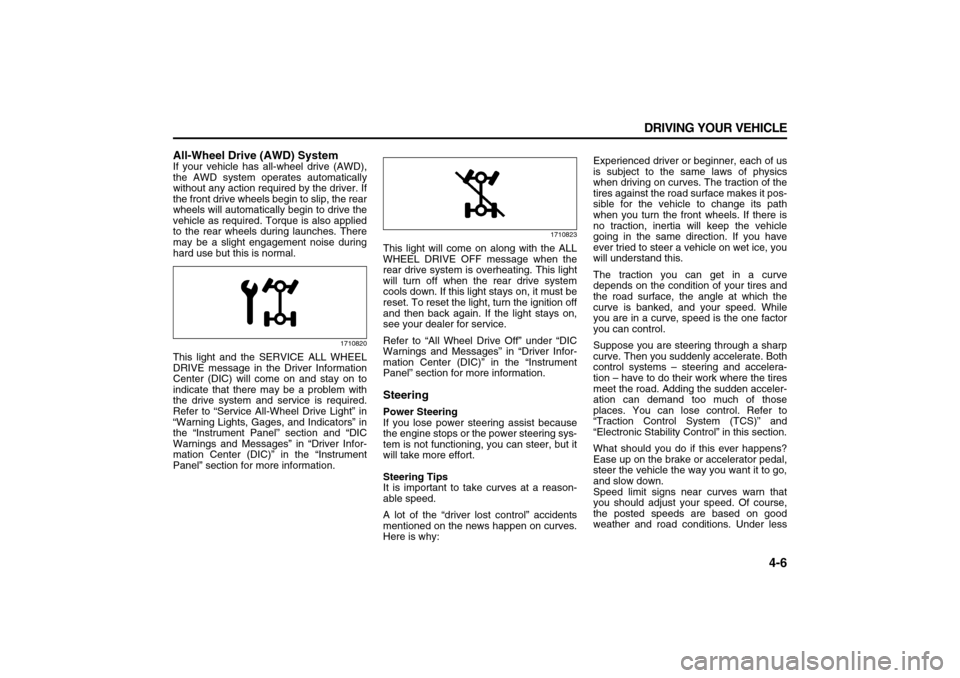
1710820
This light and the SERVICE ALL WHEEL
DRIVE message in the Driver Information
Center (DIC) will come on and stay on to
indicate that there may be a problem with
the drive system and service is required.
Refer to “Service All-Wheel Drive Light” in
“Warning Lights, Gages, and Indicators” in
the “Instrument Panel” section and “DIC
Warnings and Messages” in “Driver Infor-
mation Center (DIC)” in the “Instrument
Panel” section for more information.
1710823
This light will come on along with the ALL
WHEEL DRIVE OFF message when the
rear drive system is overheating. This light
will turn off when the rear drive system
cools down. If this light stays on, it must be
reset. To reset the light, turn the ignition off
and then back again. If the light stays on,
see your dealer for service.
Refer to “All Wheel Drive Off” under “DIC
Warnings and Messages” in “Driver Infor-
mation Center (DIC)” in the “Instrument
Panel” section for more information.SteeringPower Steering
If you lose power steering assist because
the engine stops or the power steering sys-
tem is not functioning, you can steer, but it
will take more effort.
Steering Tips
It is important to take curves at a reason-
able speed.
A lot of the “driver lost control” accidents
mentioned on the news happen on curves.
Here is why:Experienced driver or beginner, each of us
is subject to the same laws of physics
when driving on curves. The traction of the
tires against the road surface makes it pos-
sible for the vehicle to change its path
when you turn the front wheels. If there is
no traction, inertia will keep the vehicle
going in the same direction. If you have
ever tried to steer a vehicle on wet ice, you
will understand this.
The traction you can get in a curve
depends on the condition of your tires and
the road surface, the angle at which the
curve is banked, and your speed. While
you are in a curve, speed is the one factor
you can control.
Suppose you are steering through a sharp
curve. Then you suddenly accelerate. Both
control systems – steering and accelera-
tion – have to do their work where the tires
meet the road. Adding the sudden acceler-
ation can demand too much of those
places. You can lose control. Refer to
“Traction Control System (TCS)” and
“Electronic Stability Control” in this section.
What should you do if this ever happens?
Ease up on the brake or accelerator pedal,
steer the vehicle the way you want it to go,
and slow down.
Speed limit signs near curves warn that
you should adjust your speed. Of course,
the posted speeds are based on good
weather and road conditions. Under less
Page 186 of 274

5-2 SERVICE AND APPEARANCE CARE
78J00-03E
FuelUse of the recommended fuel is an impor-
tant part of the proper maintenance of your
vehicle. To help keep the engine clean and
maintain optimum vehicle performance, we
recommend the use of gasoline advertised
as TOP TIER Detergent Gasoline.Gasoline OctaneUse regular unleaded gasoline with a
posted octane rating of 87 or higher. If the
octane rating is less than 87, you may
notice an audible knocking noise when you
drive, commonly referred to as spark
knock. If this occurs, use a gasoline rated
at 87 octane or higher as soon as possible.
If you are using gasoline rated at 87
octane or higher and you hear heavy
knocking, your engine needs service.
Gasoline SpecificationsAt a minimum, gasoline should meet
ASTM specification D 4814 in the United
States or CAN/CGSB-3.5 in Canada.
Some gasolines contain an octane-
enhancing additive called methylcyclopen-
tadienyl manganese tricarbonyl (MMT).
We recommend against the use of gaso-
lines containing MMT. Refer to “Additives”
in this section for additional information.California FuelIf your vehicle is certified to meet California
Emissions Standards, it is designed to
operate on fuels that meet California spec-
ifications. See the underhood emission
control label. If this fuel is not available in
states adopting California emissions stan-
dards, your vehicle will operate satisfacto-
rily on fuels meeting federal specifications,
but emission control system performance
may be affected. The malfunction indicator
lamp may turn on and your vehicle may fail
a smog-check test. Refer to “Malfunction
Indicator Lamp” in “Warning Lights, Gages,
and Indicators” in the “Instrument Panel”
section. If this occurs, return to your autho-
rized dealer for diagnosis. If it is deter-
mined that the condition is caused by the
type of fuel used, repairs may not be cov-
ered by your warranty.
AdditivesTo provide cleaner air, all gasolines in the
United States are now required to contain
additives that will help prevent engine and
fuel system deposits from forming, allow-
ing your emission control system to work
properly. In most cases, you should not
have to add anything to your fuel. How-
ever, some gasolines contain only the min-
imum amount of additive required to meet
U.S. Environmental Protection Agency
regulations. To help keep fuel injectors and
intake valves clean, or if your vehicle expe-
riences problems due to dirty injectors or
valves, look for gasoline that is advertised
as TOP TIER Detergent Gasoline. Also,
your dealer has additives that will help cor-
rect and prevent most deposit-related
problems.
Gasolines containing oxygenates, such as
ethers and ethanol, and reformulated gas-
olines may be available in your area. We
recommend that you use these gasolines,
if they comply with the specifications
described earlier. However, E85 (85% eth-
anol) and other fuels containing more than
10% ethanol must not be used in vehicles
that were not designed for those fuels.
Page 187 of 274
5-3 SERVICE AND APPEARANCE CARE
78J00-03E
Some gasolines that are not reformulated
for low emissions may contain an octane-
enhancing additive called methylcyclopen-
tadienyl manganese tricarbonyl (MMT);
ask the attendant where you buy gasoline
whether the fuel contains MMT. We rec-
ommend against the use of such gaso-
lines. Fuels containing MMT can reduce
the life of spark plugs and the performance
of the emission control system may be
affected. The malfunction indicator lamp
may turn on. If this occurs, return to your
dealer for service.
Fuels in Foreign CountriesIf you plan on driving in another country
outside the United States or Canada, the
proper fuel might be hard to find. Never
use leaded gasoline or any other fuel not
recommended in the previous text on fuel.
Costly repairs caused by use of improper
fuel would not be covered by your war-
ranty.
To check the fuel availability, ask an auto
club, or contact a major oil company that
does business in the country where you
will be driving.Filling the Tank
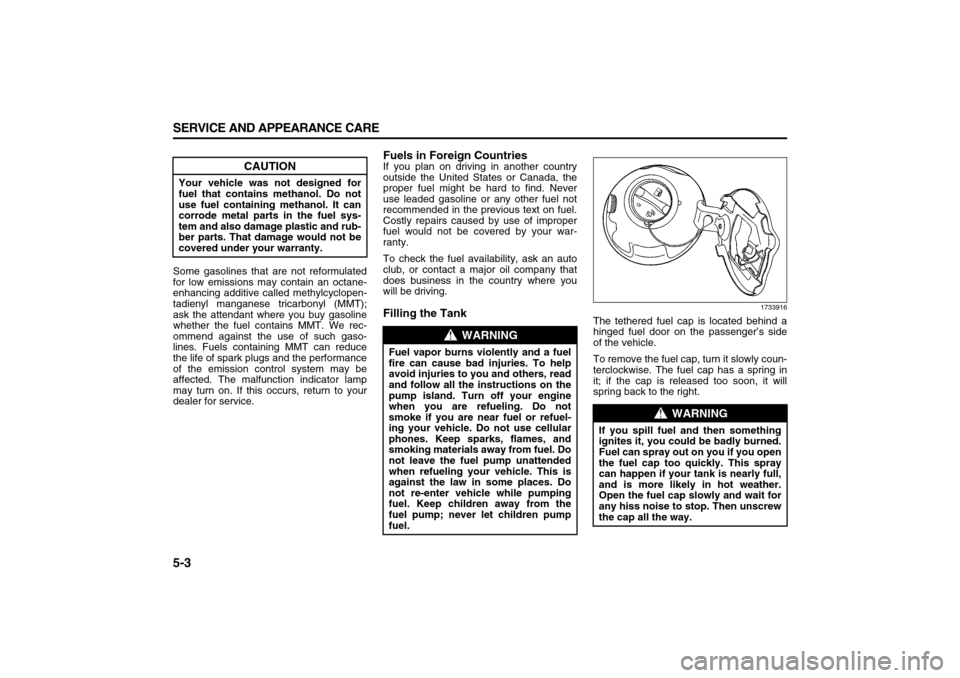
1733916
The tethered fuel cap is located behind a
hinged fuel door on the passenger’s side
of the vehicle.
To remove the fuel cap, turn it slowly coun-
terclockwise. The fuel cap has a spring in
it; if the cap is released too soon, it will
spring back to the right.
CAUTION
Your vehicle was not designed for
fuel that contains methanol. Do not
use fuel containing methanol. It can
corrode metal parts in the fuel sys-
tem and also damage plastic and rub-
ber parts. That damage would not be
covered under your warranty.
WARNING
Fuel vapor burns violently and a fuel
fire can cause bad injuries. To help
avoid injuries to you and others, read
and follow all the instructions on the
pump island. Turn off your engine
when you are refueling. Do not
smoke if you are near fuel or refuel-
ing your vehicle. Do not use cellular
phones. Keep sparks, flames, and
smoking materials away from fuel. Do
not leave the fuel pump unattended
when refueling your vehicle. This is
against the law in some places. Do
not re-enter vehicle while pumping
fuel. Keep children away from the
fuel pump; never let children pump
fuel.
WARNING
If you spill fuel and then something
ignites it, you could be badly burned.
Fuel can spray out on you if you open
the fuel cap too quickly. This spray
can happen if your tank is nearly full,
and is more likely in hot weather.
Open the fuel cap slowly and wait for
any hiss noise to stop. Then unscrew
the cap all the way.
Page 188 of 274
5-4 SERVICE AND APPEARANCE CARE
78J00-03E
Be careful not to spill fuel. Do not top off or
overfill the tank and wait a few seconds
after you have finished pumping before
removing the nozzle. Clean fuel from
painted surfaces as soon as possible.
Refer to “Washing Your Vehicle” in this
section.
When replacing the fuel cap, turn it clock-
wise until it clicks. Make sure the cap is
fully installed. The diagnostic system can
determine if the fuel cap has been left off
or improperly installed. This would allow
fuel to evaporate into the atmosphere.
Refer to “Malfunction Indicator Lamp” in
“Warning Lights, Gages, and Indicators” in
the “Instrument Panel” section.
Filling a Portable Fuel Container
WARNING
If a fire starts while you are refueling,
do not remove the nozzle. Shut off
the flow of fuel by shutting off the
pump or by notifying the station
attendant. Leave the area immedi-
ately.
CAUTION
If you need a new fuel cap, be sure to
get the right type. Your dealer can get
one for you. If you get the wrong
type, it may not fit properly. This may
cause your malfunction indicator
lamp to light and may damage your
fuel tank and emissions system.
Refer to “Malfunction Indicator
Lamp” in “Warning Lights, Gages,
and Indicators” in the “Instrument
Panel” section.
WARNING
Never fill a portable fuel container
while it is in your vehicle. Static elec-
tricity discharge from the container
can ignite the gasoline vapor. You
can be badly burned and your vehicle
damaged if this occurs. To help avoid
injury to you and others:
Dispense gasoline only into
approved containers.
Do not fill a container while it is
inside a vehicle, in a vehicle’s
trunk, pickup bed, or on any sur-
face other than the ground.
Bring the fill nozzle in contact with
the inside of the fill opening before
operating the nozzle. Contact
should be maintained until the fill-
ing is complete.
Do not smoke while pumping gaso-
line.
Do not use a cellular phone while
pumping gasoline.
Page 193 of 274

5-9 SERVICE AND APPEARANCE CARE
78J00-03E
system to work properly, you must reset
the system every time the oil is changed.
When the system has calculated that oil
life has been diminished, it will indicate
that an oil change is necessary. A change
engine oil light and a CHANGE ENGINE
OIL SOON message will come on. Refer to
“Change Engine Oil Light” in “Warning
Lights, Gages, and Indicators” in the
“Instrument Panel” section and “DIC Warn-
ings and Messages” in “Driver Information
Center (DIC)” in the “Instrument Panel”
section. Change your oil as soon as possi-
ble within the next 600 miles (1000 km). It
is possible that, if you are driving under the
best conditions, the oil life system may not
indicate that an oil change is necessary for
over a year. However, your engine oil and
filter must be changed at least once a year
and at this time the system must be reset.
Your dealer has trained service people
who will perform this work and reset the
system. It is also important to check your
oil regularly and keep it at the proper level.
If the system is ever reset accidentally, you
must change your oil at 3000 miles (5000
km) since your last oil change. Remember
to reset the oil life system whenever the oil
is changed.
How to Reset the Engine Oil Life Sys-
tem
The Engine Oil Life System calculates
when to change your engine oil and filter
based on vehicle use. Anytime your oil ischanged, reset the system so it can calcu-
late when the next oil change is required. If
a situation occurs where you change your
oil prior to a change engine oil light or
CHANGE ENGINE OIL SOON message
being turned on, reset the system.
1) Turn the ignition key to RUN with the
engine off.
2) Fully press and release the accelerator
pedal three times within five seconds.
The change engine oil light will flash
while the system is resetting.
3) When the light stops flashing, turn the
key to LOCK.
If the light or message comes back on and
stays on when you start your vehicle, the
engine oil life system has not reset.
Repeat the procedure.
What to Do with Used Oil
Used engine oil contains certain elements
that may be unhealthy for your skin and
could even cause cancer. Do not let used
oil stay on your skin for very long. Clean
your skin and nails with soap and water, or
a good hand cleaner. Wash or properly
dispose of clothing or rags containing used
engine oil. See the manufacturer’s warn-
ings about the use and disposal of oil prod-
ucts.
Used oil can be a threat to the environ-
ment. If you change your own oil, be sure
to drain all the oil from the filter before dis-
posal. Never dispose of oil by putting it inthe trash, pouring it on the ground, into
sewers, or into streams or bodies of water.
Instead, recycle it by taking it to a place
that collects used oil. If you have a prob-
lem properly disposing of your used oil,
ask your dealer, a service station, or a
local recycling center for help.
Engine Air Cleaner/FilterThe engine air cleaner/filter is located in
the engine compartment on the passen-
ger’s side of the vehicle. Refer to “Engine
Compartment Overview” in this section for
more information on location.
When to Inspect the Engine Air Cleaner/
Filter
Inspect the air cleaner/filter at the Mainte-
nance II intervals and replace it at the first
oil change after each 50000 mile (83000
km) interval. Refer to “Scheduled Mainte-
nance” in “Maintenance Schedule” in the
“Maintenance Schedule” section for more
information. If you are driving in dusty/dirty
conditions, inspect the filter at each engine
oil change.
How to Inspect the Engine Air Cleaner/
Filter
To inspect the air cleaner/filter remove the
filter from the vehicle and lightly shake the
filter to release loose dust and dirt. If the fil-
ter remains caked with dirt, a new filter is
required.
Page 196 of 274
5-12 SERVICE AND APPEARANCE CARE
78J00-03E
If you have to add coolant more than four
times a year, have your dealer check your
cooling system.
Checking Coolant
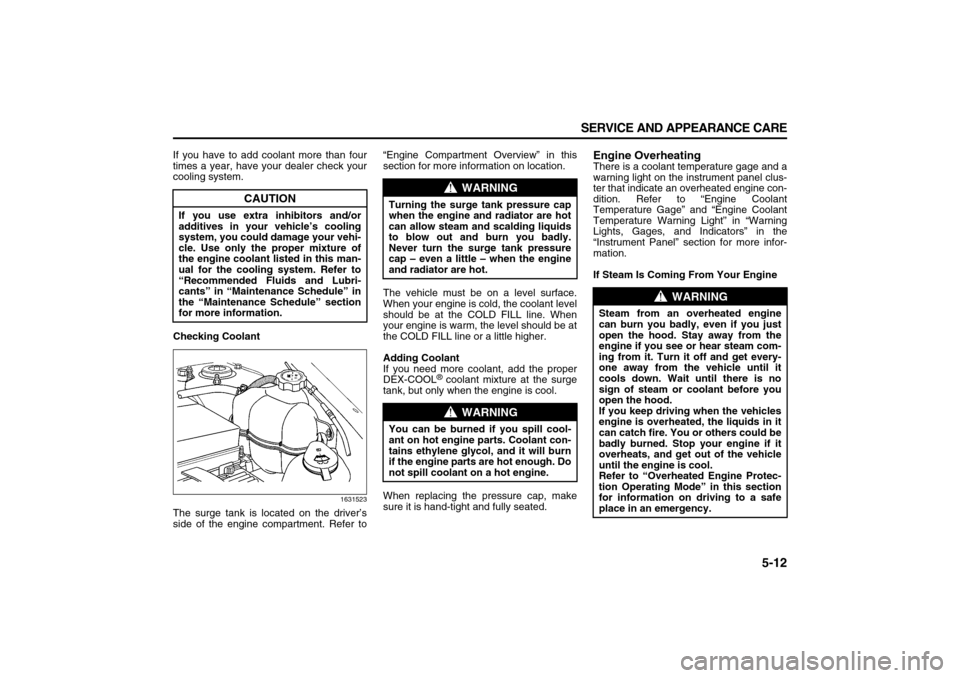
1631523
The surge tank is located on the driver’s
side of the engine compartment. Refer to“Engine Compartment Overview” in this
section for more information on location.
The vehicle must be on a level surface.
When your engine is cold, the coolant level
should be at the COLD FILL line. When
your engine is warm, the level should be at
the COLD FILL line or a little higher.
Adding Coolant
If you need more coolant, add the proper
DEX-COOL
® coolant mixture at the surge
tank, but only when the engine is cool.
When replacing the pressure cap, make
sure it is hand-tight and fully seated.
Engine OverheatingThere is a coolant temperature gage and a
warning light on the instrument panel clus-
ter that indicate an overheated engine con-
dition. Refer to “Engine Coolant
Temperature Gage” and “Engine Coolant
Temperature Warning Light” in “Warning
Lights, Gages, and Indicators” in the
“Instrument Panel” section for more infor-
mation.
If Steam Is Coming From Your Engine
CAUTION
If you use extra inhibitors and/or
additives in your vehicle’s cooling
system, you could damage your vehi-
cle. Use only the proper mixture of
the engine coolant listed in this man-
ual for the cooling system. Refer to
“Recommended Fluids and Lubri-
cants” in “Maintenance Schedule” in
the “Maintenance Schedule” section
for more information.
WARNING
Turning the surge tank pressure cap
when the engine and radiator are hot
can allow steam and scalding liquids
to blow out and burn you badly.
Never turn the surge tank pressure
cap – even a little – when the engine
and radiator are hot.
WARNING
You can be burned if you spill cool-
ant on hot engine parts. Coolant con-
tains ethylene glycol, and it will burn
if the engine parts are hot enough. Do
not spill coolant on a hot engine.
WARNING
Steam from an overheated engine
can burn you badly, even if you just
open the hood. Stay away from the
engine if you see or hear steam com-
ing from it. Turn it off and get every-
one away from the vehicle until it
cools down. Wait until there is no
sign of steam or coolant before you
open the hood.
If you keep driving when the vehicles
engine is overheated, the liquids in it
can catch fire. You or others could be
badly burned. Stop your engine if it
overheats, and get out of the vehicle
until the engine is cool.
Refer to “Overheated Engine Protec-
tion Operating Mode” in this section
for information on driving to a safe
place in an emergency.
Page 201 of 274
5-17 SERVICE AND APPEARANCE CARE
78J00-03E
BrakesBrake Fluid
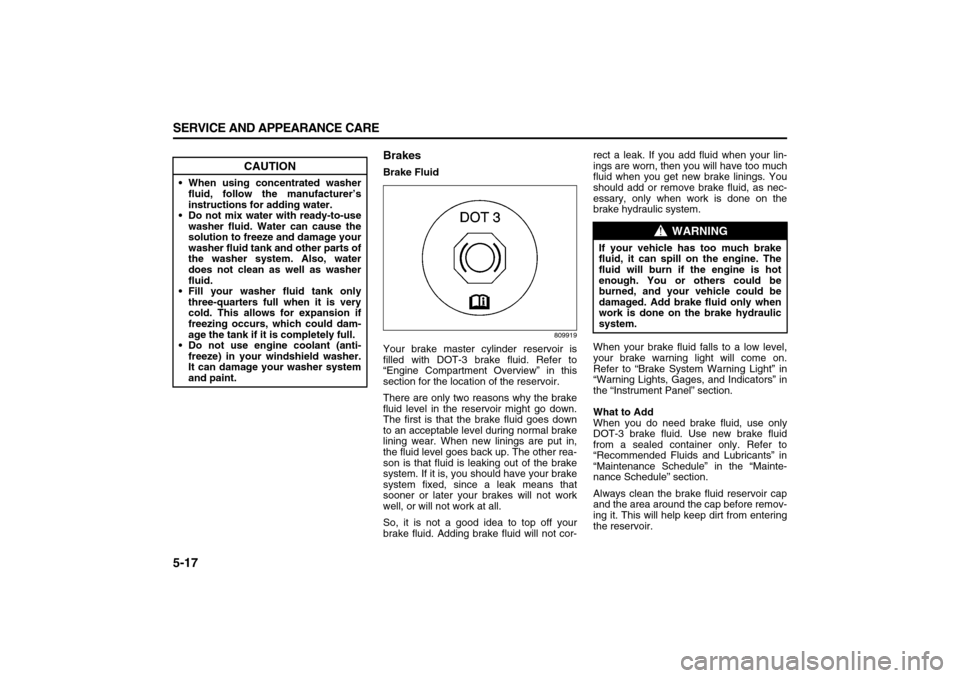
809919
Your brake master cylinder reservoir is
filled with DOT-3 brake fluid. Refer to
“Engine Compartment Overview” in this
section for the location of the reservoir.
There are only two reasons why the brake
fluid level in the reservoir might go down.
The first is that the brake fluid goes down
to an acceptable level during normal brake
lining wear. When new linings are put in,
the fluid level goes back up. The other rea-
son is that fluid is leaking out of the brake
system. If it is, you should have your brake
system fixed, since a leak means that
sooner or later your brakes will not work
well, or will not work at all.
So, it is not a good idea to top off your
brake fluid. Adding brake fluid will not cor-rect a leak. If you add fluid when your lin-
ings are worn, then you will have too much
fluid when you get new brake linings. You
should add or remove brake fluid, as nec-
essary, only when work is done on the
brake hydraulic system.
When your brake fluid falls to a low level,
your brake warning light will come on.
Refer to “Brake System Warning Light” in
“Warning Lights, Gages, and Indicators” in
the “Instrument Panel” section.
What to Add
When you do need brake fluid, use only
DOT-3 brake fluid. Use new brake fluid
from a sealed container only. Refer to
“Recommended Fluids and Lubricants” in
“Maintenance Schedule” in the “Mainte-
nance Schedule” section.
Always clean the brake fluid reservoir cap
and the area around the cap before remov-
ing it. This will help keep dirt from entering
the reservoir.
CAUTION
When using concentrated washer
fluid, follow the manufacturer’s
instructions for adding water.
Do not mix water with ready-to-use
washer fluid. Water can cause the
solution to freeze and damage your
washer fluid tank and other parts of
the washer system. Also, water
does not clean as well as washer
fluid.
Fill your washer fluid tank only
three-quarters full when it is very
cold. This allows for expansion if
freezing occurs, which could dam-
age the tank if it is completely full.
Do not use engine coolant (anti-
freeze) in your windshield washer.
It can damage your washer system
and paint.
WARNING
If your vehicle has too much brake
fluid, it can spill on the engine. The
fluid will burn if the engine is hot
enough. You or others could be
burned, and your vehicle could be
damaged. Add brake fluid only when
work is done on the brake hydraulic
system.
Page 213 of 274

5-29 SERVICE AND APPEARANCE CARE
78J00-03E
Driving, the Road, and Your Vehicle” in the
“Driving Your Vehicle” section.
Intended Outboard Sidewall:
The side of an asymmetrical tire, that must
always face outward when mounted on a
vehicle.
Kilopascal (kPa):
The metric unit for air pressure.
Light Truck (LT-Metric) Tire:
A tire used on light duty trucks and some
multipurpose passenger vehicles.
Load Index:
An assigned number ranging from 1 to 279
that corresponds to the load carrying
capacity of a tire.
Maximum Inflation Pressure:
The maximum air pressure to which a cold
tire may be inflated. The maximum air
pressure is molded onto the sidewall.
Maximum Load Rating:
The load rating for a tire at the maximum
permissible inflation pressure for that tire.
Maximum Loaded Vehicle Weight:
The sum of curb weight, accessory weight,
vehicle capacity weight, and production
options weight.
Normal Occupant Weight:
The number of occupants a vehicle is
designed to seat multiplied by 150 lbs (68
kg). Refer to “Loading Your Vehicle” in
“Your Driving, the Road, and Your Vehicle”
in the “Driving Your Vehicle” section.Occupant Distribution:
Designated seating positions.
Outward Facing Sidewall:
The side of an asymmetrical tire that has a
particular side that faces outward when
mounted on a vehicle. The side of the tire
that contains a whitewall, bears white let-
tering, or bears manufacturer, brand, and/
or model name molding that is higher or
deeper than the same moldings on the
other sidewall of the tire.
Passenger (P-Metric) Tire:
A tire used on passenger cars and some
light duty trucks and multipurpose vehicles.
Recommended Inflation Pressure:
Vehicle manufacturer’s recommended tire
inflation pressure as shown on the tire
placard. Refer to “Inflation – Tire Pressure”
in this section and “Loading Your Vehicle”
in “Your Driving, the Road, and Your Vehi-
cle” in the “Driving Your Vehicle” section.
Radial Ply Tire:
A pneumatic tire in which the ply cords that
extend to the beads are laid at 90 degrees
to the centerline of the tread.
Rim:
A metal support for a tire and upon which
the tire beads are seated.
Sidewall:
The portion of a tire between the tread and
the bead.Speed Rating:
An alphanumeric code assigned to a tire
indicating the maximum speed at which a
tire can operate.
Traction:
The friction between the tire and the road
surface. The amount of grip provided.
Tread:
The portion of a tire that comes into con-
tact with the road.
Treadwear Indicators:
Narrow bands, sometimes called wear
bars, that show across the tread of a tire
when only 1/16 inch (1.6 mm) of tread
remains. Refer to “When It Is Time for New
Tires” in this section.
UTQGS (Uniform Tire Quality Grading
Standards):
A tire information system that provides
consumers with ratings for a tire’s traction,
temperature, and treadwear. Ratings are
determined by tire manufacturers using
government testing procedures. The rat-
ings are molded into the sidewall of the
tire. Refer to “Uniform Tire Quality Grad-
ing” in this section.
Vehicle Capacity Weight:
The number of designated seating posi-
tions multiplied by 150 lbs (68 kg) plus the
rated cargo load. Refer to “Loading Your
Vehicle” in “Your Driving, the Road, and
Your Vehicle” in the “Driving Your Vehicle”
section.
Page 215 of 274
5-31 SERVICE AND APPEARANCE CARE
78J00-03E
If you overfill the tire, release air by push-
ing on the metal stem in the center of the
tire valve. Re-check the tire pressure with
the tire gage.
Be sure to put the valve caps back on the
valve stems. They help prevent leaks by
keeping out dirt and moisture.Tire Pressure Monitor SystemYour vehicle has a Tire Pressure Monitor
System (TPMS). This system uses radio
and sensor technology to check tire pres-
sure levels. TPMS sensors are mounted
onto each tire and wheel assembly, except
for the spare tire. The TPMS sensors mon-
itor the air pressure in your vehicle's tires
and transmit tire pressure readings to a
receiver located in the vehicle.
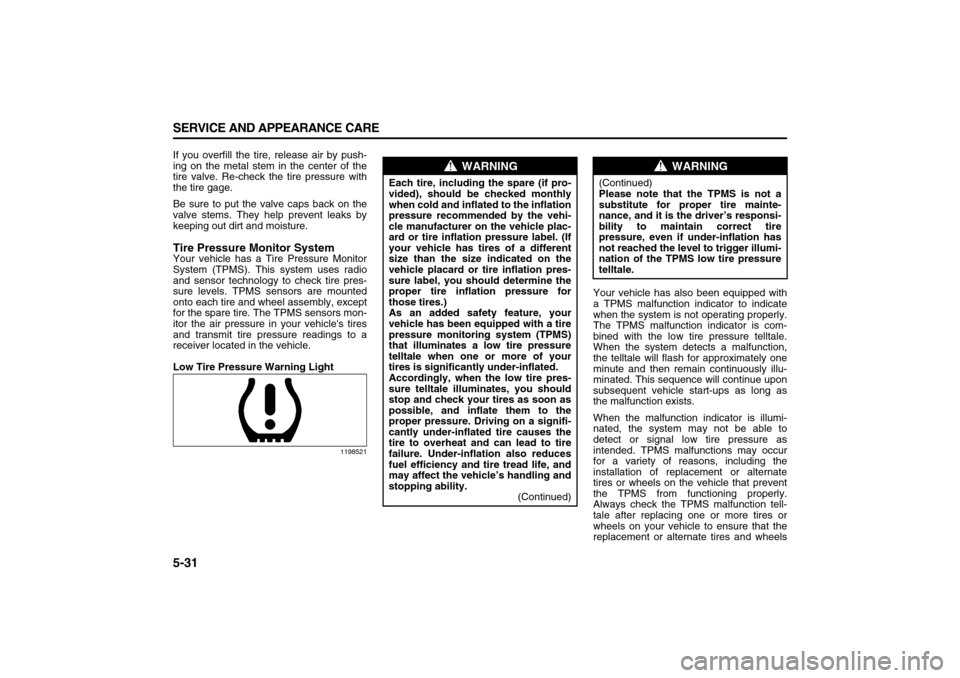
Low Tire Pressure Warning Light
1198521
Your vehicle has also been equipped with
a TPMS malfunction indicator to indicate
when the system is not operating properly.
The TPMS malfunction indicator is com-
bined with the low tire pressure telltale.
When the system detects a malfunction,
the telltale will flash for approximately one
minute and then remain continuously illu-
minated. This sequence will continue upon
subsequent vehicle start-ups as long as
the malfunction exists.
When the malfunction indicator is illumi-
nated, the system may not be able to
detect or signal low tire pressure as
intended. TPMS malfunctions may occur
for a variety of reasons, including the
installation of replacement or alternate
tires or wheels on the vehicle that prevent
the TPMS from functioning properly.
Always check the TPMS malfunction tell-
tale after replacing one or more tires or
wheels on your vehicle to ensure that the
replacement or alternate tires and wheels
WARNING
Each tire, including the spare (if pro-
vided), should be checked monthly
when cold and inflated to the inflation
pressure recommended by the vehi-
cle manufacturer on the vehicle plac-
ard or tire inflation pressure label. (If
your vehicle has tires of a different
size than the size indicated on the
vehicle placard or tire inflation pres-
sure label, you should determine the
proper tire inflation pressure for
those tires.)
As an added safety feature, your
vehicle has been equipped with a tire
pressure monitoring system (TPMS)
that illuminates a low tire pressure
telltale when one or more of your
tires is significantly under-inflated.
Accordingly, when the low tire pres-
sure telltale illuminates, you should
stop and check your tires as soon as
possible, and inflate them to the
proper pressure. Driving on a signifi-
cantly under-inflated tire causes the
tire to overheat and can lead to tire
failure. Under-inflation also reduces
fuel efficiency and tire tread life, and
may affect the vehicle’s handling and
stopping ability.
(Continued)
WARNING
(Continued)
Please note that the TPMS is not a
substitute for proper tire mainte-
nance, and it is the driver’s responsi-
bility to maintain correct tire
pressure, even if under-inflation has
not reached the level to trigger illumi-
nation of the TPMS low tire pressure
telltale.
Page 218 of 274
5-34 SERVICE AND APPEARANCE CARE
78J00-03E
Reset the Tire Pressure Monitor System.
Refer to “TPMS Sensor Matching Process”
under “Tire Pressure Monitor System” in
this section.
Make certain that all wheel nuts are prop-
erly tightened. Refer to “Wheel Nut
Torque” under “Capacities and Specifica-
tions” in this section.
When It Is Time for New Tires
806296
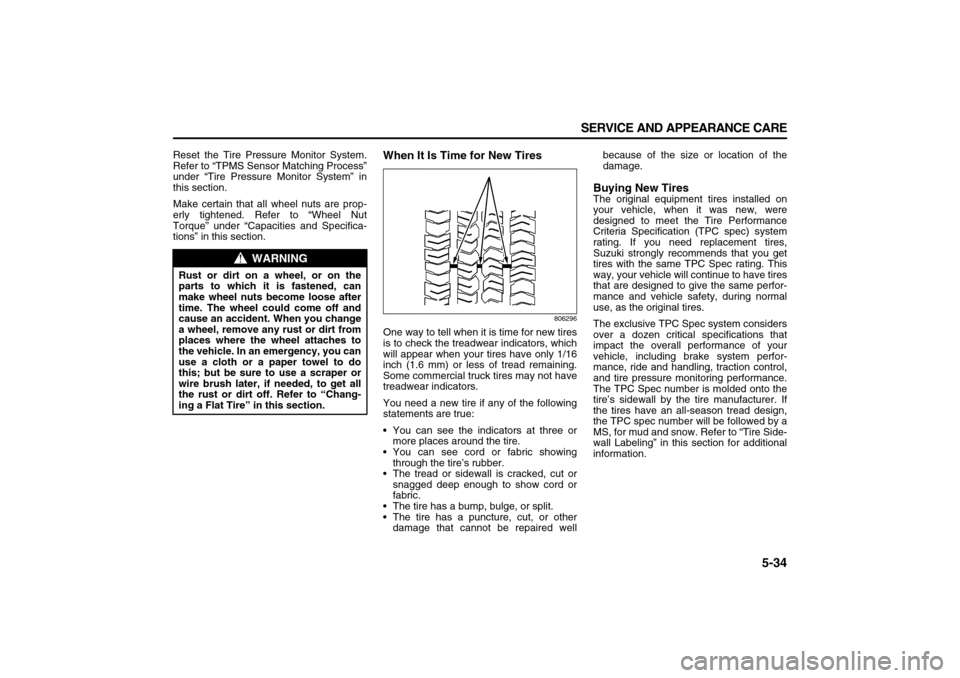
One way to tell when it is time for new tires
is to check the treadwear indicators, which
will appear when your tires have only 1/16
inch (1.6 mm) or less of tread remaining.
Some commercial truck tires may not have
treadwear indicators.
You need a new tire if any of the following
statements are true:
You can see the indicators at three or
more places around the tire.
You can see cord or fabric showing
through the tire’s rubber.
The tread or sidewall is cracked, cut or
snagged deep enough to show cord or
fabric.
The tire has a bump, bulge, or split.
The tire has a puncture, cut, or other
damage that cannot be repaired wellbecause of the size or location of the
damage.
Buying New TiresThe original equipment tires installed on
your vehicle, when it was new, were
designed to meet the Tire Performance
Criteria Specification (TPC spec) system
rating. If you need replacement tires,
Suzuki strongly recommends that you get
tires with the same TPC Spec rating. This
way, your vehicle will continue to have tires
that are designed to give the same perfor-
mance and vehicle safety, during normal
use, as the original tires.
The exclusive TPC Spec system considers
over a dozen critical specifications that
impact the overall performance of your
vehicle, including brake system perfor-
mance, ride and handling, traction control,
and tire pressure monitoring performance.
The TPC Spec number is molded onto the
tire’s sidewall by the tire manufacturer. If
the tires have an all-season tread design,
the TPC spec number will be followed by a
MS, for mud and snow. Refer to “Tire Side-
wall Labeling” in this section for additional
information.
WARNING
Rust or dirt on a wheel, or on the
parts to which it is fastened, can
make wheel nuts become loose after
time. The wheel could come off and
cause an accident. When you change
a wheel, remove any rust or dirt from
places where the wheel attaches to
the vehicle. In an emergency, you can
use a cloth or a paper towel to do
this; but be sure to use a scraper or
wire brush later, if needed, to get all
the rust or dirt off. Refer to “Chang-
ing a Flat Tire” in this section.