instrument cluster SUZUKI XL7 2007 2.G Owners Manual
[x] Cancel search | Manufacturer: SUZUKI, Model Year: 2007, Model line: XL7, Model: SUZUKI XL7 2007 2.GPages: 274, PDF Size: 6.12 MB
Page 47 of 274
1-35 SEATS AND RESTRAINT SYSTEMS
78J00-03E
808302
There is an airbag readiness light on the
instrument panel cluster, which shows the
airbag symbol.
The system checks the airbag electrical
system for malfunctions. The light tells you
if there is an electrical problem. Refer to
“Airbag Readiness Light” in “Warning
Lights, Gages, and Indicators” in the
“Instrument Panel” section for more infor-
mation.
Where Are the Airbags?
1177656
The driver’s airbag is in the middle of the
steering wheel.
809967
The right front passenger’s airbag is in the
instrument panel on the passenger’s side.
WARNING
Anyone who is up against, or very
close to, any airbag when it inflates
can be seriously injured or killed. Air-
bags plus lap-shoulder belts offer the
best protection for adults, but not for
young children and infants. Neither
the vehicle’s safety belt system nor
its airbag system is designed for
them. Young children and infants
need the protection that a child
restraint system can provide. Always
secure children properly in your vehi-
cle. To read how, refer to “Older Chil-
dren” or “Infants and Young
Children” in this section.
Occupants should not lean on or
sleep against the door in the first or
second row seats, or the rear win-
dows in the third row seat, if your
vehicle has roof-mounted rollover
airbags.
Page 53 of 274

1-41 SEATS AND RESTRAINT SYSTEMS
78J00-03E
If, after reinstalling the child restraint and
restarting the vehicle, the on indicator is
still lit, check to make sure that the vehi-
cle’s seatback is not pressing the child
restraint into the seat cushion. If this hap-
pens, slightly recline the vehicle’s seatback
and adjust the seat cushion if possible.
Also make sure the child restraint is not
trapped under the vehicle head restraint. If
this happens, adjust the head restraint.
If the on indicator is still lit, secure the child
in the child restraint in a rear seat position
in the vehicle if one is available and check
with your dealer.
The passenger sensing system is
designed to enable (may inflate) the right
front passenger’s frontal airbag anytime
the system senses that a person of adult
size is sitting properly in the right front pas-
senger’s seat. When the passenger sens-
ing system has allowed the airbag to be
enabled, the on indicator will light and stay
lit to remind you that the airbag is active.
For some children who have outgrown
child restraints and for very small adults,
the passenger sensing system may or may
not turn off the right front passenger’s fron-
tal airbag, depending upon the person’s
seating posture and body build. Everyone
in your vehicle who has outgrown child
restraints should wear a safety belt prop-
erly – whether or not there is an airbag for
that person.If a person of adult-size is sitting in the
right front passenger’s seat, but the off
indicator is lit, it could be because that per-
son is not sitting properly in the seat. If this
happens, turn the vehicle off and ask the
person to place the seatback in the fully
upright position, then sit upright in the seat,
centered on the seat cushion, with the per-
son’s legs comfortably extended. Restart
the vehicle and have the person remain in
this position for about two minutes. This
will allow the system to detect that person
and then enable the passenger’s airbag.
849515
A thick layer of additional material, such as
a blanket, or aftermarket equipment such
as seat covers, seat heaters, and seat
massagers, can affect how well the pas-
senger sensing system operates. Remove
any additional material from the seat cush-
ion before reinstalling or securing the child
restraint and before a small occupant,
including a small adult, sits in the passen-
ger position. You may want to consider not
using seat covers or other aftermarket
equipment. Refer to “Adding Equipment to
Your Airbag-Equipped Vehicle” in this sec-
tion for more information about modifica-
tions that can affect how the system
operates.
WARNING
If the airbag readiness light in the
instrument panel cluster ever comes
on and stays on, it means that some-
thing may be wrong with the airbag
system. If this ever happens, have
the vehicle serviced promptly,
because an adult-size person sitting
in the right front passenger’s seat
may not have the protection of the
frontal airbag. Refer to “Airbag
Readiness Light” in “Warning Lights,
Gages, and Indicators” in the “Instru-
ment Panel” section for more on this,
including important safety informa-
tion.
Page 84 of 274

3-2 INSTRUMENT PANEL
78J00-03E
The main components of your instrument
panel are the following:
A. Air Outlets. Refer to “Outlet Adjust-
ment” in this section.
B. Turn Signal/Multifunction Lever. Refer
to “Turn Signal/Multifunction Lever” in
this section.
C. Cruise Controls. Refer to “Cruise
Control” in this section.
D. Instrument Panel Cluster. Refer to
“Instrument Panel Cluster” in this sec-
tion.
E. Audio Steering Wheel Controls. Refer
to “Audio Steering Wheel Controls” in
this section.
F. Windshield Wiper/Washer Lever.
Refer to “Windshield Wipers” in this
section.
G. Hazard Warning Flasher Button.
Refer to “Hazard Warning Flashers” in
this section.
H. Audio System. Refer to “Audio Sys-
tem(s)” in this section.
I. Glove Box. Refer to “Glove Box” in
“Storage Areas” in the “Features and
Controls” section.
J. Power Mirror Control. Refer to “Out-
side Power Mirrors” in “Mirrors” in the
“Features and Controls” section.
K. Instrument Panel Brightness Control.
Refer to “Instrument Panel Bright-
ness” in this section.
L. Hood Release. Refer to “Hood
Release” in “Checking Things Underthe Hood” in the “Service and Appear-
ance Care” section.
M. Tilt Wheel Lever. Refer to “Tilt Wheel”
in this section.
N. Horn. Refer to “Horn” in this section.
O. Climate Controls (If Equipped). Refer
to “Climate Control System” in this
section or Automatic Climate Controls
(If Equipped). Refer to “Automatic Cli-
mate Control System” in this section.
Heated Seats Buttons (If Equipped).
Refer to “Heated Seats” in “Front
Seats” in the “Seats and Restraint
Systems” section.
P. Driver Information Center Controls.
Refer to “DIC Operation and Displays”
in this section. Rear Window Wiper/
Washer Buttons. Refer to “Rear Win-
dow Wiper/Washer” in this section.
Fog Lamps Button. Refer to “Fog
Lamps” in this section.
Q. Power Window Switches. Refer to
“Power Windows” in “Windows” in the
“Features and Controls” section.
R. Traction Control System Button. Refer
to “Traction Control System (TCS)” in
“Your Driving, the Road, and Your
Vehicle” in the “Driving Your Vehicle”
section.
S. Shift Lever. Refer to “Shifting Into
Park (P)” in “Starting and Operating
Your Vehicle” in the “Features and
Controls” section.
T. Passenger Airbag Status Indicator.
Refer to “Passenger Airbag Status
Indicator” in this section.U. Accessory Power Outlet. Refer to
“Accessory Power Outlet(s)” in this
section.
Page 86 of 274
3-4 INSTRUMENT PANEL
78J00-03E
To signal a turn, move the lever all the way
up or down. When the turn is finished, the
lever will return automatically.
808320
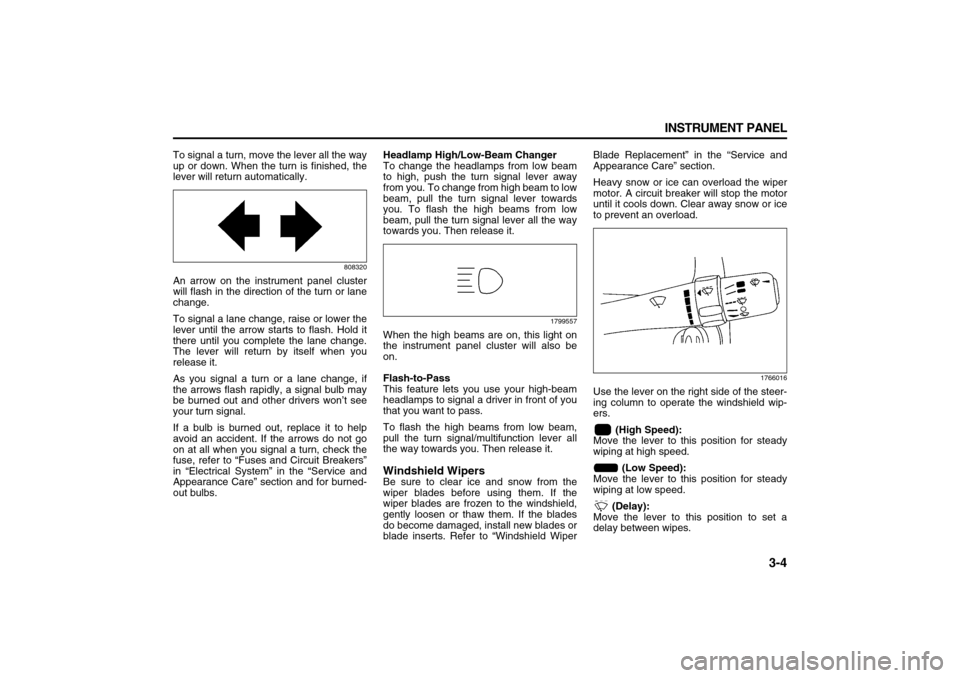
An arrow on the instrument panel cluster
will flash in the direction of the turn or lane
change.
To signal a lane change, raise or lower the
lever until the arrow starts to flash. Hold it
there until you complete the lane change.
The lever will return by itself when you
release it.
As you signal a turn or a lane change, if
the arrows flash rapidly, a signal bulb may
be burned out and other drivers won’t see
your turn signal.
If a bulb is burned out, replace it to help
avoid an accident. If the arrows do not go
on at all when you signal a turn, check the
fuse, refer to “Fuses and Circuit Breakers”
in “Electrical System” in the “Service and
Appearance Care” section and for burned-
out bulbs.Headlamp High/Low-Beam Changer
To change the headlamps from low beam
to high, push the turn signal lever away
from you. To change from high beam to low
beam, pull the turn signal lever towards
you. To flash the high beams from low
beam, pull the turn signal lever all the way
towards you. Then release it.
1799557
When the high beams are on, this light on
the instrument panel cluster will also be
on.
Flash-to-Pass
This feature lets you use your high-beam
headlamps to signal a driver in front of you
that you want to pass.
To flash the high beams from low beam,
pull the turn signal/multifunction lever all
the way towards you. Then release it.Windshield WipersBe sure to clear ice and snow from the
wiper blades before using them. If the
wiper blades are frozen to the windshield,
gently loosen or thaw them. If the blades
do become damaged, install new blades or
blade inserts. Refer to “Windshield WiperBlade Replacement” in the “Service and
Appearance Care” section.
Heavy snow or ice can overload the wiper
motor. A circuit breaker will stop the motor
until it cools down. Clear away snow or ice
to prevent an overload.
1766016
Use the lever on the right side of the steer-
ing column to operate the windshield wip-
ers.
(High Speed):
Move the lever to this position for steady
wiping at high speed.
(Low Speed):
Move the lever to this position for steady
wiping at low speed.
(Delay):
Move the lever to this position to set a
delay between wipes.
Page 88 of 274
3-6 INSTRUMENT PANEL
78J00-03E
1541871
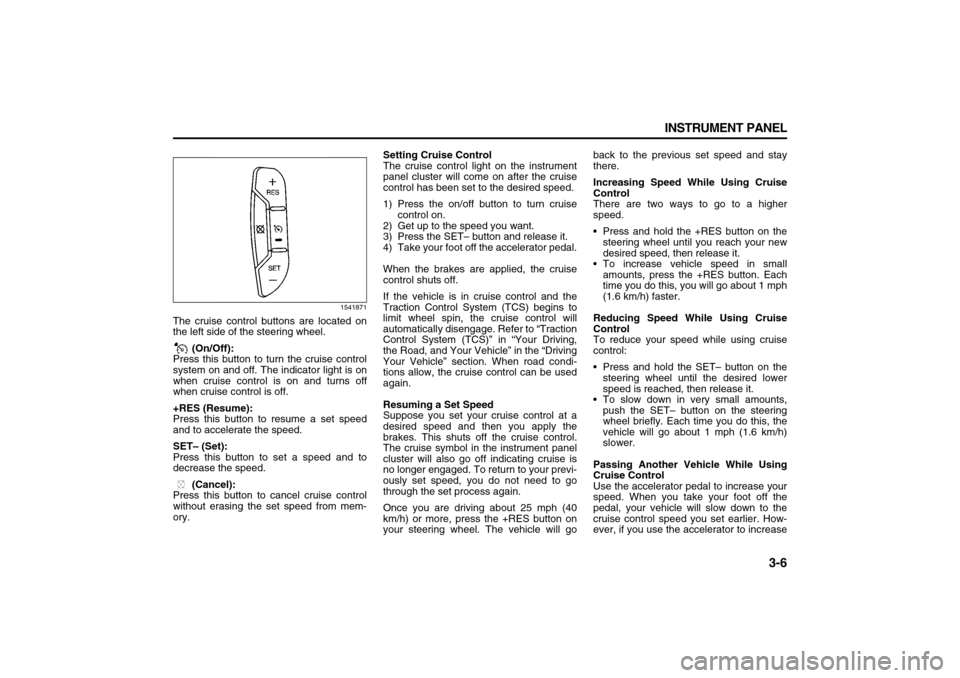
The cruise control buttons are located on
the left side of the steering wheel.
(On/Off):
Press this button to turn the cruise control
system on and off. The indicator light is on
when cruise control is on and turns off
when cruise control is off.
+RES (Resume):
Press this button to resume a set speed
and to accelerate the speed.
SET– (Set):
Press this button to set a speed and to
decrease the speed.
(Cancel):
Press this button to cancel cruise control
without erasing the set speed from mem-
ory.Setting Cruise Control
The cruise control light on the instrument
panel cluster will come on after the cruise
control has been set to the desired speed.
1) Press the on/off button to turn cruise
control on.
2) Get up to the speed you want.
3) Press the SET– button and release it.
4) Take your foot off the accelerator pedal.
When the brakes are applied, the cruise
control shuts off.
If the vehicle is in cruise control and the
Traction Control System (TCS) begins to
limit wheel spin, the cruise control will
automatically disengage. Refer to “Traction
Control System (TCS)” in “Your Driving,
the Road, and Your Vehicle” in the “Driving
Your Vehicle” section. When road condi-
tions allow, the cruise control can be used
again.
Resuming a Set Speed
Suppose you set your cruise control at a
desired speed and then you apply the
brakes. This shuts off the cruise control.
The cruise symbol in the instrument panel
cluster will also go off indicating cruise is
no longer engaged. To return to your previ-
ously set speed, you do not need to go
through the set process again.
Once you are driving about 25 mph (40
km/h) or more, press the +RES button on
your steering wheel. The vehicle will goback to the previous set speed and stay
there.
Increasing Speed While Using Cruise
Control
There are two ways to go to a higher
speed.
Press and hold the +RES button on the
steering wheel until you reach your new
desired speed, then release it.
To increase vehicle speed in small
amounts, press the +RES button. Each
time you do this, you will go about 1 mph
(1.6 km/h) faster.
Reducing Speed While Using Cruise
Control
To reduce your speed while using cruise
control:
Press and hold the SET– button on the
steering wheel until the desired lower
speed is reached, then release it.
To slow down in very small amounts,
push the SET– button on the steering
wheel briefly. Each time you do this, the
vehicle will go about 1 mph (1.6 km/h)
slower.
Passing Another Vehicle While Using
Cruise Control
Use the accelerator pedal to increase your
speed. When you take your foot off the
pedal, your vehicle will slow down to the
cruise control speed you set earlier. How-
ever, if you use the accelerator to increase
Page 89 of 274

3-7 INSTRUMENT PANEL
78J00-03E
the vehicle’s speed for approximately 60
seconds, cruise control will disengage.
Using Cruise Control on Hills
How well your cruise control will work on
hills depends upon your speed, load, and
the steepness of the hills. When going up
steep hills, you may have to step on the
accelerator pedal to maintain your vehi-
cle’s speed. When going downhill, you may
have to brake or shift to a lower gear to
limit the vehicle’s speed. Of course, apply-
ing the brakes ends cruise control. Many
drivers find this to be too much trouble and
do not use cruise control on steep hills.
Ending Cruise Control
There are three ways to end cruise control:
Step lightly on the brake pedal.
Press the cancel button on the steering
wheel.
Press the On/Off button on the steering
wheel.
Erasing Speed Memory
When the cruise control or the ignition is
turned off, the cruise control set speed
memory is erased.
HeadlampsThe exterior lamp control is located on the
turn signal/multifunction lever.
(Exterior Lamp Control):
Turn the control with this symbol on it to
operate the exterior lamps.
The exterior lamp control has the following
positions:
AUTO (Off/Automatic Headlamps):
Turn the control to this position to put the
headlamps in automatic mode. Automatic
mode will turn the exterior lamps on and off
depending upon how much light is avail-
able outside of the vehicle.
(Parking Lamps):
Turn the control to this position to turn on
the parking lamps together with the follow-
ing:
Sidemarker Lamps
Taillamps
License Plate Lamps
Instrument Panel Lights
(Headlamps):
Turning the control to this position turns on
the headlamps, together with the previ-
ously listed lamps and lights.
Headlamps on Reminder
If you open the driver’s door with the igni-
tion off and the lamps on, you will hear a
warning chime.Daytime Running Lamps (DRL)
Daytime Running Lamps (DRL) can make
it easier for others to see the front of your
vehicle during the day. DRL can be helpful
in many different driving conditions, but
they can be especially helpful in the short
periods after dawn and before sunset.
Fully functional daytime running lamps are
required on all vehicles first sold in Can-
ada.
A light sensor on top of the instrument
panel makes the DRL work, so be sure it is
not covered.
The DRL system’s automatic headlamp
control will make the low-beam headlamps
come on at a reduced brightness when the
following conditions are met:
The ignition is in RUN.
The exterior lamps control is in AUTO.
The engine is running.
When the DRL are on, only the low-beam
headlamps, at a reduced level of bright-
ness, will be on. The headlamps, taillamps,
sidemarker, and other lamps will not be on.
The instrument panel and cluster will also
not be lit.
When it is dark enough outside, the DRL
will turn off and the headlamps and parking
lamps will turn on. The other lamps that
come on with the headlamps will also
come on.
Page 97 of 274
3-15 INSTRUMENT PANEL
78J00-03E
Warning Lights, Gages, and
IndicatorsThis part describes the warning lights and
gages that may be on your vehicle. The
pictures will help you locate them.
Warning lights and gages can signal that
something is wrong before it becomes seri-
ous enough to cause an expensive repair
or replacement. Paying attention to your
warning lights and gages could also save
you or others from injury.
Warning lights come on when there may
be or is a problem with one of your vehi-
cle’s functions. As you will see in the
details on the following pages, some warn-
ing lights come on briefly when you start
the engine just to let you know they are
working. If you are familiar with this sec-
tion, you should not be alarmed when this
happens.
Gages can indicate when there may be or
is a problem with one of your vehicle’s
functions. Often gages and warning lights
work together to let you know when there
is a problem with your vehicle.
When one of the warning lights comes on
and stays on when you are driving, or
when one of the gages shows there may
be a problem, check the section that tells
you what to do about it. Please follow this
manual’s advice. Waiting to do repairs can
be costly and even dangerous. So pleaseget to know your warning lights and gages.
They are a big help.
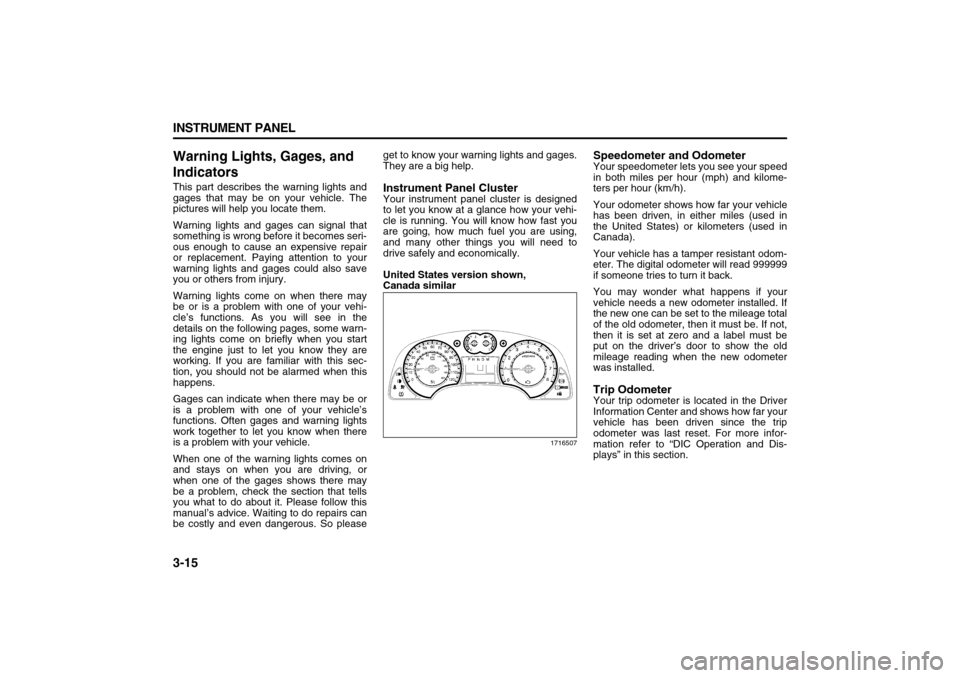
Instrument Panel ClusterYour instrument panel cluster is designed
to let you know at a glance how your vehi-
cle is running. You will know how fast you
are going, how much fuel you are using,
and many other things you will need to
drive safely and economically.
United States version shown,
Canada similar
1716507
Speedometer and OdometerYour speedometer lets you see your speed
in both miles per hour (mph) and kilome-
ters per hour (km/h).
Your odometer shows how far your vehicle
has been driven, in either miles (used in
the United States) or kilometers (used in
Canada).
Your vehicle has a tamper resistant odom-
eter. The digital odometer will read 999999
if someone tries to turn it back.
You may wonder what happens if your
vehicle needs a new odometer installed. If
the new one can be set to the mileage total
of the old odometer, then it must be. If not,
then it is set at zero and a label must be
put on the driver’s door to show the old
mileage reading when the new odometer
was installed.Trip OdometerYour trip odometer is located in the Driver
Information Center and shows how far your
vehicle has been driven since the trip
odometer was last reset. For more infor-
mation refer to “DIC Operation and Dis-
plays” in this section.
Page 101 of 274
3-19 INSTRUMENT PANEL
78J00-03E
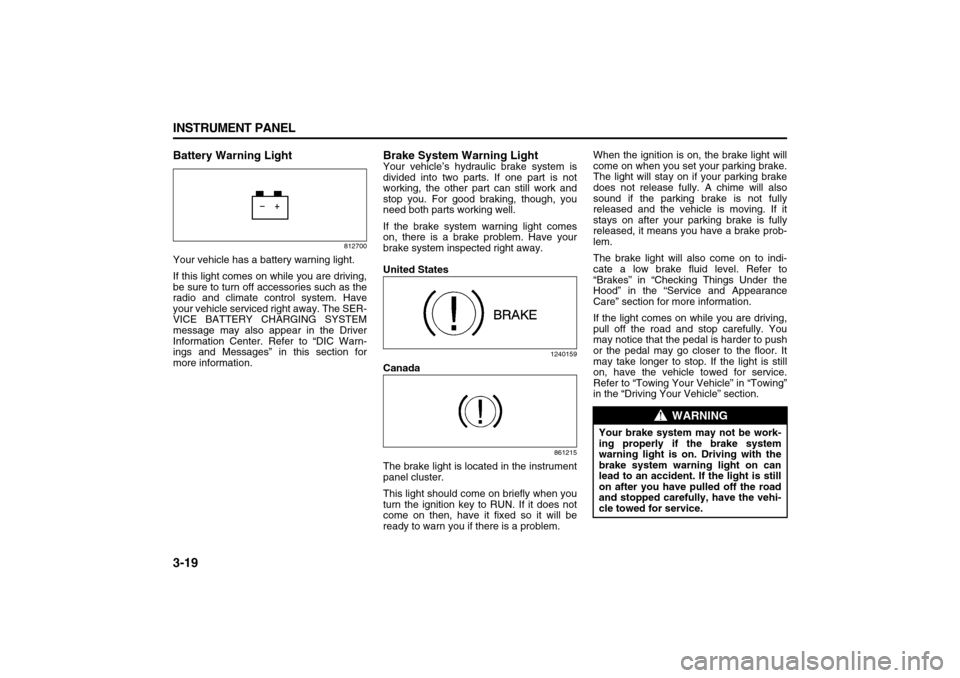
Battery Warning Light
812700
Your vehicle has a battery warning light.
If this light comes on while you are driving,
be sure to turn off accessories such as the
radio and climate control system. Have
your vehicle serviced right away. The SER-
VICE BATTERY CHARGING SYSTEM
message may also appear in the Driver
Information Center. Refer to “DIC Warn-
ings and Messages” in this section for
more information.
Brake System Warning LightYour vehicle’s hydraulic brake system is
divided into two parts. If one part is not
working, the other part can still work and
stop you. For good braking, though, you
need both parts working well.
If the brake system warning light comes
on, there is a brake problem. Have your
brake system inspected right away.
United States
1240159
Canada
861215
The brake light is located in the instrument
panel cluster.
This light should come on briefly when you
turn the ignition key to RUN. If it does not
come on then, have it fixed so it will be
ready to warn you if there is a problem.When the ignition is on, the brake light will
come on when you set your parking brake.
The light will stay on if your parking brake
does not release fully. A chime will also
sound if the parking brake is not fully
released and the vehicle is moving. If it
stays on after your parking brake is fully
released, it means you have a brake prob-
lem.
The brake light will also come on to indi-
cate a low brake fluid level. Refer to
“Brakes” in “Checking Things Under the
Hood” in the “Service and Appearance
Care” section for more information.
If the light comes on while you are driving,
pull off the road and stop carefully. You
may notice that the pedal is harder to push
or the pedal may go closer to the floor. It
may take longer to stop. If the light is still
on, have the vehicle towed for service.
Refer to “Towing Your Vehicle” in “Towing”
in the “Driving Your Vehicle” section.
WARNING
Your brake system may not be work-
ing properly if the brake system
warning light is on. Driving with the
brake system warning light on can
lead to an accident. If the light is still
on after you have pulled off the road
and stopped carefully, have the vehi-
cle towed for service.
Page 107 of 274
3-25 INSTRUMENT PANEL
78J00-03E
Highbeam On Light
808597
This light comes on when the high-beam
headlamps are in use.
Refer to “Headlamp High/Low-Beam
Changer” in this section.Service All-Wheel Drive Light
1710820
This light is located in the center of your
instrument panel cluster.
This light and the SERVICE ALL WHEEL
DRIVE message in the Driver Information
Center (DIC) will come on and stay on to
indicate that there may be a problem with
the drive system and service is required.
Refer to “All-Wheel Drive (AWD) System”
in “Your Driving, the Road, and Your Vehi-
cle” in the “Driving Your Vehicle” sectionand “DIC Warnings and Messages” in this
section for more information.
All-Wheel Drive Disabled Light
1710823
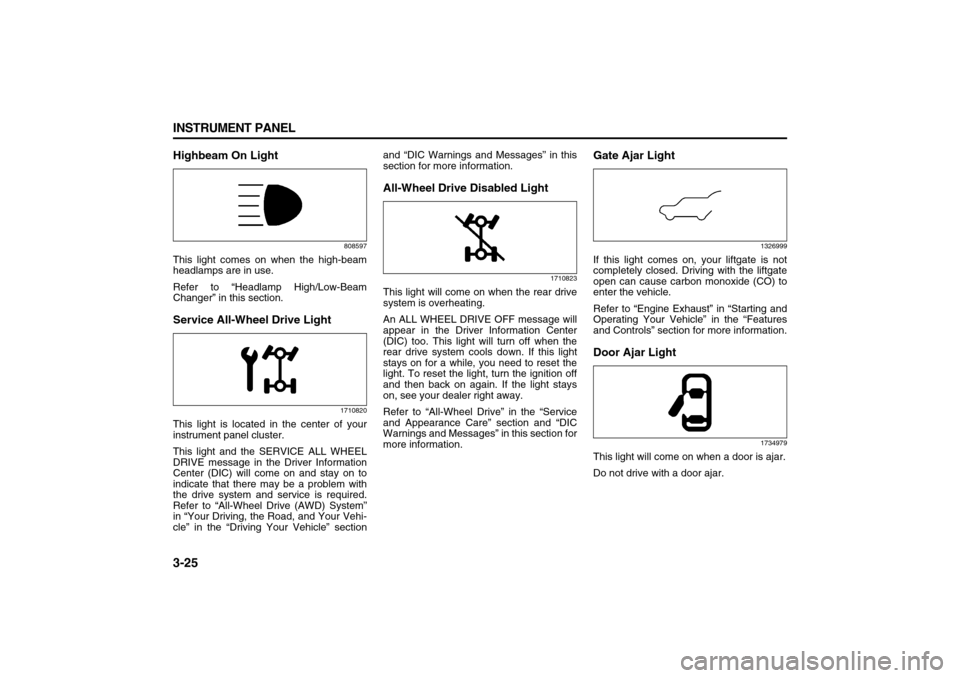
This light will come on when the rear drive
system is overheating.
An ALL WHEEL DRIVE OFF message will
appear in the Driver Information Center
(DIC) too. This light will turn off when the
rear drive system cools down. If this light
stays on for a while, you need to reset the
light. To reset the light, turn the ignition off
and then back on again. If the light stays
on, see your dealer right away.
Refer to “All-Wheel Drive” in the “Service
and Appearance Care” section and “DIC
Warnings and Messages” in this section for
more information.
Gate Ajar Light
1326999
If this light comes on, your liftgate is not
completely closed. Driving with the liftgate
open can cause carbon monoxide (CO) to
enter the vehicle.
Refer to “Engine Exhaust” in “Starting and
Operating Your Vehicle” in the “Features
and Controls” section for more information.Door Ajar Light
1734979
This light will come on when a door is ajar.
Do not drive with a door ajar.
Page 109 of 274
3-27 INSTRUMENT PANEL
78J00-03E
Driver Information Center
(DIC)Your vehicle has a Driver Information Cen-
ter (DIC).
All messages will appear in the DIC display
located in the center of the instrument
panel cluster. The DIC buttons are located
on the center of the instrument panel.
The DIC comes on when the ignition is on.
After a short delay, the DIC will display the
information that was last displayed before
the engine was turned off.
The DIC displays trip, fuel, and vehicle sys-
tem information, and warning messages if
a system problem is detected. The top of
the DIC display shows the shift lever posi-
tion indicator. Refer to “Automatic Tran-
saxle Operation” in “Starting and
Operating Your Vehicle” in the “Features
and Controls” section for more information.
If your vehicle has this feature, the DIC
also displays the outside air temperature
when viewing the trip and fuel information.
If there is a problem with the system that
controls the temperature display, the num-
bers will be replaced with dashes. If this
occurs, have the vehicle serviced by your
dealer. If an abnormal temperature reading
is displayed for an extended period of time,
consult your dealer. Under certain circum-
stances, especially when the engine is
idling, a delay updating the temperature
display is normal.The DIC also allows some features to be
personalized. Refer to “DIC Vehicle Per-
sonalization” in this section for more infor-
mation.
DIC Operation and DisplaysThe DIC has different displays which can
be accessed by pressing the DIC buttons
located on the center of the instrument
panel.
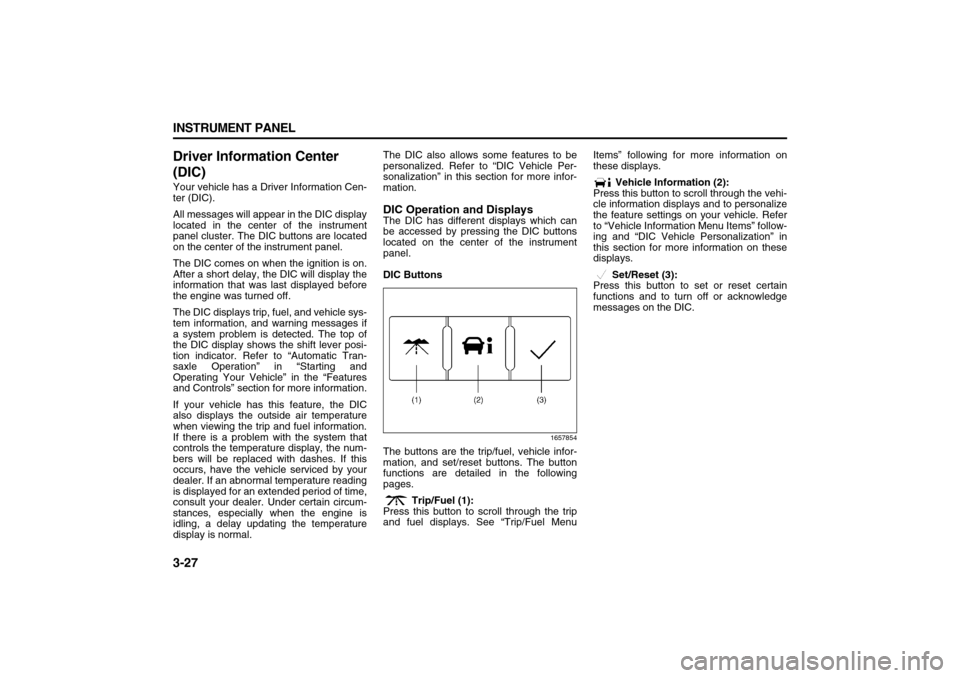
DIC Buttons
1657854
The buttons are the trip/fuel, vehicle infor-
mation, and set/reset buttons. The button
functions are detailed in the following
pages.
Trip/Fuel (1):
Press this button to scroll through the trip
and fuel displays. See “Trip/Fuel MenuItems” following for more information on
these displays.
Vehicle Information (2):
Press this button to scroll through the vehi-
cle information displays and to personalize
the feature settings on your vehicle. Refer
to “Vehicle Information Menu Items” follow-
ing and “DIC Vehicle Personalization” in
this section for more information on these
displays.
Set/Reset (3):
Press this button to set or reset certain
functions and to turn off or acknowledge
messages on the DIC.